

Clean Ceiling Fan Fast? Yes, you read that right! Are you tired of staring up at those dust bunnies clinging to your ceiling fan blades? I know I am! It’s one of those chores that always seems to get pushed to the bottom of the list, but let’s face it, a dusty ceiling fan isn’t just unsightly, it’s also circulating allergens and dust particles throughout your home.
For centuries, people have sought ways to keep their homes clean and healthy. While ceiling fans themselves are a relatively modern invention, the desire for clean air and dust-free environments is timeless. Think about the elaborate cleaning rituals of ancient civilizations – a testament to the importance of hygiene and well-being. Now, we can achieve a similar level of cleanliness with a few simple DIY tricks.
That’s why I’m so excited to share this incredibly easy and effective method to clean ceiling fan fast. This isn’t just about aesthetics; it’s about improving your indoor air quality and creating a healthier living space for you and your family. No more lugging around ladders and precariously balancing with a duster! This hack is a game-changer, saving you time and effort while leaving your ceiling fan sparkling clean. Let’s dive in and say goodbye to those pesky dust bunnies once and for all!
DIY: Sparkling Clean Ceiling Fan in Minutes (No More Dust Bunnies!)
Okay, let’s be honest, cleaning ceiling fans is one of those chores we all dread. It’s awkward, dusty, and feels like you’re just redistributing the grime. But fear not! I’ve got a super simple, incredibly effective DIY hack that will have your ceiling fan blades gleaming in no time, with minimal effort and mess. This method uses a pillowcase to trap the dust, preventing it from raining down on your furniture. Trust me, once you try this, you’ll never go back to balancing on a ladder with a duster again!
What You’ll Need:
* A pillowcase (an old one you don’t mind getting dusty is perfect)
* A sturdy step stool or ladder (safety first!)
* All-purpose cleaner or a mixture of warm water and dish soap (optional, for extra dirty fans)
* A dry cloth or microfiber duster (for a final polish)
The Pillowcase Cleaning Method: Step-by-Step
1. Safety First: Before you even think about climbing up, make sure your ceiling fan is turned OFF! This is crucial for your safety. You don’t want any unexpected spinning while you’re up there. Also, position your step stool or ladder securely under the fan. If you’re using a ladder, make sure it’s on a level surface and that someone is nearby to spot you, just in case.
2. Prepare Your Pillowcase: If your fan is particularly dusty or greasy, lightly spray the inside of your pillowcase with your all-purpose cleaner or soapy water. Don’t soak it, just a light misting will do. This will help the dust cling to the fabric. If your fan is only lightly dusty, you can skip this step and use the pillowcase dry.
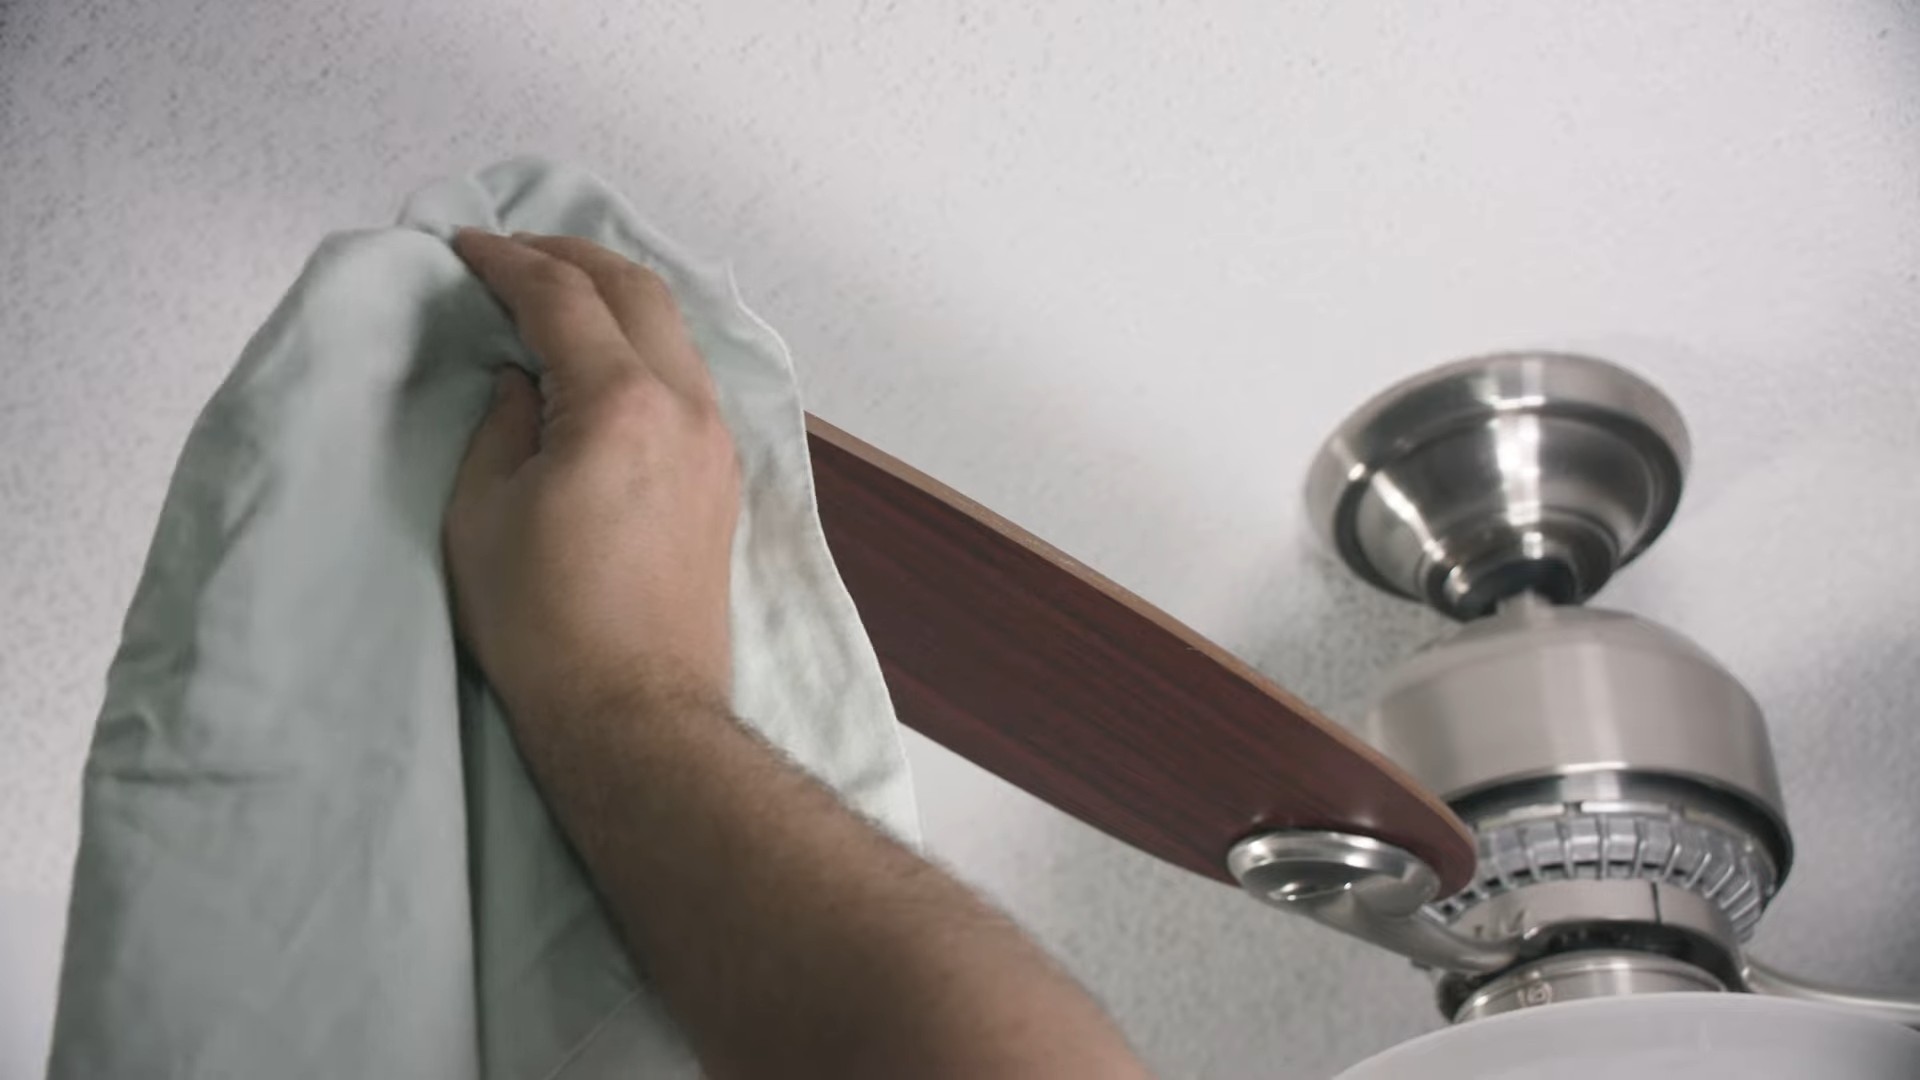
3. Encase the Blade: Carefully slide the pillowcase over one of the fan blades, like you’re putting a sock on a foot. Make sure the entire blade is inside the pillowcase.
4. Wipe and Trap: Once the blade is fully encased, gently press the pillowcase against the top and bottom of the blade. Then, slowly pull the pillowcase back, wiping the dust and grime off the blade as you go. The pillowcase will trap the dust inside, preventing it from falling onto your furniture.
5. Repeat for Each Blade: Repeat steps 3 and 4 for each of the remaining fan blades. Use a clean section of the pillowcase for each blade to avoid just spreading the dust around.
6. Shake it Out: Once you’ve cleaned all the blades, take the pillowcase outside and shake it out thoroughly to remove the accumulated dust. You can also wash the pillowcase in your washing machine on a gentle cycle.
7. Final Polish (Optional): For a truly sparkling clean fan, use a dry cloth or microfiber duster to give each blade a final polish. This will remove any remaining streaks or smudges.
Cleaning the Fan Motor Housing
While you’re up there, don’t forget about the fan motor housing! This area can also accumulate dust and grime.
1. Dust the Housing: Use a dry cloth or microfiber duster to wipe down the fan motor housing. Pay attention to any crevices or decorative details where dust might collect.
2. Tackle Stubborn Grime: If the housing is particularly dirty, you can use a slightly damp cloth with a mild detergent to clean it. Be sure to wring out the cloth well so it’s not dripping wet. You don’t want to get any water inside the motor.
3. Dry Thoroughly: After cleaning the housing, use a dry cloth to wipe it down and remove any remaining moisture.
Dealing with Extra-Greasy Fans (Kitchen Fans, I’m Looking at You!)
If your ceiling fan is located in the kitchen, it’s likely to have a layer of grease on it in addition to dust. This requires a slightly different approach.
1. Pre-Treat with Degreaser: Before using the pillowcase method, spray each blade with a degreasing cleaner. Let it sit for a few minutes to loosen the grease. Make sure the cleaner is safe for the fan’s finish. Test it on a small, inconspicuous area first.
2. Pillowcase Power: Follow the pillowcase cleaning method as described above. You may need to use a fresh pillowcase or wash the one you’re using more frequently if it becomes saturated with grease.
3. Heavy-Duty Cleaning (If Needed): For really stubborn grease, you might need to use a scrub brush or sponge with a degreasing cleaner. Be gentle and avoid scratching the fan blades.
4. Rinse and Dry: If you use a scrub brush or sponge, be sure to rinse the blades with a damp cloth to remove any cleaner residue. Then, dry them thoroughly with a clean cloth.
Tips and Tricks for a Sparkling Clean Fan
* Frequency is Key: The more often you clean your ceiling fan, the easier it will be. Aim to clean it at least once a month, or more frequently if you live in a dusty area or have pets.
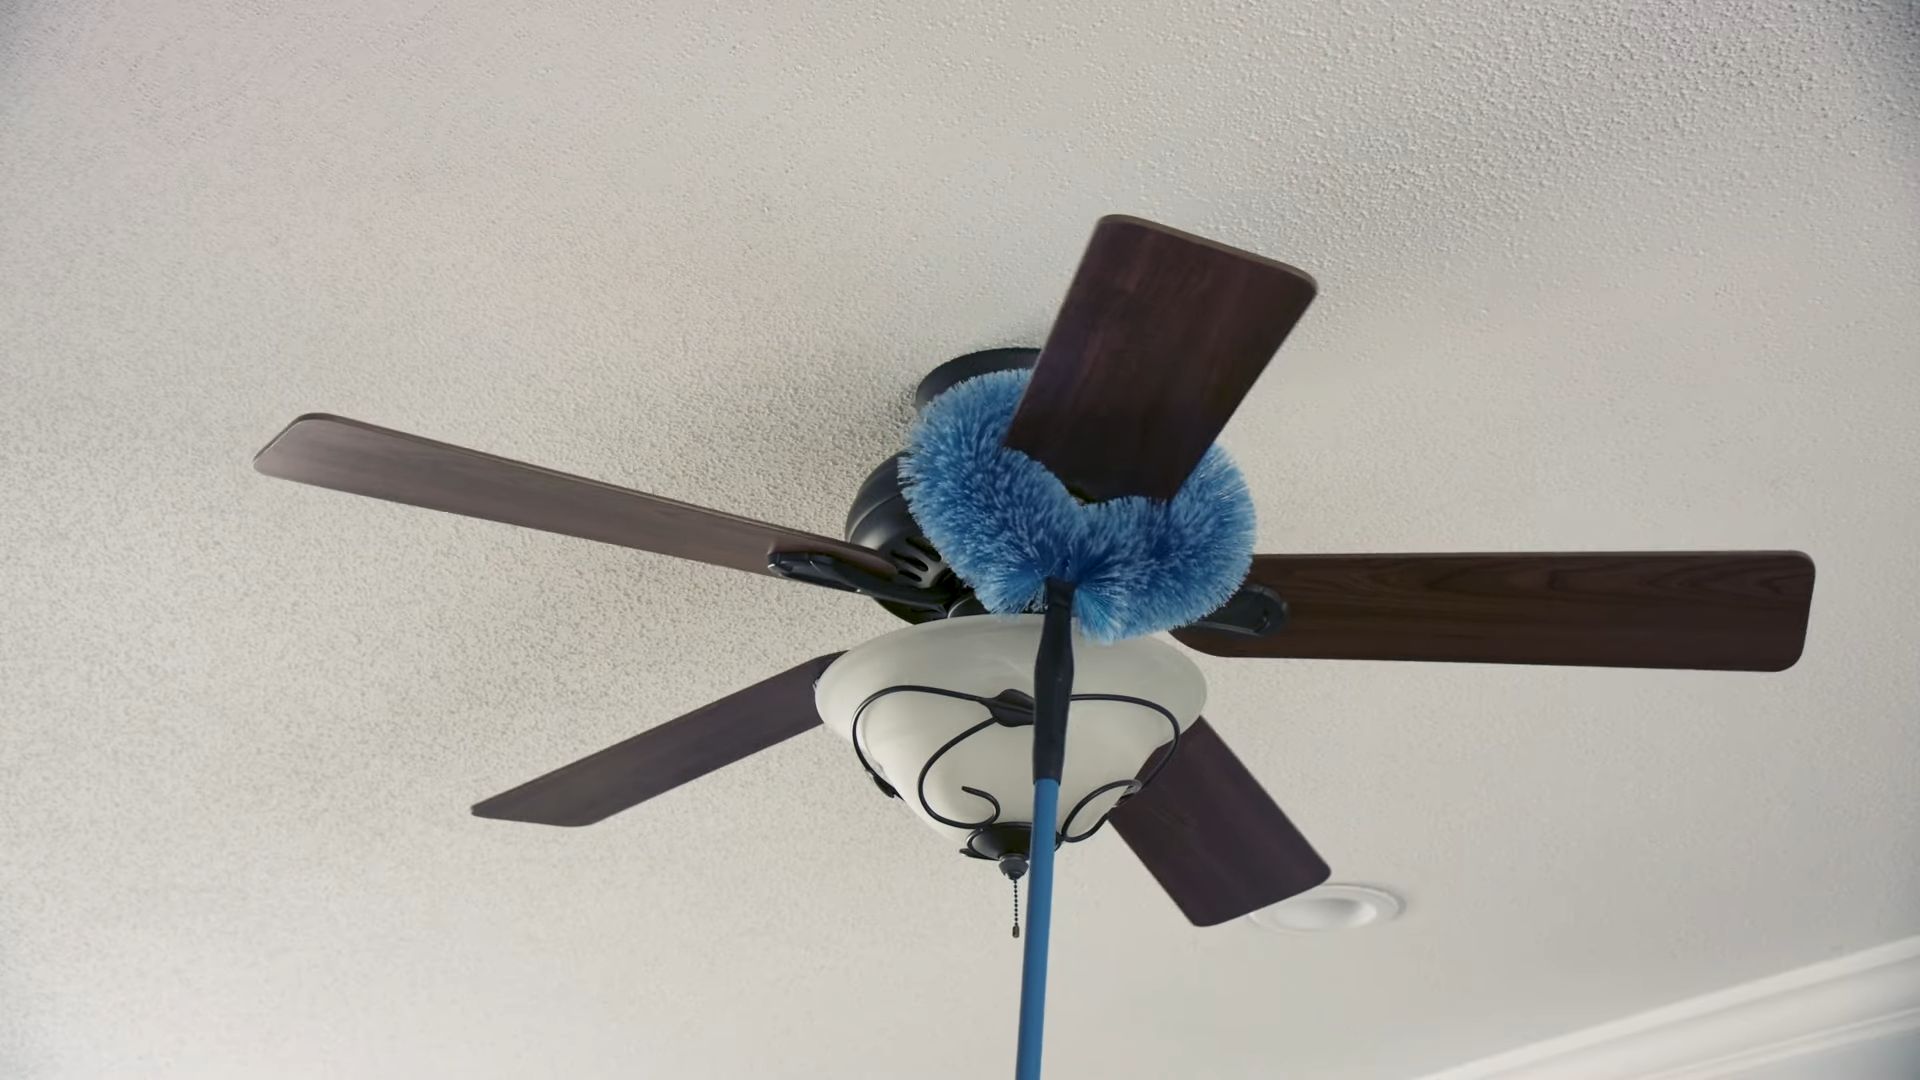
* Use a Telescoping Duster: If you have high ceilings, a telescoping duster can be a lifesaver. It will allow you to reach the fan without having to climb a ladder.
* Consider a Ceiling Fan Cleaning Tool: There are specialized ceiling fan cleaning tools available that are designed to make the job easier. These tools typically have a long handle and a microfiber cleaning pad that conforms to the shape of the fan blades.
* Don’t Forget the Light Fixture: While you’re cleaning the fan, don’t forget to clean the light fixture, if your fan has one. Remove the glass shades and wash them with soap and water. Dust the light bulbs with a dry cloth.
* Check the Fan’s Balance: After cleaning your ceiling fan, check to see if it’s still balanced. If it’s wobbling, you may need to tighten the screws that hold the blades in place or use a balancing kit.
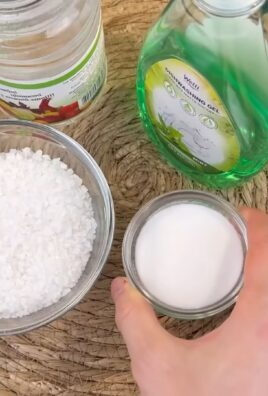
* Vinegar Power: For a natural cleaning solution, mix equal parts white vinegar and water in a spray bottle. Vinegar is a great degreaser and disinfectant.
* Essential Oil Boost: Add a few drops of your favorite essential oil to your cleaning solution for a fresh, clean scent. Lemon, lavender, and eucalyptus are all great choices.
* Protect Your Floors: Before you start cleaning, cover your floors with a drop cloth or old sheet to protect them from dust and debris.
* Work in Good Lighting: Make sure you have plenty of light so you can see what you’re doing. A headlamp can be helpful if you’re working in a dimly lit room.
* Take Breaks: Cleaning a ceiling fan can be tiring, especially if you have multiple fans to clean. Take breaks as needed to avoid getting fatigued.
Why This Method Works So Well
The pillowcase method is so effective because it traps the dust instead of just spreading it around. The fabric of the pillowcase acts like a magnet, attracting and holding onto the dust particles. This prevents the dust from falling onto your furniture and creating a bigger mess. Plus, it’s a quick and easy way to clean your ceiling fan without having to use harsh chemicals or specialized equipment.
So there you have it! A simple, effective, and mess-free way to clean your ceiling fan. Give it a try, and I promise you’ll be amazed at how easy it is to get your fan sparkling clean. Happy cleaning!
Conclusion
So, there you have it! Cleaning your ceiling fan doesn’t have to be a dreaded chore. This simple, yet incredibly effective, DIY trick transforms the task from a dusty battle into a breeze. Forget precariously balancing on ladders with spray bottles and cloths that just smear the grime around. This method is not only faster and easier, but it also contains the dust, preventing it from raining down on your furniture and floors.
Why is this a must-try? Because it saves you time, effort, and potentially a whole lot of sneezing! It’s a game-changer for anyone who values a clean home but doesn’t want to spend hours achieving it. Plus, it’s incredibly satisfying to see all that accumulated dust trapped inside the pillowcase, knowing it’s not floating around in your air.
Looking to customize this cleaning hack? Consider these variations:
* Scented Cleaning: Add a few drops of your favorite essential oil (like lavender or lemon) to a damp cloth and wipe down the blades after the initial dust removal. This will leave your room smelling fresh and clean.
* Microfiber Magic: While a pillowcase works wonders, a microfiber cloth pillowcase takes it to the next level. The ultra-fine fibers of microfiber are even more effective at trapping dust and grime.
* Extendable Reach: If your ceiling fan is particularly high, consider using a pillowcase attached to an extendable pole or duster. This will allow you to reach the blades safely and easily without needing a ladder.
* Deep Cleaning: For fans with stubborn grime or sticky residue, pre-treat the blades with a gentle cleaning solution (like a mixture of water and vinegar) before using the pillowcase method. Let the solution sit for a few minutes to loosen the dirt, then proceed as usual.
* Seasonal Cleaning: Make this DIY ceiling fan cleaning trick a part of your seasonal cleaning routine. Cleaning your fan regularly will prevent dust buildup and keep your home air cleaner.
We are confident that once you try this DIY ceiling fan cleaning trick, you’ll never go back to your old methods. It’s efficient, effective, and surprisingly enjoyable. We highly encourage you to give it a try and experience the difference for yourself.
But don’t just take our word for it! We want to hear about your experiences. Did this trick work for you? Did you try any of the variations? Share your tips, tricks, and photos in the comments below. Let’s create a community of clean ceiling fan enthusiasts! Your feedback will help others discover the joy of a dust-free home. So go ahead, grab a pillowcase, and get ready to say goodbye to dusty ceiling fans forever! This is the easiest way to clean ceiling fan fast.
FAQ
Q: Will this DIY trick work on all types of ceiling fans?
A: Yes, this method is generally effective on most types of ceiling fans, regardless of the blade material (wood, metal, plastic, etc.) or style. However, if your fan has intricate details or delicate components, exercise extra caution and use a gentle touch. For fans with fabric blades, you may want to test the method on a small, inconspicuous area first to ensure the fabric doesn’t get damaged.
Q: What kind of pillowcase should I use?
A: A standard cotton pillowcase works perfectly well for this DIY trick. However, as mentioned earlier, a microfiber pillowcase can be even more effective at trapping dust. Avoid using pillowcases with embellishments or rough textures that could scratch the fan blades. An old pillowcase that you don’t mind getting dusty is ideal.
Q: How often should I clean my ceiling fan using this method?
A: The frequency of cleaning depends on several factors, including the location of your home (e.g., near a busy road or construction site), the presence of pets, and your personal tolerance for dust. As a general guideline, cleaning your ceiling fan every 1-3 months is recommended. If you notice significant dust buildup, clean it more frequently.
Q: Is it safe to use cleaning solutions on the fan blades?
A: Yes, you can use cleaning solutions on the fan blades, but it’s important to choose gentle, non-abrasive products. A mixture of water and vinegar is a safe and effective option. Avoid using harsh chemicals or solvents that could damage the fan’s finish. Always dampen the cloth or pillowcase with the cleaning solution rather than spraying it directly onto the fan.
Q: What if the dust is really caked on and difficult to remove?
A: If the dust is heavily caked on, you may need to pre-treat the blades with a cleaning solution and let it sit for a few minutes to loosen the dirt. You can also use a soft brush or sponge to gently scrub the blades before using the pillowcase method. For stubborn grime, try using a slightly stronger cleaning solution, but always test it on a small, inconspicuous area first.
Q: Can I use this method to clean other dusty surfaces?
A: While this trick is specifically designed for cleaning ceiling fans, the principle of using a pillowcase to trap dust can be applied to other hard-to-reach or delicate surfaces. For example, you could use a smaller pillowcase or cloth to clean light fixtures, shelves, or window blinds. Just be sure to adjust the technique and cleaning solution as needed for the specific surface.
Q: What about the motor housing of the ceiling fan? How do I clean that?
A: The motor housing can be cleaned with a separate, clean cloth dampened with a mild cleaning solution. Be sure to wring out the cloth well to avoid getting water inside the motor. Gently wipe down the housing to remove dust and grime. You can also use a vacuum cleaner with a brush attachment to remove dust from the vents. Always turn off the power to the fan before cleaning the motor housing.
Q: Is it necessary to wear a mask while cleaning the ceiling fan?
A: Wearing a mask is highly recommended, especially if you are sensitive to dust or have allergies. Cleaning a dusty ceiling fan can release a significant amount of dust particles into the air, which can irritate your respiratory system. A simple dust mask or respirator will help protect you from inhaling these particles.
Q: What should I do if I accidentally damage the fan while cleaning it?
A: If you accidentally damage the fan while cleaning it, such as scratching the blades or loosening a screw, stop immediately and assess the damage. If the damage is minor, you may be able to repair it yourself with the appropriate tools and materials. However, if the damage is significant or affects the fan’s functionality, it’s best to consult a qualified electrician or ceiling fan repair technician. Never operate a damaged ceiling fan, as it could be a safety hazard.
Leave a Comment