

Toilet limescale removal – it’s a chore we all dread, isn’t it? But what if I told you that banishing those stubborn stains could be easier and cheaper than you ever imagined? Forget harsh chemicals and expensive cleaners! This DIY guide is packed with simple, effective tricks to restore your toilet bowl to its sparkling glory, using ingredients you probably already have in your pantry.
For centuries, keeping our homes clean has been a sign of health and well-being. While modern cleaning products are relatively new, the desire to maintain a hygienic living space is deeply rooted in human history. Our ancestors used natural remedies like vinegar and lemon juice – the very ingredients we’ll be harnessing today! Think of it as a modern twist on age-old wisdom.
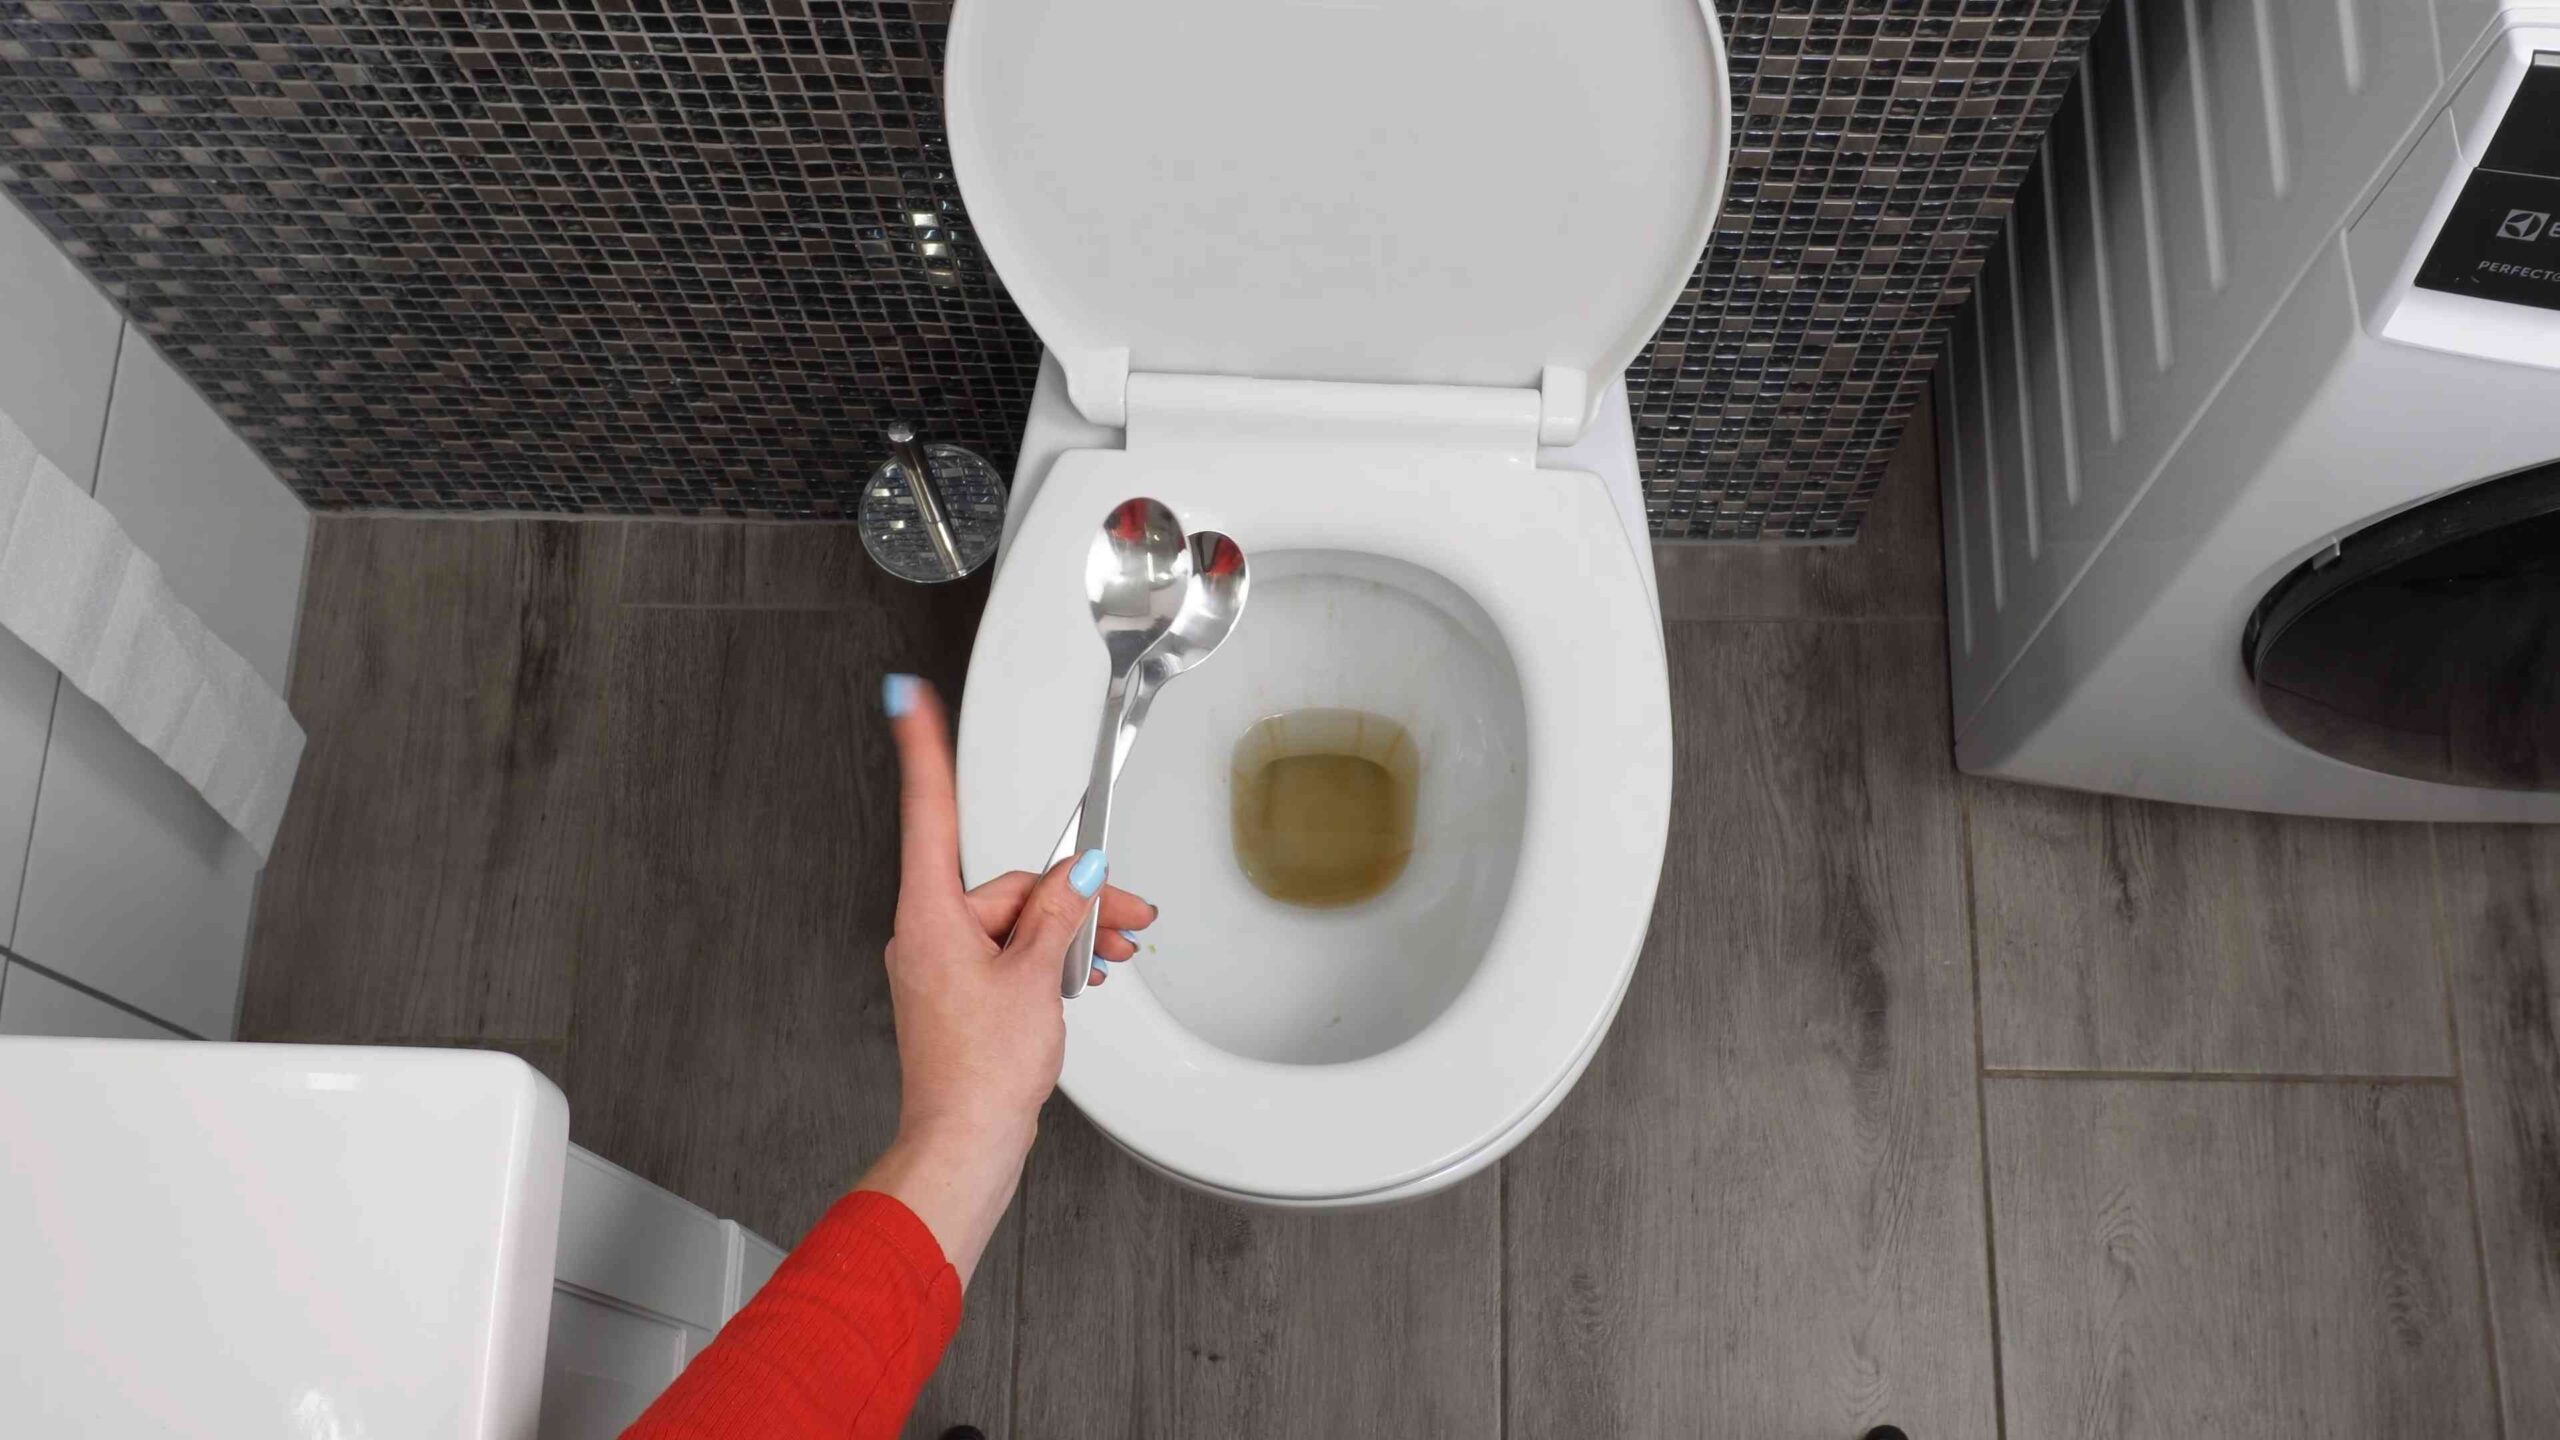
Let’s face it, limescale isn’t just unsightly; it can also harbor bacteria and affect the efficiency of your toilet. Nobody wants that! That’s why mastering effective toilet limescale removal is so important. I’m going to share my favorite DIY methods that are not only budget-friendly but also gentler on the environment. So, ditch the harsh chemicals and get ready to say goodbye to limescale for good!
DIY Toilet Limescale Removal: My Tried-and-True Methods
Limescale in the toilet – it’s the bane of every homeowner’s existence! That crusty, unsightly buildup not only looks gross but can also affect your toilet’s flushing efficiency. But don’t despair! You don’t need harsh chemicals or expensive plumbers to tackle this problem. I’ve battled limescale for years, and I’m here to share my favorite DIY methods that are effective, affordable, and surprisingly easy. Let’s get that toilet sparkling again!
Understanding Limescale
Before we dive into the methods, let’s quickly understand what we’re dealing with. Limescale is primarily calcium carbonate, deposited by hard water. Over time, this mineral buildup hardens and clings to the toilet bowl, especially around the water line and in the jets. The key to removing it is using acidic solutions that can dissolve the calcium carbonate.
Method 1: The Vinegar and Baking Soda Powerhouse
This is my go-to method for tackling moderate limescale. It’s safe, readily available, and surprisingly effective.
What you’ll need:
* White vinegar (at least 1 gallon)
* Baking soda (1 cup)
* Toilet brush
* Rubber gloves (optional, but recommended)
* Old towel or rags
Step-by-step instructions:
1. Turn off the water supply: Locate the shut-off valve behind the toilet (usually near the floor) and turn it clockwise to stop the water flow. This prevents the toilet from refilling during the process.
2. Flush the toilet: Flush the toilet to empty the bowl as much as possible.
3. Pour in the vinegar: Slowly pour about half a gallon of white vinegar into the toilet bowl, ensuring it covers the limescale buildup. If the limescale is particularly bad around the rim jets, try to direct some vinegar into those areas.
4. Let it soak (the longer, the better!): This is crucial! The vinegar needs time to work its magic. I recommend letting it soak for at least 4 hours, but ideally overnight. The longer it soaks, the more the vinegar will dissolve the limescale.
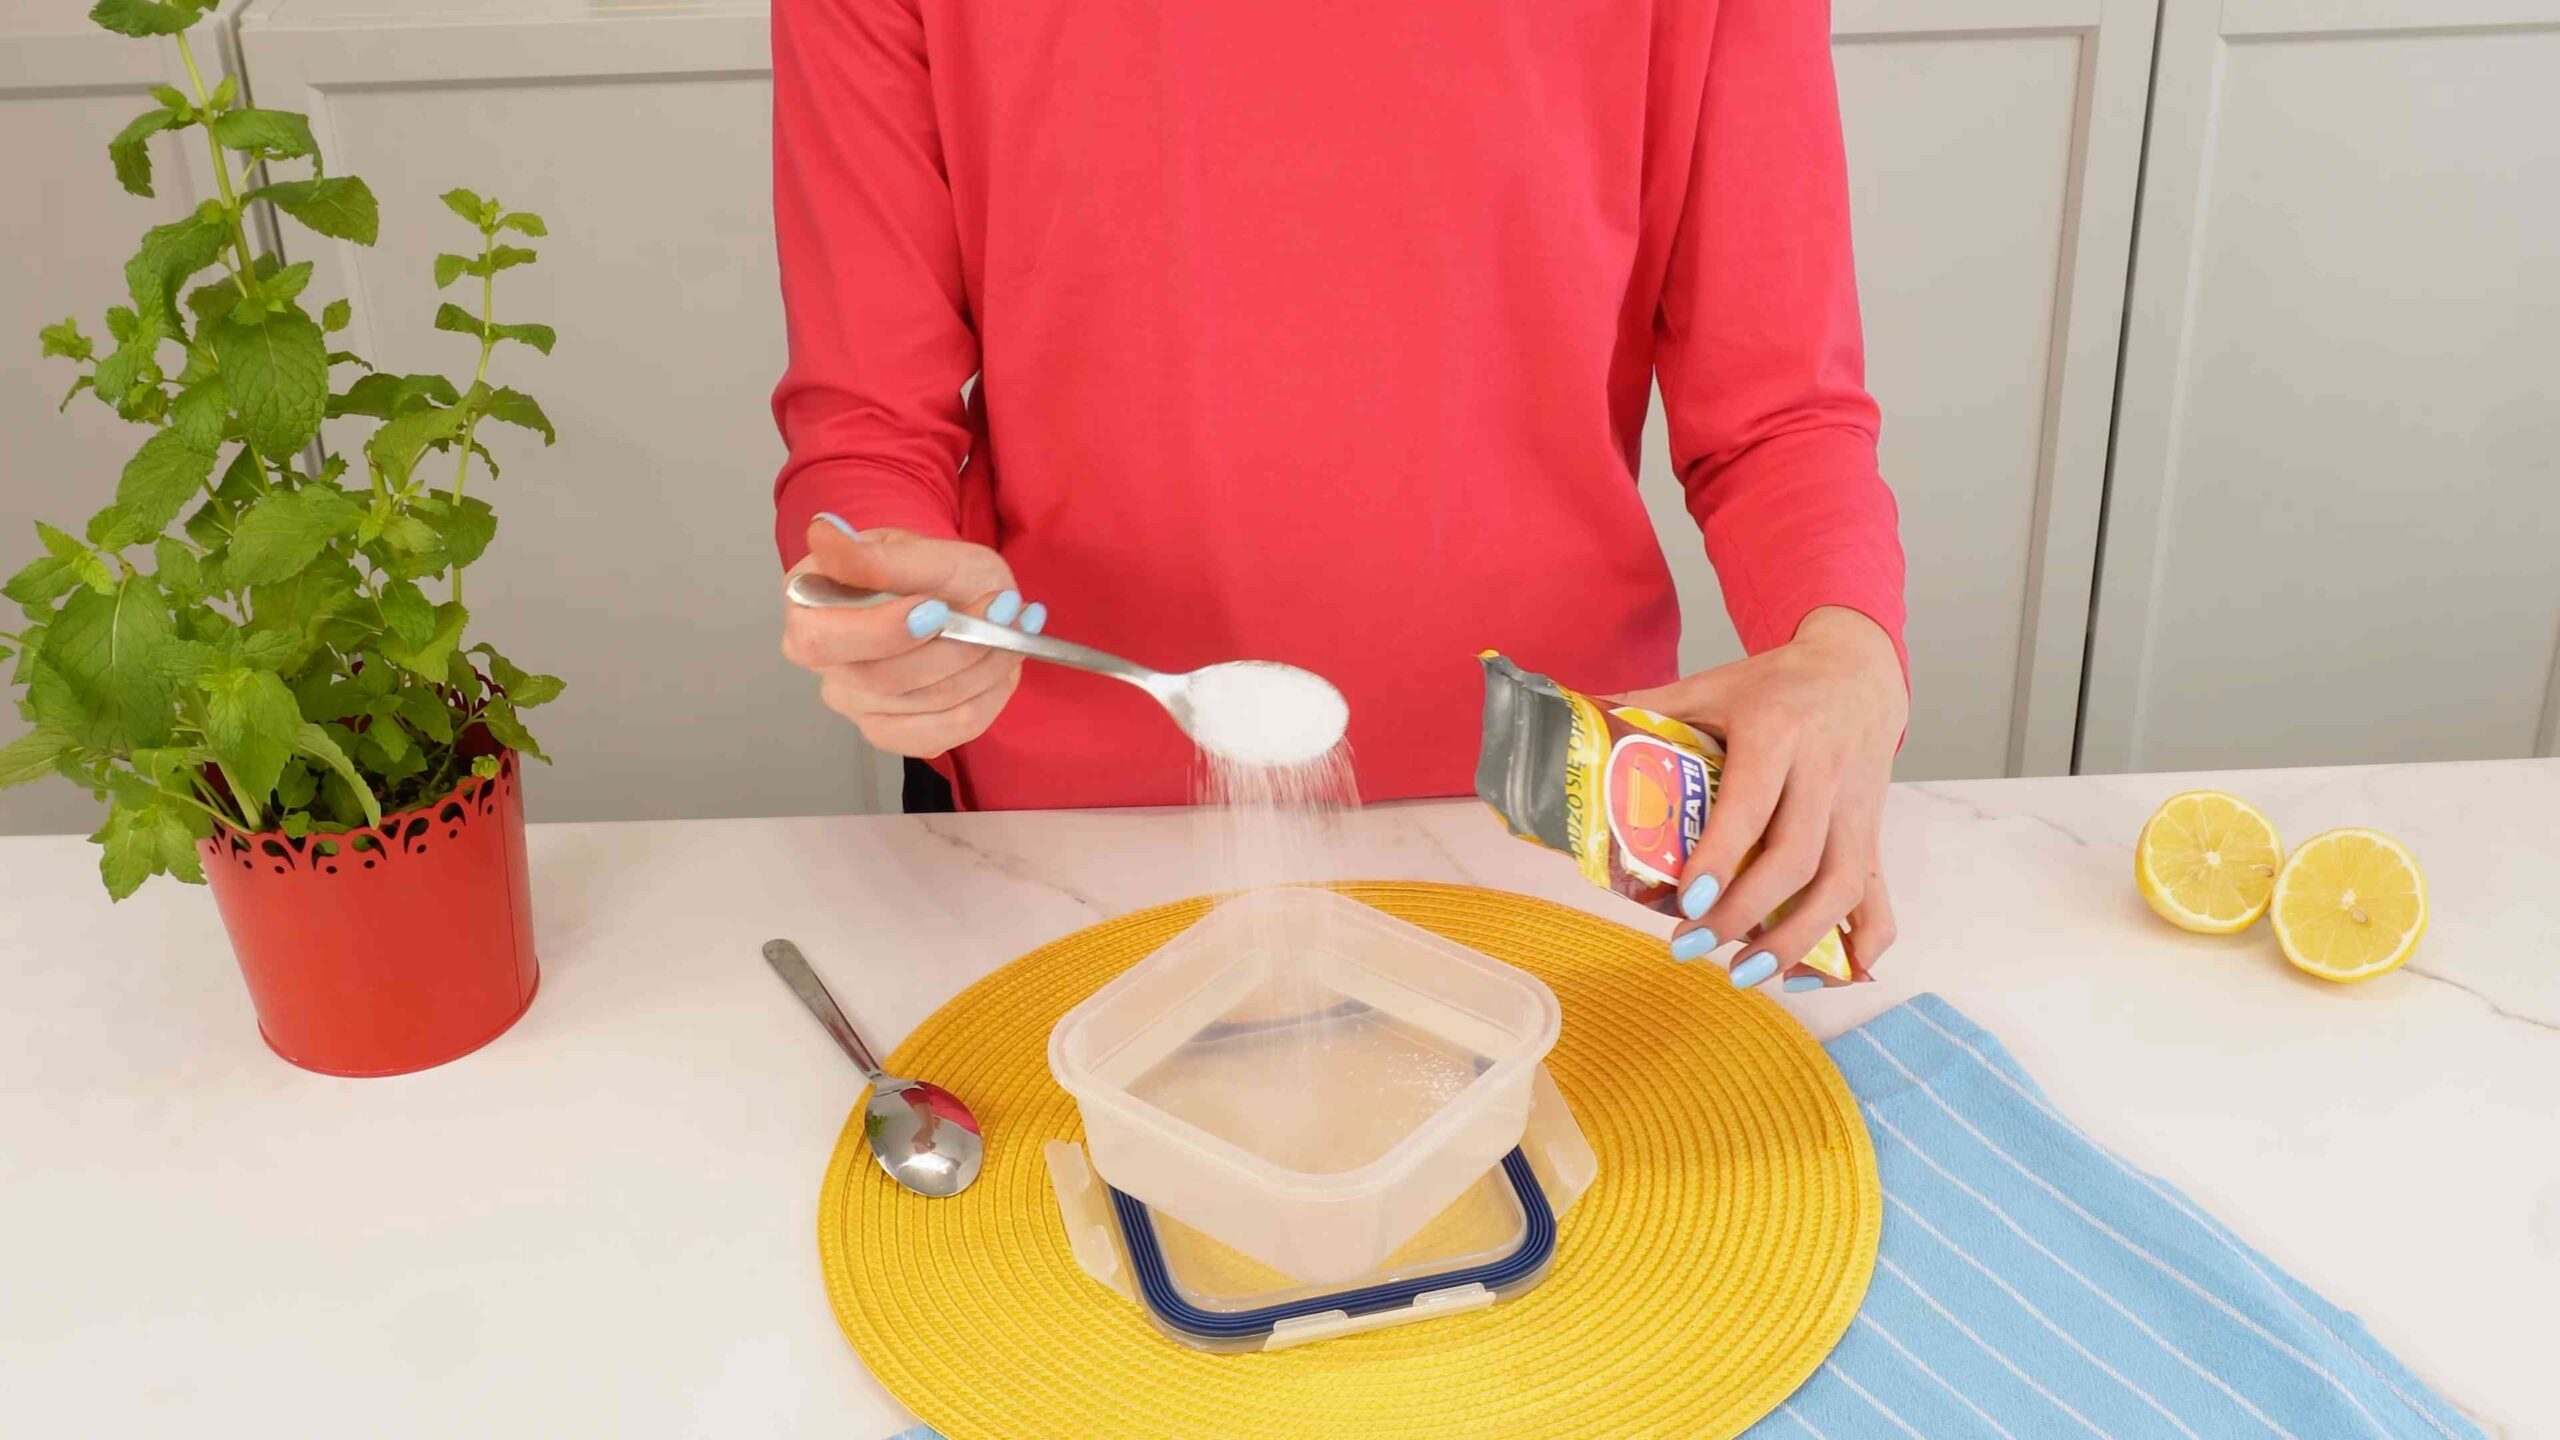
5. Add the baking soda: After the soaking period, sprinkle about 1 cup of baking soda into the vinegar-filled bowl. You’ll notice a fizzing reaction – this is good! It helps to loosen the limescale further.
6. Scrub vigorously: Grab your toilet brush and scrub the bowl thoroughly, paying extra attention to the areas with limescale buildup. The baking soda acts as a mild abrasive, helping to remove the softened limescale. Don’t be afraid to put some elbow grease into it!
7. Flush and repeat (if necessary): Turn the water supply back on and flush the toilet. Inspect the bowl to see if any limescale remains. If so, repeat steps 3-6. Sometimes, stubborn limescale requires a second treatment.
8. Wipe down the exterior: While you’re at it, wipe down the exterior of the toilet with a damp cloth and a mild cleaner to remove any drips or spills.
Method 2: Citric Acid – The Heavy-Duty Solution
For really tough limescale that just won’t budge, citric acid is my secret weapon. It’s a stronger acid than vinegar, so it’s more effective at dissolving stubborn mineral deposits. You can find citric acid powder in the baking aisle of most grocery stores or online.
What you’ll need:
* Citric acid powder (1/2 cup to 1 cup, depending on the severity of the limescale)
* Hot water (enough to fill the toilet bowl)
* Toilet brush
* Rubber gloves (essential!)
* Eye protection (recommended)
* Old towel or rags
Step-by-step instructions:
1. Safety first!: Put on your rubber gloves and eye protection. Citric acid can be irritating to the skin and eyes, so it’s important to protect yourself.
2. Turn off the water supply and flush: Just like with the vinegar method, turn off the water supply and flush the toilet to empty the bowl.
3. Pour in the citric acid: Pour the citric acid powder into the toilet bowl. Start with 1/2 cup and increase to 1 cup if the limescale is particularly thick.
4. Add hot water: Slowly pour hot (but not boiling) water into the bowl, filling it to a level that covers the limescale. The hot water helps to activate the citric acid.
5. Let it soak (overnight is best): Allow the citric acid solution to soak for at least 8 hours, or preferably overnight. This gives the acid ample time to dissolve the limescale.
6. Scrub thoroughly: After the soaking period, scrub the bowl vigorously with your toilet brush. You should notice the limescale starting to loosen and flake off.
7. Flush and inspect: Turn the water supply back on and flush the toilet. Check for any remaining limescale.
8. Repeat if necessary: If some limescale persists, repeat steps 3-7. For extremely stubborn deposits, you might need to use a pumice stone (see Method 4) after the citric acid treatment.
9. Rinse and wipe: Give the toilet bowl a final rinse and wipe down the exterior.
Method 3: Cola – The Surprisingly Effective Trick
Believe it or not, cola (like Coca-Cola or Pepsi) can actually help remove limescale! The phosphoric acid in cola acts as a mild cleaning agent. This method is best for lighter limescale buildup.
What you’ll need:
* 2-liter bottle of cola (regular, not diet)
* Toilet brush
Step-by-step instructions:
1. Pour in the cola: Pour the entire 2-liter bottle of cola into the toilet bowl, making sure to cover the limescale.
2. Let it sit (at least 1 hour): Allow the cola to sit in the bowl for at least 1 hour, or preferably overnight.
3. Scrub and flush: After the soaking period, scrub the bowl with your toilet brush and flush the toilet.
4. Repeat if needed: If the limescale is still visible, repeat the process.
Method 4: Pumice Stone – The Manual Approach
For those stubborn, hardened limescale deposits that refuse to budge with chemical treatments, a pumice stone can be a lifesaver. However, use it with caution, as it can scratch the porcelain if you’re not careful.
What you’ll need:
* Pumice stone (specifically designed for cleaning toilets)
* Water
* Rubber gloves
* Toilet brush
Step-by-step instructions:
1. Wet the pumice stone: Thoroughly wet the pumice stone with water. This helps to lubricate it and prevent scratching.
2. Gently rub the limescale: Gently rub the pumice stone over the limescale deposits, using a circular motion. Apply light pressure and avoid pressing too hard.
3. Rinse frequently: Rinse the pumice stone and the toilet bowl frequently with water to remove any debris.
4. Check for scratches: Periodically check the porcelain for any scratches. If you notice any, reduce the pressure or stop using the pumice stone altogether.
5. Flush and clean: Once you’ve removed the limescale, flush the toilet and clean the bowl with your toilet brush.
Important Note: Always test the pumice stone in an inconspicuous area of the toilet bowl first to ensure it doesn’t scratch the porcelain.
Method 5: Commercial Limescale Removers (Use with Caution!)
If all else fails, you can resort to commercial limescale removers. However, I generally prefer the DIY methods because they’re less harsh and more environmentally friendly. If you do choose to use a commercial product, be sure to follow the manufacturer’s instructions carefully and wear appropriate safety gear (gloves, eye protection, and a mask).
Important Considerations:
* Ventilation: Ensure adequate ventilation when using commercial cleaners, as they can release strong fumes.
* Mixing chemicals: Never mix different cleaning products, as this can create dangerous and toxic gases.
* Porcelain compatibility: Check the product label to ensure it’s safe for use on porcelain toilets.
Preventing Future Limescale Buildup
The best way to deal with limescale is to prevent it from forming in the first place. Here are a few tips:
* Flush regularly: Flush the toilet regularly, even if you haven’t used it. This helps to prevent water from sitting in the bowl and depositing minerals.
* Use a toilet bowl cleaner: Use a toilet bowl cleaner regularly to help prevent limescale buildup. Look for cleaners that are specifically designed for hard water.
Conclusion
So, there you have it! Conquering toilet limescale doesn’t require harsh chemicals or expensive professional services. This simple, DIY trick offers a powerful, effective, and eco-friendly solution to a common household problem. We’ve shown you how to harness the power of readily available ingredients to restore your toilet bowl to its sparkling best.
Why is this DIY method a must-try? Because it’s cost-effective, readily accessible, and avoids the harsh chemicals found in many commercial cleaners. You’re not only saving money but also contributing to a healthier home environment by reducing your exposure to potentially harmful substances. Plus, the satisfaction of tackling a cleaning challenge with a simple, natural solution is incredibly rewarding.
But the beauty of this method lies in its adaptability. Feel free to experiment with variations to suit your specific needs and preferences. For instance, if you’re dealing with particularly stubborn limescale, consider letting the solution sit overnight for maximum impact. You could also add a few drops of your favorite essential oil, like tea tree or eucalyptus, for a refreshing scent and added antibacterial properties. Another variation involves using a pumice stone gently after the solution has soaked to scrub away any remaining stubborn deposits. Remember to always test the pumice stone in an inconspicuous area first to ensure it doesn’t scratch the porcelain.
For those with sensitive skin, wearing gloves during the process is always a good idea. And if you have a septic system, double-check that the ingredients you’re using are compatible. While vinegar and baking soda are generally considered safe for septic systems, it’s always best to err on the side of caution.
We’re confident that this DIY toilet limescale removal trick will become your go-to solution for maintaining a clean and hygienic bathroom. It’s a simple, effective, and sustainable way to keep your toilet bowl sparkling without breaking the bank or resorting to harsh chemicals.
Now, it’s your turn! We encourage you to try this DIY method and experience the difference for yourself. Don’t be afraid to experiment with the variations we’ve suggested and find what works best for your specific situation. And most importantly, we want to hear about your results! Share your experiences, tips, and any modifications you’ve made in the comments below. Your feedback will not only help other readers but also contribute to a community of DIY enthusiasts who are passionate about finding simple, effective, and sustainable solutions to everyday problems. Let’s banish toilet limescale together, one sparkling bowl at a time!
Frequently Asked Questions (FAQ)
What exactly is limescale, and why does it form in my toilet?
Limescale is a hard, chalky deposit primarily composed of calcium carbonate. It forms when hard water, which contains dissolved minerals like calcium and magnesium, evaporates and leaves behind these mineral deposits. In toilets, limescale tends to accumulate around the waterline, in the bowl, and in the jets where water flows. The constant exposure to water and the presence of minerals create the perfect environment for limescale to build up over time. Ignoring limescale can lead to reduced flushing efficiency, unsightly stains, and even damage to your toilet’s internal components.
Is vinegar safe to use on all types of toilets?
Generally, vinegar is safe to use on most porcelain toilets. However, it’s always a good idea to exercise caution, especially if you have an older or more delicate toilet. Before applying vinegar to the entire bowl, test it in an inconspicuous area, such as behind the toilet or inside the tank, to ensure it doesn’t cause any discoloration or damage. Avoid using vinegar on toilets with metal parts that are prone to corrosion, as the acidity of vinegar can accelerate the corrosion process. If you’re unsure about the compatibility of vinegar with your toilet, consult the manufacturer’s instructions or contact a plumbing professional.
How long should I let the vinegar and baking soda mixture sit in the toilet bowl?
For optimal results, allow the vinegar and baking soda mixture to sit in the toilet bowl for at least 30 minutes. For more stubborn limescale buildup, you can extend the soaking time to several hours or even overnight. The longer the mixture sits, the more time it has to break down the limescale deposits. If you’re leaving the solution overnight, consider closing the bathroom door and opening a window to ventilate the area, as the vinegar smell can be quite strong.
What if the limescale is really stubborn and doesn’t come off easily?
If you’re dealing with particularly stubborn limescale, there are several steps you can take to enhance the effectiveness of the DIY treatment. First, try increasing the concentration of vinegar in the mixture. You can also add a small amount of dish soap to help the solution cling to the limescale. After the solution has soaked for the recommended time, use a toilet brush or a pumice stone to gently scrub away the remaining deposits. Be careful not to apply too much pressure, as this could scratch the porcelain. For extremely stubborn limescale, you may need to repeat the treatment several times.
Can I use other types of acids besides vinegar for toilet limescale removal?
While vinegar is a popular and effective choice for toilet limescale removal, other mild acids can also be used. Lemon juice, for example, contains citric acid, which can help dissolve limescale. However, it’s important to avoid using strong acids like hydrochloric acid (muriatic acid), as these can damage your toilet and pose a safety hazard. Always dilute any acid before using it and wear appropriate protective gear, such as gloves and eye protection. When in doubt, stick to vinegar or lemon juice, as they are generally safer and more readily available.
How often should I perform this DIY toilet limescale removal treatment?
The frequency of this treatment depends on the hardness of your water and how quickly limescale tends to build up in your toilet. In areas with very hard water, you may need to perform the treatment every few weeks. In areas with softer water, you may only need to do it every few months. As a general rule, it’s best to perform the treatment whenever you notice limescale starting to accumulate in your toilet bowl. Regular maintenance will prevent the limescale from becoming too stubborn and difficult to remove.
Is baking soda necessary, or can I just use vinegar alone?
While vinegar alone can be effective at removing limescale, adding baking soda enhances the cleaning power of the solution. Baking soda is a mild abrasive that helps to scrub away the limescale deposits. When combined with vinegar, it creates a fizzing action that helps to loosen the limescale and make it easier to remove. While you can use vinegar alone, the baking soda adds an extra boost that can make the treatment more effective, especially for stubborn limescale.
Will this DIY method damage my septic system?
Vinegar and baking soda are generally considered safe for septic systems when used in moderation. However, it’s important to avoid using excessive amounts of these ingredients, as they can disrupt the balance of bacteria in your septic tank. If you have a septic system, it’s always a good idea to use natural cleaning products sparingly and to avoid flushing harsh chemicals down the toilet. If you’re concerned about the impact of vinegar and baking soda on your septic system, consult a septic system professional for advice.
What are some preventative measures I can take to reduce limescale buildup in my toilet?
Preventing limescale buildup is always easier than removing it. Here are some preventative measures you can take:
* **Use a water softener:** A water softener removes minerals from your water, reducing the likelihood of limescale formation.
* **Flush regularly:** Regular flushing helps to prevent water from sitting in the bowl and evaporating, which can lead to limescale buildup.
* **Clean your toilet regularly:** Regular cleaning with a mild toilet bowl cleaner can help to prevent limescale from accumulating.
* **Use a toilet bowl cleaner with limescale inhibitors:** Some toilet bowl cleaners contain ingredients that help to prevent limescale from forming.
* **Consider using a toilet tank tablet:** Some toilet tank tablets contain ingredients that help to prevent limescale buildup. However, be sure to choose a tablet that is safe for your septic system, if applicable.
Can I use this method to clean other bathroom fixtures besides the toilet?
Yes, the vinegar and baking soda mixture can also be used to clean other bathroom fixtures that are prone to limescale buildup, such as showerheads, faucets, and sinks. Simply apply the mixture to the affected area, let it sit for a while, and then scrub with a brush or sponge. Be sure to test the solution in an inconspicuous area first to ensure it doesn’t damage the finish of the fixture. For showerheads, you can soak them in a vinegar solution overnight to remove stubborn limescale deposits.


Leave a Comment