

Lipstick stain removal baking soda – sounds like a magic spell, doesn’t it? Well, in a way, it is! We’ve all been there: that perfect shade of red, a little too enthusiastic kiss goodbye, and suddenly your favorite blouse is sporting an unwanted souvenir. Don’t panic! Before you resign that garment to the “wear-only-at-home” pile, let me share a simple, yet incredibly effective DIY trick that has saved countless items from lipstick-stained doom.
The history of using baking soda as a cleaning agent stretches back centuries. Our grandmothers knew its power, and now, we’re rediscovering its versatility for everything from baking to, yes, banishing stubborn stains. Think of it as a natural, gentle warrior against the perils of everyday life.
Why do you need this lipstick stain removal baking soda hack? Because life is too short to worry about ruined clothes! Lipstick stains can be notoriously difficult to remove with conventional methods, often setting deeper into the fabric. This DIY solution is not only cost-effective and readily available, but it’s also gentle on your clothes and the environment. I’m going to show you how to use this simple ingredient to breathe new life into your wardrobe and keep your favorite items looking their best. Let’s get started!
DIY Lipstick Stain Removal with Baking Soda: A Comprehensive Guide
Hey there, fellow DIY enthusiasts! Lipstick stains, am I right? They’re the bane of every fabric’s existence. Whether it’s a rogue swipe on your favorite blouse, a smudge on your car seat, or a full-blown lipstick explosion in your purse, those vibrant pigments can be incredibly stubborn. But don’t despair! Before you resign yourself to throwing away that beloved item, let me share my go-to method for tackling lipstick stains using the power of baking soda. It’s cheap, effective, and you probably already have it in your pantry!
What You’ll Need
Before we dive in, let’s gather our supplies. This is a pretty straightforward process, so the list is short and sweet:
* Baking Soda (the star of the show!)
* Clean, White Cloth or Sponge (avoid colored cloths that might transfer dye)
* Soft-Bristled Brush (an old toothbrush works perfectly)
* Water (tap water is fine)
* Vacuum (for carpets and upholstery)
* Optional: Mild Dish Soap (for extra stubborn stains)
* Optional: Hairdryer (to speed up drying)
Understanding the Enemy: Why Lipstick Stains are Tricky
Lipstick stains are a double whammy because they contain both pigments (the color) and oils or waxes (for texture and staying power). This means we need a solution that can tackle both aspects. Baking soda is fantastic because it’s a mild alkali, which helps to break down the oils and lift the pigments. Plus, its slightly abrasive texture helps to gently scrub away the stain without damaging most fabrics.
Testing, Testing, 1, 2, 3: The Importance of a Spot Test
Before you go all-in, please, please, PLEASE do a spot test! This is crucial, especially on delicate fabrics or items with vibrant colors. Find an inconspicuous area (like an inside seam or a hidden corner) and follow the steps below to see how the fabric reacts to the baking soda paste. If you notice any color fading or damage, stop immediately and consider taking the item to a professional cleaner.
Tackling Lipstick Stains: Step-by-Step Instructions
Okay, now for the fun part! Here’s how I use baking soda to banish those pesky lipstick stains:
1. Blot, Don’t Rub: The first rule of stain removal is to blot, not rub! Rubbing will only spread the stain and grind it deeper into the fibers. Use a clean, white cloth to gently blot up as much of the excess lipstick as possible. Work from the outside of the stain inwards to prevent it from spreading further.
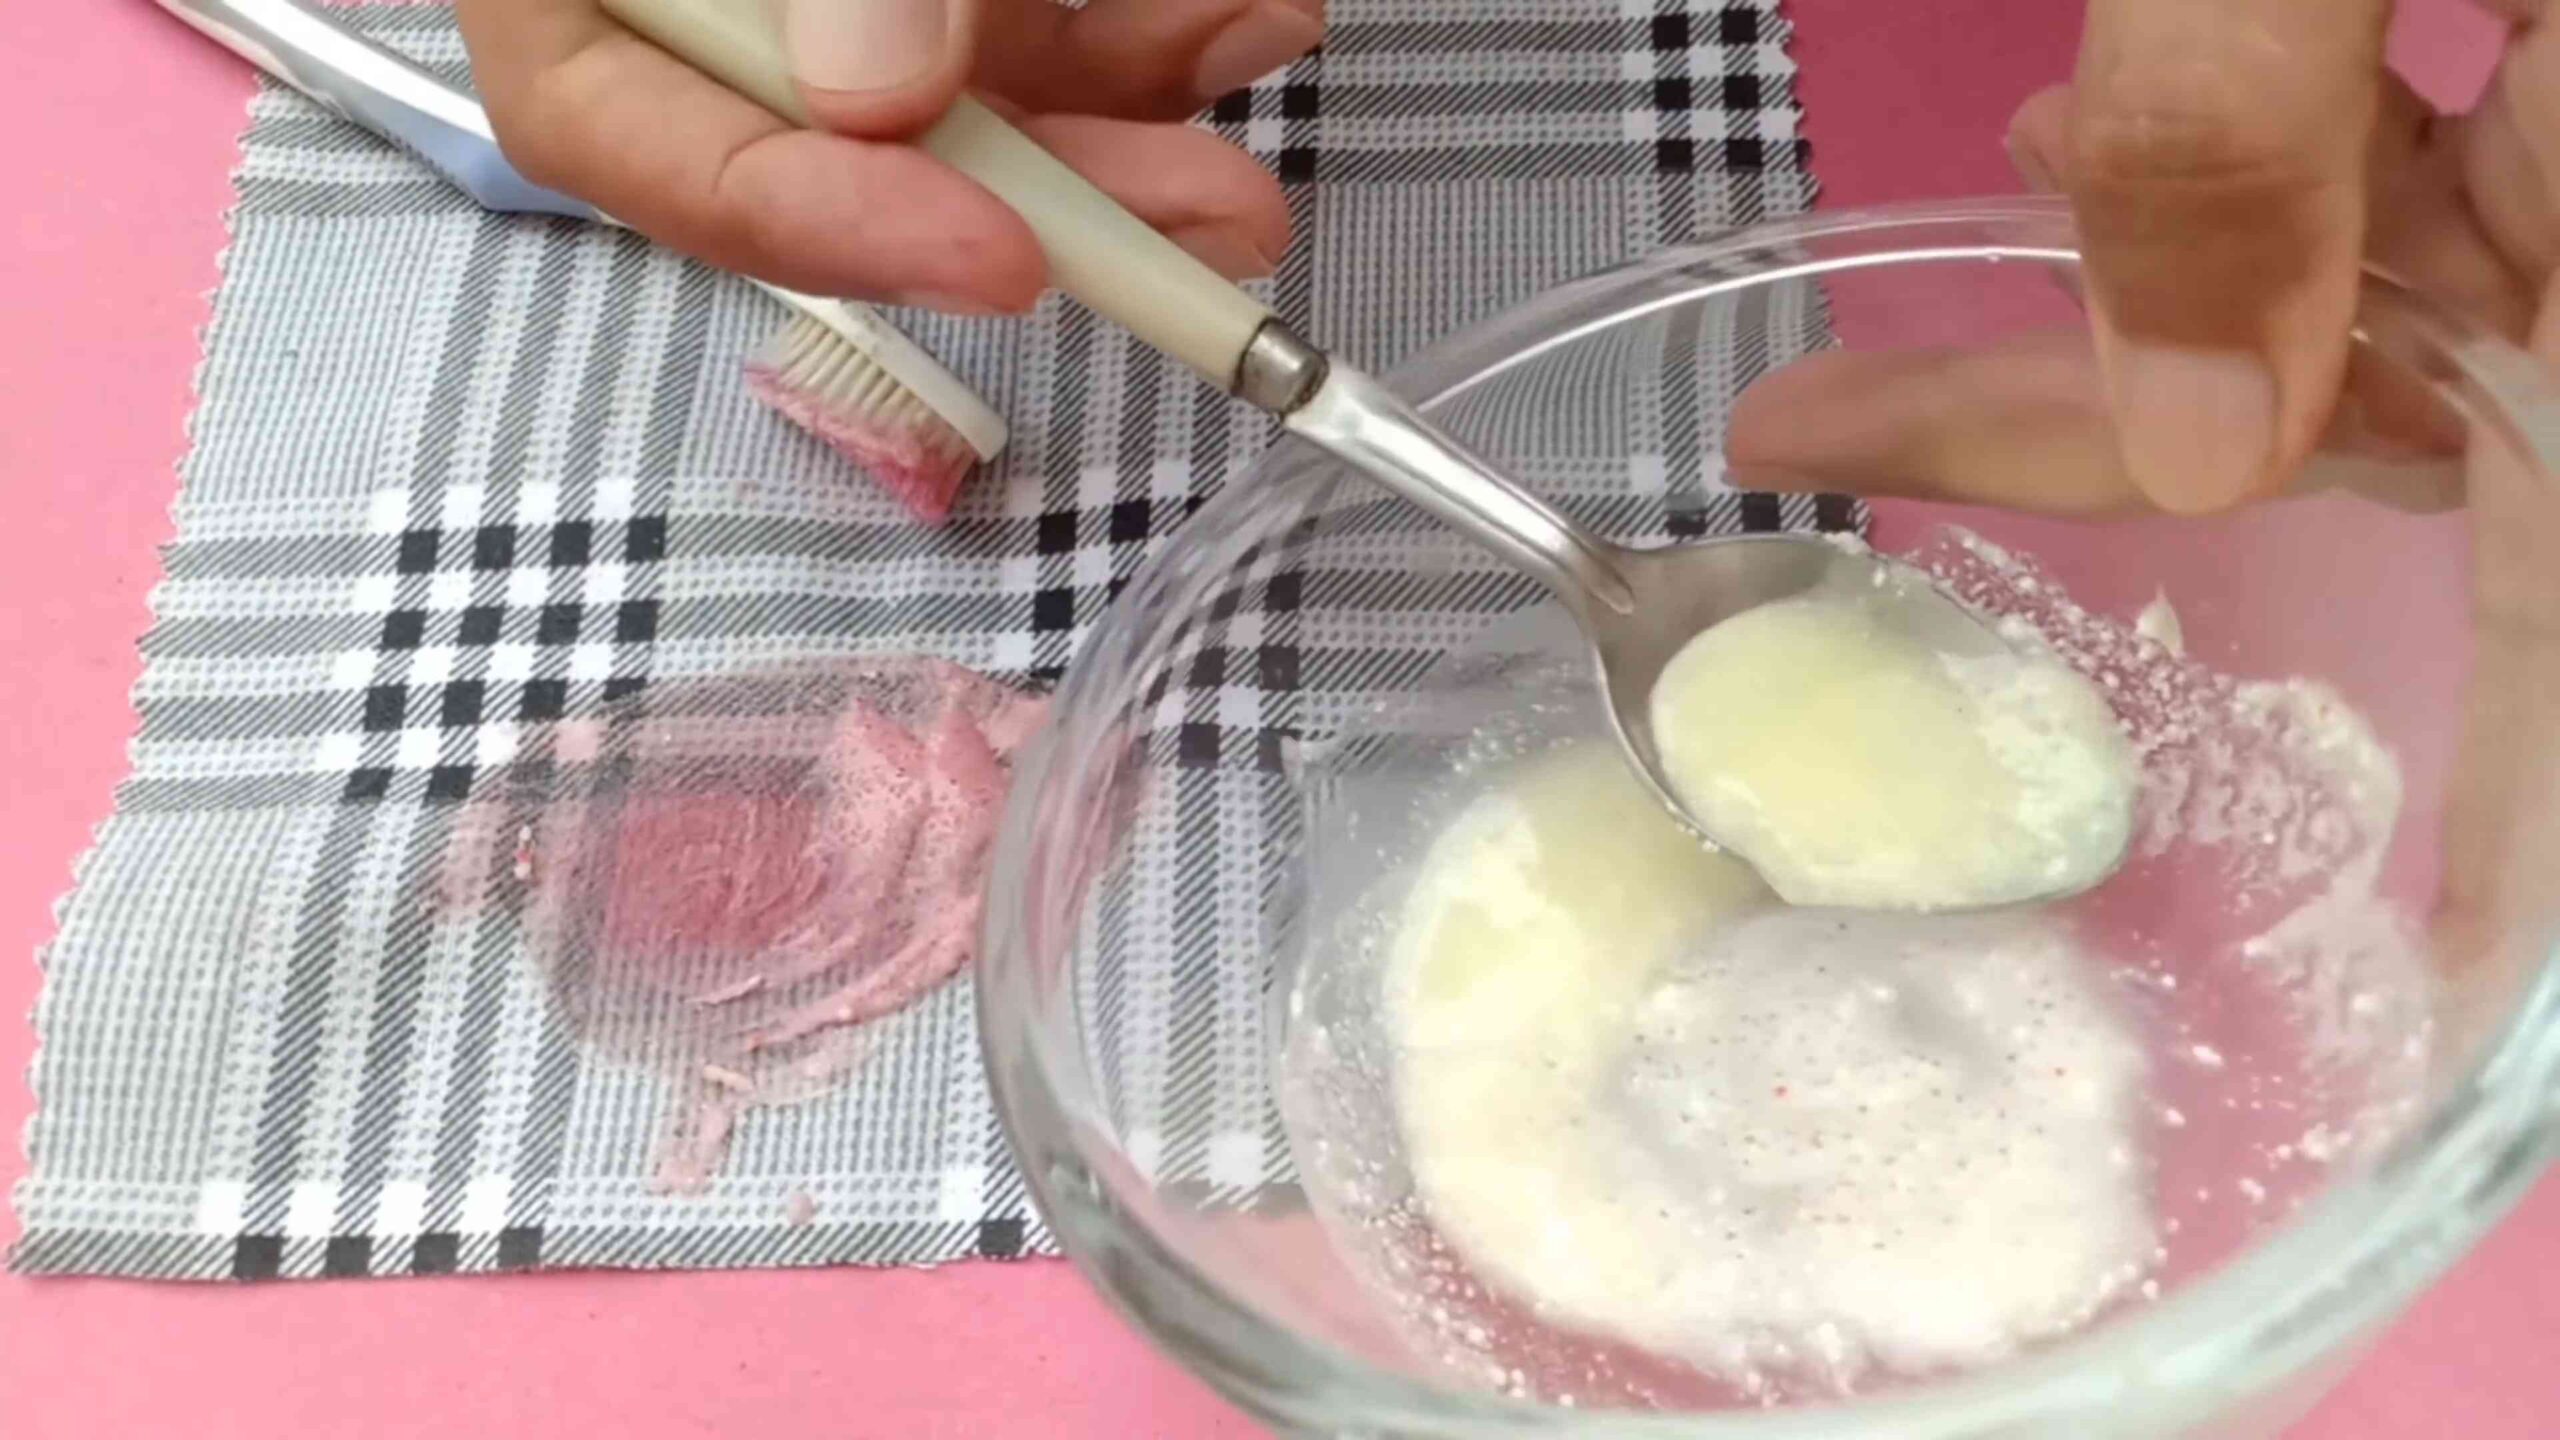
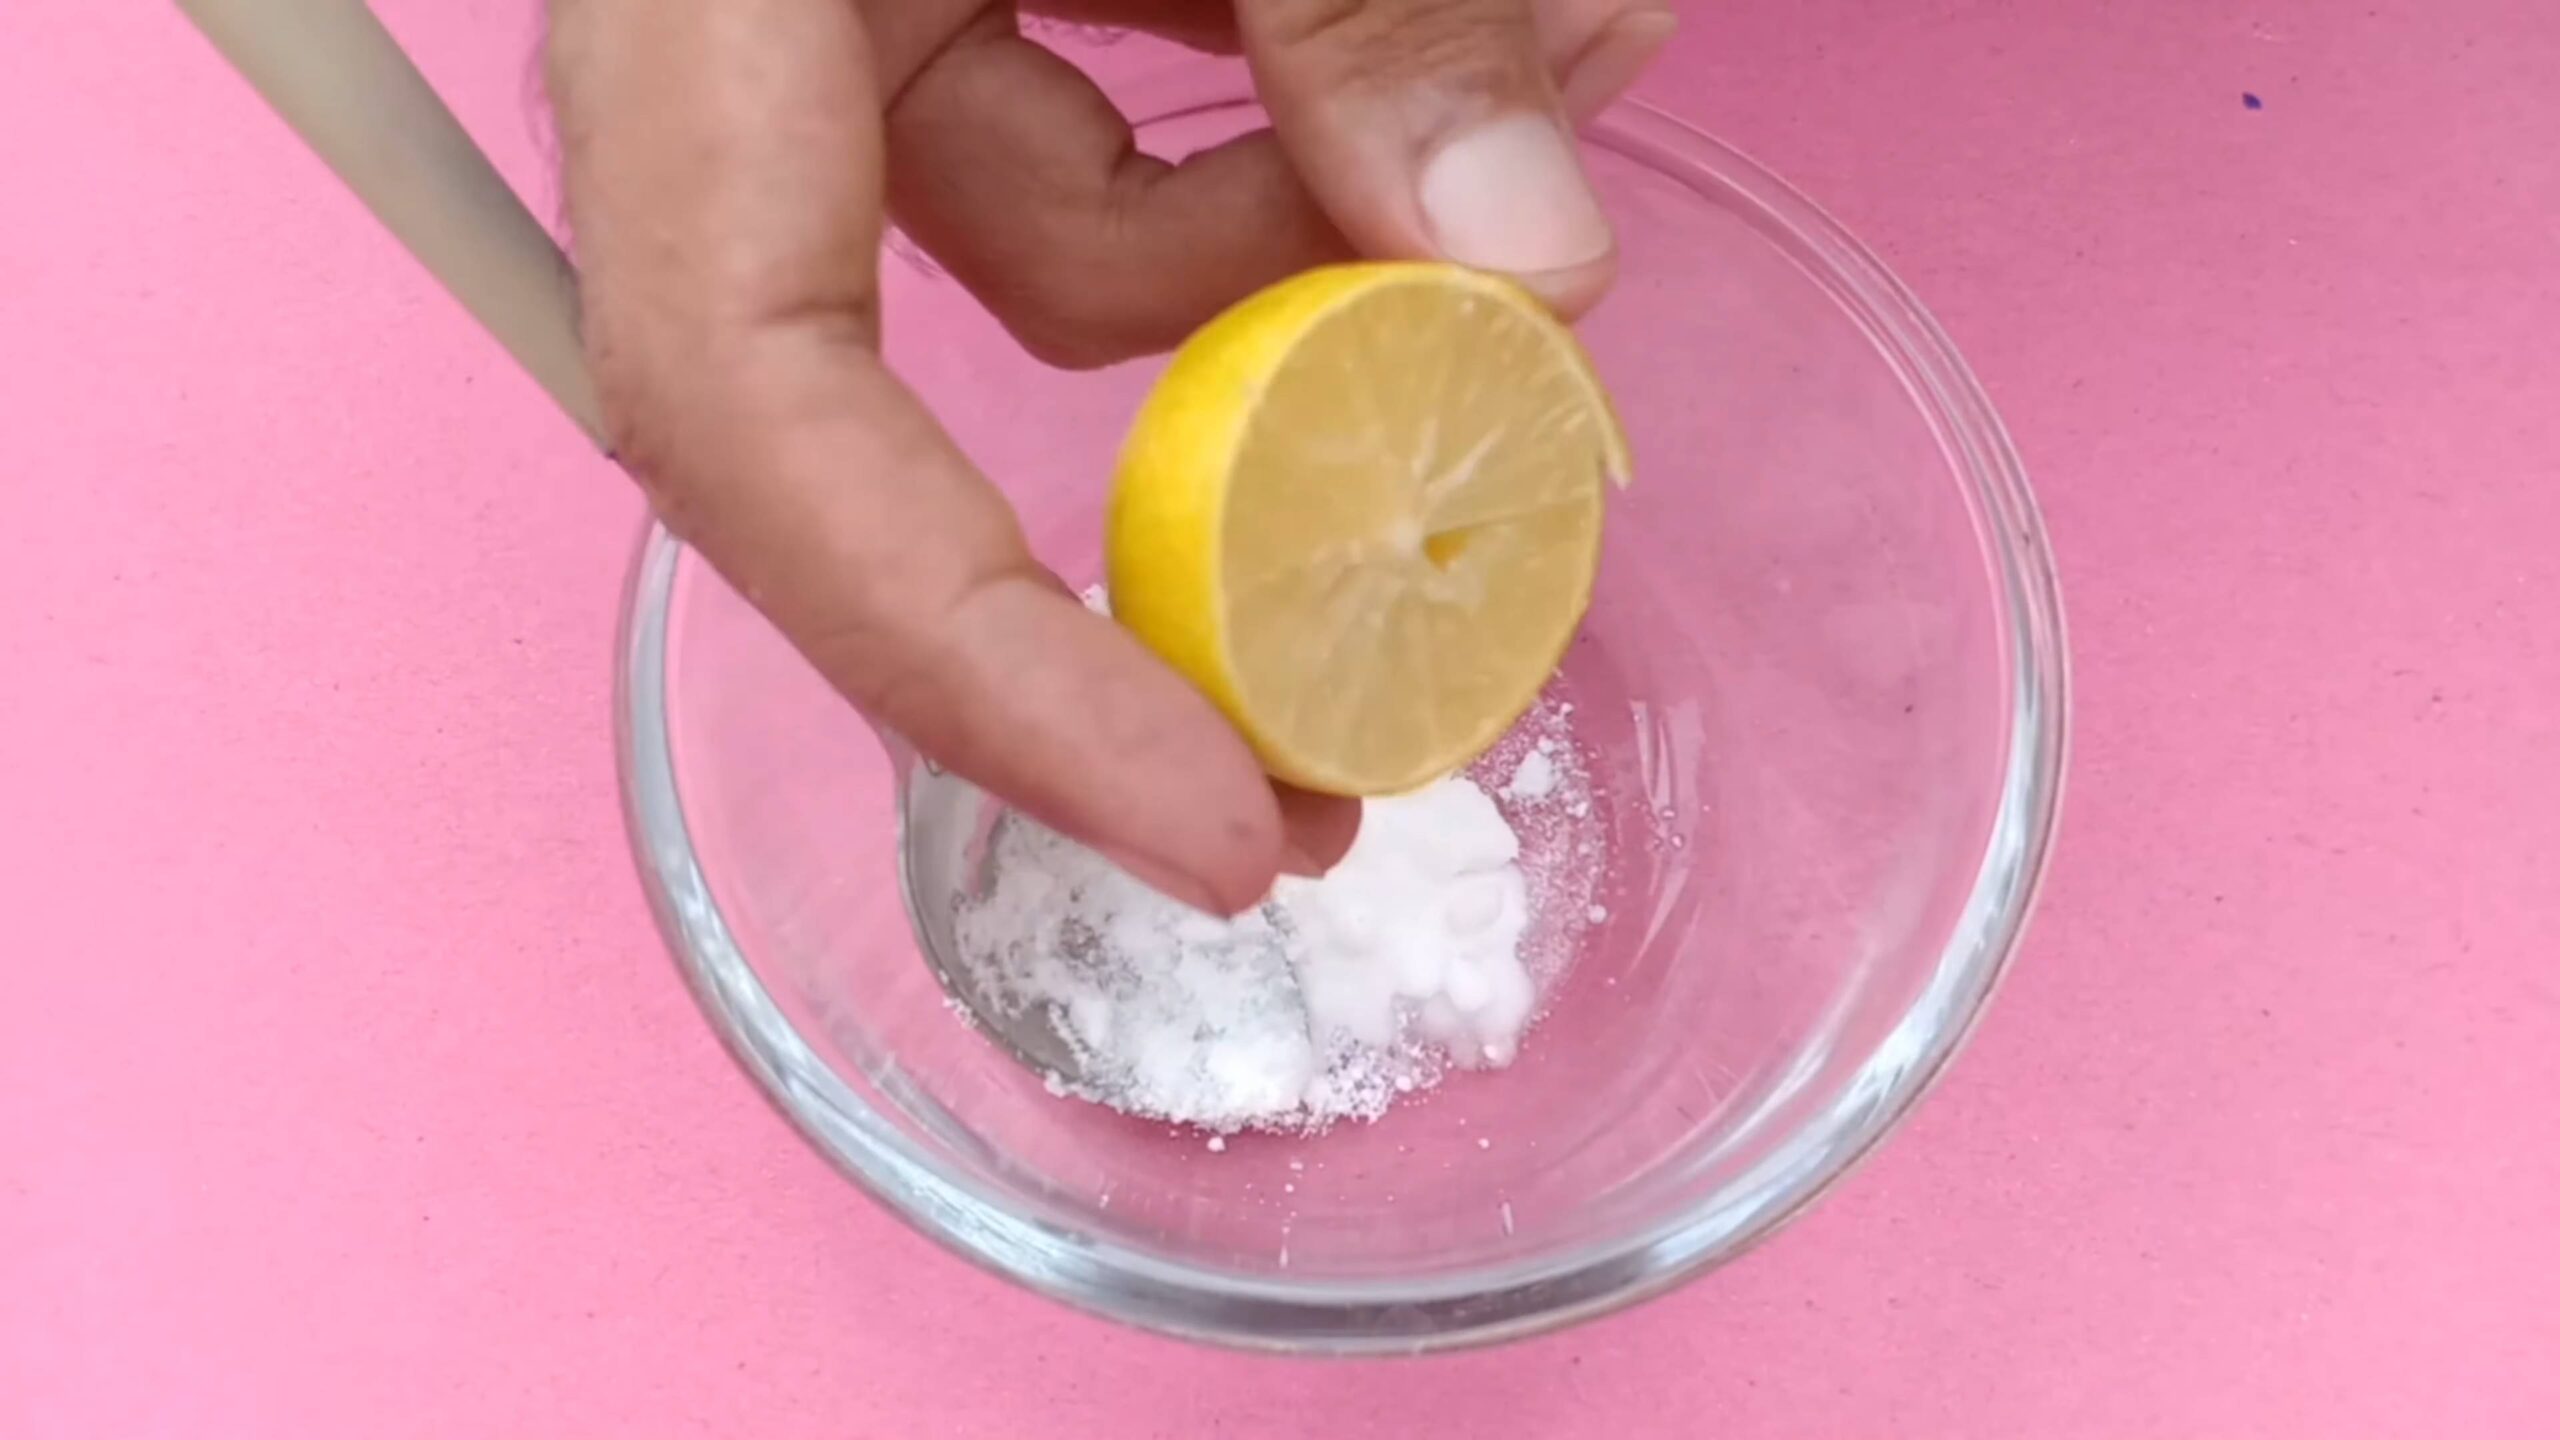
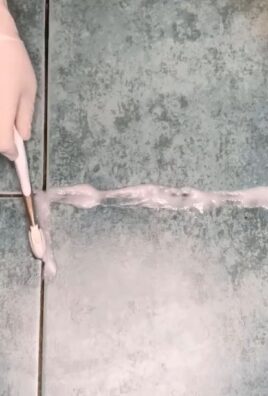
2. Prepare the Baking Soda Paste: In a small bowl, mix baking soda with a little bit of water to form a thick paste. The consistency should be similar to toothpaste. You want it thick enough to stay in place on the stain.
3. Apply the Paste: Using your fingers or a clean spoon, apply a generous amount of the baking soda paste directly onto the lipstick stain. Make sure the entire stain is covered.
4. Gentle Scrubbing (Optional): If the stain is particularly stubborn, you can gently scrub the area with a soft-bristled brush (like an old toothbrush). Use small, circular motions and avoid applying too much pressure. Remember, we want to lift the stain, not damage the fabric.
5. Let it Sit: This is where patience comes in. Allow the baking soda paste to sit on the stain for at least 30 minutes, or even longer for older or more severe stains. I often leave it on for a few hours, or even overnight, for really tough stains. The longer it sits, the more time the baking soda has to absorb the oils and pigments.
6. Rinse or Vacuum: Once the baking soda has had its time to work its magic, it’s time to remove it. For washable fabrics, rinse the area thoroughly with cool water. Make sure to remove all traces of the baking soda paste. For carpets and upholstery, use a vacuum cleaner to remove the dried baking soda. You may need to go over the area several times to ensure it’s completely clean.
7. Inspect and Repeat (If Necessary): After rinsing or vacuuming, inspect the area to see if the stain is gone. If it’s still visible, repeat the process. Sometimes, it takes a few applications to completely remove the stain, especially if it’s an old or particularly stubborn one.
8. Wash as Usual (For Washable Fabrics): Once you’re satisfied that the stain is gone, wash the item as usual, following the care instructions on the garment label. This will help to remove any remaining residue and ensure that the stain doesn’t reappear.
9. Air Dry: Avoid putting the item in the dryer until you’re absolutely sure the stain is gone. The heat from the dryer can set the stain, making it even harder to remove. Instead, air dry the item, preferably in a well-ventilated area. You can use a hairdryer on a low setting to speed up the drying process, but be careful not to overheat the fabric.
Dealing with Stubborn Stains: The Dish Soap Boost
Sometimes, baking soda alone isn’t enough to tackle those super stubborn lipstick stains. In these cases, I like to add a little bit of mild dish soap to the mix. Dish soap is a degreaser, which can help to break down the oily components of the lipstick.
Here’s how to use dish soap in conjunction with baking soda:
1. Pre-Treat with Dish Soap: Before applying the baking soda paste, apply a small amount of mild dish soap directly onto the lipstick stain. Gently rub it in with your fingers or a clean cloth. Let it sit for a few minutes to allow the soap to penetrate the stain.
2. Apply Baking Soda Paste: Follow steps 2-9 above, using the baking soda paste as described. The dish soap will help to loosen the stain, making it easier for the baking soda to absorb it.
Specific Fabric Considerations
While baking soda is generally safe for most fabrics, there are a few things to keep in mind:
* Delicate Fabrics: For delicate fabrics like silk or lace, be extra cautious. Always do a spot test and avoid scrubbing too vigorously. You may also want to dilute the baking soda paste with more water to make it less abrasive.
* Colored Fabrics: While baking soda is generally color-safe, there’s always a risk of fading, especially on brightly colored fabrics. Again, a spot test is crucial.
* Leather and Suede: Baking soda can dry out leather and suede, so it’s best to avoid using it on these materials. Instead, consult a professional leather cleaner.
* Upholstery: When cleaning upholstery, be careful not to over-wet the fabric. Use a damp cloth to rinse the baking soda paste, and then blot the area dry with a clean towel. You can also use a wet/dry vacuum to remove excess moisture.
Preventing Future Lipstick Disasters
Okay, we’ve conquered the stain, but let’s talk prevention! Here are a few tips to help you avoid future lipstick mishaps:
* Secure Your Lipstick: Make sure your lipstick is securely closed and stored in a safe place, away from heat and direct sunlight.
* Be Mindful of Transfer: Be aware of potential transfer when wearing lipstick, especially when eating, drinking, or hugging.
* Carry Stain Remover Wipes: Keep a pack of stain remover wipes in your purse for quick and easy cleanup of minor spills.
* Act Fast: The sooner you treat a lipstick stain, the easier it will be to remove. Don’t let it sit for too long!
Final Thoughts
Lipstick stains can be frustrating, but they don’t have to be the end of the world. With a little bit of baking soda, some elbow grease, and a whole lot of patience, you can banish those pesky stains and keep your favorite items looking their best. Remember to always do a spot test, be gentle with delicate fabrics, and act fast! Happy stain removing!
Conclusion
So, there you have it! This simple yet incredibly effective DIY trick using baking soda for lipstick stain removal is a game-changer. No more panicking over accidental smudges on your favorite clothes, upholstery, or even delicate fabrics. The beauty of this method lies in its accessibility – baking soda is a staple in most households, making it a readily available and cost-effective solution compared to expensive stain removers that might not even deliver the same results.
Why is this a must-try? Because it works! It’s gentle enough for a variety of materials, yet powerful enough to lift even stubborn lipstick pigments. Think of the peace of mind knowing you have a reliable weapon against those inevitable lipstick mishaps. This isn’t just about saving your clothes; it’s about saving time, money, and frustration.
But the magic doesn’t stop there. While baking soda is a powerhouse on its own, you can explore variations to tailor the treatment to specific stain types or fabric sensitivities. For instance, for particularly vibrant or oily lipstick formulas, consider pre-treating the stain with a dab of dish soap before applying the baking soda paste. This helps to break down the oils and further enhance the stain-lifting power. Alternatively, for delicate fabrics like silk or lace, you might want to test the baking soda paste on an inconspicuous area first to ensure it doesn’t cause any discoloration. You can also use a gentler application method, such as dabbing the paste on with a soft cloth instead of rubbing vigorously.
Another variation involves the addition of white vinegar. While baking soda and vinegar create a fizzing reaction, this can actually help to lift the stain in some cases. However, it’s crucial to use this method with caution and test it on a hidden area first, as the combination can be abrasive on certain fabrics. If you choose to use vinegar, mix a small amount with the baking soda paste and apply it to the stain, allowing it to fizz for a few minutes before blotting it away.
We’ve found that the key to successful lipstick stain removal with baking soda is patience and persistence. Don’t expect the stain to disappear instantly. It may require multiple applications and gentle blotting to fully lift the pigment. Remember to always blot, never rub, as rubbing can spread the stain and damage the fabric.
Now, it’s your turn to put this DIY trick to the test! We’re confident that you’ll be amazed by the results. Say goodbye to those dreaded lipstick stains and hello to stain-free confidence. We encourage you to try this method and share your experiences with us. Did it work for you? Did you discover any helpful variations? Your feedback is invaluable and will help others discover the power of baking soda for lipstick stain removal. Share your tips, tricks, and before-and-after photos in the comments below. Let’s build a community of stain-fighting experts! We can’t wait to hear your success stories!
Frequently Asked Questions (FAQ)
Q: Will baking soda work on all types of lipstick stains?
A: Baking soda is generally effective on most types of lipstick stains, including those from matte, cream, and even some long-lasting formulas. However, the success rate can vary depending on the severity and age of the stain, as well as the type of fabric. Fresh stains are typically easier to remove than older, set-in stains. For particularly stubborn stains, you may need to repeat the process multiple times or try a variation of the method, such as pre-treating with dish soap or using a baking soda and vinegar paste (with caution). It’s always a good idea to test the baking soda on an inconspicuous area of the fabric first to ensure it doesn’t cause any discoloration or damage.
Q: Can I use baking soda on delicate fabrics like silk or lace?
A: Yes, you can use baking soda on delicate fabrics, but with extra caution. Delicate fabrics are more susceptible to damage, so it’s crucial to test the baking soda paste on a hidden area first to ensure it doesn’t cause any discoloration or weakening of the fibers. When applying the paste, use a gentle dabbing motion instead of rubbing vigorously. You might also want to dilute the baking soda paste with a little water to make it less abrasive. After applying the paste, rinse the fabric thoroughly with cool water and allow it to air dry. If you’re unsure about using baking soda on a particular delicate fabric, it’s always best to consult a professional dry cleaner.
Q: How long should I leave the baking soda paste on the stain?
A: The amount of time you leave the baking soda paste on the stain can vary depending on the severity of the stain and the type of fabric. Generally, it’s recommended to leave the paste on for at least 30 minutes, but you can leave it on for several hours or even overnight for particularly stubborn stains. However, it’s important to check the stain periodically to ensure that the baking soda isn’t causing any damage to the fabric. If you notice any discoloration or weakening of the fibers, remove the paste immediately and rinse the fabric thoroughly with cool water.
Q: What if the baking soda doesn’t completely remove the stain?
A: If the baking soda doesn’t completely remove the stain on the first try, don’t give up! You can try repeating the process multiple times, allowing the baking soda paste to sit on the stain for a longer period each time. You can also try a variation of the method, such as pre-treating the stain with dish soap or using a baking soda and vinegar paste (with caution). If the stain is still persistent after multiple attempts, it’s possible that it’s a set-in stain that may require professional cleaning. In this case, it’s best to take the garment or item to a dry cleaner who specializes in stain removal.
Q: Can I use this method on upholstery?
A: Yes, you can use this method on upholstery, but it’s important to take extra precautions to avoid damaging the fabric. Before applying the baking soda paste, test it on an inconspicuous area of the upholstery to ensure it doesn’t cause any discoloration or damage. When applying the paste, use a gentle dabbing motion and avoid rubbing vigorously. After applying the paste, use a clean, damp cloth to blot away the excess baking soda and allow the upholstery to air dry completely. You may need to vacuum the upholstery to remove any remaining baking soda residue.
Q: What other uses does baking soda have for stain removal?
A: Beyond lipstick stain removal, baking soda is a versatile stain remover for a variety of other messes. It can be used to remove stains from coffee, tea, wine, grass, and even blood. It’s also effective at deodorizing and freshening up carpets, upholstery, and even shoes. To use baking soda for other stain removal purposes, simply create a paste with water and apply it to the stain, allowing it to sit for a period of time before blotting it away. Baking soda is a natural and eco-friendly alternative to harsh chemical cleaners, making it a great choice for those who are looking for a safer and more sustainable way to clean their homes.

Leave a Comment