

Grow Squash at Home and unlock a world of culinary possibilities right in your backyard! Imagine stepping outside and harvesting your own vibrant, delicious squash, ready to be transformed into comforting soups, savory roasts, or delectable pies. Forget those bland, store-bought vegetables – with a few simple tricks and a little DIY spirit, you can cultivate a thriving squash patch that will be the envy of your neighborhood.
Squash has a rich history, dating back thousands of years to Central and South America, where it was a staple food for indigenous populations. From the ancient Aztecs who revered its nutritional value to the early American colonists who relied on it for sustenance, squash has nourished generations. Today, its versatility and ease of cultivation make it a popular choice for home gardeners everywhere.
But let’s be honest, sometimes growing squash can feel a little daunting. Pests, diseases, and confusing growing requirements can leave even experienced gardeners scratching their heads. That’s where these DIY tricks and hacks come in! I’m going to share my favorite, tried-and-true methods for ensuring a bountiful harvest, from choosing the right varieties to warding off common problems. So, if you’re ready to grow squash at home like a pro, keep reading! I promise, with these simple tips, you’ll be enjoying homegrown squash in no time.
Grow Your Own Bountiful Squash Patch: A DIY Guide
Hey there, fellow gardening enthusiasts! I’m so excited to share my tried-and-true method for growing squash right in your own backyard. Squash is such a versatile and rewarding vegetable to grow. From summer squash like zucchini and yellow squash to winter varieties like butternut and acorn, there’s a squash for every palate. Plus, the satisfaction of harvesting your own homegrown produce is simply unmatched. Let’s get started!
Choosing Your Squash Variety
Before we dive into the nitty-gritty, let’s talk about choosing the right squash for your garden. This is a crucial first step!
* Summer Squash: These are fast-growing and have a shorter growing season. Think zucchini, yellow squash, and pattypan squash. They’re best eaten when young and tender.
* Winter Squash: These take longer to mature and have a hard rind, allowing them to be stored for months. Examples include butternut squash, acorn squash, spaghetti squash, and pumpkins (yes, pumpkins are technically a type of squash!).
* Consider Your Space: Some squash varieties, especially winter squash, can be quite sprawling. Make sure you have enough room for them to grow. Bush varieties are more compact and suitable for smaller gardens or containers.
* Climate Considerations: Check your local climate and growing season. Choose varieties that are well-suited to your region.
Preparing Your Garden Bed
Squash plants are heavy feeders, meaning they need a lot of nutrients to thrive. Proper soil preparation is key to a successful harvest.
* Sunlight: Squash needs at least 6-8 hours of direct sunlight per day. Choose a location in your garden that receives plenty of sun.
* Soil: Squash prefers well-drained, fertile soil with a pH between 6.0 and 7.0.
* Amendments: Amend your soil with plenty of organic matter, such as compost, aged manure, or leaf mold. This will improve drainage, fertility, and water retention. I usually add a generous layer of compost at least a few weeks before planting.
* Raised Beds: If your soil is poor or poorly drained, consider growing squash in raised beds. This will give you better control over the soil quality and drainage.
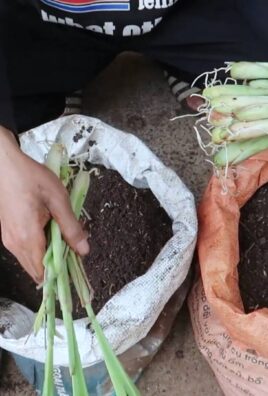
Planting Your Squash
Now for the fun part – planting! You can either start your squash seeds indoors or direct sow them in your garden.
* Starting Seeds Indoors (Optional): If you live in a colder climate with a shorter growing season, you can start your squash seeds indoors 3-4 weeks before the last expected frost.
* Use seed-starting trays or small pots filled with seed-starting mix.
* Sow seeds about 1 inch deep.
* Keep the soil moist and warm (around 70-75°F).
* Once the seedlings have developed a few true leaves, you can transplant them into your garden after the last frost.
* Direct Sowing: This is the easiest method, especially for warmer climates.
* Wait until the soil has warmed up to at least 60°F.
* Sow seeds about 1 inch deep and 2-3 feet apart, depending on the variety. Bush varieties can be planted closer together than vining varieties.
* Water thoroughly after planting.
* Hill Planting: For vining varieties, consider planting in hills. This helps with drainage and warms the soil more quickly.
* Create a small mound of soil about 1 foot in diameter and 6 inches high.
* Plant 3-4 seeds on top of the hill.
* Thin to the strongest 1-2 seedlings after they emerge.
Caring for Your Squash Plants
Once your squash plants are in the ground, it’s important to provide them with the care they need to thrive.
* Watering: Squash plants need consistent moisture, especially during hot, dry weather. Water deeply and regularly, aiming for about 1 inch of water per week. Avoid overhead watering, as this can promote fungal diseases. Drip irrigation or soaker hoses are ideal.
* Fertilizing: As heavy feeders, squash plants benefit from regular fertilization.
* Apply a balanced fertilizer (e.g., 10-10-10) at planting time.
* Side-dress with compost or a nitrogen-rich fertilizer every few weeks during the growing season.
* Avoid over-fertilizing, as this can lead to excessive foliage growth and fewer fruits.
* Weeding: Keep your garden bed free of weeds, as they can compete with your squash plants for nutrients and water. Mulching can help suppress weeds and retain moisture.
* Pest Control: Squash plants are susceptible to several pests, including squash bugs, squash vine borers, and aphids.
* Inspect your plants regularly for signs of pests.
* Handpick pests whenever possible.
* Use insecticidal soap or neem oil to control infestations.
* Consider using row covers to protect young plants from pests.
* Pollination: Squash plants have separate male and female flowers. Pollination is necessary for fruit development.
* Bees and other pollinators are essential for squash pollination.
* If you’re not seeing enough bees in your garden, you can hand-pollinate the flowers.
* Identify the male and female flowers. Male flowers have a long, thin stem, while female flowers have a small fruit at the base.
* Use a small paintbrush or cotton swab to transfer pollen from the male flower to the female flower.
* Hand-pollinate in the morning, when the flowers are open.
Harvesting Your Squash
The moment we’ve all been waiting for – harvesting! Knowing when to harvest your squash is crucial for optimal flavor and storage.
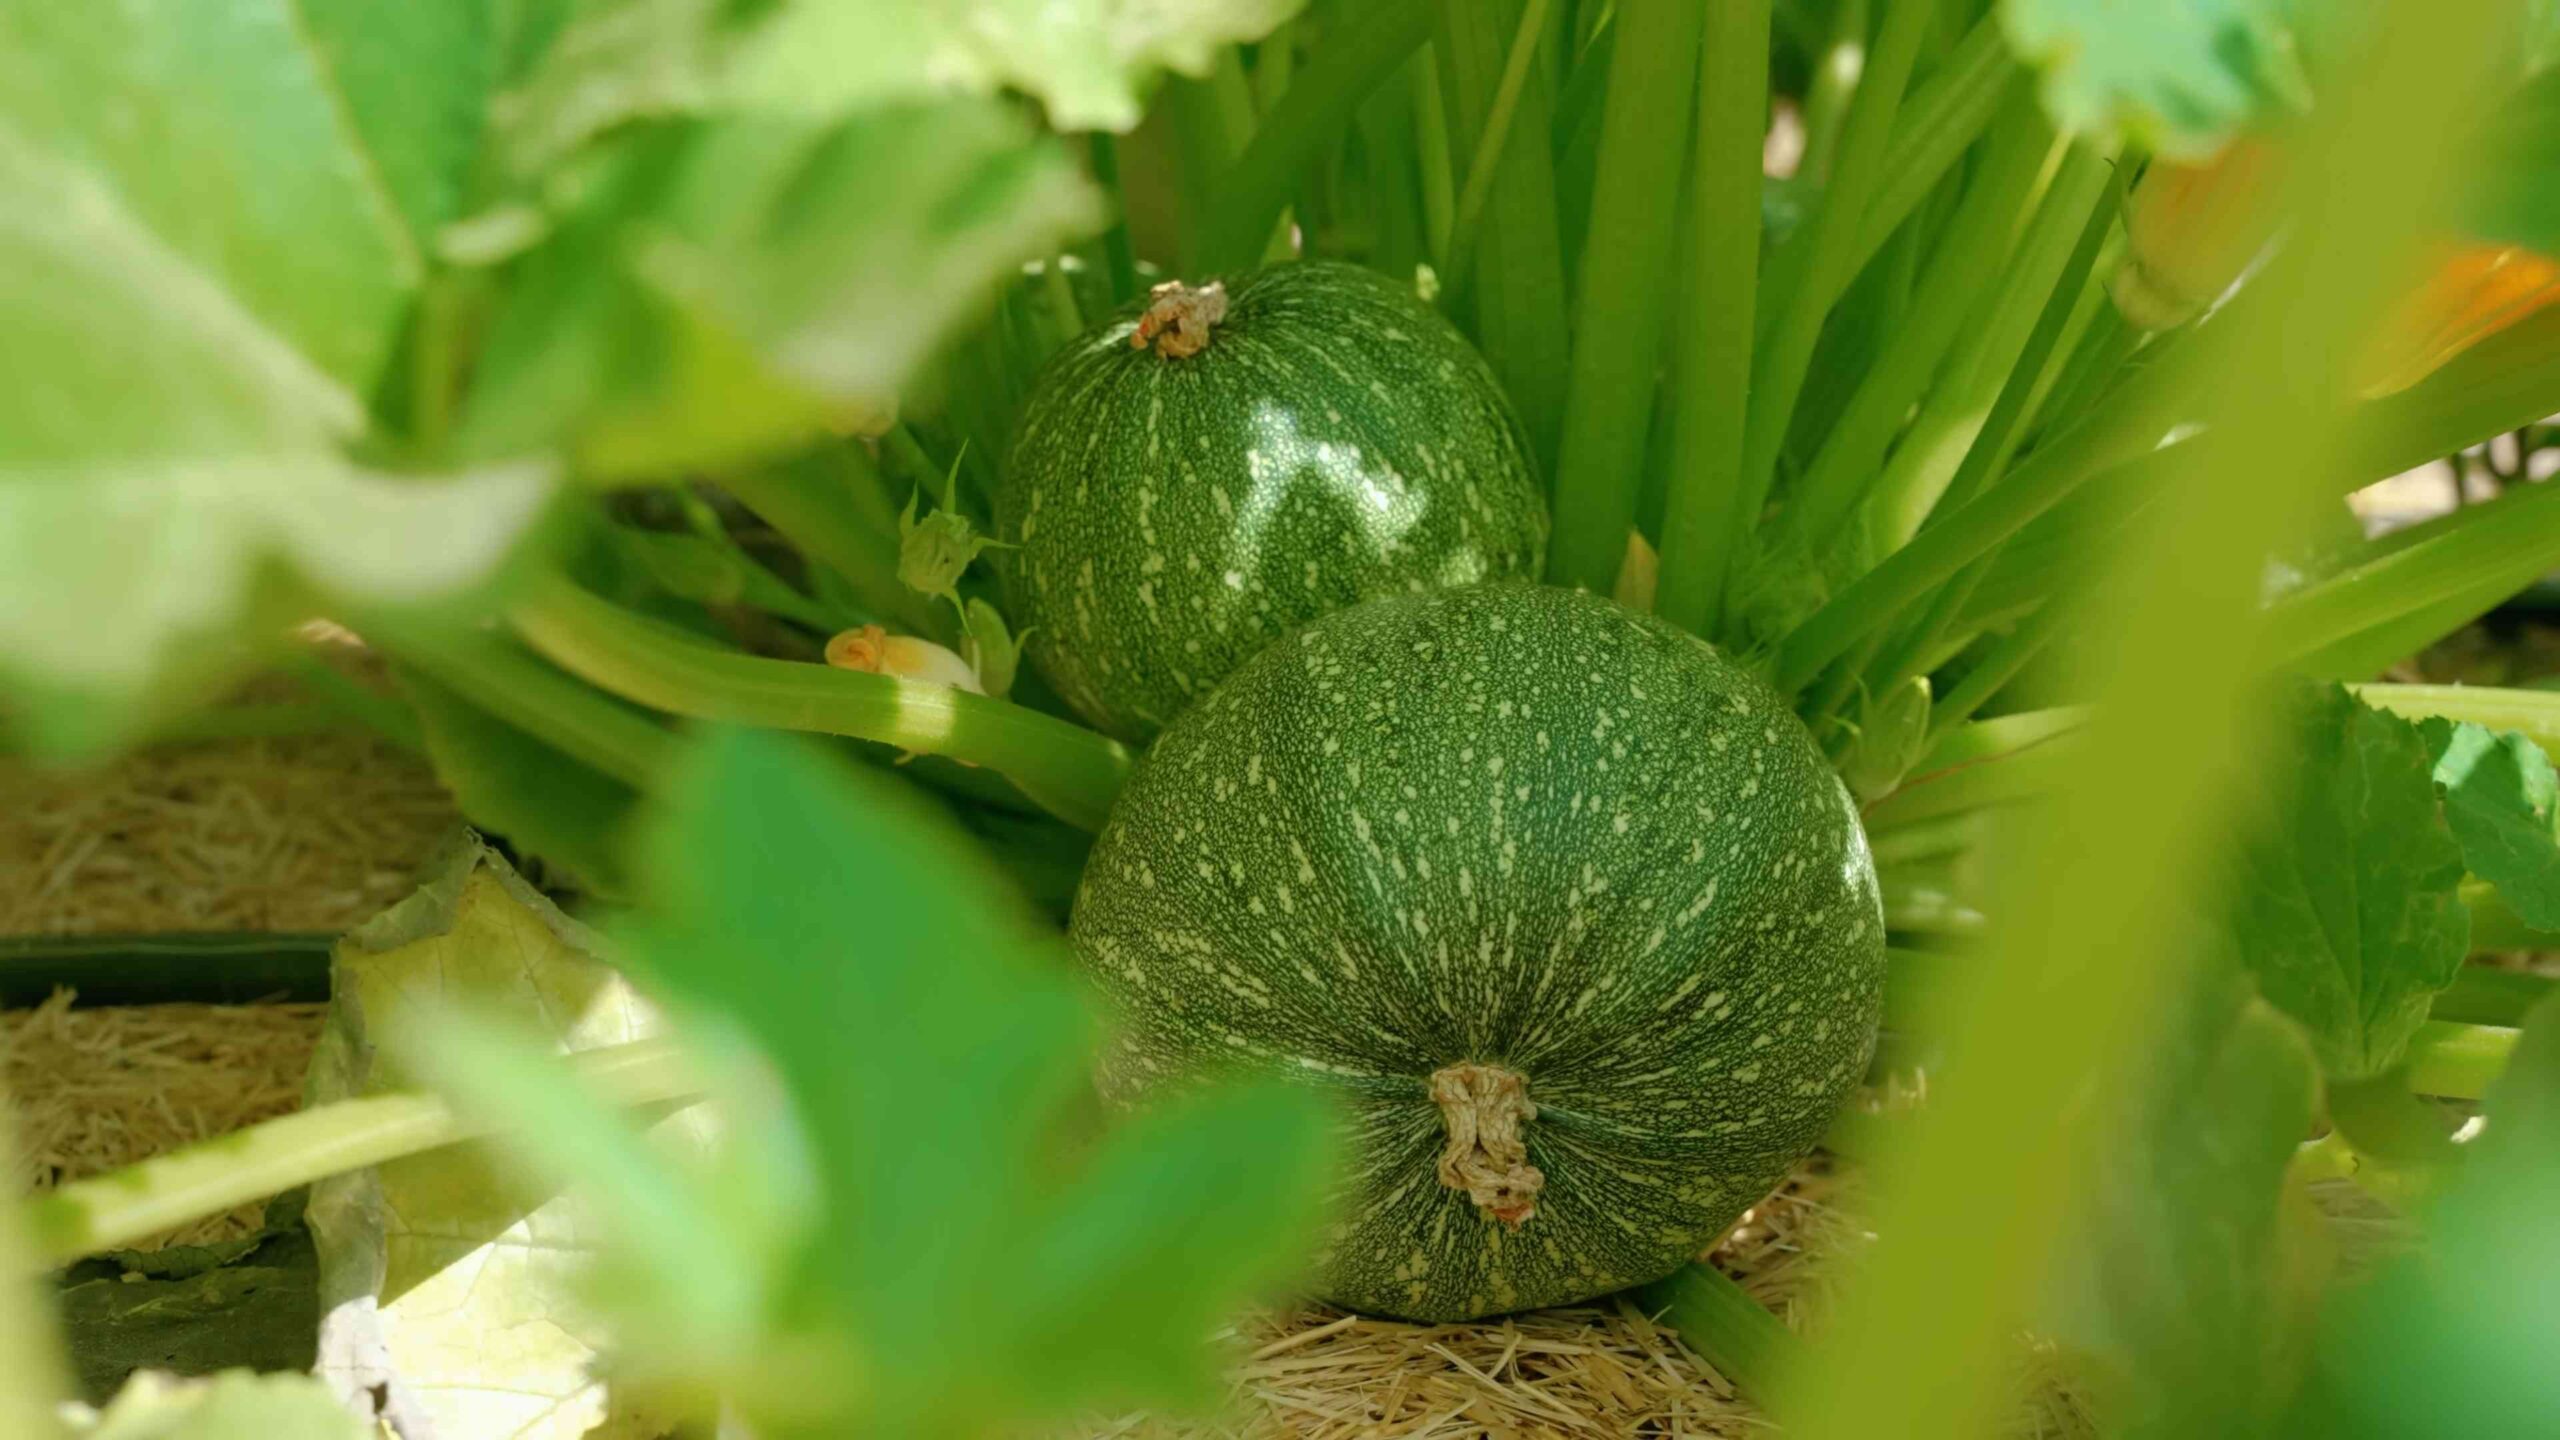
* Summer Squash: Harvest summer squash when it’s young and tender, typically when it’s about 6-8 inches long. The skin should be smooth and easily punctured with your fingernail. Regular harvesting encourages continued production.
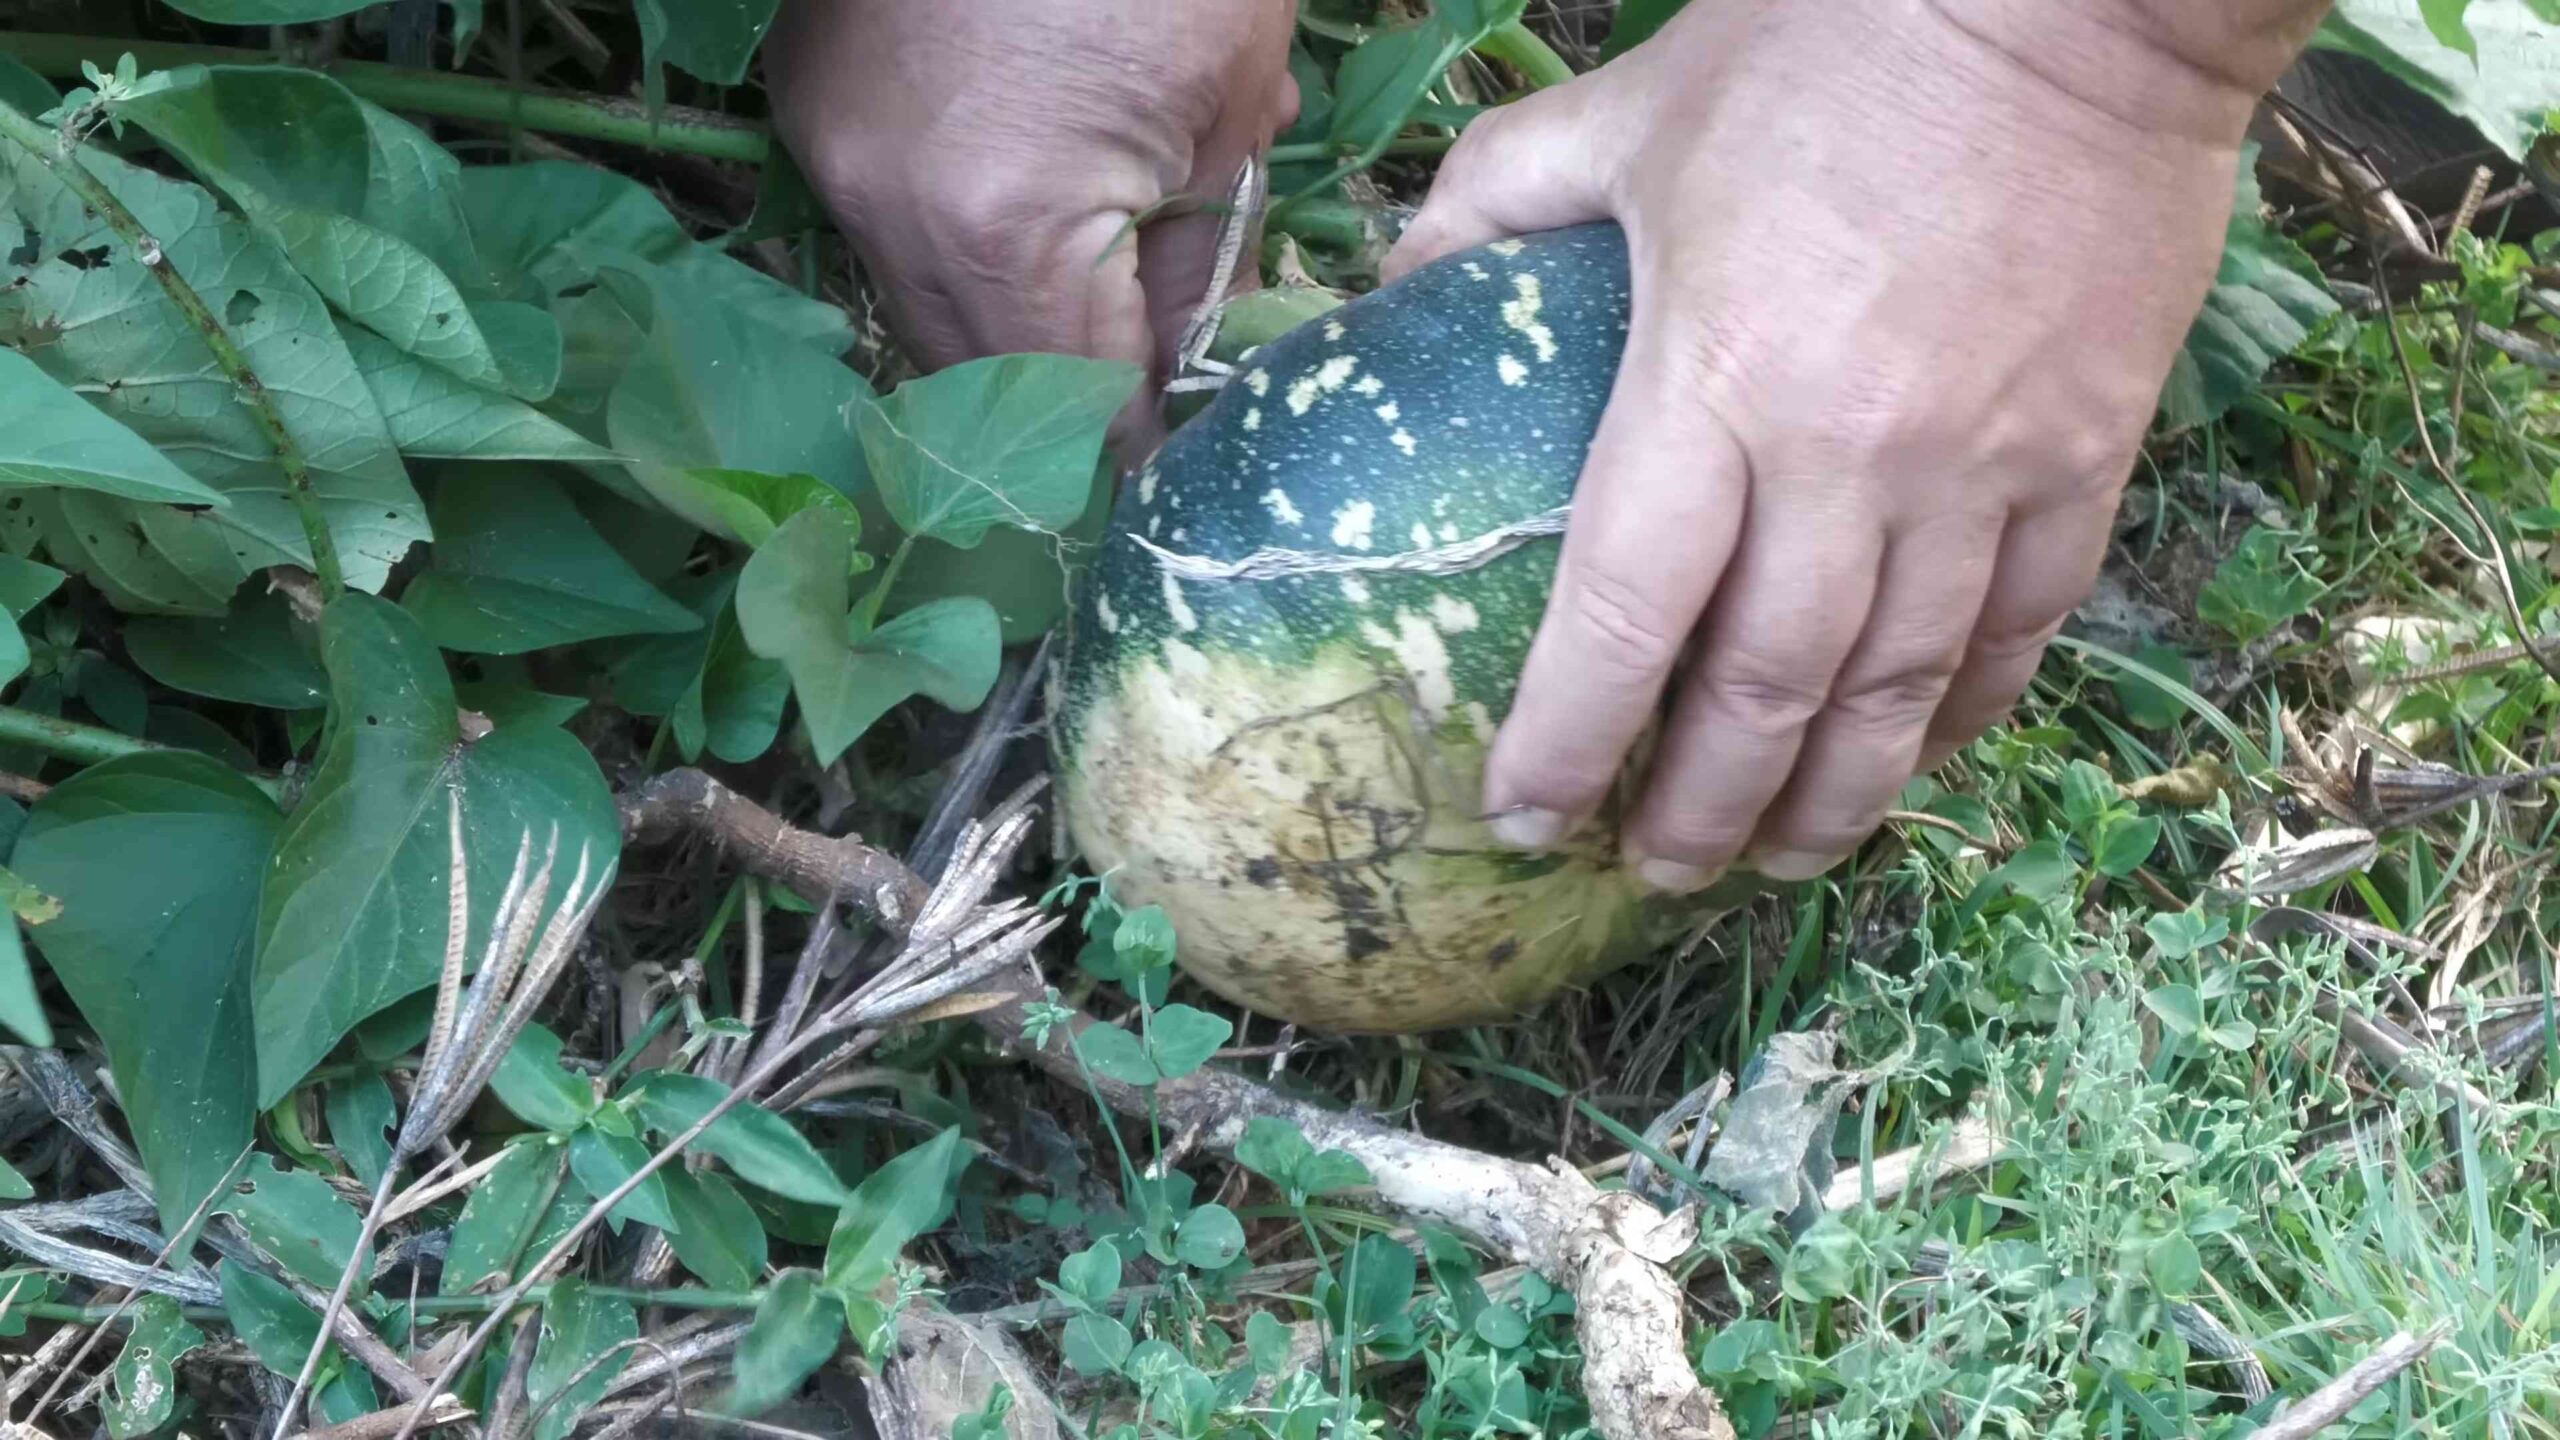
* Winter Squash: Harvest winter squash when the rind is hard and resistant to scratching. The stem should be dry and brown. Leave about 2-3 inches of stem attached to the squash when harvesting.
* Curing Winter Squash: After harvesting winter squash, cure it in a warm, dry place for 1-2 weeks. This helps to harden the rind and improve storage life.
* Place the squash in a single layer on a wire rack or pallet.
* Maintain a temperature of 80-85°F and a humidity of 50-70%.
* After curing, store the squash in a cool, dry place (50-60°F) with good ventilation.
Step-by-Step Instructions: From Seed to Table
Okay, let’s break down the entire process into easy-to-follow steps.
1. Choose Your Variety: Decide which type of squash you want to grow based on your preferences, space, and climate.
2. Prepare Your Garden Bed: Select a sunny location and amend the soil with plenty of compost or other organic matter. Ensure good drainage.
3. Plant Your Seeds: Either start seeds indoors 3-4 weeks before the last frost or direct sow them in your garden after the soil has warmed up. Follow the spacing recommendations for your chosen variety.
4. Water Regularly: Keep the soil consistently moist, especially during dry periods. Aim for about 1 inch of water per week.
5. Fertilize: Apply a balanced fertilizer at planting time and side-dress with compost or a nitrogen-rich fertilizer every few weeks.
6. Weed: Keep the garden bed free of weeds to prevent competition for nutrients and water.
7. Monitor for Pests: Inspect your plants regularly for signs of pests and take appropriate action to control them.
8. Pollinate (If Necessary): If you’re not seeing enough bees, hand-pollinate the flowers to ensure fruit development.
9. Harvest Summer Squash: Harvest when young and tender, typically when 6-8 inches long.
10. Harvest Winter Squash: Harvest when the rind is hard and the stem is dry.
11. Cure Winter Squash: Cure in a warm, dry place for 1-2 weeks to harden the rind and improve storage life.
12. Store Winter Squash: Store in a cool, dry place with good ventilation.
13. Enjoy Your Harvest! Use your homegrown squash in your favorite recipes.
Troubleshooting Common Squash Problems
Even with the best care, you might encounter some problems along the way. Here are a few common issues and how to address them:
* Powdery Mildew: This fungal disease appears as a white, powdery coating on the leaves.
* Improve air circulation by spacing plants properly.
* Water at the base of the
Conclusion
So, there you have it! Growing squash at home, while it might seem daunting at first, is incredibly rewarding and surprisingly accessible with the right approach. We’ve explored a method that simplifies the process, allowing even novice gardeners to enjoy the satisfaction of harvesting their own delicious, homegrown squash.
Why is this DIY trick a must-try? Because it empowers you to take control of your food source, reduces your reliance on store-bought produce (often laden with pesticides and transported long distances), and connects you with the natural world in a tangible way. Imagine the pride you’ll feel serving a squash soup made entirely from ingredients you nurtured from seed to table! Plus, growing your own squash allows you to experiment with varieties you might never find at your local grocery store. Think vibrant butternut squash, sweet delicata squash, or even the quirky spaghetti squash – the possibilities are endless!
But the benefits extend beyond just the culinary. Gardening is a fantastic stress reliever, a great way to get some exercise, and a wonderful opportunity to teach children about the life cycle of plants and the importance of sustainable living. It’s a win-win-win situation!
Now, let’s talk about variations. Feel free to adapt this method to suit your specific needs and preferences. If you have limited space, consider growing bush varieties of squash, which are more compact and ideal for container gardening. You can also experiment with different soil amendments to improve drainage and nutrient content. Compost, aged manure, and even coffee grounds can work wonders.
For those living in colder climates, starting your squash seeds indoors a few weeks before the last frost is highly recommended. This gives your seedlings a head start and increases their chances of survival when transplanted outdoors. And don’t forget about companion planting! Marigolds, nasturtiums, and basil are all excellent companions for squash, helping to deter pests and attract beneficial insects.
Ultimately, the key to successful squash growing is observation and adaptation. Pay attention to your plants, learn their needs, and adjust your approach accordingly. Don’t be afraid to experiment and try new things. Gardening is a journey of discovery, and there’s always something new to learn.
We wholeheartedly encourage you to give this DIY trick a try. It’s easier than you think, and the rewards are well worth the effort. Once you’ve harvested your first homegrown squash, we’d love to hear about your experience! Share your photos, tips, and stories in the comments below. Let’s build a community of squash-growing enthusiasts and inspire others to embrace the joy of gardening. Happy growing!
Frequently Asked Questions (FAQ)
What is the best time to plant squash?
The ideal time to plant squash depends on your climate. Generally, squash thrives in warm weather, so you should plant it after the last frost when the soil temperature has reached at least 60°F (15°C). For summer squash, this is typically late spring to early summer. For winter squash, you can plant a bit earlier, allowing it more time to mature before the first frost in the fall. Check your local frost dates to determine the best planting time for your region. Starting seeds indoors 3-4 weeks before the last expected frost can give you a head start, especially in cooler climates.
What kind of soil is best for growing squash?
Squash plants prefer well-drained, fertile soil that is rich in organic matter. Amend your soil with compost, aged manure, or other organic materials before planting to improve its structure and nutrient content. A slightly acidic to neutral soil pH (between 6.0 and 7.0) is ideal. If your soil is heavy clay, consider adding sand or perlite to improve drainage. Good drainage is crucial to prevent root rot, a common problem with squash plants.
How much sunlight does squash need?
Squash plants are sun-loving and require at least 6-8 hours of direct sunlight per day to thrive. Choose a planting location that receives plenty of sunlight throughout the day. If you live in a particularly hot climate, some afternoon shade may be beneficial to prevent the plants from overheating. Insufficient sunlight can lead to weak growth, reduced fruit production, and increased susceptibility to pests and diseases.
How often should I water my squash plants?
Squash plants need consistent moisture, especially during fruit development. Water deeply and regularly, aiming to keep the soil consistently moist but not waterlogged. Water at the base of the plants to avoid wetting the foliage, which can increase the risk of fungal diseases. Mulching around the plants can help retain moisture in the soil and suppress weed growth. During hot, dry weather, you may need to water daily. Check the soil moisture regularly by sticking your finger into the soil a few inches deep. If it feels dry, it’s time to water.
What are some common pests and diseases that affect squash plants?
Squash plants are susceptible to several pests and diseases, including squash bugs, squash vine borers, aphids, powdery mildew, and squash mosaic virus. Regularly inspect your plants for signs of pests or diseases. Use organic pest control methods, such as handpicking pests, using insecticidal soap, or introducing beneficial insects like ladybugs. To prevent diseases, ensure good air circulation around the plants, avoid overhead watering, and practice crop rotation. If you notice signs of disease, remove affected leaves or plants promptly to prevent the spread.
How do I know when my squash is ripe?
The ripeness of squash depends on the variety. Summer squash, like zucchini and yellow squash, should be harvested when they are young and tender, typically when they are about 6-8 inches long. Winter squash, like butternut squash and acorn squash, should be harvested when they are fully mature and the skin is hard and difficult to pierce with your fingernail. The stem should also be dry and brown. Leave winter squash on the vine as long as possible to allow them to fully mature and develop their flavor.
Can I grow squash in containers?
Yes, you can grow squash in containers, especially bush varieties. Choose a large container (at least 20 gallons) with good drainage. Use a high-quality potting mix and provide regular watering and fertilization. Container-grown squash may require more frequent watering and fertilization than squash grown in the ground. Make sure the container receives plenty of sunlight.
What are some good companion plants for squash?
Companion planting can help deter pests, attract beneficial insects, and improve the overall health of your squash plants. Good companion plants for squash include marigolds, nasturtiums, basil, oregano, and beans. Marigolds and nasturtiums repel squash bugs and other pests. Basil and oregano attract beneficial insects like pollinators and predatory wasps. Beans fix nitrogen in the soil, which can benefit squash plants. Avoid planting squash near potatoes or fennel, as they can inhibit growth.
How do I save seeds from my squash plants?
Saving seeds from your squash plants is a great way to perpetuate your favorite varieties. Allow the squash to fully mature on the vine. Once harvested, scoop out the seeds and rinse them thoroughly to remove any pulp. Spread the seeds out on a paper towel to dry completely. Store the dried seeds in an airtight container in a cool, dark, and dry place. Properly stored squash seeds can remain viable for several years. Note that if you are growing multiple varieties of squash, cross-pollination can occur, resulting in seeds that produce plants with mixed traits.
What is the best fertilizer for squash?
Squash plants benefit from regular fertilization, especially during fruit development. Use a balanced fertilizer with equal amounts of nitrogen, phosphorus, and potassium (e.g., 10-10-10) or a fertilizer specifically formulated for vegetables. Apply fertilizer according to the package directions. You can also supplement with organic fertilizers like compost tea or fish emulsion. Avoid over-fertilizing, as this can lead to excessive foliage growth and reduced fruit production.
Leave a Comment