

Clean Silver Baking Soda Foil: Sounds like a science experiment, right? Well, in a way, it is! But trust me, it’s a super simple and effective way to bring the sparkle back to your tarnished silver without harsh chemicals or expensive cleaners. I know, I know, polishing silver can feel like a chore passed down through generations, a task often associated with grandmothers and special occasions. Silverware has been a symbol of elegance and status for centuries, gracing tables from royal banquets to family dinners. But let’s be honest, that beautiful shine fades over time, leaving us with dull, lackluster pieces.
That’s where this DIY trick comes in! Instead of spending a fortune on commercial silver cleaners, I’m going to show you how to clean silver using baking soda and foil – two items you probably already have in your kitchen. Why is this so important? Because nobody wants to use tarnished silverware! It can make even the most delicious meal seem less appealing. Plus, keeping your silver clean preserves its value and allows you to enjoy its beauty for years to come. This method is not only cost-effective but also gentle on your precious silver, ensuring it stays in tip-top shape. So, ditch the elbow grease and get ready to be amazed by the power of baking soda and foil!
DIY Silver Cleaning with Baking Soda and Foil: A Sparkling Transformation!
Hey everyone! I’m so excited to share this super easy and effective DIY silver cleaning method with you. Forget those expensive silver polishes and harsh chemicals. All you need are a few common household items: baking soda, aluminum foil, and hot water. Seriously, it’s like magic! This method works wonders on tarnished silver jewelry, silverware, and even larger silver pieces. Let’s get started and bring back that beautiful shine!
What You’ll Need:
* Baking Soda
* Aluminum Foil
* Hot Water (almost boiling is ideal)
* A Glass or Plastic Container (avoid metal)
* Soft Cloth or Microfiber Towel
* Tongs (optional, but recommended for handling hot items)
Why This Works: The Science Behind the Sparkle
Before we dive in, let’s quickly understand why this method is so effective. Tarnish on silver is actually silver sulfide, a black layer that forms when silver reacts with sulfur compounds in the air. The baking soda and aluminum foil create a chemical reaction called an electrolytic reduction.
* The Aluminum Foil: Acts as a sacrificial metal. It’s more reactive than silver, so it attracts the sulfur.
* The Baking Soda: Creates an alkaline environment that facilitates the transfer of sulfur from the silver to the aluminum.
* The Hot Water: Speeds up the chemical reaction.
Basically, the sulfur from the tarnish on your silver transfers to the aluminum foil, leaving your silver clean and shiny! Pretty cool, right?
Step-by-Step Instructions: Let’s Get Cleaning!
Okay, now for the fun part! Follow these steps carefully, and you’ll be amazed at the results.
1. Prepare Your Cleaning Station: Find a well-ventilated area. While this method is generally safe, it’s always good to have fresh air circulating. Gather all your materials: baking soda, aluminum foil, hot water, container, cloth, and tongs.
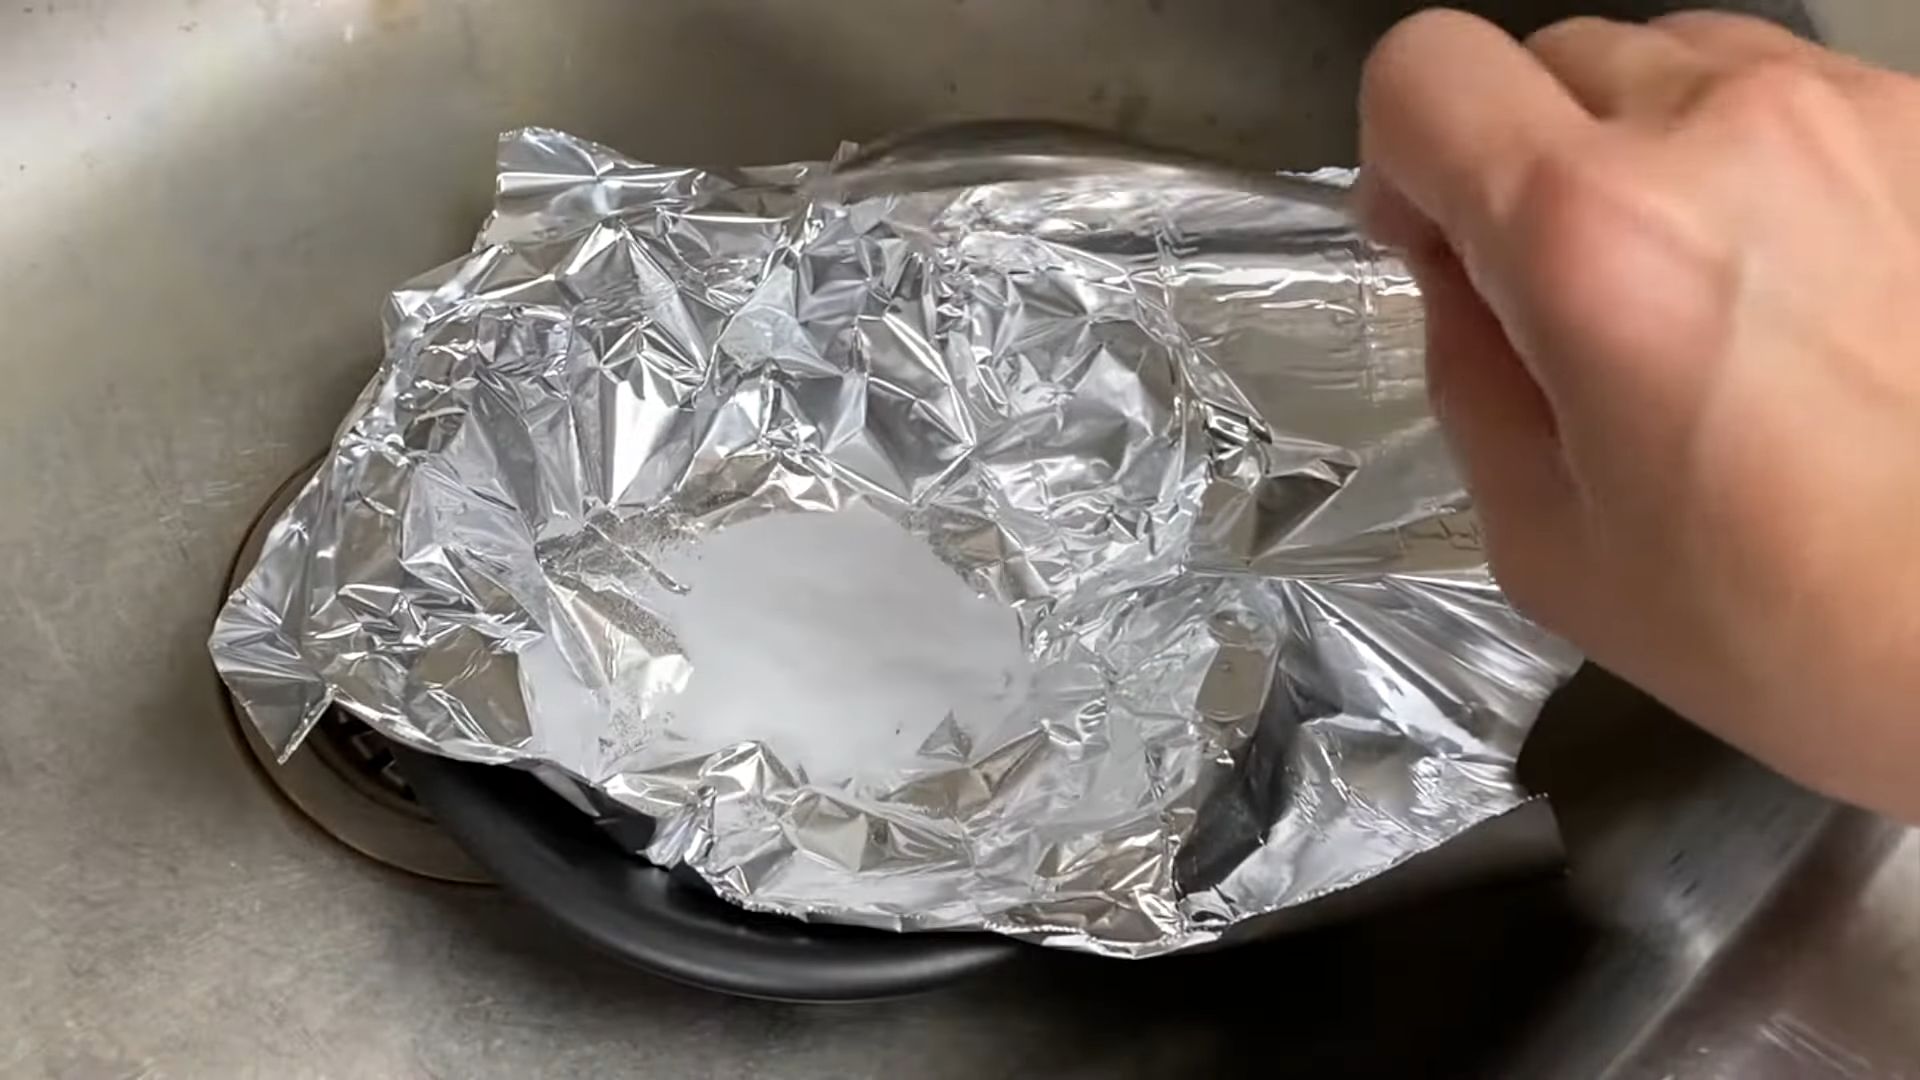
2. Line Your Container with Aluminum Foil: Tear off a piece of aluminum foil large enough to line the bottom and sides of your container. Make sure the shiny side of the foil is facing up. This is the side that will come into contact with the silver and baking soda solution. Ensure the foil covers the entire bottom surface and extends up the sides a bit. This is crucial for the electrolytic reaction to work effectively.
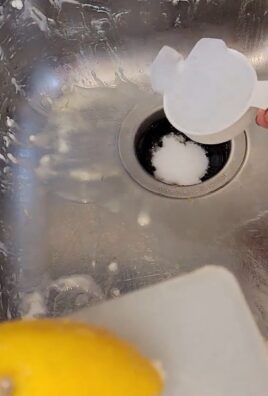
3. Add Baking Soda: Pour about 1-2 tablespoons of baking soda into the container. The amount you need will depend on the size of your container and the amount of silver you’re cleaning. A good rule of thumb is to use enough baking soda to create a noticeable solution when mixed with the hot water. If you’re cleaning a large batch of silver, you might need to add more baking soda later.
4. Pour in the Hot Water: Carefully pour hot (almost boiling) water into the container. Be extremely cautious to avoid burns. The water should be hot enough to activate the chemical reaction, but not so hot that it damages delicate items. Fill the container enough to completely submerge the silver items you’ll be cleaning.
5. Stir the Solution: Use a spoon or other utensil (not silver!) to stir the baking soda and hot water until the baking soda is completely dissolved. You should have a clear solution with no visible baking soda particles. This ensures that the baking soda is evenly distributed and can effectively react with the silver and aluminum foil.
6. Submerge Your Silver Items: Gently place your silver items into the container, making sure they are touching the aluminum foil. This is essential for the electrolytic reaction to occur. If the items are heavily tarnished, make sure the tarnished areas are in direct contact with the foil. Avoid overcrowding the container, as this can hinder the cleaning process. If you have a lot of silver to clean, you might need to do it in batches. Use tongs to carefully place the items, especially if the water is very hot.
7. Observe the Magic: Watch as the tarnish begins to disappear! You should start to see the silver brightening almost immediately. The length of time it takes to clean the silver will depend on the severity of the tarnish. Lightly tarnished items might only take a few minutes, while heavily tarnished items could take up to 30 minutes or longer.
8. Check the Progress: After a few minutes, carefully check the progress of the cleaning. Use tongs to lift an item out of the solution and inspect it. If the tarnish is still present, return the item to the solution and let it soak for a longer period. You can also gently rotate the items to ensure that all surfaces are exposed to the aluminum foil.
9. Remove and Rinse: Once the silver is clean, carefully remove the items from the solution using tongs. Rinse them thoroughly under warm running water to remove any remaining baking soda residue.
10. Dry and Polish: Use a soft cloth or microfiber towel to dry the silver items completely. Gently polish them to restore their shine. A microfiber towel is ideal for this step, as it will not scratch the silver. You can also use a silver polishing cloth for extra shine, but it’s usually not necessary after this cleaning method.
Dealing with Stubborn Tarnish
Sometimes, you might encounter stubborn tarnish that doesn’t completely disappear with the initial cleaning. Don’t worry! Here are a few tips for dealing with those tricky spots:
* Repeat the Process: If the tarnish is particularly stubborn, you can repeat the cleaning process. Replace the aluminum foil and baking soda solution with fresh materials and soak the silver items again.
* Increase the Baking Soda Concentration: Try adding a little more baking soda to the solution. A higher concentration of baking soda can help to speed up the chemical reaction and remove stubborn tarnish.
* Use a Soft Brush: For intricate designs or hard-to-reach areas, use a soft brush (like an old toothbrush) to gently scrub away the tarnish while the silver is submerged in the solution. Be careful not to scratch the silver.
* Prolonged Soaking: For extremely tarnished items, you can let them soak in the solution overnight. Just be sure to check them periodically to ensure that the silver is not being damaged.
Cleaning Silverware: A Special Note
Cleaning silverware with this method is particularly effective. However, be mindful of any decorative elements or materials that might be sensitive to hot water or baking soda.
* Handle with Care: Silverware can be delicate, so handle it with care throughout the cleaning process.
* Avoid Overcrowding: Don’t overcrowd the container with silverware. This can prevent the solution from reaching all surfaces and hinder the cleaning process.
* Dry Thoroughly: After cleaning, dry the silverware thoroughly to prevent water spots.
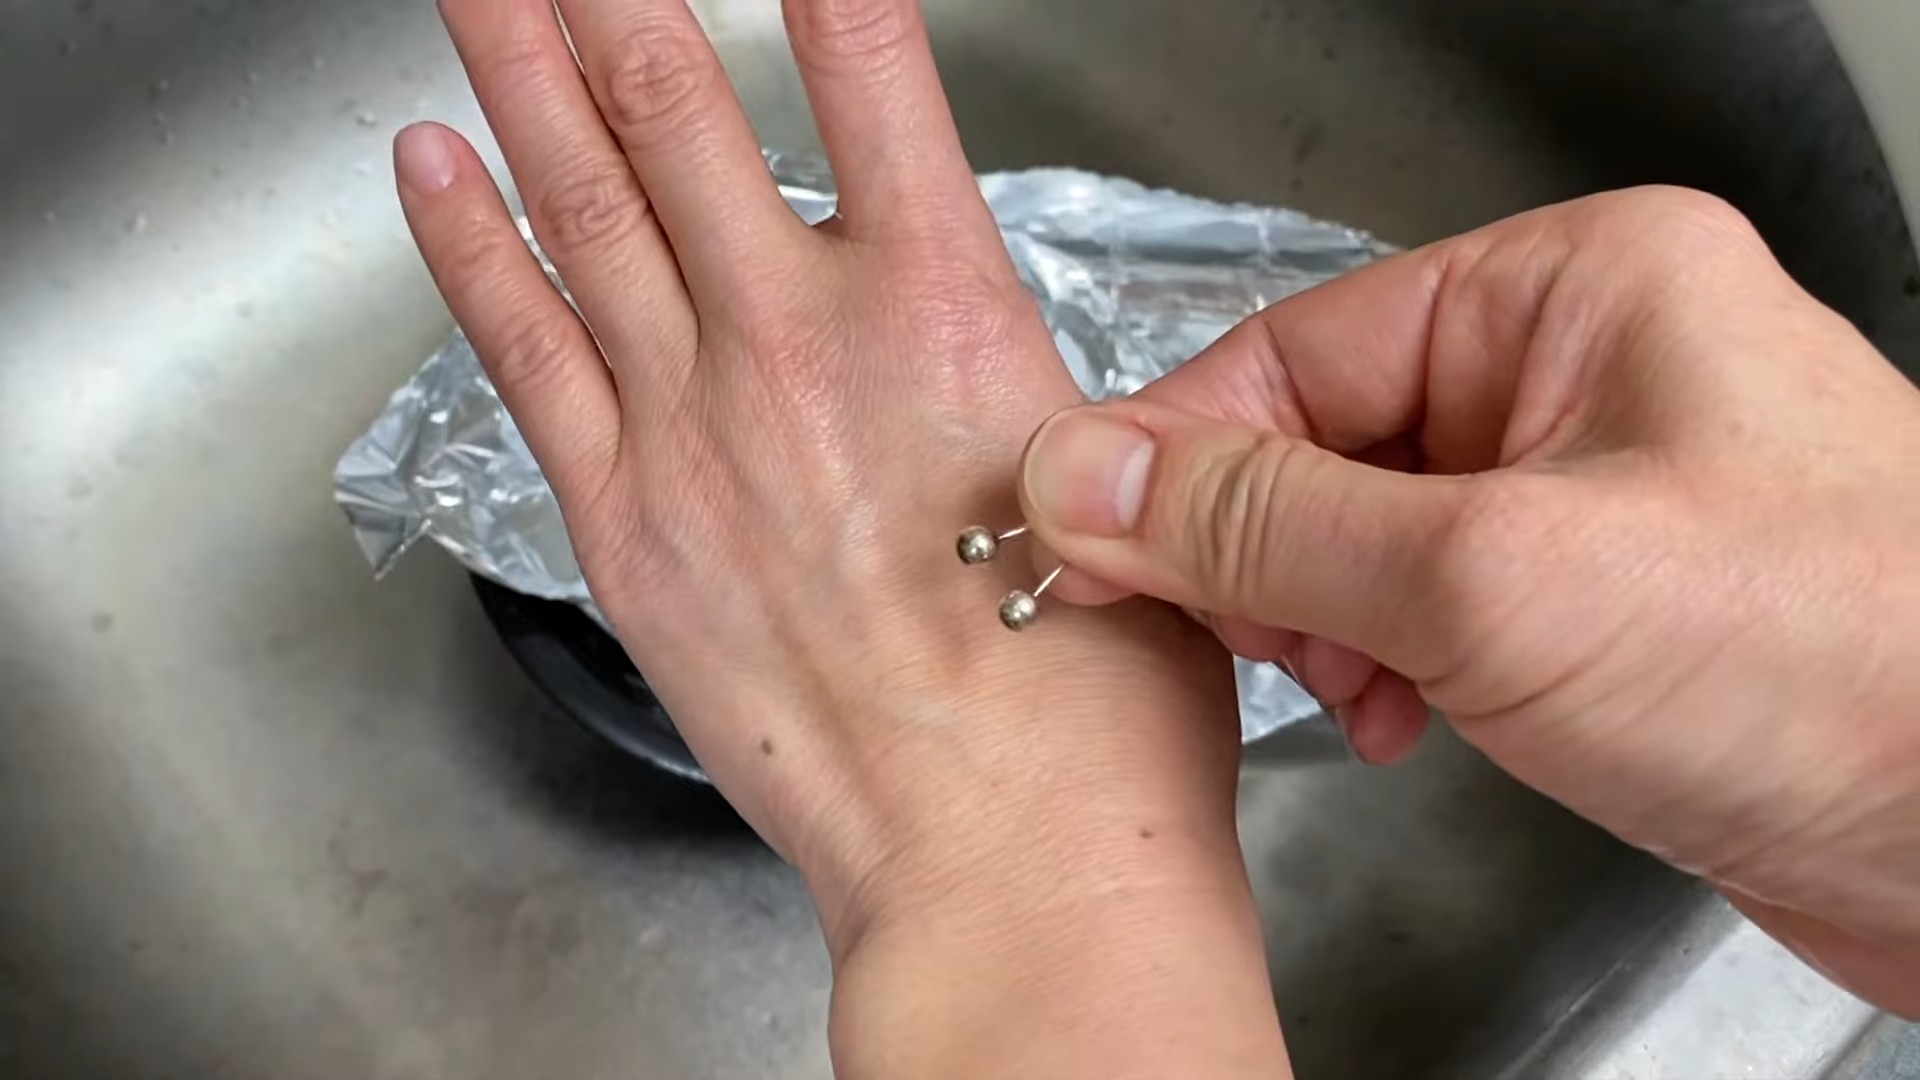
Cleaning Silver Jewelry: Extra Gentle Approach
When cleaning silver jewelry, especially delicate pieces with gemstones, take extra precautions.
* Test First: If you’re unsure about the compatibility of gemstones with the baking soda solution, test a small, inconspicuous area first.
* Limit Soaking Time: Don’t soak jewelry for extended periods, especially if it contains porous gemstones like pearls or opals.
* Gentle Drying: Dry jewelry gently with a soft cloth. Avoid rubbing too hard, as this can damage delicate settings.
Preventing Future Tarnish: Tips and Tricks
Once you’ve cleaned your silver, you’ll want to keep it sparkling for as long as possible. Here are a few tips for preventing future tarnish:
* Store Silver Properly: Store silver in airtight containers or tarnish-resistant bags. This will help to protect it from exposure to air and moisture, which can accelerate tarnishing.
* Use Tarnish Strips: Place tarnish strips in your silver storage containers. These strips absorb sulfur compounds from the air, helping to prevent tarnish.
* Avoid Contact with Sulfur: Keep silver away from sources of sulfur, such as rubber bands, wool, and certain cleaning products.
* Regular Cleaning: Clean your silver regularly, even if it doesn’t appear to be tarnished. This will help to prevent tarnish from building up.
* Wear Your Jewelry: Believe it or not, wearing your silver jewelry can actually help to prevent tarnish. The friction from wearing the jewelry helps to remove surface tarnish.
Important Considerations and Safety Tips
While this DIY silver cleaning method is generally safe, it’s important to keep these considerations in mind:
* Avoid Cleaning Certain Items: This method is not suitable for cleaning items with certain finishes or coatings, such as antique silver with a patina. Always test a small, inconspicuous area first.
* Use Caution with Hot Water: Be extremely careful when handling hot water to avoid burns.
* Ventilation: Work in a well-ventilated area.
* Not for All Metals: This method is specifically designed for silver. Do not use it on other metals, as it could damage them.
* Dispose of Solution Properly: The used baking soda solution can be safely poured
Conclusion
So, there you have it! This simple, yet incredibly effective, DIY trick for cleaning silver with baking soda and foil is a game-changer. Forget expensive silver polishes filled with harsh chemicals and endless scrubbing. This method is not only budget-friendly, utilizing items you likely already have in your pantry, but it’s also surprisingly gentle on your precious silver pieces. It’s a win-win!
Why is this a must-try? Because it works! The electrochemical reaction between the baking soda, hot water, aluminum foil, and the tarnish on your silver is nothing short of magical. You’ll witness years of accumulated grime and discoloration vanish before your eyes, leaving your silver sparkling and ready to shine. Imagine the satisfaction of restoring your grandmother’s silverware to its former glory, or bringing a dull silver necklace back to life, all with minimal effort and maximum impact.
But the beauty of this DIY method lies not only in its effectiveness but also in its adaptability. Feel free to experiment with the ratio of baking soda to water to find what works best for your specific needs. For heavily tarnished items, you might need to repeat the process or let them soak for a longer period. You can also use different types of aluminum foil – heavy-duty foil might provide a slightly better reaction.
Consider these variations to personalize your silver cleaning experience:
* Adding Salt: Some people swear by adding a tablespoon of salt to the baking soda and water mixture. The salt is believed to enhance the cleaning power and speed up the process.
* Using a Plastic Container: While a metal pot is ideal for the electrochemical reaction, you can also use a heat-resistant plastic container lined with aluminum foil. Just ensure the container can withstand the hot water.
* Pre-Cleaning: For extremely dirty or greasy silver, a quick pre-wash with warm soapy water can help remove any surface debris and allow the baking soda solution to work more effectively.
Ultimately, the best way to discover the full potential of this DIY silver cleaning trick is to try it yourself. Gather your tarnished silver, grab your baking soda and foil, and prepare to be amazed. We are confident that you’ll be thrilled with the results.
Don’t just take our word for it! We encourage you to try this simple method and share your experience with us. Post before-and-after photos on social media using #BakingSodaSilverClean or leave a comment below to let us know how it worked for you. We’re eager to hear your success stories and any tips or tricks you discover along the way. Let’s build a community of sparkling silver enthusiasts! This cleaning silver with baking soda and foil method is truly a game changer.
Frequently Asked Questions (FAQ)
What kind of silver can I clean with this method?
This method is generally safe for most sterling silver and silver-plated items. However, it’s not recommended for items with delicate gemstones, pearls, or other sensitive materials that could be damaged by the heat or the chemical reaction. Always test a small, inconspicuous area first if you’re unsure. Avoid using this method on antique silver pieces with intentional patinas, as it can remove the patina and diminish their value.
How does this baking soda and foil method actually work?
The magic lies in the electrochemical reaction. Tarnish on silver is primarily silver sulfide, which forms when silver reacts with sulfur compounds in the air. When you immerse the tarnished silver in a hot solution of baking soda and water with aluminum foil, a chemical reaction occurs. The aluminum is more reactive than silver, so it donates electrons to the silver sulfide, converting it back to silver metal. The sulfur then bonds with the aluminum, effectively transferring the tarnish from the silver to the aluminum foil. That’s why the foil becomes discolored after the process.
How long should I soak the silver in the baking soda solution?
The soaking time depends on the severity of the tarnish. For lightly tarnished items, a few minutes might be sufficient. For heavily tarnished pieces, you might need to soak them for 10-15 minutes, or even longer. Check the progress periodically and remove the item when the tarnish has disappeared. If the tarnish is particularly stubborn, you can repeat the process with a fresh batch of baking soda solution and aluminum foil.
The water turned yellow/black. Is that normal?
Yes, absolutely! The discoloration of the water is a sign that the process is working. The yellow or black color comes from the sulfur compounds that are being removed from the silver and transferred to the aluminum foil. The more tarnish on your silver, the darker the water will become.
Can I reuse the baking soda solution and aluminum foil?
No, it’s best to use a fresh batch of baking soda solution and aluminum foil for each cleaning session. The effectiveness of the solution diminishes as it becomes saturated with sulfur compounds. Similarly, the aluminum foil loses its reactivity after it has been used.
Is it safe to touch the silver while it’s in the solution?
While the baking soda solution is generally safe, it’s best to avoid prolonged contact with your skin, especially if you have sensitive skin. Use tongs or rubber gloves to handle the silver while it’s in the solution.
My silver has intricate details. Will this method clean those areas?
This method is generally effective at cleaning intricate details, as the solution can reach into small crevices. However, for extremely detailed pieces, you might need to use a soft brush (like an old toothbrush) to gently scrub away any remaining tarnish after soaking. Be careful not to scratch the silver.
What should I do after cleaning the silver?
After cleaning the silver, rinse it thoroughly with warm water and dry it immediately with a soft, lint-free cloth. This will prevent water spots and further tarnishing. You can also use a silver polishing cloth to give your silver an extra shine.
How can I prevent my silver from tarnishing in the future?
To prevent tarnish, store your silver in airtight containers or bags. You can also place anti-tarnish strips or cloths in the storage containers to absorb sulfur compounds from the air. Avoid exposing your silver to humidity, direct sunlight, and harsh chemicals. Regularly cleaning your silver, even if it’s just a quick wipe with a silver polishing cloth, can also help prevent tarnish buildup.
Can I use this method on other metals besides silver?
This method is specifically designed for cleaning silver. It’s not recommended for use on other metals, as it may not be effective and could potentially damage them. Always research the appropriate cleaning methods for different types of metals.


Leave a Comment