

Grow Okra Consistent Harvest: Imagine baskets overflowing with vibrant green okra, ready for your favorite gumbo or a crispy, Southern-fried treat. Sounds dreamy, right? Well, it doesn’t have to be just a dream! I’m here to share some simple yet effective DIY tricks that will help you achieve a bountiful and, most importantly, consistent okra harvest right in your own backyard.
Okra, also known as “lady’s fingers,” has a rich history, tracing back to ancient Ethiopia. From there, it spread across North Africa, the Middle East, and eventually made its way to the Americas with the transatlantic slave trade. It’s a resilient and nutritious plant that has sustained communities for centuries. But let’s be honest, sometimes getting a consistent yield can be a bit tricky. That’s where these DIY hacks come in!
Let’s face it, nothing is more disappointing than planting okra, nurturing it, and then ending up with a sparse harvest. You might be wondering why your okra plants aren’t producing as much as you hoped. Maybe you’re tired of only getting a few pods at a time. That’s why I’ve put together this guide. These simple, actionable tips will help you understand the secrets to a thriving okra patch and ensure you grow okra consistent harvest after consistent harvest. Get ready to unlock the full potential of your okra plants and enjoy a season filled with delicious, homegrown goodness!
DIY: Unlock a Bountiful Okra Harvest with This Simple Trick!
Hey there, fellow gardeners! Are you dreaming of okra overflowing from your garden, enough for gumbo, frying, pickling, and sharing with friends? I know I am! Okra can be a bit finicky, but with this simple DIY hack, you can significantly boost your harvest and enjoy a continuous supply of these delicious pods. This isn’t just about planting and hoping for the best; it’s about understanding okra’s growth habits and giving it exactly what it needs to thrive.
Understanding Okra’s Growth and Fruiting
Before we dive into the hack, let’s quickly understand how okra grows. Okra produces pods along its main stem. As you harvest these pods, the plant continues to grow taller, producing more pods higher up. However, the lower leaves can sometimes become shaded, yellow, and less productive, potentially hindering overall pod production. This is where our DIY trick comes in!
The Secret: Strategic Pruning for Continuous Harvest
The key to a consistent okra harvest lies in strategic pruning. We’re not talking about hacking away at the plant; it’s a gentle, targeted approach that encourages new growth and maximizes pod production. This method focuses on removing older, less productive leaves and encouraging the plant to focus its energy on producing more pods.
Materials You’ll Need
* Sharp, clean pruning shears or scissors (essential for preventing disease)
* Gardening gloves (optional, but recommended to protect your hands)
* A bucket or container for collecting pruned leaves
* (Optional) Compost bin or area to dispose of the pruned leaves
Step-by-Step Guide to Pruning Okra for Maximum Yield
Here’s the breakdown of how to prune your okra plants for a continuous and abundant harvest. I’ve broken it down into easy-to-follow steps so you can’t go wrong!
Phase 1: Initial Plant Assessment (Weeks 6-8 After Planting)
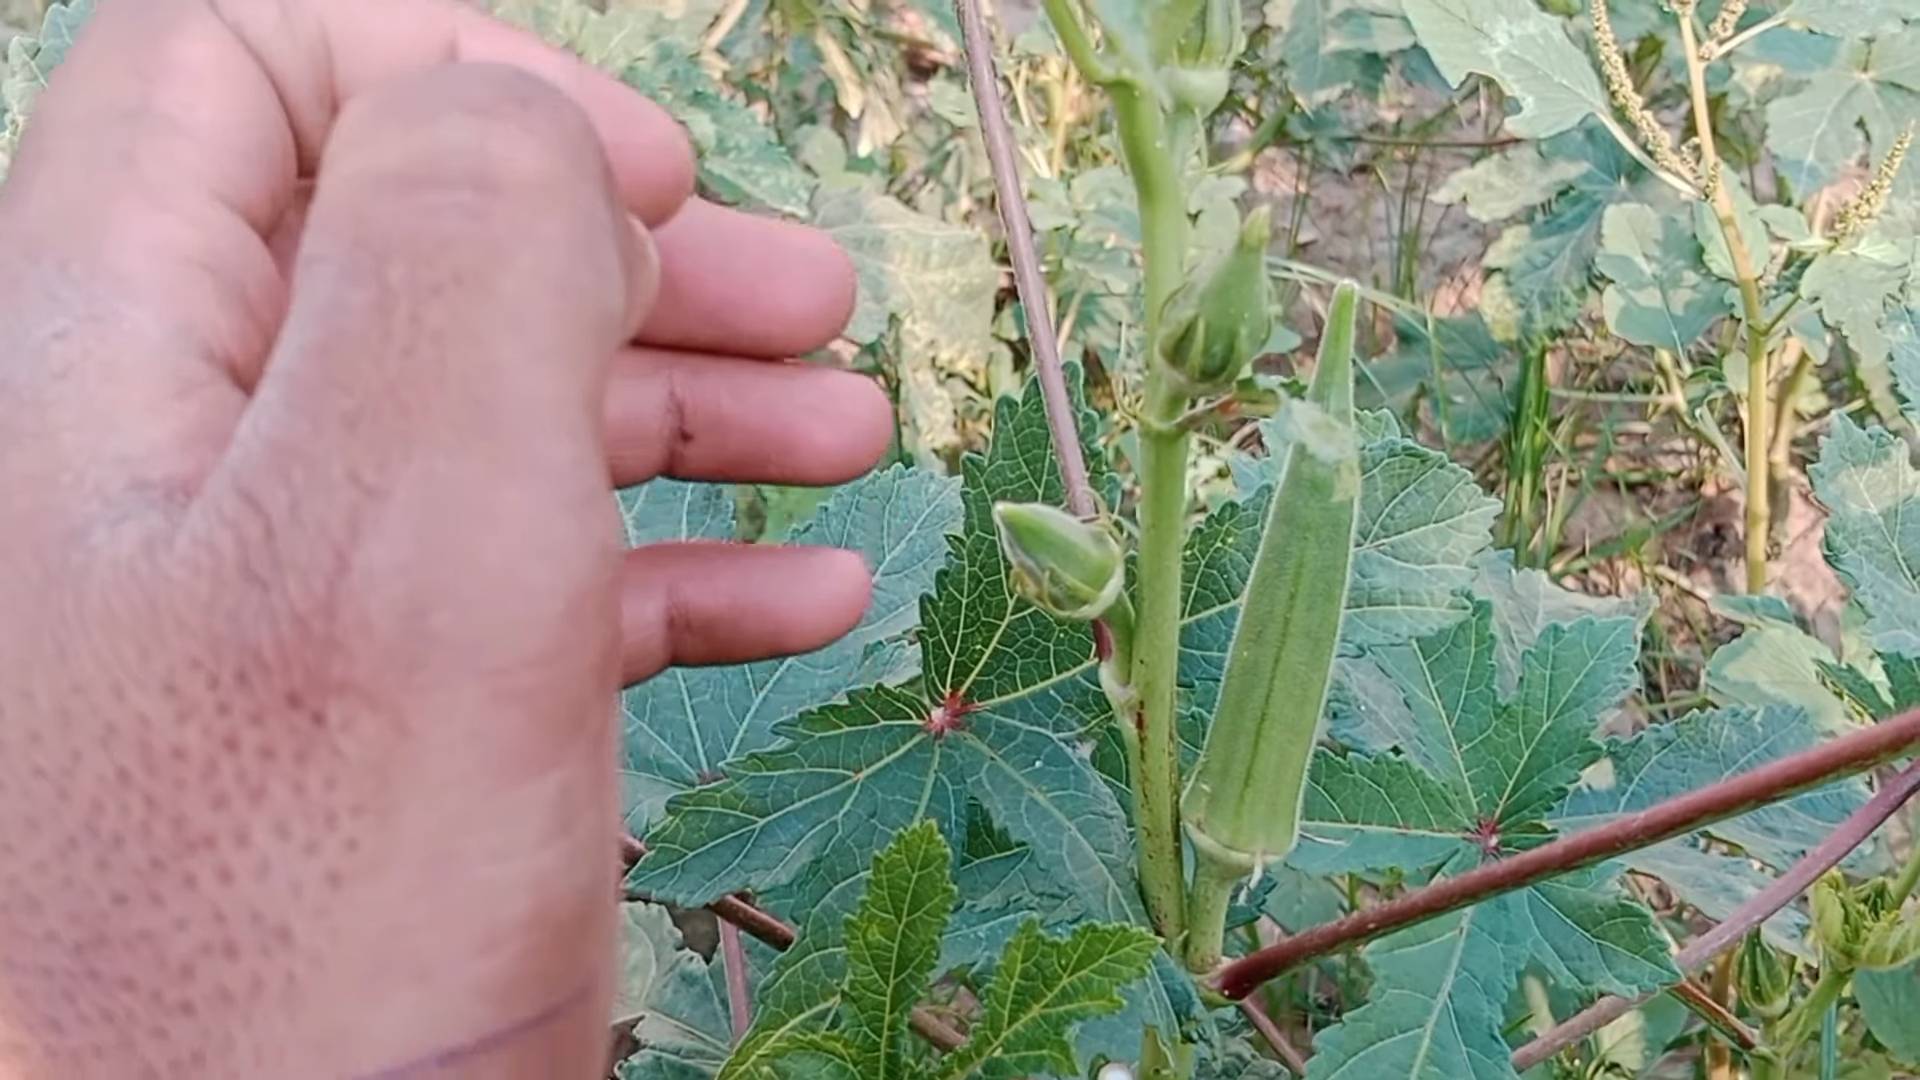
1. Observe Your Plants: Once your okra plants are about 6-8 weeks old and have started producing pods, take a close look. This is when the lower leaves might start showing signs of aging. Look for yellowing, browning, or leaves that are simply looking tired.
2. Identify the Target Leaves: The leaves we’re targeting are the ones closest to the ground. These are usually the oldest and often the least productive. They might be shaded by the upper leaves, hindering their ability to photosynthesize effectively.
3. Check for Disease: Before pruning, inspect the leaves for any signs of disease or pests. If you find any, address the issue before pruning to prevent spreading it to other parts of the plant.
Phase 2: The Pruning Process
1. Prepare Your Tools: Make sure your pruning shears or scissors are clean and sharp. You can sterilize them with rubbing alcohol or a diluted bleach solution to prevent the spread of disease.
2. Locate the Leaf Base: Find the point where the leaf stem (petiole) connects to the main stem of the okra plant.
3. Make the Cut: Using your sharp pruning shears, make a clean cut at the base of the leaf stem, as close to the main stem as possible without damaging it. Avoid tearing the stem, as this can create an entry point for diseases.
4. Remove the Leaf: Gently remove the pruned leaf and place it in your bucket or container.
5. Repeat: Continue pruning the yellowing or unproductive leaves from the bottom of the plant. Don’t remove too many leaves at once. A good rule of thumb is to remove no more than 1/3 of the plant’s foliage at any given time.
6. Clean Up: Once you’ve finished pruning, clean up any fallen leaves around the base of the plant. This helps prevent the spread of disease and keeps your garden tidy.
Phase 3: Ongoing Maintenance and Harvesting
1. Regular Monitoring: Continue to monitor your okra plants regularly for new yellowing or unproductive leaves. Prune them as needed to maintain good airflow and sunlight penetration.
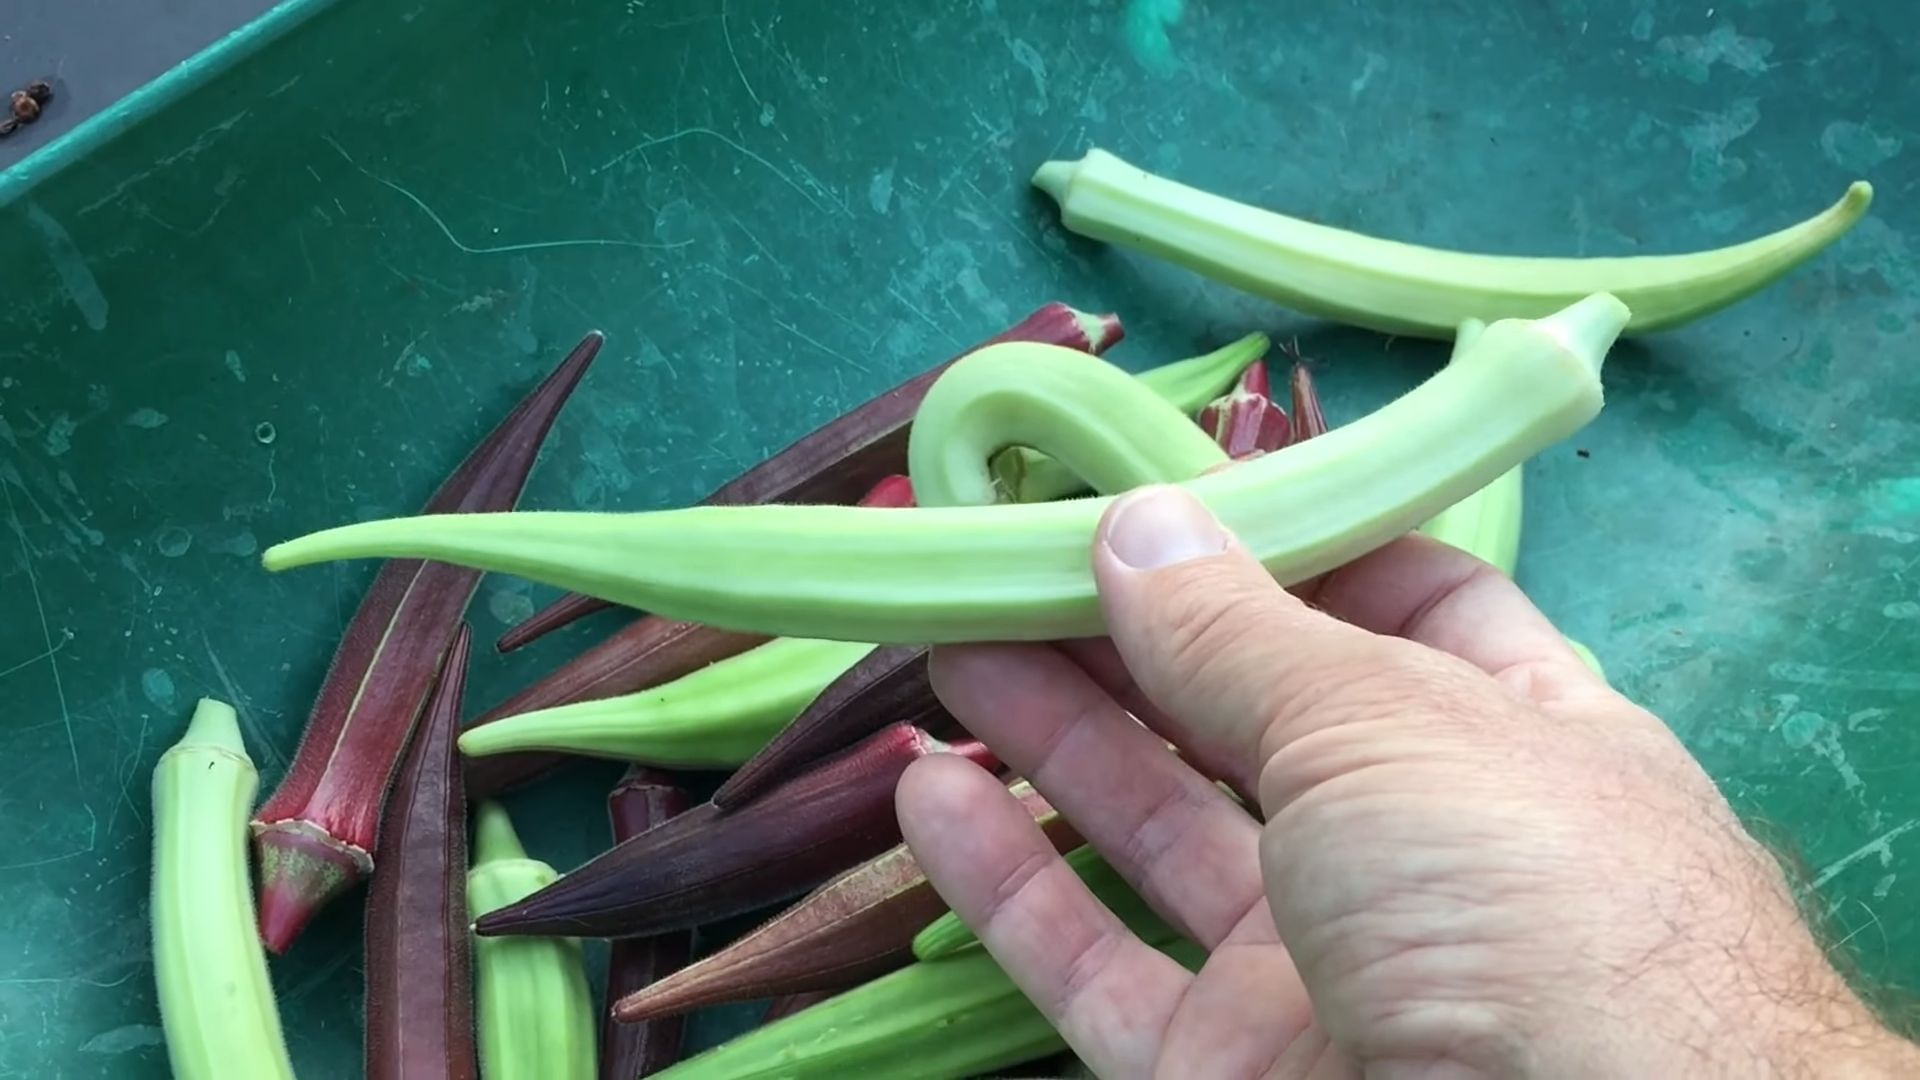
2. Harvest Frequently: Okra pods mature quickly, so harvest them every 1-2 days when they are about 3-4 inches long. Regular harvesting encourages the plant to produce more pods.
3. Fertilize as Needed: Okra is a heavy feeder, so fertilize it regularly with a balanced fertilizer or compost tea to provide the nutrients it needs to produce a bountiful harvest. Follow the instructions on your fertilizer for proper application rates.
4. Water Consistently: Okra needs consistent moisture, especially during hot weather. Water deeply and regularly, especially when the pods are developing. Aim for about 1 inch of water per week.
5. Pest Control: Keep an eye out for common okra pests like aphids, flea beetles, and stink bugs. Treat infestations promptly with organic pest control methods like insecticidal soap or neem oil.
Why This Works: The Science Behind the Success
So, why does this pruning method work so well? Here’s the breakdown:
* Improved Airflow: Removing lower leaves improves airflow around the plant, reducing the risk of fungal diseases.
* Increased Sunlight Penetration: Pruning allows more sunlight to reach the lower parts of the plant, promoting photosynthesis and pod development.
* Energy Redirection: By removing unproductive leaves, you’re redirecting the plant’s energy towards producing more pods.
* Stimulated New Growth: Pruning can stimulate the plant to produce new growth, leading to a more vigorous and productive plant.
Troubleshooting Common Okra Growing Problems
Even with the best pruning techniques, you might encounter some common okra growing problems. Here’s how to troubleshoot them:
* Yellowing Leaves: Yellowing leaves can be caused by nutrient deficiencies, overwatering, or underwatering. Check the soil moisture and nutrient levels and adjust accordingly.
* Stunted Growth: Stunted growth can be caused by poor soil, lack of sunlight, or pest infestations. Improve the soil, ensure the plant receives at least 6 hours of sunlight per day, and control pests.
* Lack of Pod Production: Lack of pod production can be caused by insufficient pollination, lack of nutrients, or hot weather. Ensure the plant is pollinated by bees or other insects, fertilize regularly, and provide shade during the hottest part of the day.
* Tough Pods: Tough pods are usually a sign that you’re harvesting them too late. Harvest pods every 1-2 days when they are about 3-4 inches long.
Tips for Maximizing Your Okra Harvest
Here are a few extra tips to help you maximize your okra harvest:
* Choose the Right Variety: Select an okra variety that is well-suited to your climate and growing conditions. Some popular varieties include Clemson Spineless, Emerald, and Burgundy.
* Start Seeds Indoors: Start okra seeds indoors 4-6 weeks before the last frost to get a head start on the growing season.
* Plant in Full Sun: Okra needs at least 6 hours of sunlight per day to thrive.
* Amend the Soil: Amend the soil with compost or other organic matter to improve drainage and fertility.
* Mulch Around the Plants: Mulch around the plants to retain moisture, suppress weeds, and regulate soil temperature.
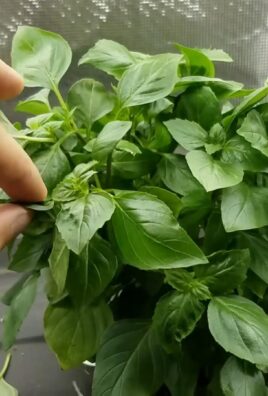
* Companion Planting: Plant okra with companion plants like basil, peppers, and tomatoes to deter pests and improve growth.
Advanced Pruning Techniques (Optional)
For those who want to take their okra pruning to the next level, here are a few advanced techniques:
* Topping: Once the okra plant reaches a desired height (usually around 4-5 feet), you can top it by cutting off the main stem just above a leaf node. This will encourage the plant to produce more side branches and pods.
* Sucker Removal: Okra plants can sometimes produce suckers (small shoots) from the base of the plant. Remove these suckers to redirect the plant’s energy towards pod production.
* Selective Pod Pruning: If you notice any damaged or diseased pods, remove them promptly to prevent the spread of disease and encourage the plant to produce healthy pods.
Safety Precautions
While pruning okra is a relatively safe activity, it’s important to take a few precautions:
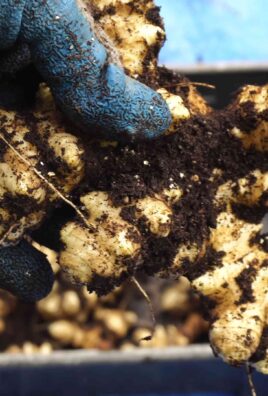
* Wear Gloves: Wear gardening gloves to protect your hands from thorns and sap.
* Use Sharp Tools: Use sharp pruning shears or scissors to make clean cuts and prevent injury.
* Be Careful Around Bees: Okra flowers attract bees, so be careful when pruning around them.
* Avoid Pruning in Wet Weather: Avoid pruning in wet weather, as this can increase the risk of fungal diseases.
Final Thoughts
With this simple pruning technique, you’ll be well on your way to enjoying a bountiful okra harvest. Remember to monitor your plants regularly, prune as needed, and harvest frequently. Happy gardening! I hope this helps you get the okra harvest of your
Conclusion
So, there you have it! Mastering the art of consistent okra harvesting isn’t just about planting and hoping for the best; it’s about understanding the plant’s needs and implementing a few key strategies. This DIY trick, focusing on regular harvesting and proper plant care, is a game-changer for anyone serious about enjoying a bountiful okra crop all season long. It’s more than just a method; it’s a commitment to maximizing your yield and minimizing waste.
Why is this a must-try? Because it directly addresses the most common frustrations okra growers face: tough, oversized pods and a short harvest window. By diligently harvesting every few days, you’re not only ensuring tender, delicious okra for your table, but you’re also signaling to the plant to keep producing. Think of it as a positive feedback loop: the more you harvest, the more it gives back. This DIY approach is cost-effective, environmentally friendly, and, most importantly, it works!
But don’t stop there! Experiment with different okra varieties to find the ones that thrive best in your specific climate and soil conditions. Try succession planting, sowing new seeds every few weeks, to extend your harvest even further. Consider companion planting with herbs like basil or marigolds to deter pests naturally. And don’t forget the power of proper fertilization; a balanced fertilizer can provide your okra plants with the nutrients they need to keep producing those delicious pods.
We encourage you to give this DIY trick a try. It’s simple, effective, and will transform your okra growing experience. Once you’ve reaped the rewards of a consistent okra harvest, we want to hear about it! Share your experiences, tips, and photos in the comments below. Let’s build a community of okra enthusiasts and learn from each other’s successes (and even the occasional setback!). Your insights could be invaluable to other gardeners just starting their okra journey. So, grab your gardening gloves, head out to your okra patch, and get ready for a season of abundance! Remember, consistent harvesting is the key to unlocking the full potential of your okra plants. Happy gardening!
Frequently Asked Questions (FAQ)
What is the best time of day to harvest okra?
The ideal time to harvest okra is in the morning, after the dew has dried but before the heat of the day sets in. Okra pods tend to be more tender and less prone to bruising when harvested in the cooler morning hours. Harvesting in the heat can also stress the plant, potentially impacting future production.
How often should I harvest okra for a consistent yield?
This is the crux of the DIY trick! You should aim to harvest okra every 1-2 days. Okra pods grow incredibly quickly, and they can become tough and fibrous if left on the plant for too long. Regular harvesting encourages the plant to continue producing new pods, leading to a more consistent and prolonged harvest.
What size should okra pods be when harvested?
The optimal size for harvesting okra pods depends on the variety, but generally, you should harvest them when they are 2-4 inches long. Larger pods tend to be tougher and less palatable. Check the seed packet or plant tag for specific recommendations for your okra variety.
How do I know if an okra pod is too tough to harvest?
A simple test is to try to snap the pod. If it snaps easily, it’s tender and ready to harvest. If it bends or is difficult to break, it’s likely too tough and should be discarded. Leaving tough pods on the plant will signal it to stop producing new ones.
What tools do I need to harvest okra?
You’ll need a sharp knife or pruning shears. Okra stems can be tough, so using a sharp tool will make the job easier and prevent damage to the plant. Wear gloves to protect your hands from the prickly leaves and pods of some varieties.
How do I store harvested okra?
Okra is best used fresh, but it can be stored in the refrigerator for a few days. Place the pods in a perforated plastic bag to allow for air circulation. Avoid washing the okra until just before you’re ready to use it, as moisture can cause it to spoil more quickly.
What if I go on vacation and can’t harvest my okra for a week?
If you know you’ll be away, harvest all the mature pods just before you leave, even if they are slightly larger than ideal. When you return, remove any oversized or tough pods to encourage the plant to resume production. It may take a few days for the plant to recover, but it should start producing again soon.
My okra plant is producing flowers but no pods. What could be the problem?
Several factors can contribute to this. Insufficient sunlight, poor soil fertility, lack of pollination, or extreme temperatures can all affect pod production. Ensure your okra plant is getting at least 6-8 hours of sunlight per day, fertilize it regularly with a balanced fertilizer, and check for signs of pests or diseases. If pollination is an issue, you can try hand-pollinating the flowers.
Can I save seeds from my okra plants?
Yes, you can save seeds from your okra plants. Allow a few pods to mature fully on the plant until they dry and turn brown. Once the pods are completely dry, harvest them and extract the seeds. Store the seeds in a cool, dry place until you’re ready to plant them next season.
What are some common pests and diseases that affect okra?
Common okra pests include aphids, flea beetles, and stink bugs. Diseases that can affect okra include powdery mildew and root-knot nematodes. Regularly inspect your plants for signs of pests or diseases and take appropriate action, such as using insecticidal soap or neem oil for pests, or choosing disease-resistant varieties.
How does consistent harvesting affect the overall health of the okra plant?
Consistent harvesting promotes the overall health of the okra plant by preventing it from putting all its energy into producing mature seeds. By removing the pods regularly, you encourage the plant to continue flowering and producing new pods, resulting in a more vigorous and productive plant. It also helps to prevent the plant from becoming overcrowded with mature pods, which can reduce airflow and increase the risk of disease.
What are some creative ways to use my abundant okra harvest?
Beyond the classic fried okra, there are countless ways to enjoy your harvest. Try pickling okra, adding it to soups and stews, grilling it, or using it in gumbo. You can also dehydrate okra for a crunchy snack or grind it into a powder to use as a thickener in sauces and soups. Don’t be afraid to experiment and discover your own favorite okra recipes!
Is this DIY trick only applicable to certain varieties of okra?
No, this DIY trick of consistent harvesting is beneficial for all varieties of okra. While some varieties may naturally produce more pods than others, the principle of regular harvesting to encourage continued production applies universally. Adjust the harvesting frequency slightly based on the specific growth rate of your chosen variety.
How important is watering for a consistent okra harvest?
Watering is crucial for a consistent okra harvest. Okra plants need consistent moisture, especially during hot, dry periods. Water deeply and regularly, aiming to keep the soil consistently moist but not waterlogged. Mulching around the plants can help to retain moisture and suppress weeds. Inconsistent watering can lead to stressed plants and reduced pod production.
What kind of fertilizer is best for promoting a consistent okra harvest?
A balanced fertilizer with equal parts nitrogen, phosphorus, and potassium (e.g., 10-10-10) is generally a good choice for okra. However, you can also use a fertilizer that is slightly higher in phosphorus to promote flowering and pod development. Avoid over-fertilizing with nitrogen, as this can lead to excessive foliage growth at the expense of pod production. Amend the soil with compost or other organic matter to improve its fertility and drainage.
Leave a Comment