

Sticker Residue Removal Salt: We’ve all been there, haven’t we? You peel off that pesky price tag, or finally remove that old bumper sticker, only to be greeted by a sticky, gooey mess that seems impossible to get rid of. It’s frustrating, unsightly, and can feel like a permanent blemish on your favorite items. But fear not, fellow DIY enthusiasts! I’m here to share a simple, yet incredibly effective, trick that will banish sticker residue from your life forever.
The struggle with sticker residue is a timeless one. From ancient Egyptians using natural adhesives to modern-day manufacturers, the quest to stick things together has always been accompanied by the challenge of removing the sticky aftermath. While commercial solvents exist, they can be harsh, expensive, and not always readily available. Plus, who wants to expose themselves or their belongings to harsh chemicals when there’s a natural solution?
That’s where the magic of sticker residue removal salt comes in. This DIY hack is not only incredibly easy and affordable, but it also utilizes a common household ingredient that you likely already have in your pantry. I’ll show you how to harness the power of salt to gently and effectively lift away that stubborn residue, leaving your surfaces clean and smooth. Say goodbye to sticky fingers and hello to a residue-free world! This trick is a game-changer for anyone who values a clean home and wants to avoid harsh chemicals. Let’s get started!
DIY Sticker Residue Removal with Salt: A Surprisingly Effective Hack!
Hey there, fellow DIY enthusiasts! Ever been plagued by that sticky, stubborn residue left behind after peeling off a sticker? It’s the bane of every crafter, parent, and anyone who’s ever tried to remove a price tag. I’ve tried countless methods, from harsh chemicals to tedious scrubbing, and let me tell you, some work better than others. But today, I’m sharing a surprisingly simple and effective hack that uses something you probably already have in your kitchen: salt!
Yes, you read that right. Plain old table salt can be a surprisingly powerful weapon against sticker residue. It’s abrasive enough to lift the gunk without damaging most surfaces, and it’s a natural, non-toxic alternative to harsh chemicals. I was skeptical at first, but after trying it myself, I’m a total convert.
Here’s how to banish that sticky mess for good:
What You’ll Need
Before we dive in, let’s gather our supplies. This is a pretty low-key project, so you likely have everything you need already.
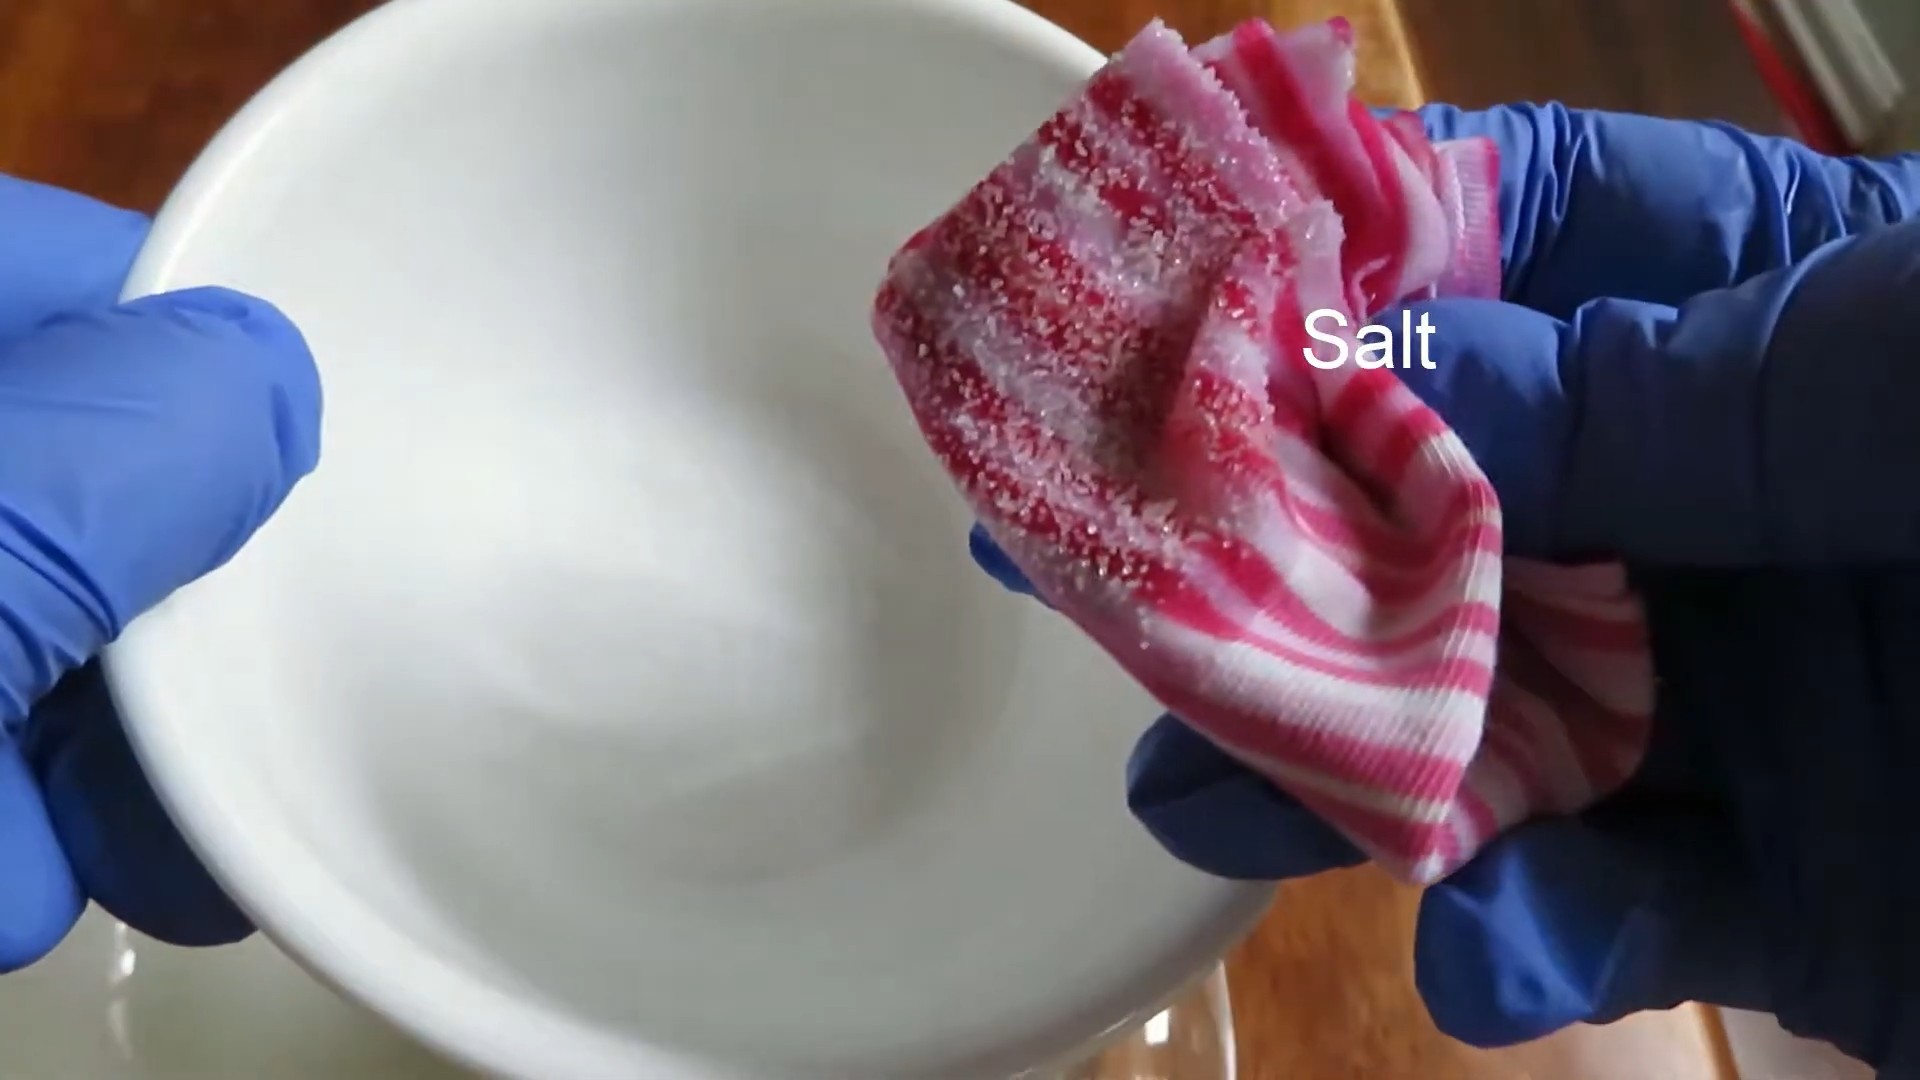
* **Table Salt:** The coarser the salt, the more abrasive it will be. I usually use regular table salt, but you can experiment with sea salt or kosher salt if you like. Just be mindful of the surface you’re cleaning.
* **Cooking Oil (Vegetable, Olive, or Coconut):** The oil helps to loosen the adhesive and allows the salt to work its magic. I’ve found that vegetable oil works just fine, but olive oil adds a nice scent! Coconut oil is great too, especially if you’re dealing with residue on a surface that might be sensitive to other oils.
* **Soft Cloth or Paper Towel:** You’ll need something to apply the mixture and wipe away the residue. I prefer a soft microfiber cloth, but paper towels work in a pinch.
* **Spatula or Plastic Scraper (Optional):** For particularly stubborn residue, a spatula or plastic scraper can help lift the gunk without scratching the surface. Avoid using metal scrapers, as they can easily damage delicate materials.
* **Warm Water (Optional):** For rinsing the area after removing the residue.
* **Mild Dish Soap (Optional):** For cleaning the area after rinsing, if needed.
Step-by-Step Instructions: Salt-Powered Sticker Residue Removal
Now that we have our supplies, let’s get to the fun part: removing that pesky residue!
1. **Prepare the Surface:** Before you start, make sure the surface is clean and dry. Wipe away any loose dirt or debris with a damp cloth. This will prevent the salt from scratching the surface.
2. **Mix the Salt and Oil:** In a small bowl, combine equal parts salt and cooking oil. I usually start with about a tablespoon of each. Mix well until you form a thick paste. The consistency should be similar to a scrub.
3. **Apply the Mixture:** Using your finger or a soft cloth, apply a generous amount of the salt and oil mixture to the sticker residue. Make sure to cover the entire area completely.
4. **Let it Sit:** This is the key to success! Allow the mixture to sit on the residue for at least 10-15 minutes. This gives the oil time to penetrate the adhesive and loosen its grip. For really stubborn residue, you can let it sit for up to an hour. I’ve even left it overnight on occasion!
5. **Gently Scrub:** After the mixture has had time to soak, gently scrub the residue with a soft cloth or paper towel. Use circular motions and apply light pressure. You should start to see the residue lifting away.
6. **Use a Scraper (If Needed):** If the residue is particularly stubborn, use a spatula or plastic scraper to gently lift the edges. Be careful not to scratch the surface. Work slowly and patiently.
7. **Wipe Away the Residue:** Continue scrubbing and scraping until all the residue is gone. Wipe away the excess salt and oil mixture with a clean cloth or paper towel.
8. **Rinse with Warm Water (Optional):** If the surface is safe to rinse, use warm water to remove any remaining oil or salt.
9. **Wash with Dish Soap (If Needed):** If the surface feels oily after rinsing, wash it with a mild dish soap and water. Rinse thoroughly and dry with a clean cloth.
10. **Repeat if Necessary:** For very stubborn residue, you may need to repeat the process a few times. Don’t get discouraged! Persistence is key.
Tips and Tricks for Success
* Test in an Inconspicuous Area: Before applying the salt and oil mixture to the entire surface, test it in a small, inconspicuous area to make sure it doesn’t damage the material. This is especially important for delicate surfaces like painted wood or plastic.
* Adjust the Abrasiveness: If you’re working with a delicate surface, use a finer salt and apply less pressure when scrubbing. You can also dilute the salt and oil mixture with a little bit of water.
* Warm the Oil: Warming the oil slightly before mixing it with the salt can help it penetrate the adhesive more effectively. Just be careful not to overheat it.
* Use a Hair Dryer: For stubborn residue on glass or metal, you can try using a hair dryer to warm the adhesive before applying the salt and oil mixture. This can help to soften the residue and make it easier to remove.
* Patience is Key: Don’t rush the process. Allow the salt and oil mixture to sit on the residue for the recommended time, and scrub gently. Rushing can damage the surface and make the residue even harder to remove.
* Try Different Oils: Experiment with different types of cooking oil to see which one works best for you. Some people prefer olive oil for its scent, while others find that coconut oil is more effective on certain types of residue.
* Vinegar Alternative: If you don’t have cooking oil on hand, you can try using white vinegar instead. Vinegar is a natural solvent that can help to dissolve the adhesive. Just be sure to test it in an inconspicuous area first, as it can damage some surfaces.
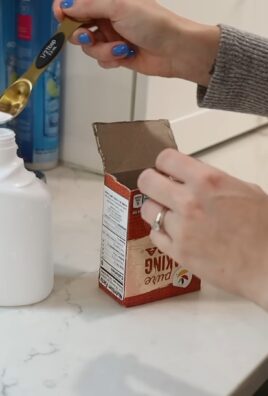
* Baking Soda Paste: Another alternative is to make a paste of baking soda and water. Baking soda is a mild abrasive that can help to scrub away the residue.
* Eucalyptus Oil: Eucalyptus oil is a natural solvent that is known for its ability to dissolve adhesives. Apply a few drops of eucalyptus oil to the residue and let it sit for a few minutes before wiping it away.
* Peanut Butter Power: Believe it or not, peanut butter can also be effective at removing sticker residue! The oils in peanut butter help to break down the adhesive. Apply a thin layer of peanut butter to the residue, let it sit for 10-15 minutes, and then wipe it away. Just be sure to clean the area thoroughly afterwards to remove any peanut butter residue.
Surfaces Where This Hack Works Well
I’ve successfully used this salt and oil method on a variety of surfaces, including:
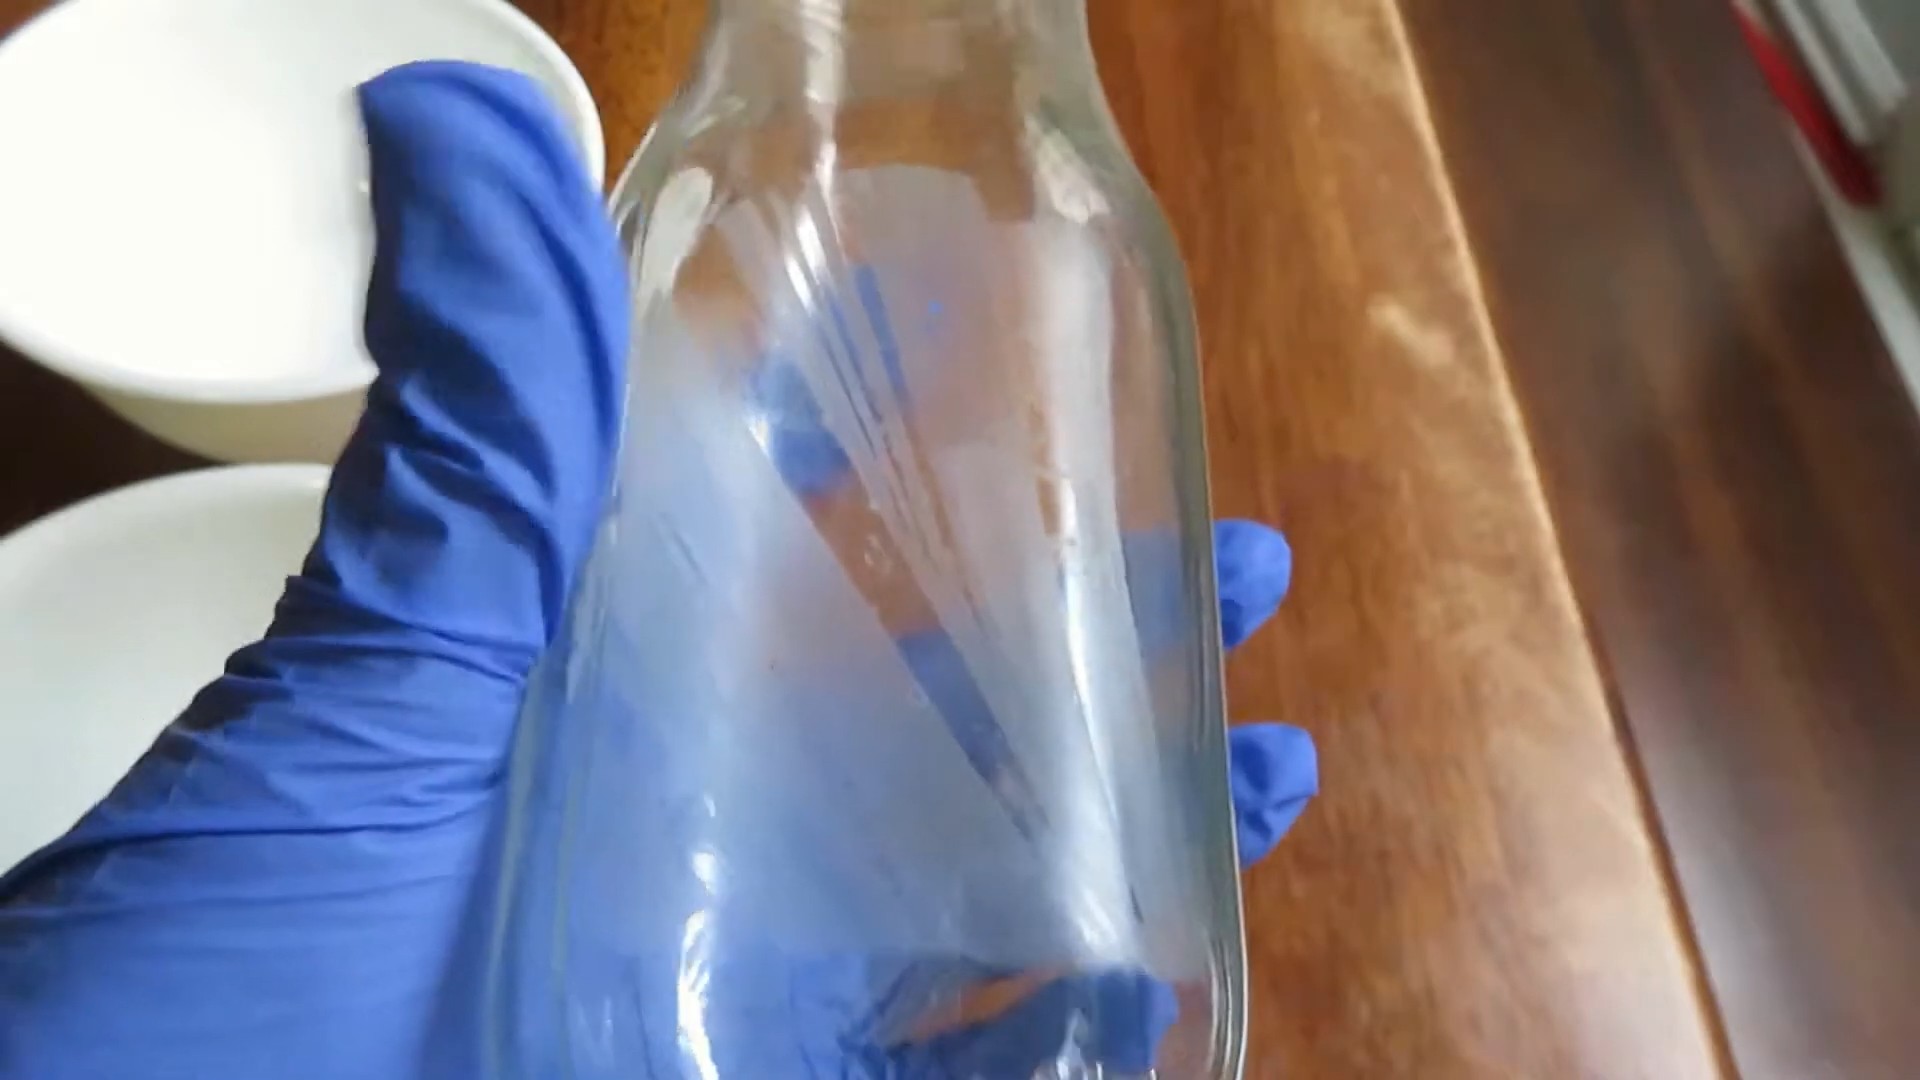
* **Glass:** Windows, mirrors, jars, and bottles.
* **Plastic:** Containers, toys, and furniture. Always test first!
* **Metal:** Appliances, tools, and hardware.
* **Wood:** Furniture, cabinets, and floors (with caution and testing).
* **Ceramic:** Tiles, dishes, and pottery.
Surfaces to Be Cautious With
While this hack is generally safe, there are some surfaces where you should proceed with caution:
* **Painted Surfaces:** The abrasive nature of salt can scratch or dull painted surfaces. Always test in an inconspicuous area first.
* **Delicate Fabrics:** Avoid using this method on delicate fabrics, as the oil can stain.
* **Electronics:** Be very careful when using this method near electronics, as moisture can damage the internal components.
* **Certain Plastics:** Some plastics are more susceptible to scratching than others. Test in an inconspicuous area first.
Why This Works: The Science Behind the Magic
So, why does this simple salt and oil mixture work so well? It’s all about the combination of abrasion and solvent action.
* **Salt as an Abrasive:** The salt acts as a gentle abrasive, helping to physically lift the sticker residue from the surface. The small, granular particles create friction that breaks down the adhesive bonds.
* **Oil as a Solvent:** The cooking oil acts as a solvent, helping to dissolve the adhesive and loosen its grip on the surface. The oil penetrates the residue and weakens the bonds between the adhesive and the surface.
By combining these two actions, the salt and oil mixture effectively removes sticker residue without damaging most surfaces.
I hope this DIY hack helps you conquer those sticky situations! It’s a simple, affordable, and effective way to remove sticker residue without resorting to harsh chemicals. Happy cleaning!
Conclusion
So, there you have it! This simple, yet incredibly effective, DIY trick using salt to remove stubborn sticker residue is a game-changer. Forget spending money on expensive, chemical-laden removers that often leave behind a greasy film or even damage the surface underneath. This method is not only cost-effective, utilizing an ingredient you almost certainly already have in your pantry, but it’s also environmentally friendly and safe for use on a variety of surfaces.
Why is this a must-try? Because it works! We’ve all been there, battling that sticky, frustrating residue left behind by price tags, labels, or even old bumper stickers. This salt-based solution cuts through the adhesive, gently lifting it away without scratching or harming the underlying material. It’s a lifesaver for everything from removing price tags from delicate glassware to cleaning up sticky messes on your car’s windows.
But the beauty of this method lies in its adaptability. While plain table salt works wonders, you can experiment with different types of salt for varying levels of abrasiveness. For more delicate surfaces, finely ground sea salt or even Epsom salt might be a better choice. For tougher residues on more durable materials, coarser kosher salt can provide extra scrubbing power. You can also enhance the cleaning power by adding a few drops of essential oil, such as lemon or orange, which are known for their degreasing properties and leave behind a pleasant scent. Another variation involves creating a salt paste with a bit of baking soda and water for an even more potent cleaning solution. Remember to always test a small, inconspicuous area first to ensure the salt doesn’t damage the surface.
We’re confident that once you try this DIY sticker residue removal salt trick, you’ll be amazed by the results. It’s a simple, effective, and affordable solution to a common household problem. So, ditch the harsh chemicals and embrace the power of salt!
We encourage you to give this method a try and share your experiences with us. Let us know in the comments below what surfaces you’ve used it on, what variations you’ve tried, and any tips or tricks you’ve discovered along the way. Your feedback will help others discover the magic of this simple solution and banish sticker residue from their lives forever! Don’t forget to share this article with your friends and family so they can benefit from this amazing DIY hack too. Let’s spread the word and make sticky residue a thing of the past!
Frequently Asked Questions (FAQs)
What kind of salt works best for removing sticker residue?
The best type of salt depends on the surface you’re cleaning. For most surfaces, plain table salt is a good starting point. It’s readily available and provides a good balance of abrasiveness. However, for more delicate surfaces like glass or painted wood, finely ground sea salt or Epsom salt are gentler options. For tougher residues on durable surfaces like metal or plastic, coarser kosher salt can provide more scrubbing power. Always test a small, hidden area first to ensure the salt doesn’t scratch or damage the surface.
Can I use this method on all surfaces?
While this method is generally safe and effective, it’s not suitable for all surfaces. Avoid using salt on surfaces that are easily scratched, such as polished wood, soft plastics, or certain types of painted finishes. Always test a small, inconspicuous area first to ensure the salt doesn’t cause any damage. If you’re unsure, it’s best to consult the manufacturer’s instructions for the surface you’re cleaning.
How do I make a salt paste for removing sticker residue?
Creating a salt paste is easy! Simply mix equal parts salt (table salt, sea salt, or kosher salt, depending on the surface) and baking soda in a small bowl. Gradually add water, a teaspoon at a time, until you form a thick paste. Apply the paste to the sticker residue, let it sit for a few minutes, and then gently scrub with a soft cloth or sponge. Rinse with water and dry thoroughly. The baking soda adds extra cleaning power and helps to lift the residue.
How long should I let the salt sit on the sticker residue?
The amount of time you let the salt sit on the sticker residue depends on the severity of the residue. For light residues, a few minutes may be sufficient. For tougher residues, you may need to let the salt sit for 10-15 minutes. You can also try gently warming the area with a hairdryer before applying the salt to help soften the adhesive. Just be careful not to overheat the surface.
What if the salt doesn’t remove all the sticker residue?
If the salt doesn’t remove all the sticker residue on the first try, don’t give up! You can try repeating the process, applying more pressure while scrubbing, or using a different type of salt. You can also try combining the salt with other cleaning agents, such as vinegar or rubbing alcohol. However, be sure to test these combinations on a small, hidden area first to ensure they don’t damage the surface.
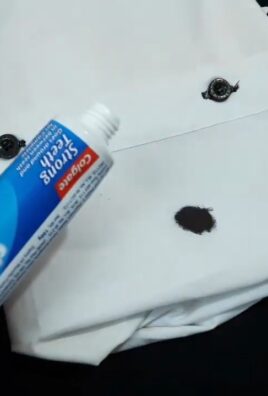
Can I use this method to remove sticker residue from clothing?
While salt can be used to remove some types of stains from clothing, it’s not the best option for removing sticker residue. The abrasive nature of salt can damage delicate fabrics. Instead, try using a mild detergent or stain remover specifically designed for clothing. You can also try freezing the garment to harden the adhesive and then gently peeling it off.
Is this method safe for removing sticker residue from car windows?
Yes, this method is generally safe for removing sticker residue from car windows. However, be careful not to scratch the glass. Use a soft cloth or sponge and avoid applying too much pressure. You can also try using a plastic scraper to gently lift the residue. If you’re concerned about scratching the glass, you can try using a glass cleaner or rubbing alcohol instead.
What are some other uses for salt in cleaning?
Salt is a versatile cleaning agent with many uses beyond removing sticker residue. It can be used to clean cast iron pans, remove stains from carpets, freshen up sponges, and even unclog drains. Its abrasive properties make it an effective scrubbing agent, while its absorbent properties help to soak up spills and odors.
Does the salt have to be wet to work?
Yes, the salt needs to be slightly wet to work effectively. The moisture helps to dissolve the salt and create a mild abrasive paste that can lift the sticker residue. You can either dampen the area with water before applying the salt or mix the salt with a small amount of water to create a paste.
How do I prevent sticker residue in the first place?
The best way to deal with sticker residue is to prevent it from happening in the first place. When removing stickers, try peeling them off slowly and carefully, pulling at a low angle. You can also try warming the sticker with a hairdryer before peeling it off to soften the adhesive. If you know you’ll need to remove a sticker later, consider using a removable sticker label instead of a permanent one.
Leave a Comment