

Living room cleaning tips – who doesn’t need a few of those up their sleeve? Let’s be honest, the living room is often the heart of the home, a place for relaxation, entertainment, and sometimes, a whole lot of mess! From movie nights leaving behind popcorn trails to kids building elaborate forts, it’s a space that sees a lot of action. But keeping it clean and inviting doesn’t have to be a daunting chore.
For centuries, cultures around the world have valued clean and organized living spaces. Think of the ancient Japanese art of *Oosouji*, a thorough year-end cleaning ritual meant to purify the home and welcome good fortune. While we might not be sweeping out bad spirits, a clean living room can certainly boost our mood and create a more peaceful atmosphere.
I’m here to share some simple yet effective living room cleaning tips and DIY hacks that will transform your space from chaotic to cozy in no time. We’ll tackle everything from dust bunnies hiding under the sofa to stubborn stains on your favorite rug. These aren’t just about surface-level cleaning; they’re about creating a healthier, happier, and more inviting living space for you and your loved ones. So, grab your cleaning supplies, and let’s get started!

DIY Deep Clean: Transforming Your Living Room into a Sanctuary
Okay, let’s face it, the living room. It’s the heart of the home, the place where we relax, entertain, and sometimes, let’s be honest, just dump stuff. But a cluttered, dusty living room isn’t exactly conducive to relaxation. So, I’m going to walk you through my tried-and-true method for a deep clean that will leave your living room feeling fresh, inviting, and ready for anything. Get ready to roll up your sleeves!
Phase 1: The Pre-Clean Blitz – Clearing the Decks
Before we even think about scrubbing, we need to declutter. This is crucial, trust me. You can’t clean effectively if you’re constantly moving piles of magazines and stray socks.
- Gather your supplies: You’ll need a few laundry baskets or large bags, garbage bags, and maybe a box for donations.
- Tackle the clutter: Go through everything! Be ruthless. Ask yourself: Do I use this? Do I love this? If the answer to both is no, it’s time to let it go.
- Sort and conquer: Divide the clutter into categories: things to put away, things to donate, and things to throw away.
- Put everything in its place: This is the most important step! Actually put the items you’re keeping back where they belong. Don’t just move them to another pile.
Phase 2: Dusting Like a Pro – Reaching Every Nook and Cranny
Dust is the enemy! It settles everywhere and makes everything look dull. We’re going to wage war on dust and win.
- Gather your supplies: You’ll need microfiber cloths (these are amazing for trapping dust), a duster with an extendable handle (for those hard-to-reach places), a vacuum cleaner with attachments, and furniture polish.
- Start high, work low: Dust falls downwards, so start with the highest surfaces and work your way down. This prevents you from having to re-dust areas you’ve already cleaned.
- Ceiling fans: Use the duster with the extendable handle to clean the ceiling fan blades. Make sure to dust both sides of the blades.
- Light fixtures: Carefully dust light fixtures. If they’re glass, you can use a glass cleaner.
- Walls and baseboards: Use a microfiber cloth or the duster attachment on your vacuum cleaner to dust the walls and baseboards.
- Furniture: Dust all furniture, including tables, shelves, and entertainment centers. Use furniture polish on wood surfaces.
- Electronics: Unplug electronics before dusting them. Use a dry microfiber cloth to wipe down screens and keyboards. Avoid using liquids directly on electronics.
Phase 3: Window Wonders – Letting the Sunshine In
Clean windows make a huge difference in the overall brightness and feel of a room. Let’s get those windows sparkling!
- Gather your supplies: You’ll need a window cleaner (I like a simple solution of vinegar and water), a spray bottle, microfiber cloths, and a squeegee (optional, but it helps prevent streaks).
- Prepare the windows: Dust the windowsills and frames with a dry cloth.
- Spray the windows: Spray the window cleaner liberally on the glass.
- Wipe the windows: Use a clean microfiber cloth to wipe the windows clean. If you’re using a squeegee, overlap each stroke slightly.
- Dry the windows: Use a clean, dry microfiber cloth to dry the windows. This will help prevent streaks.
- Clean the window tracks: Use a small brush or a cotton swab to clean the window tracks. You can also use a vacuum cleaner with a crevice tool.
Phase 4: Floor Focus – From Carpets to Hardwood, We’ve Got You Covered
The floor is often the dirtiest part of the living room. We need to give it some serious attention.
Carpet Cleaning
- Vacuum thoroughly: Vacuum the entire carpet, paying special attention to high-traffic areas. Go over each area several times to remove as much dirt and debris as possible.
- Spot clean stains: Use a carpet stain remover to treat any stains. Follow the instructions on the stain remover carefully.
- Deep clean the carpet: You can rent a carpet cleaner or hire a professional. If you’re renting a carpet cleaner, follow the instructions carefully. Make sure to use the correct amount of cleaning solution.
- Dry the carpet: Open windows and doors to help the carpet dry faster. You can also use fans to circulate the air.
Hardwood Floor Cleaning
- Sweep or vacuum: Sweep or vacuum the floor to remove loose dirt and debris.
- Mop the floor: Use a hardwood floor cleaner and a damp mop to clean the floor. Avoid using too much water, as this can damage the wood.
- Dry the floor: Dry the floor with a clean, dry cloth.
Tile Floor Cleaning
- Sweep or vacuum: Sweep or vacuum the floor to remove loose dirt and debris.
- Mop the floor: Use a tile floor cleaner and a damp mop to clean the floor.
- Clean the grout: Use a grout brush and a grout cleaner to clean the grout lines.
- Rinse the floor: Rinse the floor with clean water.
- Dry the floor: Dry the floor with a clean, dry cloth.
Phase 5: Upholstery Update – Refreshing Your Furniture
Your sofa and chairs can harbor a lot of dust and dirt. Let’s give them a good cleaning.
- Vacuum the upholstery: Use the upholstery attachment on your vacuum cleaner to vacuum the entire surface of the furniture. Pay special attention to crevices and seams.
- Spot clean stains: Use an upholstery stain remover to treat any stains. Follow the instructions on the stain remover carefully. Always test the stain remover on an inconspicuous area first to make sure it doesn’t damage the fabric.
- Deep clean the upholstery: You can rent an upholstery cleaner or hire a professional. If you’re renting an upholstery cleaner, follow the instructions carefully. Make sure to use the correct amount of cleaning solution.
- Deodorize the upholstery: Sprinkle baking soda on the upholstery and let it sit for 30 minutes. Then, vacuum up the baking soda. This will help to deodorize the furniture.
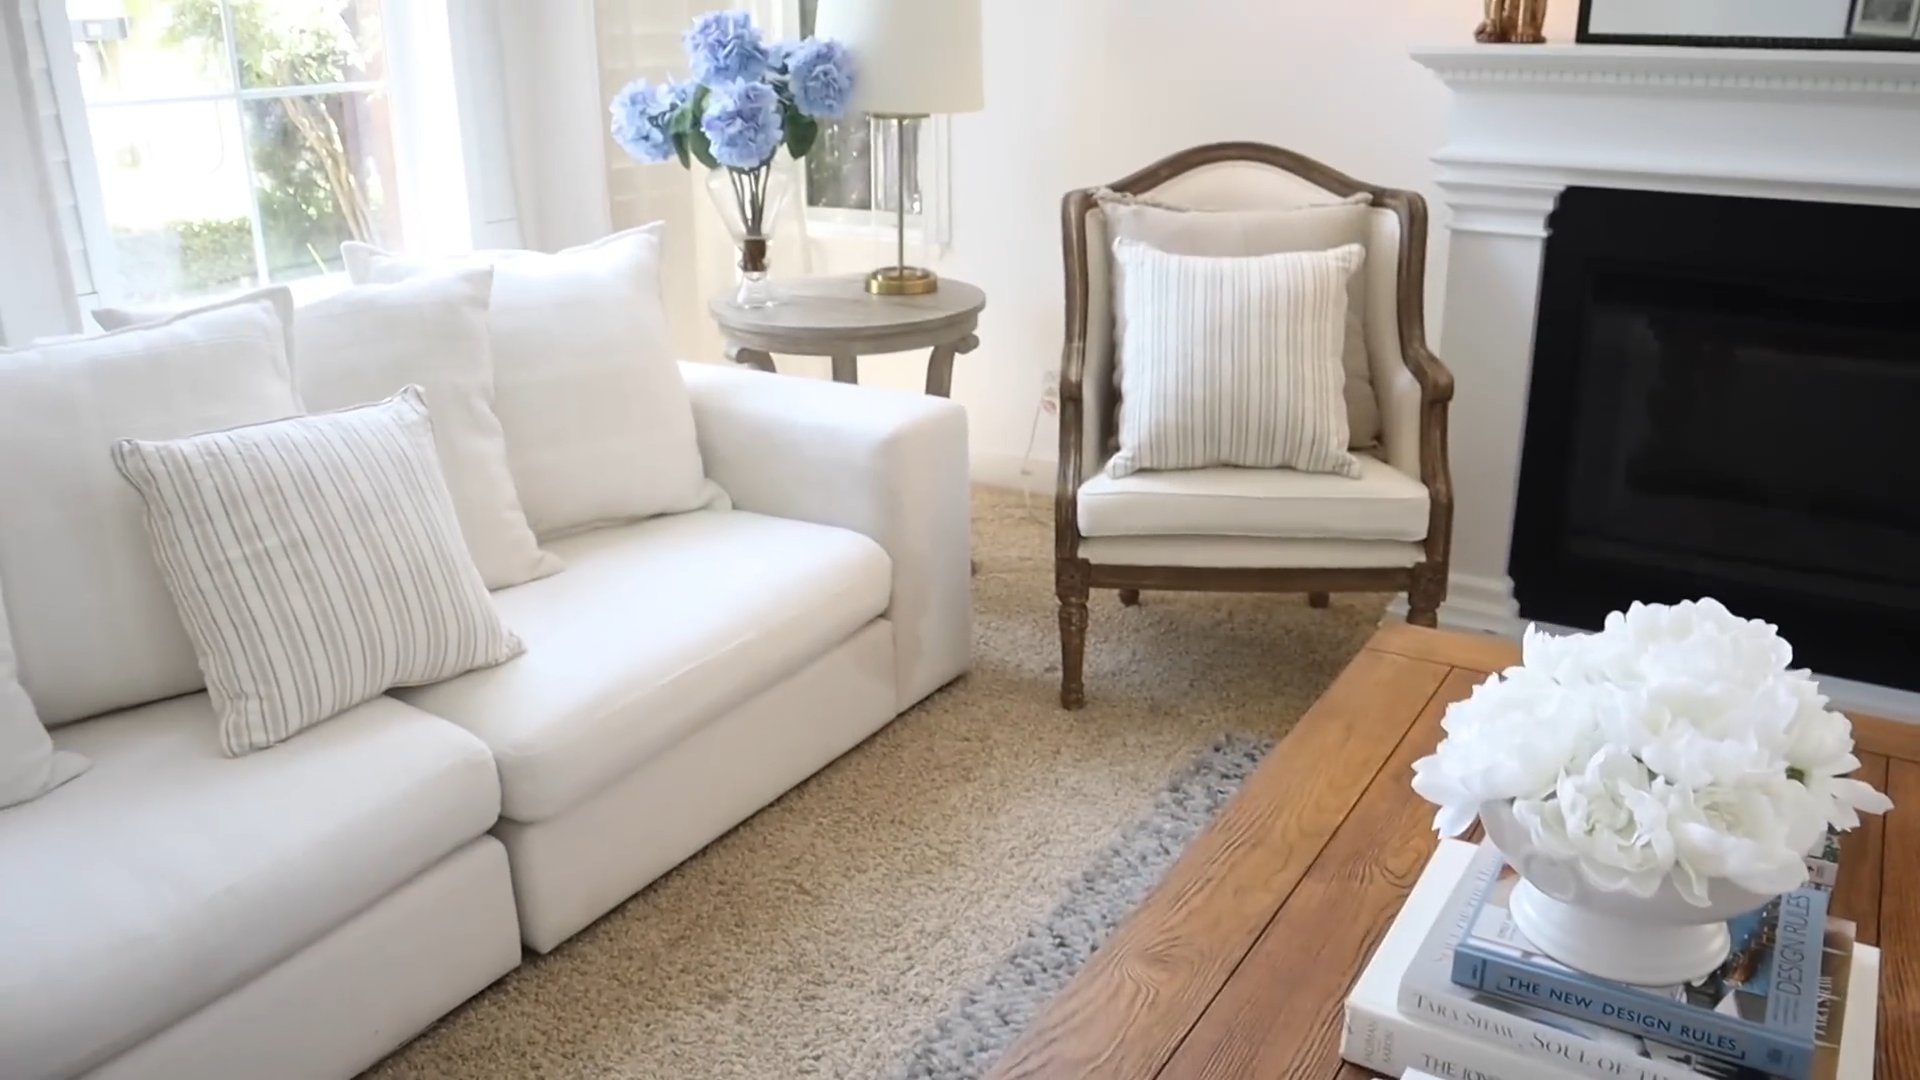
Phase 6: Accessorize and Final Touches – Adding the Sparkle
Now that everything is clean, it’s time to add the finishing touches that will make your living room feel truly special.
- Arrange pillows and throws: Fluff your pillows and arrange them artfully on the sofa and chairs. Drape a throw blanket over the back of the sofa or an armchair.
- Style your coffee table: Arrange a few decorative items on your coffee table, such as books, candles, or a vase of flowers.
- Add plants: Plants add life and freshness to any room. Choose plants that are appropriate for the amount of light in your living room.
- Hang artwork: Make sure your artwork is hung at the correct height. The center of the artwork should be at eye level.
- Light a candle or diffuse essential oils: Choose a scent that you find relaxing and inviting.
Step-by-Step Instructions: The Ultimate Living Room Deep Clean Checklist
Okay, here’s the whole process broken down into numbered steps for easy reference:
1. Gather your cleaning supplies: Make sure you have everything you need before you start. This will save you time and prevent you from having to run to the store in the middle of your cleaning spree.
2. Declutter the living room: Remove all clutter and put everything in its place.
3. Dust the ceiling fan and light fixtures: Start with the highest surfaces and work your way down.
4. Dust the walls and baseboards: Use a microfiber cloth or the duster attachment on your vacuum cleaner.
5. Dust the furniture: Use furniture polish on wood surfaces.
6. Dust the electronics: Unplug electronics before dusting them.
7. Clean the windows: Spray the windows with window cleaner and wipe them clean with a microfiber cloth.
8. Vacuum the carpet or sweep the hardwood floor: Remove loose dirt and debris.
9. Spot clean stains on the carpet or upholstery: Use a stain remover to treat any stains.
10. Deep clean the carpet or upholstery (optional): Rent a carpet cleaner or hire a professional.
11.
Conclusion
So, there you have it! Transforming your living room into a sparkling, inviting haven doesn’t require a small fortune or an army of cleaning professionals. By embracing these simple yet effective DIY living room cleaning tips, you can achieve a level of cleanliness and freshness you might not have thought possible.
The beauty of these methods lies in their adaptability. Feel free to experiment with different essential oil combinations for your cleaning solutions to create a scent that truly resonates with you. Lavender and lemon offer a calming and refreshing aroma, while eucalyptus and tea tree oil provide a more invigorating and antibacterial boost. If you’re dealing with particularly stubborn stains on your upholstery, consider adding a small amount of baking soda to your cleaning mixture for extra scrubbing power. Remember to always test any cleaning solution on an inconspicuous area first to ensure it doesn’t damage the fabric.
Don’t underestimate the power of regular maintenance. A quick 15-minute tidy-up each day can prevent dirt and clutter from accumulating, making your weekly deep clean much easier. Encourage family members to participate in keeping the living room clean by establishing simple rules, such as putting away toys and books after use.
We understand that embarking on a new cleaning routine can feel daunting, but we promise the results are well worth the effort. A clean and organized living room is not just aesthetically pleasing; it’s also conducive to relaxation, productivity, and overall well-being. Imagine sinking into a freshly cleaned sofa after a long day, surrounded by a clutter-free space that promotes peace and tranquility.
We are confident that these DIY living room cleaning tips will empower you to create a living space you truly love. We encourage you to give them a try and discover the satisfaction of achieving a sparkling clean living room with your own two hands.
But don’t just take our word for it! We’d love to hear about your experiences. Share your before-and-after photos, your favorite cleaning hacks, and any variations you’ve tried in the comments below. Let’s create a community of cleaning enthusiasts who inspire and support each other in maintaining beautiful and healthy homes. Your insights could be invaluable to someone else who’s just starting their cleaning journey. So, grab your cleaning supplies, put on some music, and get ready to transform your living room into a space you’ll be proud to call your own. Happy cleaning!
Frequently Asked Questions (FAQ)
Q1: How often should I deep clean my living room?
The frequency of deep cleaning depends on several factors, including the size of your household, the presence of pets, and your personal preferences. As a general guideline, we recommend deep cleaning your living room at least once a month. However, if you have children or pets, or if your living room experiences heavy traffic, you may need to deep clean more frequently, perhaps every two weeks. Regular maintenance, such as daily tidying and weekly dusting and vacuuming, can help extend the time between deep cleans.
Q2: What’s the best way to remove pet hair from my living room furniture?
Pet hair can be a persistent problem, but there are several effective solutions. A lint roller is a classic choice for removing surface hair from upholstery and clothing. For more stubborn hair, try using a rubber glove or a damp sponge to wipe down the furniture. The rubber or dampness will help to lift the hair from the fabric. You can also invest in a vacuum cleaner specifically designed for pet hair removal, which typically features powerful suction and specialized attachments. Regularly brushing your pets can also significantly reduce the amount of hair they shed in your living room.
Q3: How can I get rid of stubborn stains on my carpet?
Act quickly! The longer a stain sits, the harder it is to remove. Blot the stain with a clean cloth or paper towel, working from the outside in to prevent it from spreading. Avoid rubbing, as this can damage the carpet fibers. For specific stain types, there are various DIY solutions you can try. For example, a mixture of white vinegar and water can be effective for removing many common stains. Baking soda can help to absorb odors and lift stains. Always test any cleaning solution on an inconspicuous area of the carpet first to ensure it doesn’t cause discoloration. If the stain persists, consider hiring a professional carpet cleaner.
Q4: What’s the best way to clean my windows and mirrors without streaks?
Achieving streak-free windows and mirrors requires the right technique and cleaning solution. Avoid cleaning windows on a sunny day, as the heat can cause the cleaning solution to dry too quickly, leaving streaks. Use a microfiber cloth to wipe down the glass, as it’s less likely to leave lint behind. For a DIY cleaning solution, mix equal parts white vinegar and water in a spray bottle. You can also add a few drops of dish soap for extra cleaning power. Spray the solution onto the glass and wipe it down with the microfiber cloth, using overlapping strokes. Dry the glass with a clean, dry microfiber cloth or squeegee.
Q5: How can I keep my living room smelling fresh?
There are many ways to keep your living room smelling fresh and inviting. Regularly ventilate the room by opening windows and doors to allow fresh air to circulate. Use air fresheners, essential oil diffusers, or scented candles to add a pleasant fragrance. Place bowls of baking soda around the room to absorb odors. You can also simmer a pot of water on the stove with citrus peels, herbs, or spices to create a natural air freshener. Regularly clean your upholstery and carpets, as they can trap odors. Don’t forget to empty your trash can frequently and clean it regularly to prevent unpleasant smells from lingering.
Q6: Are there any natural alternatives to harsh chemical cleaners?
Yes, there are many natural and effective alternatives to harsh chemical cleaners. White vinegar is a versatile cleaner that can be used to disinfect surfaces, remove stains, and deodorize. Baking soda is a gentle abrasive that can be used to scrub surfaces and absorb odors. Lemon juice is a natural disinfectant and degreaser. Essential oils can be added to cleaning solutions for their antibacterial and antifungal properties, as well as their pleasant scents. When using natural cleaners, it’s important to test them on an inconspicuous area first to ensure they don’t damage the surface.
Q7: How do I clean delicate items in my living room, such as antiques or artwork?
Cleaning delicate items requires extra care and attention. Dust antiques and artwork regularly with a soft, dry cloth. Avoid using harsh chemicals or abrasive cleaners, as they can damage the finish or surface. For more thorough cleaning, consult with a professional cleaner who specializes in antique or art restoration. They will have the knowledge and expertise to clean these items safely and effectively. When in doubt, it’s always best to err on the side of caution and seek professional help.
Q8: What are some quick and easy ways to declutter my living room?
Decluttering doesn’t have to be a daunting task. Start by identifying items you no longer need or use. Donate, sell, or discard these items. Invest in storage solutions, such as baskets, bins, and shelves, to keep clutter out of sight. Establish a designated place for everything, so it’s easy to put things away. Make it a habit to tidy up for a few minutes each day to prevent clutter from accumulating. Focus on one area at a time, such as a bookshelf or coffee table, to make the task more manageable. Remember, a clutter-free living room is a more relaxing and inviting space.


Leave a Comment