

Clean Humidifier DIY: Are you tired of that musty smell coming from your humidifier? Or maybe you’re worried about the gunk lurking inside, silently polluting the air you breathe? I totally get it! Humidifiers are fantastic for adding moisture to dry air, especially during those harsh winter months, but they can quickly become breeding grounds for mold, mildew, and bacteria if not properly maintained.
For centuries, people have sought ways to improve the air quality in their homes. From hanging damp cloths to using earthenware pots filled with water, the need for humidity has always been recognized. But these methods, like a neglected humidifier, can introduce unwanted contaminants. That’s where a good clean humidifier DIY routine comes in!
Let’s face it, buying a new humidifier every few months isn’t exactly budget-friendly or environmentally conscious. Plus, who has the time to constantly disassemble and scrub every nook and cranny? That’s why I’m so excited to share these simple, effective, and affordable DIY tricks to keep your humidifier sparkling clean and your air fresh. These hacks will not only save you money and time but also ensure that you and your family are breathing healthy, clean air. Get ready to say goodbye to that funky smell and hello to a healthier home environment!
DIY Deep Clean: Breathe Easy with a Sparkling Humidifier
Hey everyone! Are you tired of that funky smell coming from your humidifier? Or maybe you’re just worried about all the gunk that’s building up inside? Don’t worry, I’ve been there! A dirty humidifier can actually make your air quality worse, spreading mold and bacteria instead of clean moisture. But fear not! I’m going to walk you through a super effective DIY cleaning process that will leave your humidifier sparkling and your air fresh. Let’s get started!
Why Cleaning Your Humidifier is Crucial
Before we dive in, let’s quickly chat about why this is so important. Humidifiers create the perfect environment for mold, mildew, and bacteria to thrive. These nasties can then be released into the air you breathe, leading to allergies, respiratory problems, and just generally feeling unwell. Regular cleaning prevents this buildup and ensures your humidifier is actually doing its job – improving your air quality!
What You’ll Need
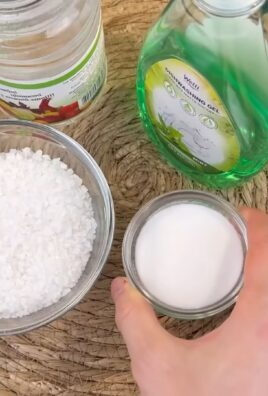
Gathering your supplies beforehand will make the whole process much smoother. Here’s what I recommend having on hand:
* White Vinegar: This is your cleaning superhero! It’s a natural disinfectant and deodorizer.
* Hydrogen Peroxide: Another powerful disinfectant, great for tackling stubborn mold and mildew.
* Mild Dish Soap: For general cleaning and removing any residue.
* Soft-Bristled Brush: An old toothbrush or a small cleaning brush works perfectly for scrubbing those hard-to-reach areas.
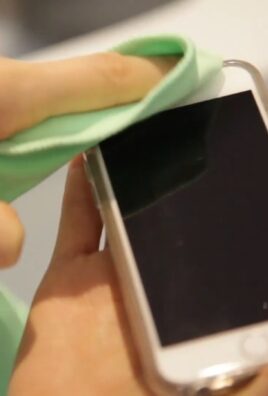
* Clean Rags or Sponges: For wiping down surfaces.
* Gloves: To protect your hands from the cleaning solutions.
* Water: For rinsing everything thoroughly.
* Optional: Cotton swabs for extra detailed cleaning.
The Cleaning Process: A Step-by-Step Guide
Okay, let’s get down to business! Follow these steps carefully to ensure a thorough cleaning.
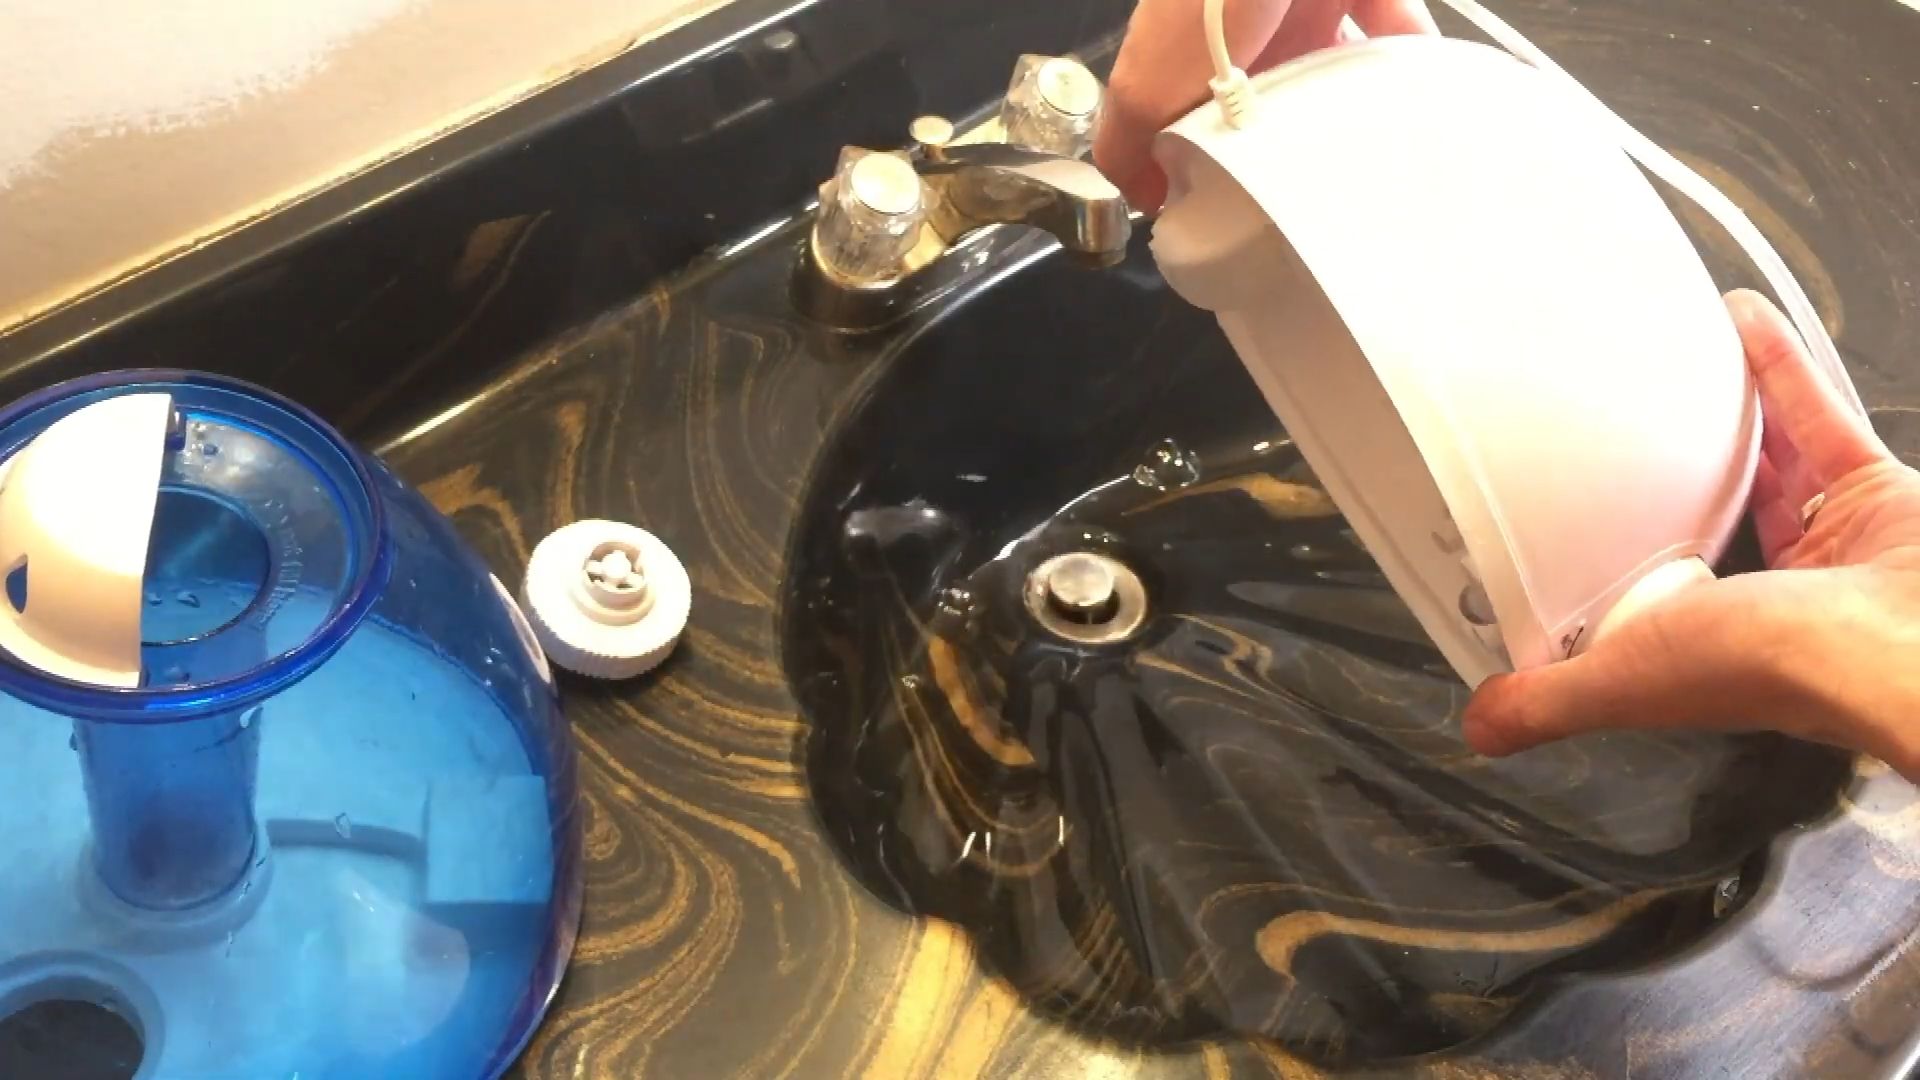
1. Unplug and Disassemble: The first and most important step is to unplug your humidifier from the power outlet. Then, carefully disassemble it according to the manufacturer’s instructions. This usually involves removing the water tank, any filters, and other detachable parts.
2. Empty and Rinse: Empty any remaining water from the tank and base. Give all the parts a good rinse with clean water to remove any loose debris or sediment.
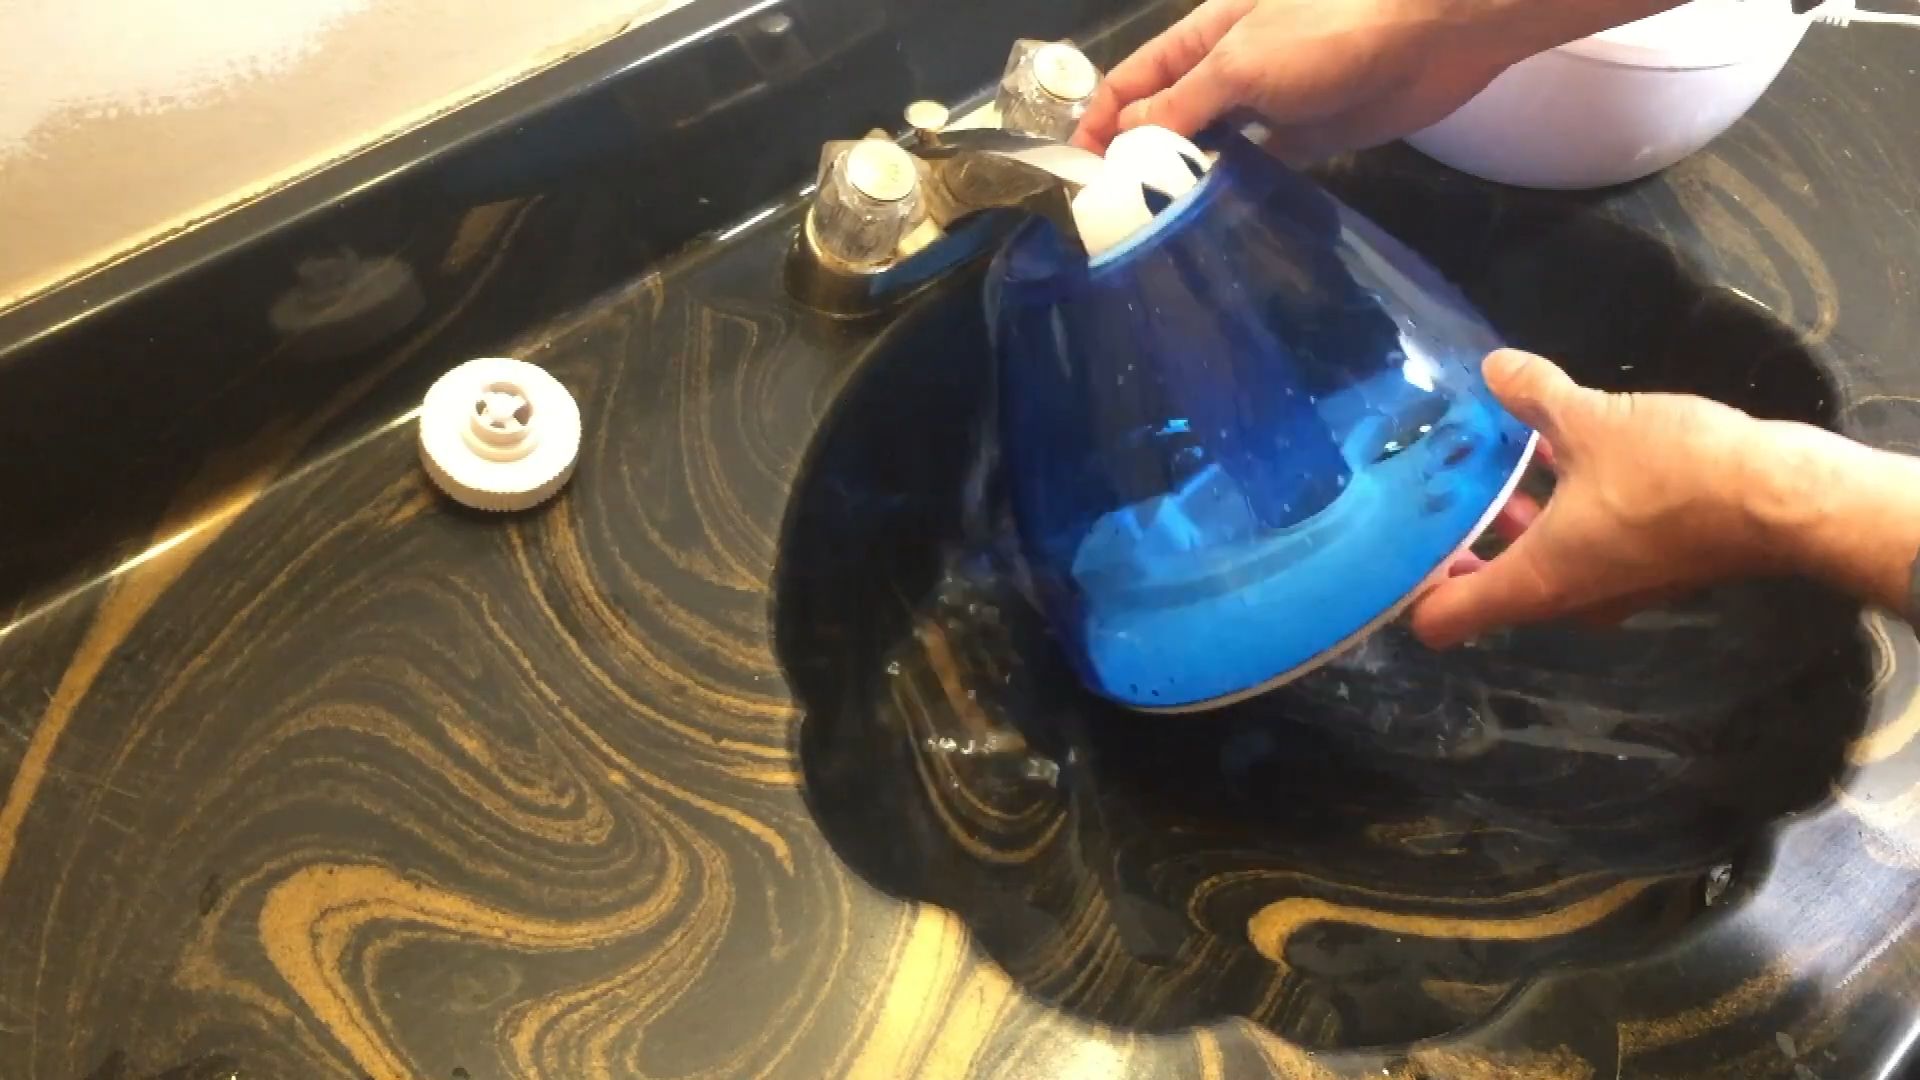
3. Vinegar Soak (Tank and Base): This is where the magic happens!
* For the Tank: Fill the water tank with undiluted white vinegar. Make sure the vinegar reaches all the interior surfaces. Let it soak for at least 30 minutes, or even longer (up to a few hours) for heavily soiled tanks. I usually let mine soak overnight if it’s been a while since the last cleaning.
* For the Base: If your humidifier base has a lot of mineral buildup or grime, you can also soak it in vinegar. You might need to dilute the vinegar with water (a 1:1 ratio) depending on the material of the base. Again, let it soak for at least 30 minutes.
4. Scrubbing Time! After the vinegar soak, it’s time to get scrubbing.
* Tank: Use your soft-bristled brush to scrub the inside of the tank, paying close attention to any areas with visible buildup or discoloration. Really get in there and loosen any stubborn grime.
* Base: Scrub the base thoroughly, focusing on any areas where mineral deposits have accumulated. Use the brush to get into any crevices or hard-to-reach spots.
* Other Parts: Scrub any other detachable parts, such as the mist nozzle or any internal components, with the brush and a little bit of dish soap if needed.
5. Hydrogen Peroxide Treatment (Optional, but Recommended): For extra disinfecting power, especially if you suspect mold or mildew, follow up with a hydrogen peroxide treatment.
* Spray or Soak: Spray the inside of the tank and the base with hydrogen peroxide. You can also soak smaller parts in a hydrogen peroxide solution.
* Let it Sit: Let the hydrogen peroxide sit for about 15-20 minutes to kill any remaining bacteria or mold spores.
6. Rinse Thoroughly: This is super important! Rinse all the parts of your humidifier very, very thoroughly with clean water. Make sure to remove all traces of vinegar, hydrogen peroxide, and dish soap. Any residue left behind can affect the performance of your humidifier and potentially irritate your respiratory system. I usually rinse each part multiple times to be absolutely sure.
7. Disinfecting the Filter (If Applicable): If your humidifier has a filter, check the manufacturer’s instructions for cleaning. Some filters are washable, while others need to be replaced.
* Washable Filters: If your filter is washable, gently rinse it with clean water. You can also soak it in a solution of water and white vinegar (1:1 ratio) for about 30 minutes to disinfect it. Rinse thoroughly and allow it to air dry completely before reassembling.
* Non-Washable Filters: If your filter is not washable, it’s best to replace it according to the manufacturer’s recommendations.
8. Dry Completely: Before reassembling your humidifier, make sure all the parts are completely dry. This will help prevent the growth of mold and mildew. You can air dry the parts on a clean towel or use a clean, dry cloth to wipe them down.
9. Reassemble and Enjoy! Once everything is dry, carefully reassemble your humidifier according to the manufacturer’s instructions. Fill the tank with fresh, clean water, plug it in, and enjoy the clean, fresh air!
Extra Tips for a Sparkling Clean Humidifier
Here are a few extra tips to keep your humidifier in tip-top shape:
* Use Distilled Water: Using distilled water instead of tap water can help prevent mineral buildup in your humidifier. Tap water contains minerals that can deposit on the internal components, making them harder to clean.
* Clean Regularly: Aim to clean your humidifier at least once a week, or more often if you use it frequently. Regular cleaning prevents buildup and keeps your air fresh.
* Empty and Dry Daily: Empty the water tank and dry the humidifier daily to prevent the growth of bacteria and mold.
* Check for Mold: Regularly inspect your humidifier for any signs of mold or mildew. If you find any, clean it immediately using the steps outlined above.
* Follow Manufacturer’s Instructions: Always refer to the manufacturer’s instructions for specific cleaning recommendations for your humidifier model.
Troubleshooting Common Humidifier Issues
Sometimes, even with regular cleaning, you might encounter some common humidifier issues. Here’s how to troubleshoot them:
* Humidifier Not Producing Mist: Check the water level in the tank. Make sure the filter is clean and properly installed. If the problem persists, try cleaning the transducer (the part that creates the mist) with a cotton swab dipped in vinegar.
* Humidifier Smells Bad: This is usually a sign of bacterial or mold growth. Clean the humidifier thoroughly using the steps outlined above. Make sure to use vinegar and hydrogen peroxide to disinfect all the parts.
* Humidifier Leaking: Check the water tank for any cracks or leaks. Make sure the tank is properly seated on the base. If the problem persists, you may need to replace the tank or the entire humidifier.
* White Dust Around Humidifier: This is caused by mineral deposits from tap water. Switch to distilled water to prevent this issue. You can also clean the area around the humidifier with a damp cloth.
Maintaining Your Humidifier for Longevity
Taking good care of your humidifier will not only ensure clean air but also extend its lifespan. Here are some key maintenance tips:
* Store Properly: When you’re not using your humidifier, store it in a clean, dry place. Make sure all the parts are completely dry before storing them.
* Replace Filters Regularly: Replace the filter according to the manufacturer’s recommendations. A clogged filter can reduce the efficiency of your humidifier and affect air quality.
* Inspect Regularly: Regularly inspect your humidifier for any signs of wear and tear. Check the power cord, the water tank, and all the internal components.
* Descale Regularly: Even with distilled water, mineral deposits can still accumulate over time. Descale your humidifier regularly using a vinegar solution to remove these deposits.
Conclusion
Cleaning your humidifier doesn’t have to be a chore! By following these simple steps and incorporating regular maintenance into your routine, you can ensure that your humidifier is providing you with clean, healthy air for years to come. So, grab your supplies, get cleaning, and breathe easy! You’ve got this!
Conclusion
So, there you have it! A simple, effective, and budget-friendly way to keep your humidifier sparkling clean and functioning optimally. We’ve walked you through the steps, highlighted the benefits, and hopefully, convinced you that this clean humidifier DIY is a game-changer for your home’s air quality and your overall well-being.
Why is this a must-try? Because a clean humidifier isn’t just about aesthetics; it’s about health. A dirty humidifier can become a breeding ground for mold, bacteria, and mineral buildup, all of which can be dispersed into the air you breathe. This can trigger allergies, asthma, and other respiratory issues. By taking a few minutes to regularly clean your humidifier using our DIY method, you’re actively protecting yourself and your family from these potential health hazards. Plus, a clean humidifier operates more efficiently, extending its lifespan and saving you money in the long run.
But don’t just take our word for it! We encourage you to experiment and find what works best for you. For instance, if you have particularly stubborn mineral deposits, you might try letting the vinegar solution soak for a longer period, perhaps even overnight. Alternatively, for a more natural cleaning solution, you could substitute the vinegar with lemon juice. The citric acid in lemon juice is a natural disinfectant and deodorizer, leaving your humidifier smelling fresh and clean. Just be sure to rinse thoroughly afterward to remove any lingering lemon residue. Another variation is to use a diluted bleach solution (1 teaspoon of bleach per gallon of water) for disinfecting, but this should be used with extreme caution and followed by a very thorough rinsing to ensure no bleach residue remains. Always prioritize safety and follow the manufacturer’s instructions for your specific humidifier model.
We truly believe that this clean humidifier DIY is a simple yet powerful way to improve your indoor environment. It’s easy to implement, requires minimal effort, and delivers significant results. So, ditch the expensive cleaning solutions and embrace this natural, effective alternative.
Now, it’s your turn! Give this DIY cleaning trick a try and let us know how it goes. Share your experiences, tips, and variations in the comments below. We’re eager to hear your feedback and learn from your experiences. Together, we can create a community of healthy homes and happy humidifiers! Don’t forget to share this article with your friends and family who could benefit from a cleaner, healthier home environment. Let’s spread the word about the power of a simple, effective clean humidifier DIY!
Frequently Asked Questions (FAQ)
Why is it so important to clean my humidifier regularly?
Regular cleaning of your humidifier is crucial for several reasons, primarily related to health and the longevity of the appliance. Humidifiers create a moist environment, which is ideal for the growth of mold, bacteria, and other microorganisms. These contaminants can then be released into the air, potentially causing or exacerbating respiratory problems, allergies, and asthma. Mineral buildup from hard water can also accumulate inside the humidifier, reducing its efficiency and potentially damaging its components. Regular cleaning prevents these issues, ensuring that your humidifier is dispensing clean, healthy moisture into your home.
How often should I clean my humidifier?
The frequency of cleaning depends on how often you use your humidifier and the type of water you use. As a general guideline, you should clean your humidifier at least once a week. If you use your humidifier daily or if you use hard water, you may need to clean it more frequently, perhaps every 2-3 days. Always refer to the manufacturer’s instructions for specific cleaning recommendations for your model. A quick rinse and wipe-down after each use can also help prevent buildup and prolong the time between more thorough cleanings.
Can I use dish soap to clean my humidifier?
While dish soap might seem like a convenient option, it’s generally not recommended for cleaning humidifiers. Dish soap can leave behind a residue that can promote the growth of bacteria and mold. Additionally, some dish soaps contain fragrances and dyes that can be released into the air along with the moisture, potentially causing irritation or allergic reactions. Vinegar or hydrogen peroxide are much better choices for cleaning and disinfecting your humidifier.
What type of vinegar should I use for cleaning?
White distilled vinegar is the best option for cleaning your humidifier. It’s inexpensive, readily available, and effective at dissolving mineral deposits and killing bacteria and mold. Avoid using other types of vinegar, such as apple cider vinegar or balsamic vinegar, as they can contain sugars and other substances that can leave behind a sticky residue.
Is it safe to use bleach to clean my humidifier?
Yes, a diluted bleach solution can be used to disinfect your humidifier, but it should be used with extreme caution. Always use a very diluted solution (1 teaspoon of bleach per gallon of water) and ensure that you rinse the humidifier thoroughly multiple times after cleaning to remove all traces of bleach. Bleach residue can be harmful if inhaled. If you are sensitive to bleach or prefer a more natural option, vinegar or hydrogen peroxide are safer alternatives.
How do I clean the hard-to-reach areas of my humidifier?
For hard-to-reach areas, such as the inside of the water tank or small crevices, you can use a long-handled brush, a cotton swab, or even an old toothbrush. Soak the brush or swab in the vinegar solution and gently scrub the affected areas. You can also try filling the water tank with the vinegar solution and letting it soak for a longer period, perhaps overnight, to loosen stubborn deposits.
How do I prevent mineral buildup in my humidifier?
Using distilled water instead of tap water is the best way to prevent mineral buildup in your humidifier. Distilled water is free of minerals, so it won’t leave behind any deposits. If you must use tap water, consider using a demineralization cartridge or filter, if your humidifier is equipped with one. Regularly cleaning your humidifier, even if you use distilled water, is still important to prevent the growth of bacteria and mold.
My humidifier smells musty even after cleaning. What should I do?
If your humidifier still smells musty after cleaning, it could indicate that there is still some mold or bacteria present. Try cleaning it again with a stronger vinegar solution or a diluted bleach solution (with extreme caution and thorough rinsing). You can also try leaving the humidifier in direct sunlight for a few hours after cleaning, as sunlight is a natural disinfectant. If the smell persists, it may be necessary to replace the humidifier.
Can I put essential oils in my humidifier?
This depends on the type of humidifier you have. Some humidifiers are designed to be used with essential oils, while others are not. Adding essential oils to a humidifier that is not designed for them can damage the appliance and void the warranty. Always check the manufacturer’s instructions before adding essential oils to your humidifier. If your humidifier is not designed for essential oils, consider using a separate diffuser instead.
How do I store my humidifier when it’s not in use?
When storing your humidifier, it’s important to clean it thoroughly and allow it to dry completely to prevent the growth of mold and bacteria. Disassemble the humidifier and clean each part according to the manufacturer’s instructions. Allow all parts to air dry completely before reassembling and storing the humidifier in a cool, dry place. Consider storing the humidifier in its original packaging or in a plastic bag to protect it from dust and dirt.
Leave a Comment