

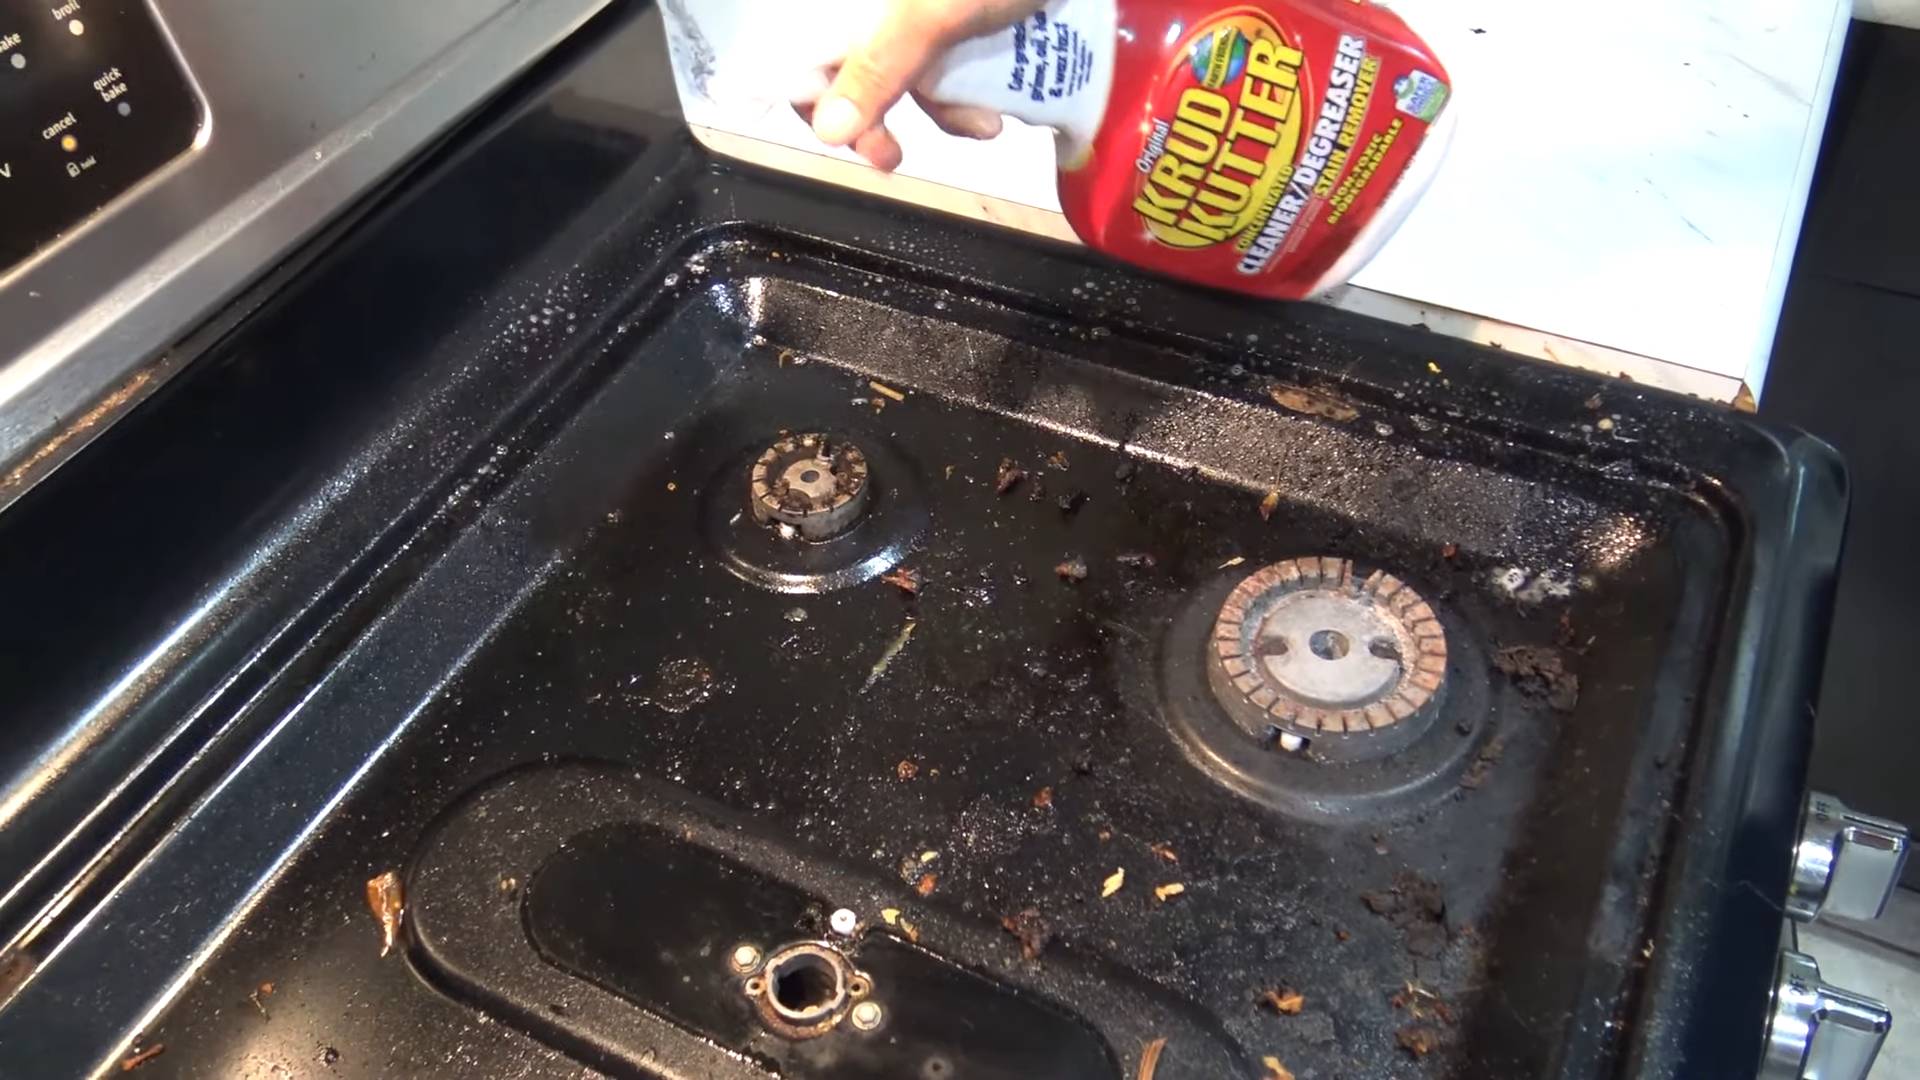
Clean Gas Stove: Is your gas stove looking less like a culinary command center and more like a Jackson Pollock painting gone wrong? Don’t despair! We’ve all been there. That burnt-on food, greasy splatters, and stubborn stains can make even the most enthusiastic home cook cringe. But before you resign yourself to a lifetime of scrubbing, let me tell you a secret: you don’t have to!
For generations, the humble gas stove has been the heart of countless kitchens, fueling family meals and culinary experiments. From the wood-fired ovens of ancient civilizations to the modern marvels we use today, the desire for efficient and reliable cooking has always been a driving force. But with great cooking comes great responsibility… the responsibility to clean gas stove surfaces!
Let’s face it, nobody enjoys spending hours scrubbing away at a grimy stove. Time is precious, and there are far more enjoyable things to do than battling baked-on messes. That’s why I’m so excited to share these simple, effective, and budget-friendly DIY tricks and hacks that will have your gas stove sparkling in no time. These aren’t just cleaning tips; they’re time-savers, sanity-preservers, and a way to reclaim your kitchen pride. So, grab your supplies, and let’s get started on transforming your stove from a sticky situation to a shining success!
DIY Deep Clean: Revive Your Grimy Gas Stove to Sparkling Glory
Okay, let’s face it, gas stoves are amazing for cooking, but they can get *so* gross. Splatters, spills, burnt-on food – it’s a constant battle! But don’t worry, I’m here to guide you through a deep clean that will bring your stove back to its former glory. This isn’t just a wipe-down; we’re talking about getting into every nook and cranny.
What You’ll Need: Your Arsenal of Cleaning Supplies
Before we dive in, let’s gather our supplies. Having everything ready will make the process much smoother. Trust me, you don’t want to be running around mid-clean!
* Dish soap: A good degreasing dish soap is essential.
* Baking soda: This is our secret weapon for tackling stubborn stains.
* White vinegar: The acidity helps break down grease and grime.
* Ammonia (optional, but powerful): Use with caution and proper ventilation for really tough, baked-on messes.
* Spray bottle: For vinegar and other cleaning solutions.
* Microfiber cloths: These are great for wiping surfaces without leaving streaks.
* Scrub brush: A sturdy brush for scrubbing grates and burner caps.
* Old toothbrush: Perfect for getting into tight spaces and cleaning around burner heads.
* Paper towels: For soaking up spills and drying surfaces.
* Plastic bags (gallon-sized): For soaking burner caps in ammonia (if using).
* Rubber gloves: Protect your hands from harsh chemicals and grime.
* Safety glasses (optional, but recommended): Especially if using ammonia.
* Putty knife or scraper (optional): For scraping off stubborn, baked-on food.
* Small wire or needle: For unclogging burner ports.
* Sink or large basin: For soaking grates and burner caps.
Phase 1: Disassembly and Initial Soak
This is where we take the stove apart and get the major grime soaking.
1. Safety First! Turn off the Gas: Before you do *anything*, make sure the gas supply to your stove is turned off. This is crucial for your safety. Locate the gas shut-off valve (usually behind the stove or in a nearby cabinet) and turn it to the “off” position.
2. Remove the Grates: Carefully lift off the grates from the stove top. These are usually the dirtiest part, so get ready!
3. Remove the Burner Caps and Heads: Take off the burner caps (the small, removable tops of the burners) and the burner heads (the larger, usually metal pieces underneath). Pay attention to how they fit together so you can reassemble them correctly later. Take a picture with your phone if you’re unsure!
4. Soak the Grates and Burner Caps: Fill your sink or basin with hot, soapy water. Add a generous squirt of dish soap. Place the grates and burner caps into the water and let them soak for at least 30 minutes, or even longer if they’re really dirty. The longer they soak, the easier the grime will be to remove.
5. Ammonia Soak (Optional, for Stubborn Grime): If your burner caps are heavily soiled, you can try an ammonia soak. Place each burner cap in a separate gallon-sized plastic bag. Pour about 1/4 cup of ammonia into each bag, seal it tightly, and place the bags in a well-ventilated area (like a garage or outdoors) away from children and pets. Let them soak overnight. Important: Never mix ammonia with bleach! This creates toxic fumes.
Phase 2: Scrubbing and Cleaning the Components
Now it’s time to get our hands dirty and scrub away the grime.
1. Scrub the Grates: After soaking, use your scrub brush to scrub the grates thoroughly. The soaked grime should come off much easier now. Rinse them with clean water and set them aside to dry. If you have really stubborn spots, you can try using a paste of baking soda and water as an abrasive cleaner.
2. Clean the Burner Caps: If you soaked the burner caps in ammonia, carefully remove them from the bags (wearing gloves, of course!). Rinse them thoroughly with water and scrub them with your scrub brush. The ammonia should have loosened the baked-on grime significantly. If you didn’t use ammonia, scrub them with soapy water and a scrub brush.
3. Clean the Burner Heads: The burner heads are often overlooked, but they can get clogged with food debris. Use your old toothbrush to scrub around the burner ports (the small holes where the gas comes out). If the ports are clogged, use a small wire or needle to carefully clear them. Be gentle, you don’t want to damage the burner heads. Rinse them with water and set them aside to dry.
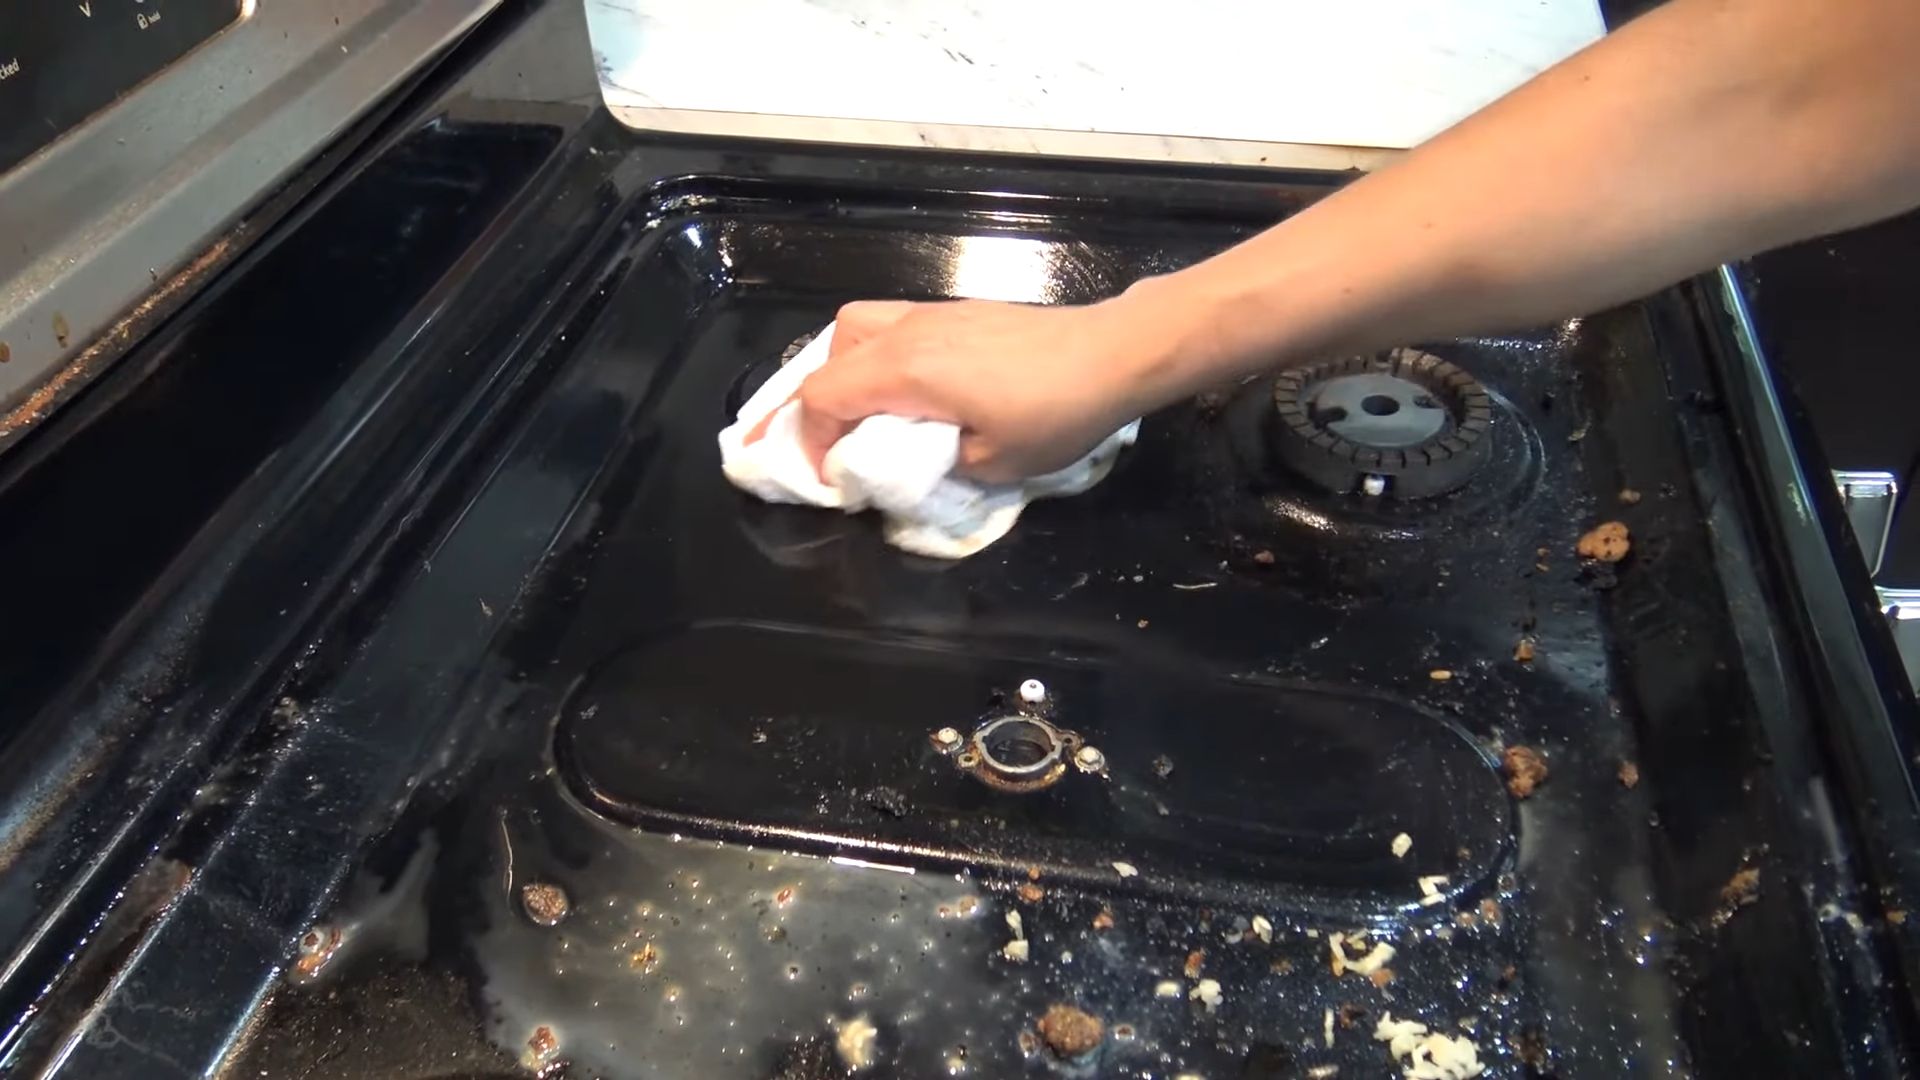
Phase 3: Cleaning the Stove Top
This is where we tackle the main surface of the stove.
1. Remove Loose Debris: Use a damp microfiber cloth or paper towel to wipe away any loose crumbs, spills, or debris from the stove top.
2. Apply Baking Soda Paste: Make a paste of baking soda and water (about 1/2 cup baking soda and a few tablespoons of water). The consistency should be like a thick cream. Apply the paste to any areas with stubborn stains or baked-on food. Let it sit for at least 15-20 minutes. The baking soda will help to loosen the grime.
3. Scrub the Stove Top: After the baking soda paste has sat for a while, use a damp microfiber cloth or sponge to scrub the stove top. For really stubborn spots, you can use a putty knife or scraper to gently scrape away the grime. Be careful not to scratch the surface of the stove.
4. Vinegar Spray: Fill your spray bottle with white vinegar. Spray the entire stove top with vinegar. The vinegar will react with the baking soda, creating a fizzing action that helps to further loosen the grime.
5. Wipe Clean: Use a clean, damp microfiber cloth to wipe away the baking soda, vinegar, and grime. Rinse the cloth frequently with clean water.
6. Dry the Stove Top: Use a clean, dry microfiber cloth to dry the stove top. This will prevent water spots and leave it looking shiny.
Phase 4: Reassembly and Final Touches
Almost there! Now we put everything back together and add the finishing touches.
1. Reassemble the Burner Heads and Caps: Once all the components are completely dry, carefully reassemble the burner heads and caps. Make sure they are properly aligned and seated correctly. Refer to the picture you took earlier if you need help.
2. Replace the Grates: Place the clean grates back on the stove top.
3. Final Wipe Down: Give the entire stove a final wipe down with a clean, dry microfiber cloth to remove any fingerprints or smudges.
4. Check the Burners: Turn on the gas supply to the stove. Light each burner to make sure it’s working properly. If a burner doesn’t light, check to make sure the burner head is properly seated and that the burner ports are not clogged.
Tips and Tricks for Maintaining a Clean Stove
* Wipe up spills immediately: The longer spills sit, the harder they are to clean.
* Clean your stove top regularly: A quick wipe down after each use will prevent grime from building up.
* Use a stove top protector: These are available in various materials and can help to protect your stove top from spills and splatters.
* Consider using a baking soda paste for regular cleaning: It’s a natural and effective way to remove grime.
* Don’t forget to clean the area around the stove: Splatters and spills can also accumulate on the backsplash and countertops.
And there you have it! A sparkling clean gas stove. It might seem like a lot of work, but the results are worth it. Plus, a clean stove is a safer stove. Enjoy your cooking!
Conclusion
So, there you have it! Mastering the art of cleaning your gas stove doesn’t require expensive cleaners or hours of scrubbing. This simple, DIY trick, using ingredients you likely already have in your pantry, is a game-changer for maintaining a sparkling clean and efficient cooking space. We’ve shown you how to banish grease, grime, and burnt-on food with minimal effort, leaving your gas stove looking brand new.
Why is this DIY method a must-try? Because it’s effective, economical, and environmentally friendly. Commercial cleaners often contain harsh chemicals that can be harmful to your health and the environment. This DIY approach utilizes the power of natural ingredients like baking soda, vinegar, and dish soap, which are gentle yet powerful cleaning agents. Plus, think of the money you’ll save by ditching those expensive store-bought products!
But the benefits don’t stop there. A clean gas stove isn’t just about aesthetics; it’s about safety and efficiency. Built-up grease and grime can clog burner ports, leading to uneven flames and inefficient cooking. A clean stove ensures optimal heat distribution, saving you time and energy. It also reduces the risk of flare-ups and potential fire hazards.
Feeling adventurous? Here are a few variations you can try:
* Lemon Power: Add a few drops of lemon essential oil to your cleaning solution for an extra boost of degreasing power and a fresh, citrusy scent.
* Borax Boost: For particularly stubborn stains, add a tablespoon of borax to your baking soda paste. Borax is a natural mineral that acts as a powerful cleaning agent. Be sure to wear gloves when handling borax.
* Oven Cleaner Alternative: If you have baked-on food on your gas stove top, you can use a mixture of baking soda and water, let it sit overnight, and then scrub it off in the morning. This is a gentler alternative to harsh oven cleaners.
* Preventative Measures: After cleaning, consider applying a thin layer of car wax to the stainless steel surfaces of your gas stove. This will create a protective barrier that makes future cleaning even easier.
We’re confident that this DIY trick will revolutionize your gas stove cleaning routine. It’s simple, effective, and sustainable. But don’t just take our word for it – try it yourself! We encourage you to give this method a try and see the amazing results firsthand.
Once you’ve experienced the joy of a sparkling clean gas stove, we want to hear about it! Share your before-and-after photos, tips, and variations in the comments below. Let’s build a community of clean-stove enthusiasts and help each other keep our kitchens looking their best. Your experiences can inspire others to embrace this simple yet powerful DIY solution. So go ahead, give it a try, and let us know what you think! We can’t wait to hear your success stories.
FAQ
Frequently Asked Questions About Cleaning Your Gas Stove
Q: How often should I clean my gas stove?
A: Ideally, you should wipe down your gas stove after each use to prevent grease and food from building up. A more thorough cleaning, using the DIY method described above, should be done at least once a week, or more frequently if you cook often or tend to make messy meals. If you notice spills or splatters, address them immediately to prevent them from becoming hardened and difficult to remove. Regular maintenance will save you time and effort in the long run.
Q: What if I have a gas stove with sealed burners? Does this DIY method still work?
A: Yes, this DIY method is safe and effective for gas stoves with sealed burners. The key is to avoid getting excessive moisture inside the burner area. When cleaning around the burners, use a slightly damp cloth or sponge, and avoid pouring water directly onto the surface. Ensure that all components are completely dry before reassembling the stove. For sealed burners, you can also use a soft brush to gently remove any debris from the burner ports.
Q: Can I use this DIY cleaning solution on other kitchen appliances?
A: While this solution is primarily designed for gas stoves, it can also be used on other kitchen appliances with similar surfaces, such as stainless steel countertops, range hoods, and even some parts of your oven. However, always test the solution on a small, inconspicuous area first to ensure it doesn’t damage the finish. Avoid using this solution on delicate surfaces like painted wood or glass cooktops.
Q: What if I have extremely stubborn, burnt-on food that won’t come off with the baking soda paste?
A: For extremely stubborn, burnt-on food, you may need to let the baking soda paste sit for a longer period, even overnight. You can also try adding a small amount of white vinegar to the paste to create a fizzing action that helps to loosen the grime. If that doesn’t work, consider using a plastic scraper to gently lift the burnt-on food. Avoid using metal scrapers, as they can scratch the surface of your gas stove. As a last resort, you can use a commercial oven cleaner, but be sure to follow the manufacturer’s instructions carefully and wear appropriate safety gear.
Q: Is it safe to use vinegar on my gas stove? I’ve heard it can damage certain surfaces.
A: White vinegar is generally safe to use on most gas stove surfaces, including stainless steel and porcelain. However, it’s important to dilute the vinegar with water to prevent it from being too acidic. Avoid using undiluted vinegar on delicate surfaces like aluminum or cast iron, as it can cause corrosion. Always test the solution on a small, inconspicuous area first to ensure it doesn’t damage the finish.
Q: How do I clean the burner caps and grates of my gas stove?
A: The burner caps and grates can be cleaned separately using a similar DIY method. Soak them in a solution of warm water, dish soap, and baking soda for at least 30 minutes to loosen the grime. Then, scrub them with a non-abrasive sponge or brush to remove any remaining residue. For stubborn stains, you can use a paste of baking soda and water. Rinse the burner caps and grates thoroughly with clean water and allow them to dry completely before reassembling them on the stove.
Q: Can I use steel wool to clean my gas stove?
A: No, it is generally not recommended to use steel wool to clean your gas stove, especially if it has a stainless steel or porcelain finish. Steel wool can scratch the surface and leave behind tiny metal particles that can rust and cause further damage. Instead, opt for non-abrasive sponges, cloths, or brushes. If you need to use a more abrasive tool, consider using a plastic scraper or a scrub brush with nylon bristles.
Q: How do I prevent my gas stove from getting so dirty in the first place?
A: Prevention is key to keeping your gas stove clean and minimizing the need for deep cleaning. Here are a few tips:
* Wipe up spills immediately: Don’t let spills and splatters sit on the stove, as they will harden and become more difficult to remove.
* Use splatter screens: When frying or cooking with sauces, use splatter screens to prevent grease and food from splattering onto the stove.
* Clean burner caps regularly: Clean the burner caps regularly to prevent them from becoming clogged with grease and debris.
* Avoid overfilling pots and pans: Overfilling pots and pans can lead to spills and splatters.
* Use the right cookware: Use cookware that is the appropriate size for your burners to ensure even heat distribution and prevent food from burning onto the stove.
By following these simple tips, you can keep your gas stove clean and prevent it from becoming a breeding ground for grease and grime. Remember, a little bit of prevention goes a long way!


Leave a Comment