

Clean Walls and Baseboards: Are your walls and baseboards looking a little worse for wear? Don’t worry, you’re not alone! We’ve all been there – life happens, and our homes bear the brunt of it. From muddy paw prints to accidental spills, our walls and baseboards can quickly become a canvas for everyday messes. But before you resign yourself to a weekend of scrubbing, I’m here to share some amazing DIY tricks and hacks that will have your walls and baseboards sparkling in no time!
Historically, keeping our homes clean has always been a sign of pride and care. In many cultures, a clean home is seen as a reflection of inner peace and well-being. While the tools and methods have evolved over time, the desire for a tidy and inviting space remains constant. And let’s be honest, who doesn’t feel a sense of accomplishment after tackling a cleaning project and seeing the immediate results?
But why is it so important to keep our walls and baseboards clean? Beyond the aesthetic appeal, regularly cleaning these surfaces can actually improve your indoor air quality by removing dust, allergens, and other pollutants. Plus, it can prevent dirt and grime from building up and becoming harder to remove later on. In this article, I’m going to show you some simple, cost-effective, and surprisingly effective ways to clean walls and baseboards, using items you probably already have in your home. Get ready to say goodbye to those unsightly marks and hello to a fresh, clean living space!
DIY Magic: Sparkling Walls and Baseboards on a Budget!
Hey there, fellow DIY enthusiasts! Are your walls and baseboards looking a little… lackluster? Don’t worry, mine were too! But fear not, because I’ve got a super effective (and surprisingly easy!) method to get them looking fresh and clean without breaking the bank. We’re talking serious sparkle, people!
This isn’t just about wiping down surfaces; it’s about restoring that “just painted” look and banishing grime for good. So, grab your supplies and let’s get started!
What You’ll Need: Your Cleaning Arsenal
Before we dive in, let’s gather our supplies. I’ve found these work best, but feel free to tweak them based on what you have on hand:
* Microfiber Cloths: These are your best friends! They’re gentle, absorbent, and reusable. Get a bunch!
* Soft-Bristled Brush: An old toothbrush or a small cleaning brush is perfect for getting into those tricky corners and crevices.
* Two Buckets: One for your cleaning solution and one for rinsing. Trust me, you’ll want both.
* Warm Water: The foundation of our cleaning solution.
* Dish Soap: A mild dish soap, like Dawn, is excellent for cutting through grease and grime.
* White Vinegar: This is our secret weapon! Vinegar is a natural disinfectant and deodorizer.
* Baking Soda: For stubborn stains and scuff marks.
* Magic Eraser (Optional): These are great for tackling tough spots, but use them sparingly as they can be abrasive.
* Spray Bottle (Optional): For applying cleaning solution to specific areas.
* Gloves: Protect your hands!
* Old Towel or Drop Cloth: To protect your floors.
Preparing for Battle: Setting the Stage
Okay, now that we have our supplies, let’s prep the area. This will make the cleaning process much smoother.
1. Clear the Area: Move any furniture away from the walls and baseboards. This will give you plenty of room to maneuver and prevent accidental bumps.
2. Protect Your Floors: Lay down an old towel or drop cloth along the baseboards to catch any drips.
3. Dust First: Use a dry microfiber cloth or a duster to remove any loose dust or cobwebs from the walls and baseboards. This is a crucial step because you don’t want to be smearing dust around with your cleaning solution.
Mixing Your Cleaning Solution: The Perfect Blend
Now for the magic potion! This cleaning solution is gentle yet effective, and it’s safe for most painted surfaces.
1. Fill one bucket with warm water.
2. Add a squirt (about a tablespoon) of mild dish soap. Don’t overdo it, or you’ll end up with a soapy mess.
3. Add 1/2 cup of white vinegar. The vinegar will help cut through grease and grime and leave your walls smelling fresh.
4. Stir gently to combine. Avoid creating too many bubbles.
5. Fill the second bucket with clean, warm water. This is your rinsing bucket.
Cleaning the Walls: Step-by-Step Guide
Alright, let’s get those walls sparkling!
1. Dip a clean microfiber cloth into the cleaning solution. Wring it out thoroughly so it’s damp, not dripping. You don’t want to saturate the walls.
2. Start at the top of the wall and work your way down. This will prevent drips from running down onto areas you’ve already cleaned.
3. Use gentle, overlapping strokes. Don’t scrub too hard, especially on delicate paint finishes.
4. Rinse your cloth frequently in the clean water bucket. This will prevent you from spreading dirt around.
5. Wring out the cloth thoroughly after rinsing. Again, you want to avoid saturating the walls.
6. Repeat the process until the entire wall is clean.
7. For stubborn stains or scuff marks, make a paste of baking soda and water. Apply the paste to the stain, let it sit for a few minutes, and then gently rub it with a damp microfiber cloth. Rinse thoroughly.
8. If you’re using a Magic Eraser, test it in an inconspicuous area first. These can be abrasive and may damage some paint finishes. Use gentle pressure and rinse the area thoroughly after using a Magic Eraser.
9. Once you’ve cleaned the entire wall, use a clean, dry microfiber cloth to dry it. This will prevent water spots.
Cleaning the Baseboards: Getting Down and Dirty
Baseboards tend to accumulate more dirt and grime than walls, so they require a little extra attention.
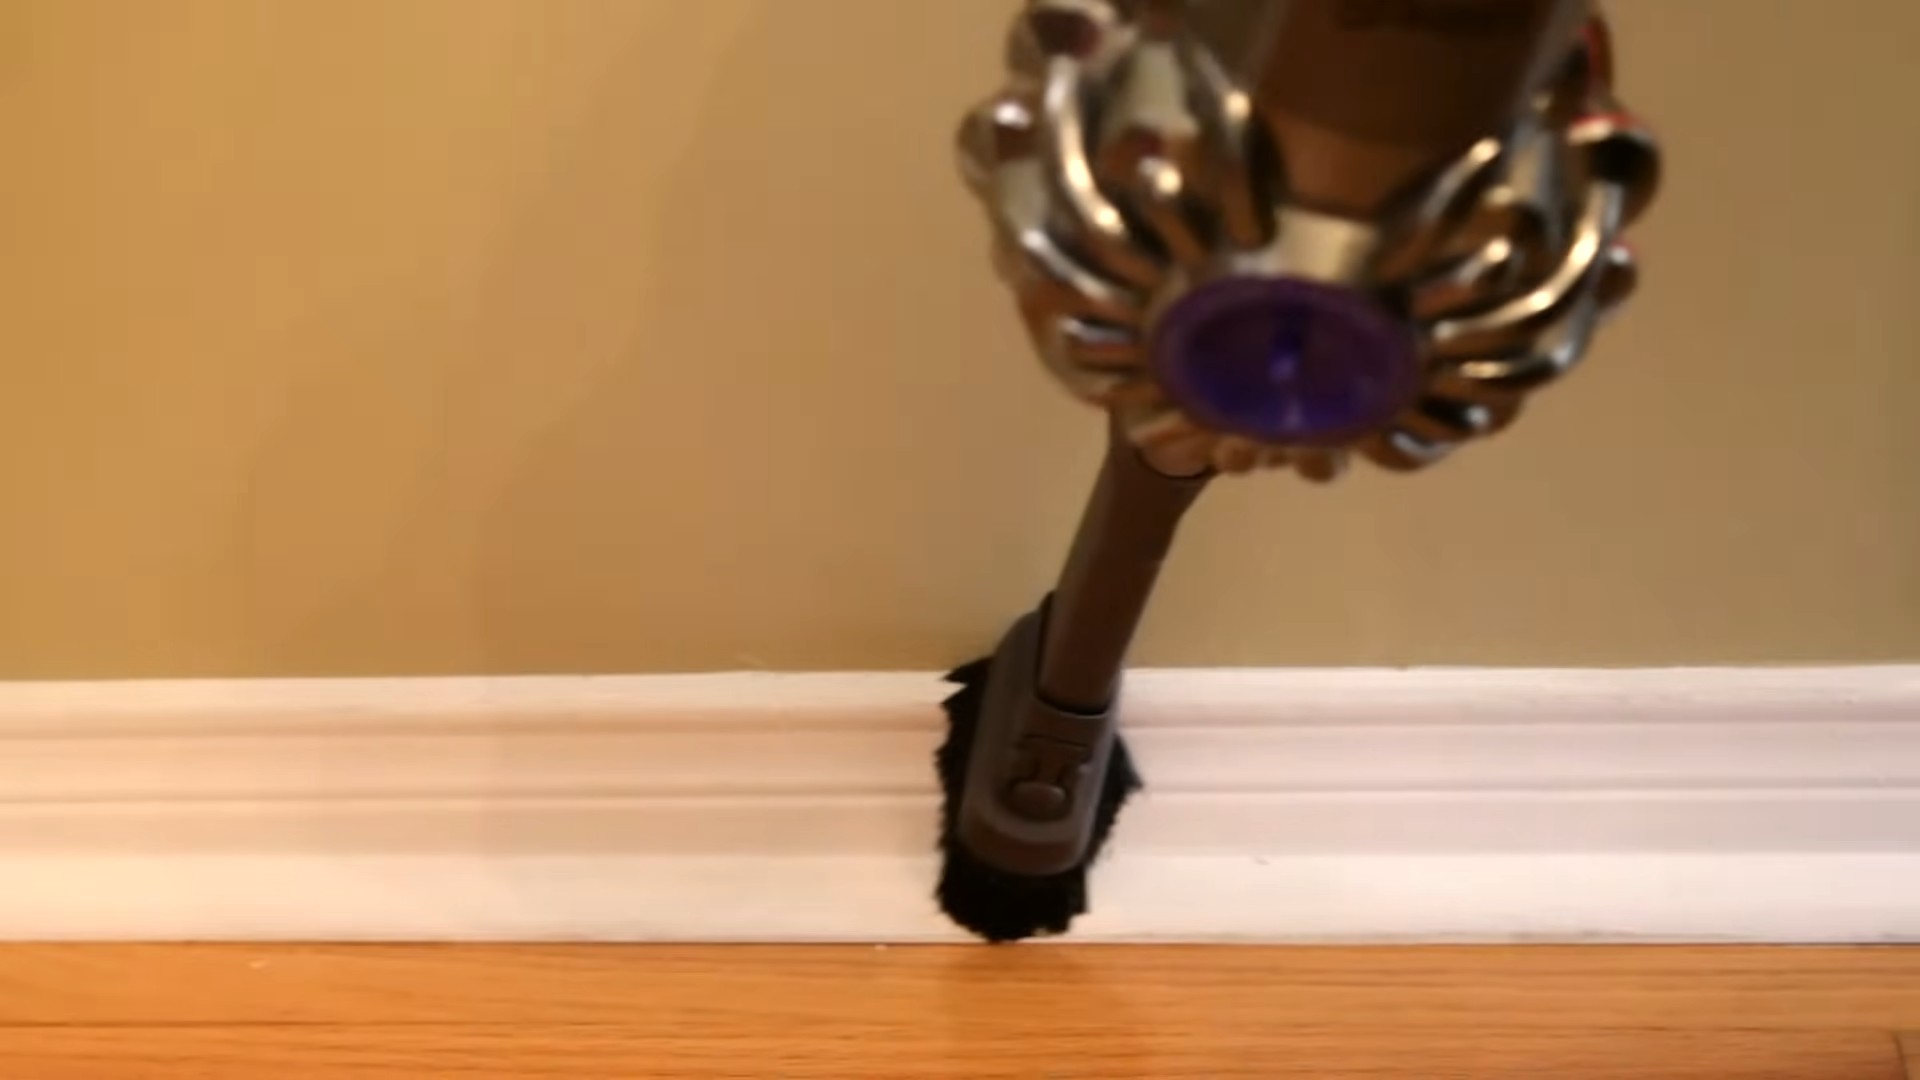
1. Use your soft-bristled brush to remove any loose dirt or debris from the baseboards. Pay special attention to corners and crevices.
2. Dip a clean microfiber cloth into the cleaning solution. Wring it out thoroughly.
3. Wipe down the baseboards, paying attention to any areas with built-up grime.
4. For stubborn stains or scuff marks, use the baking soda paste method described above.
5. If your baseboards are heavily soiled, you may need to repeat the cleaning process.
6. Use a clean, dry microfiber cloth to dry the baseboards.
Tackling Special Situations: A Few Extra Tips
* Grease Splatters in the Kitchen: For grease splatters in the kitchen, use a slightly stronger cleaning solution. Add a little more dish soap to your water and vinegar mixture. You can also try using a degreasing spray cleaner, but be sure to test it in an inconspicuous area first.
* Mold or Mildew: If you have mold or mildew on your walls or baseboards, you’ll need to use a different cleaning solution. Mix equal parts bleach and water in a spray bottle. Spray the affected area and let it sit for 10 minutes. Then, scrub the area with a brush and rinse thoroughly. Be sure to wear gloves and eye protection when working with bleach, and ventilate the area well. Important: Never mix bleach with ammonia, as this can create toxic fumes.
* Wallpaper: If you have wallpaper, be extra careful when cleaning it. Use a very gentle cleaning solution and avoid saturating the paper. Test the solution in an inconspicuous area first to make sure it doesn’t damage the wallpaper.
* High Gloss Paint: High gloss paint is generally easier to clean than matte paint. You can use the same cleaning solution, but be sure to rinse thoroughly to prevent streaks.
* Flat Paint: Flat paint is more porous and can be more difficult to clean. Avoid scrubbing too hard, as this can damage the paint. You may need to repeat the cleaning process several times to remove stubborn stains.
Maintaining Your Sparkling Walls and Baseboards: Prevention is Key!
Now that your walls and baseboards are sparkling clean, let’s talk about how to keep them that way!
* Dust Regularly: Dust your walls and baseboards regularly with a dry microfiber cloth or duster. This will prevent dirt and grime from building up.
* Wipe Up Spills Immediately: Don’t let spills sit on your walls or baseboards. Wipe them up immediately with a damp cloth.
* Use a Doormat: Place a doormat at each entrance to your home to prevent dirt and debris from being tracked inside.
* Consider a Protective Coating: For high-traffic areas, consider applying a protective coating to your walls and baseboards. This will make them easier to clean and prevent damage.
Breaking it down: Cleaning different types of dirt
Removing scuff marks
1. Identify the scuff mark: Locate the scuff mark on your wall or baseboard.
2. Prepare a baking soda paste: Mix baking soda with a small amount of water to create a thick paste.
3. Apply the paste: Gently apply the baking soda paste to the scuff mark.
4. Rub gently: Use a soft cloth or sponge to gently rub the paste onto the scuff mark in a circular motion.
5. Wipe clean: Wipe away the baking soda paste with a clean, damp cloth.
6. Dry the area: Use a dry cloth to dry the cleaned area.
Removing grease stains
1. Identify the grease stain: Locate the grease stain on your wall or baseboard.
2. Prepare a dish soap solution: Mix a small amount of dish soap with warm water.
3. Apply the solution: Dip a clean cloth or sponge into the dish soap solution and gently apply it to the grease stain.
4. Rub gently: Use the cloth or sponge to gently rub the solution onto the
Conclusion
So, there you have it! This simple, yet incredibly effective DIY trick for cleaning walls and baseboards is a game-changer for anyone who wants a sparkling clean home without spending hours scrubbing or resorting to harsh chemicals. We’ve shown you how to achieve professional-level results with just a few readily available ingredients and minimal effort.
Why is this a must-try? Because it’s not just about cleaning; it’s about reclaiming your time and energy. Think of all the things you could do with the hours you’ll save by ditching those tedious cleaning routines. Plus, you’ll be creating a healthier environment for yourself and your family by avoiding harsh chemicals. This method is gentle on your walls and baseboards, preventing damage and extending their lifespan. It’s a win-win!
But don’t just take our word for it. The beauty of this DIY approach is its adaptability. Feel free to experiment with variations to suit your specific needs and preferences. For instance, if you have particularly stubborn stains, you could add a tablespoon of baking soda to your cleaning solution for extra scrubbing power. For a refreshing scent, consider adding a few drops of your favorite essential oil, like lemon or lavender, to the water. If you’re dealing with painted walls, always test the solution in an inconspicuous area first to ensure it doesn’t affect the paint.
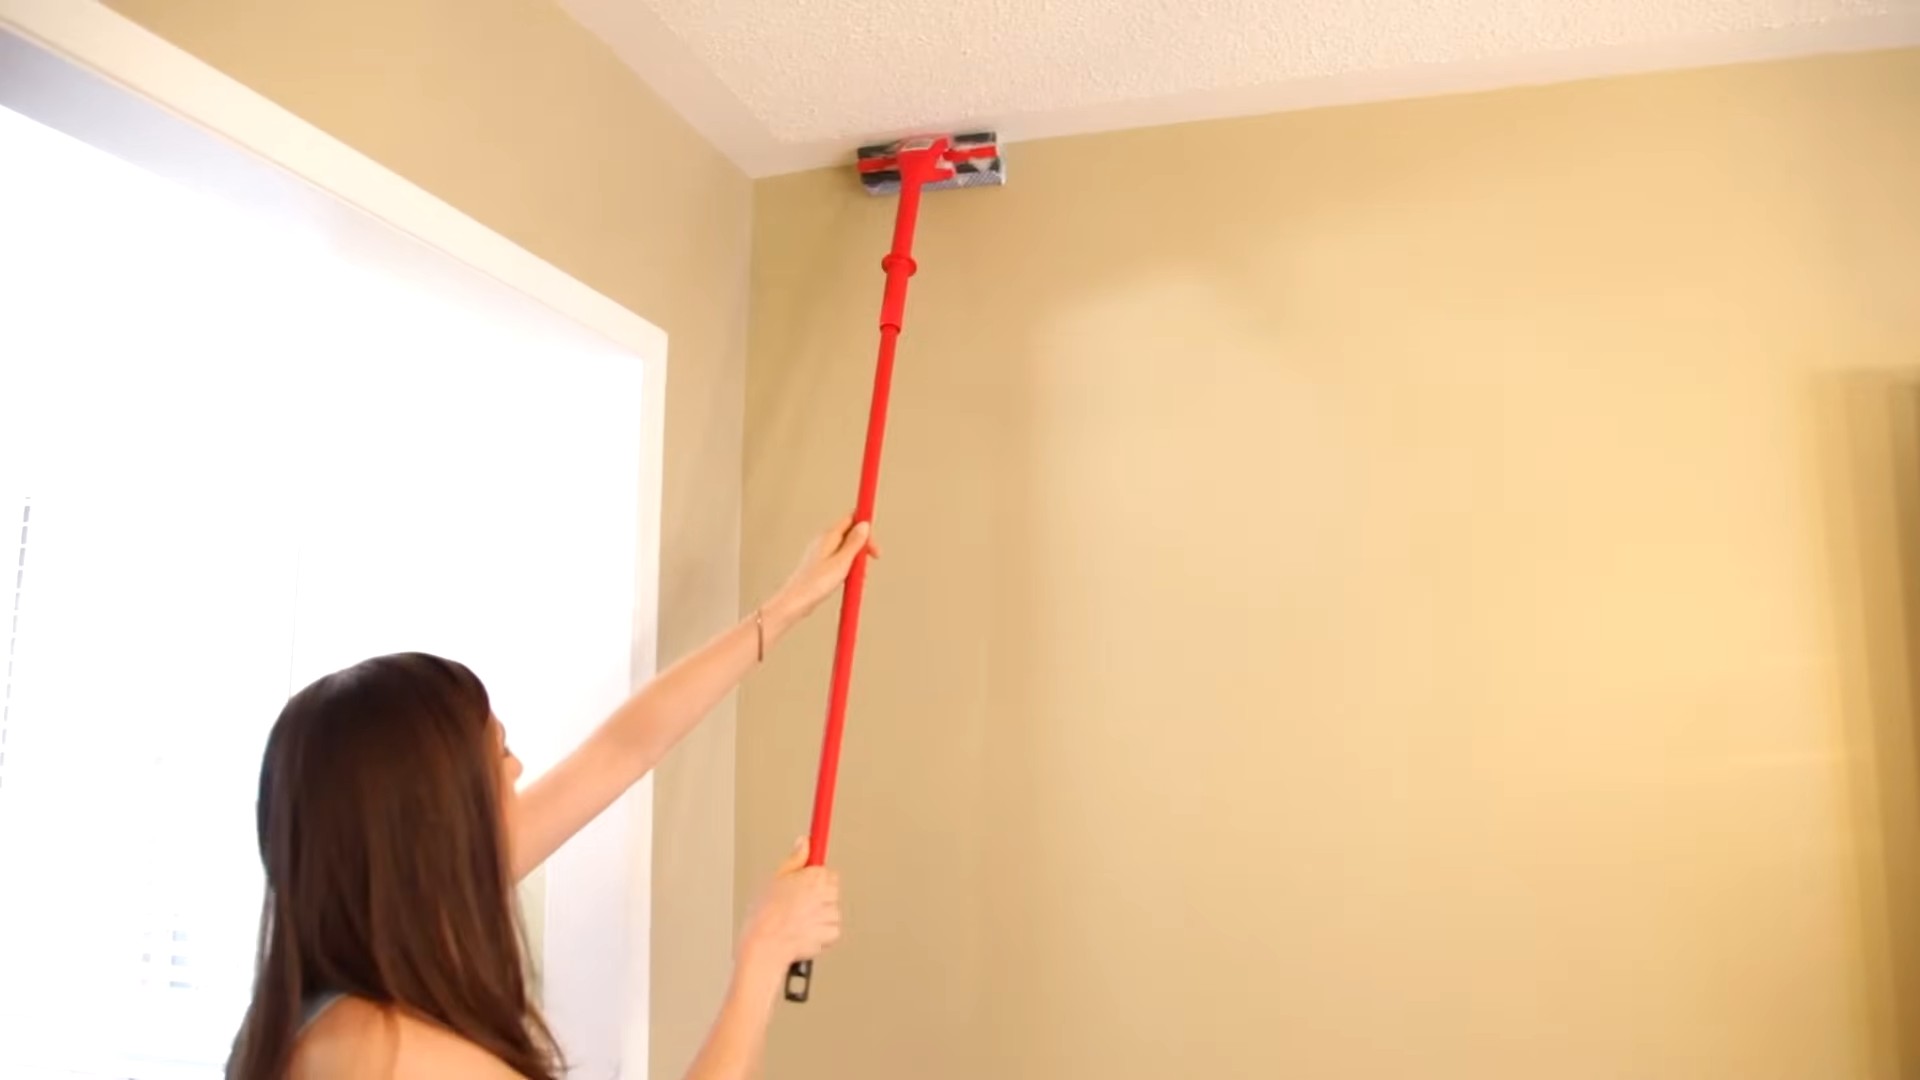
Another variation is to use a microfiber cloth attached to a mop handle for reaching high walls or baseboards without straining your back. This is especially helpful for those with mobility issues or for cleaning hard-to-reach areas. You can also use a soft-bristled brush for tackling textured walls or baseboards with intricate details.
We’re confident that once you try this DIY trick for clean walls and baseboards, you’ll never go back to your old cleaning methods. It’s efficient, cost-effective, and environmentally friendly. It’s the perfect solution for busy homeowners who want a clean and healthy home without sacrificing their precious time.
So, what are you waiting for? Gather your supplies, follow our simple steps, and prepare to be amazed by the results. We encourage you to try this DIY trick and share your experience with us. Let us know what variations you tried, what worked best for you, and any tips you have for other readers. Your feedback is invaluable and helps us continue to provide the best possible cleaning solutions. Share your before-and-after photos on social media using #CleanWallsDIY and inspire others to transform their homes! We can’t wait to see your sparkling clean walls and baseboards!
Frequently Asked Questions (FAQ)
1. What type of cleaning solution is best for cleaning walls and baseboards?
The best cleaning solution for walls and baseboards is often a mild mixture of warm water and dish soap. This combination is gentle enough for most surfaces yet effective at removing dirt, grime, and everyday stains. For tougher stains, you can add a small amount of baking soda or vinegar to the solution. Always test the solution in an inconspicuous area first to ensure it doesn’t damage the surface. Avoid using harsh chemicals or abrasive cleaners, as they can strip paint or damage the finish.
2. How often should I clean my walls and baseboards?
The frequency of cleaning your walls and baseboards depends on several factors, including the number of people living in the home, the presence of pets, and the overall level of activity. As a general guideline, you should aim to clean your walls and baseboards at least once every three to six months. However, in high-traffic areas or homes with children or pets, you may need to clean them more frequently, perhaps once a month. Spot cleaning should be done as needed to address spills, splatters, or other messes. Regular cleaning prevents dirt and grime from building up, making it easier to maintain a clean and healthy home.
3. Can I use a magic eraser on my walls and baseboards?
Magic erasers can be effective for removing stubborn stains and marks from walls and baseboards, but they should be used with caution. Magic erasers are abrasive and can potentially damage or dull the finish of painted surfaces. Always test the magic eraser in an inconspicuous area first to assess its impact on the surface. Use gentle pressure and avoid scrubbing too hard, as this can remove paint or damage the underlying material. For delicate surfaces or painted walls, it’s generally best to stick to milder cleaning solutions and methods.
4. What is the best way to clean textured walls?
Cleaning textured walls requires a slightly different approach than cleaning smooth walls. The texture can trap dirt and dust, making it more difficult to remove. Use a soft-bristled brush or a microfiber cloth to gently scrub the surface, paying attention to the crevices and indentations. Avoid using harsh chemicals or abrasive cleaners, as they can damage the texture. A vacuum cleaner with a brush attachment can also be helpful for removing loose dust and debris. For stubborn stains, you can use a mild cleaning solution and a soft sponge, but be sure to rinse thoroughly to remove any residue.
5. How do I prevent streaks when cleaning walls and baseboards?
To prevent streaks when cleaning walls and baseboards, use a clean microfiber cloth and wring it out thoroughly before wiping the surface. Avoid using too much cleaning solution, as this can leave behind a residue that causes streaks. Wipe the surface in a consistent direction, overlapping each stroke slightly. If you notice streaks, try wiping the surface again with a clean, dry microfiber cloth. You can also use a squeegee to remove excess water and prevent streaks, especially on smooth surfaces.
6. What are some natural alternatives to chemical cleaners for walls and baseboards?
There are several natural alternatives to chemical cleaners that are effective for cleaning walls and baseboards. Vinegar is a great all-purpose cleaner that can be used to remove dirt, grime, and stains. Mix equal parts vinegar and water in a spray bottle and use it to wipe down the surfaces. Baking soda is another effective cleaner that can be used to scrub away stubborn stains. Make a paste of baking soda and water and apply it to the stain, then scrub gently with a soft cloth. Lemon juice is a natural degreaser and can be used to remove grease and grime from walls and baseboards. Mix lemon juice with water and use it to wipe down the surfaces. Essential oils, such as tea tree oil or eucalyptus oil, have antibacterial and antifungal properties and can be added to your cleaning solution for extra cleaning power.
7. How do I clean baseboards without bending over?
Cleaning baseboards without bending over can be achieved by using a long-handled cleaning tool. A mop with a microfiber pad or a sponge mop can be used to wipe down the baseboards while standing upright. You can also attach a microfiber cloth to a broom handle or a paint roller extension pole for added reach. For stubborn stains, you can use a scrub brush with a long handle to scrub the baseboards without bending over. Wearing knee pads can also make the task more comfortable if you prefer to get closer to the baseboards.
8. How do I protect my walls and baseboards after cleaning?
After cleaning your walls and baseboards, you can protect them by applying a sealant or a protective coating. This will help to prevent dirt and grime from sticking to the surface and make it easier to clean in the future. You can also use a furniture polish or a wax to protect the finish of your baseboards. Avoid using harsh chemicals or abrasive cleaners, as they can damage the protective coating. Regularly dusting and wiping down your walls and baseboards will also help to keep them clean and protected.

Leave a Comment