

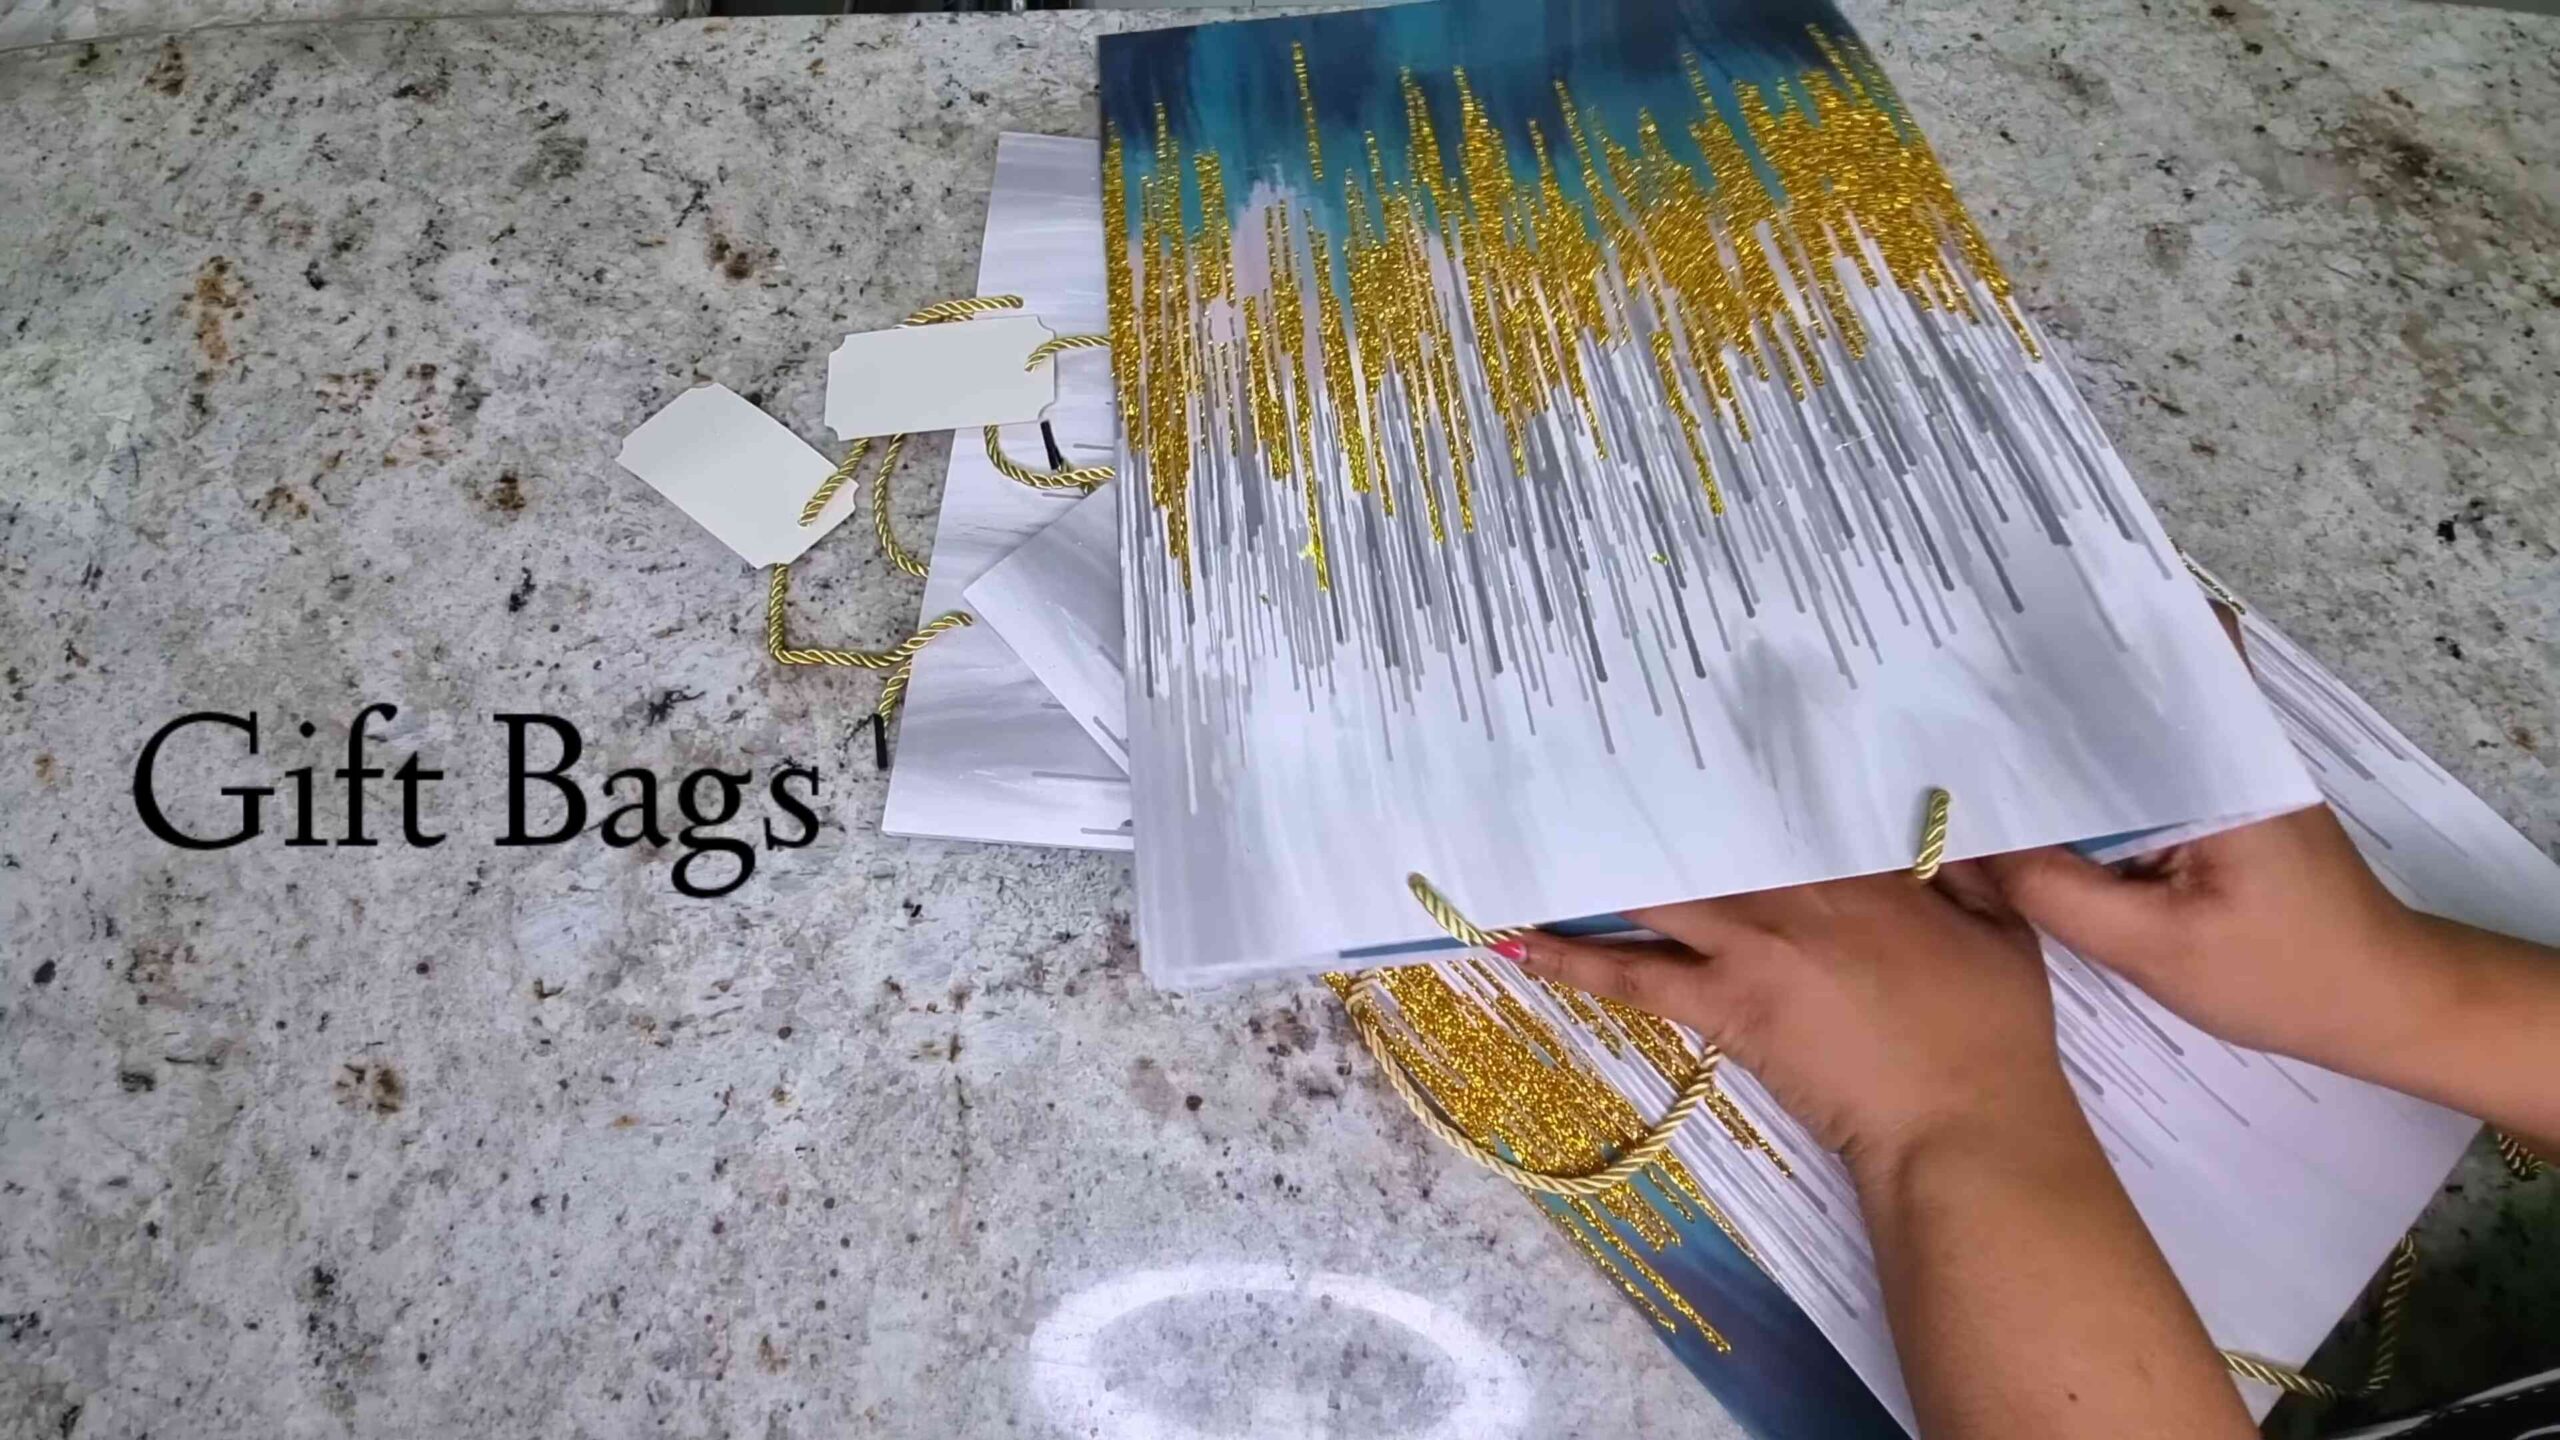
DIY Gift Bag Wall Art: Transform Trash into Treasure and Unleash Your Inner Artist!
Ever find yourself staring at a pile of beautiful gift bags after a celebration, wondering if there’s a way to give them a new life beyond the recycling bin? I know I have! Well, you’re in luck because this DIY project is all about turning those gorgeous paper treasures into stunning wall art. Think of it as upcycling with a touch of artistic flair!
The concept of repurposing materials for art isn’t new. Throughout history, cultures have embraced the beauty of found objects, transforming discarded items into meaningful creations. From mosaics made with broken tiles to sculptures crafted from scrap metal, the spirit of resourcefulness and creativity has always been intertwined. Now, it’s your turn to join this tradition!
Why should you try this DIY Gift Bag Wall Art project? Because it’s a fantastic way to add a personal touch to your home decor without breaking the bank. It’s also incredibly satisfying to create something beautiful from something that would otherwise be thrown away. Plus, it’s a fun and engaging activity that you can do solo or with friends and family. Let’s face it, we all need a little creative outlet, and this is the perfect one. So, grab those gift bags, gather your supplies, and let’s get crafting! I promise, you’ll be amazed at what you can create!
DIY Gift Bag Wall Art: Upcycling Your Way to Unique Decor
Hey there, fellow crafters! Are you drowning in a sea of beautiful gift bags after the holidays or a birthday bash? Don’t toss them! I’m going to show you how to transform those pretty paper treasures into stunning and personalized wall art. This project is not only eco-friendly but also a fantastic way to add a touch of your personality to any room. Plus, it’s super budget-friendly!
Materials You’ll Need
Before we dive in, let’s gather our supplies. You probably have most of these lying around already, which is even better!
* Gift Bags: Choose bags with designs you love. Different sizes and styles will add visual interest.
* Canvas Boards or Stretched Canvases: Select sizes that complement your gift bags. I like to use a variety of sizes for a gallery wall effect.
* Scissors or a Craft Knife: For precise cutting.
* Mod Podge or Decoupage Glue: This will adhere the paper to the canvas.
* Foam Brush or Paint Brush: For applying the Mod Podge.
* Ruler or Straight Edge: To ensure straight lines when cutting.
* Pencil: For marking measurements.
* Optional: Embellishments like glitter, ribbon, buttons, or paint.
* Optional: Sealant Spray: To protect your finished artwork.
* Optional: Cutting Mat: To protect your work surface if using a craft knife.
Preparing Your Gift Bags
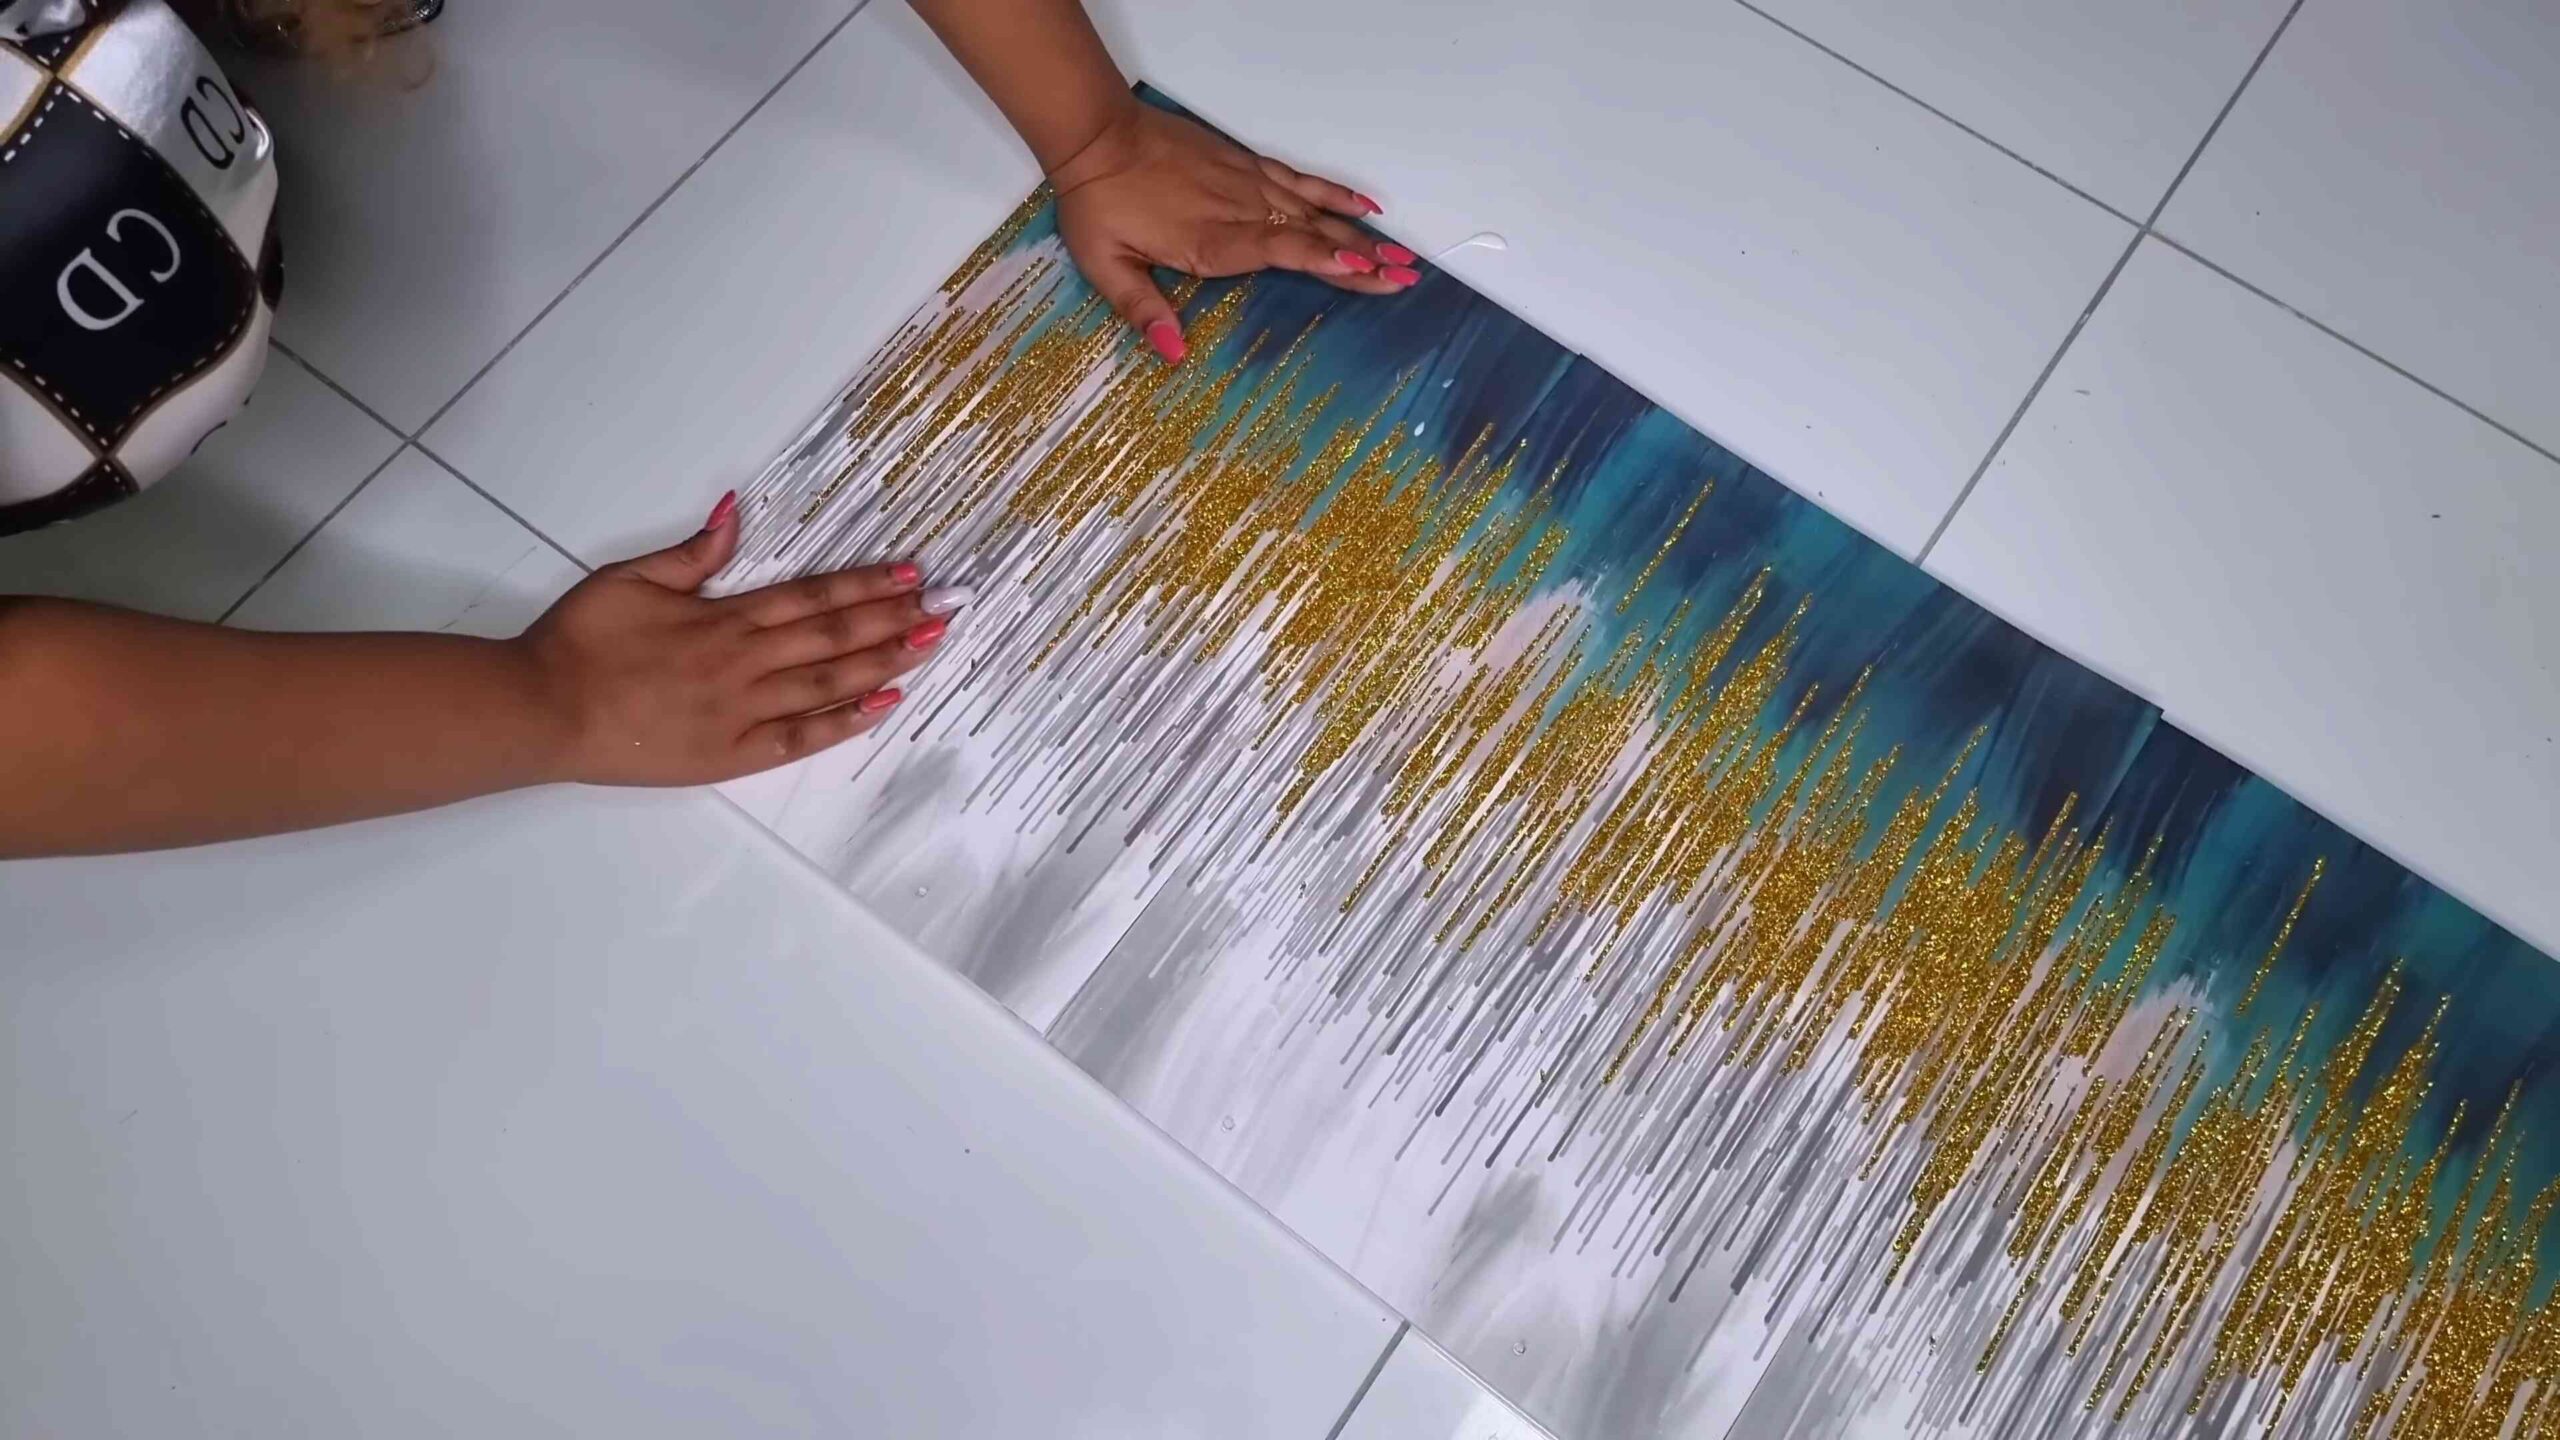
This is where the magic begins! We’re going to carefully dissect our gift bags to extract the most visually appealing sections.
1. Flatten the Gift Bags: Gently unfold each gift bag, being careful not to tear the paper. Try to smooth out any creases as much as possible.
2. Identify the Best Sections: Take a good look at each bag and decide which parts you want to feature in your artwork. Consider the colors, patterns, and overall design. Maybe there’s a specific image or a repeating motif that catches your eye.
3. Cut Out the Desired Sections: Using your scissors or craft knife and ruler, carefully cut out the sections you’ve chosen. Aim for clean, straight lines. If you’re using a craft knife, be sure to use a cutting mat to protect your work surface.
4. Consider the Composition: Before you start gluing, play around with the cut-out pieces on your canvas. Arrange them in different ways to see what looks best. Think about the balance, color harmony, and overall visual impact. This is your chance to experiment and get creative!
Applying the Gift Bag Pieces to the Canvas
Now for the fun part – bringing your vision to life! This is where we’ll use Mod Podge to adhere the gift bag pieces to the canvas.
1. Apply a Thin Layer of Mod Podge: Using your foam brush or paint brush, apply a thin, even layer of Mod Podge to the area of the canvas where you want to place your first piece of gift bag paper. Don’t use too much, or it will get messy and take longer to dry.
2. Position the Gift Bag Piece: Carefully place the cut-out piece of gift bag paper onto the Mod Podge-covered area of the canvas. Gently smooth it out with your fingers, working from the center outwards, to remove any air bubbles or wrinkles.
3. Repeat the Process: Continue applying Mod Podge and positioning the gift bag pieces, one at a time, until you’ve covered the entire canvas or achieved the desired design. Overlapping pieces can add depth and texture.
4. Let it Dry: Once you’re happy with the arrangement, let the Mod Podge dry completely. This usually takes a few hours, but it’s best to leave it overnight to be sure. The Mod Podge will dry clear.
5. Apply a Top Coat of Mod Podge: After the first layer is completely dry, apply a thin, even top coat of Mod Podge over the entire canvas. This will seal the paper and protect it from damage. Again, let it dry completely.
Adding Embellishments (Optional)
This is where you can really let your creativity shine! Adding embellishments can take your gift bag wall art to the next level.
1. Consider Your Style: Think about the overall aesthetic you’re going for. Do you want a minimalist look, or something more elaborate? Choose embellishments that complement the design of your gift bag pieces.
2. Add Glitter: A touch of glitter can add sparkle and glamour. Apply a thin layer of Mod Podge to the areas where you want to add glitter, then sprinkle the glitter on top. Let it dry completely, then gently shake off any excess glitter.
3. Attach Ribbon or Buttons: Ribbon and buttons can add texture and dimension. Use a strong adhesive, like hot glue or craft glue, to attach them to the canvas.
4. Paint Accents: Use acrylic paint to add accents or details to your artwork. You can paint borders, highlights, or even create your own designs on top of the gift bag paper.
5. Experiment and Have Fun: Don’t be afraid to try new things and experiment with different embellishments. The possibilities are endless!
Sealing and Finishing Touches
To protect your beautiful creation and ensure it lasts for years to come, it’s a good idea to seal it with a sealant spray.
1. Choose a Sealant Spray: Select a sealant spray that is designed for paper crafts. Make sure it’s non-yellowing and provides UV protection to prevent fading.
2. Apply the Sealant Spray: In a well-ventilated area, hold the sealant spray about 12 inches away from the canvas and apply a thin, even coat. Let it dry completely.
3. Add a Second Coat (Optional): For extra protection, you can apply a second coat of sealant spray. Again, let it dry completely.
4. Inspect Your Artwork: Once the sealant is dry, carefully inspect your artwork for any imperfections. Touch up any areas that need attention.
5. Hang and Enjoy: Now it’s time to hang your beautiful gift bag wall art and enjoy your handiwork! Experiment with different arrangements and create a gallery wall that reflects your unique style.
Creating a Gallery Wall
Speaking of gallery walls, here are a few tips for creating a visually appealing arrangement:
* Vary the Sizes and Shapes: Use canvases of different sizes and shapes to add visual interest.
* Consider the Spacing: Leave a consistent amount of space between each piece of artwork. A good rule of thumb is to leave about 2-4 inches of space.
* Mix and Match Styles: Don’t be afraid to mix and match different styles of gift bag wall art. This will create a more eclectic and personalized look.
* Create a Focal Point: Choose one piece of artwork to be the focal point of your gallery wall. This should be the largest or most visually striking piece.
* Arrange on the Floor First: Before you start hanging anything, lay out your artwork on the floor and experiment with different arrangements. This will help you visualize the final result and avoid making unnecessary holes in your wall.
* Use a Level: Use a level to ensure that your artwork is hanging straight. This will make a big difference in the overall appearance of your gallery wall.
Tips and Tricks for Success
Here are a few extra tips and tricks to help you create stunning gift bag wall art:
* Choose High-Quality Gift Bags: The better the quality of the gift bags, the better your finished artwork will look. Look for bags with thick, durable paper and vibrant colors.
* Don’t Be Afraid to Experiment: This is your chance to get creative and try new things. Don’t be afraid to experiment with different techniques and embellishments.
* Practice Makes Perfect: The more you practice, the better you’ll become at creating gift bag wall art. Don’t get discouraged if your first attempt isn’t perfect.
* Get Inspired: Look for inspiration online or in magazines. See what other people are doing with gift bag wall art and use their ideas as a starting point for your own creations.
* Have Fun: Most importantly, have fun! This should be a relaxing and enjoyable project. Put on some music, grab a cup of coffee, and let your creativity flow.
I hope you enjoyed this tutorial and are inspired to create your own unique gift bag wall art. It’s a fantastic way to upcycle those beautiful gift bags and add a personal touch to your home decor. Happy crafting!
Conclusion
So, there you have it! Transforming those beautiful, often discarded, gift bags into stunning wall art is not just a craft project; it’s a statement. It’s a statement about sustainability, about creativity, and about personalizing your space with pieces that truly resonate with you. This DIY gift bag wall art project is a must-try because it offers a unique blend of affordability, eco-consciousness, and artistic expression. Forget spending a fortune on generic artwork from big box stores. With a little time and effort, you can create a gallery-worthy display that reflects your individual style and memories.
But the beauty of this project lies not only in its simplicity but also in its versatility. Feel free to experiment with different sizes and shapes of gift bags. Consider using bags with varying textures or embellishments to add depth and visual interest to your finished piece. You could even incorporate other materials like pressed flowers, dried leaves, or small mementos to create a truly personalized collage.
For a more modern aesthetic, try mounting your gift bag art onto sleek, minimalist frames. Alternatively, for a rustic or bohemian vibe, consider using reclaimed wood or even weaving the gift bag panels together to create a tapestry-like effect. Don’t be afraid to play with different layouts and arrangements until you find something that perfectly complements your existing décor.
If you’re feeling particularly adventurous, you could even try painting or embellishing the gift bag panels before mounting them. Use stencils to create intricate patterns, add splashes of color with acrylic paints, or even incorporate metallic accents for a touch of glamour. The possibilities are truly endless!
This project is also a fantastic way to involve children in the creative process. Let them choose their favorite gift bags, help with the cutting and arranging, and even add their own artistic touches. It’s a fun and engaging activity that will not only result in beautiful wall art but also create lasting memories.
Ultimately, the goal of this DIY project is to inspire you to see the potential in everyday objects and to embrace your own creativity. It’s about transforming something ordinary into something extraordinary, and about adding a personal touch to your home that reflects your unique personality.
We are confident that you’ll find this DIY gift bag wall art project to be both rewarding and enjoyable. So, gather your supplies, unleash your inner artist, and get ready to create a stunning piece of art that you’ll be proud to display in your home.
We can’t wait to see what you create! We encourage you to try this DIY trick and share your creations with us on social media using #DIYGiftBagArt. Let’s inspire each other with our unique and creative interpretations of this simple yet impactful project. Show us how you’ve transformed your discarded gift bags into beautiful works of art!
Frequently Asked Questions
What kind of gift bags work best for this project?
Almost any kind of gift bag can be used for this project, but those made from thicker paper or cardstock will generally hold up better and provide a more substantial base for your wall art. Bags with interesting patterns, textures, or embellishments are ideal for adding visual interest. Avoid using bags that are heavily creased or damaged, as these may be more difficult to work with. Glossy bags can also be used, but keep in mind that they may reflect light differently and could require a different type of adhesive. Experiment with different types of bags to see what works best for your desired aesthetic.
What type of adhesive should I use to attach the gift bag panels to the backing?
The best type of adhesive will depend on the type of backing you’re using. For lightweight backings like foam board or cardboard, a glue stick or double-sided tape may be sufficient. For heavier backings like wood or canvas, a stronger adhesive like craft glue or a hot glue gun may be necessary. When using hot glue, be careful not to apply too much, as it can seep through the paper and create unsightly bumps. Always test the adhesive on a small, inconspicuous area first to ensure that it doesn’t damage the gift bag paper.
How do I prevent the gift bag panels from wrinkling or bubbling when I attach them to the backing?
To prevent wrinkling or bubbling, apply the adhesive evenly and sparingly. Start by applying a thin layer of adhesive to the backing, then carefully smooth the gift bag panel onto the surface, working from the center outwards to eliminate any air pockets. Use a soft cloth or a brayer to gently press the panel into place. If you’re using a liquid adhesive, allow it to dry completely before handling the finished piece. For larger panels, it may be helpful to work in sections, applying adhesive and smoothing the panel one section at a time.
Can I seal the finished wall art to protect it from dust and damage?
Yes, sealing the finished wall art is a great way to protect it from dust, moisture, and fading. You can use a clear acrylic sealant or varnish, available in matte, satin, or gloss finishes. Apply the sealant in thin, even coats, allowing each coat to dry completely before applying the next. Be sure to choose a sealant that is compatible with the type of adhesive and paper you’ve used. Test the sealant on a small, inconspicuous area first to ensure that it doesn’t discolor or damage the artwork.
How do I hang my DIY gift bag wall art?
The best way to hang your wall art will depend on its size and weight. For lightweight pieces, you can use adhesive picture hanging strips or hooks. For heavier pieces, you’ll need to use nails or screws. Be sure to use appropriate hardware for the type of wall you’re hanging the artwork on (e.g., drywall anchors for drywall). You can also attach D-rings or sawtooth hangers to the back of the artwork for easy hanging. When hanging multiple pieces, use a level to ensure that they are aligned properly.
What are some variations I can try with this project?
There are endless possibilities for variations with this project! You could try creating a mosaic effect by cutting the gift bag panels into small squares or triangles and arranging them in a pattern. You could also incorporate other materials like fabric scraps, buttons, or beads to add texture and dimension. Consider using different types of backings, such as canvas, wood panels, or even old picture frames. You could also try painting or embellishing the gift bag panels before mounting them. Experiment with different layouts and arrangements to create a truly unique piece of art.
How can I make this project more sustainable?
To make this project even more sustainable, try using recycled or repurposed materials whenever possible. Look for gift bags made from recycled paper, and use recycled cardboard or wood for the backing. You can also use eco-friendly adhesives and sealants. Consider sourcing materials from local thrift stores or salvage yards. By using sustainable materials and practices, you can create beautiful wall art while minimizing your environmental impact.
Is this project suitable for children?
Yes, this project can be a fun and engaging activity for children, with adult supervision. Let them choose their favorite gift bags, help with the cutting and arranging, and even add their own artistic touches. Be sure to use child-safe adhesives and tools, and supervise them closely when using scissors or hot glue guns. This project is a great way to encourage creativity and develop fine motor skills in children.
Leave a Comment