

DIY pot protectors: Ever feel like your precious potted plants are under constant siege? From curious critters digging in the soil to accidental bumps and scrapes, keeping your container garden safe can feel like a full-time job. I know the feeling! That’s why I’m so excited to share some simple, effective, and budget-friendly DIY pot protectors that will not only safeguard your green babies but also add a touch of personality to your outdoor (or indoor!) space.
The concept of protecting plants in containers isn’t new. Throughout history, gardeners have used various methods, from simple stones placed around the base of plants to elaborate woven barriers, to shield their prized possessions. Think of the ornate terracotta pots of ancient Rome, often adorned with protective elements! While we might not be crafting terracotta masterpieces, we can certainly draw inspiration from the past to create practical and beautiful solutions for our modern gardens.
But why are DIY pot protectors so essential today? Well, let’s face it, life is busy! We want to enjoy our gardens without constantly worrying about damage. Plus, with the rising popularity of container gardening, especially in urban environments, our plants are often more exposed to potential hazards. These simple DIY solutions offer a layer of defense against pests, pets, and clumsy feet, allowing you to relax and truly enjoy the fruits (or flowers!) of your labor. So, let’s dive in and discover some easy ways to create your own pot protectors!
DIY Pot Protectors: Say Goodbye to Scratched Cookware!
Hey there, fellow kitchen enthusiasts! Are you tired of your beautiful pots and pans getting scratched and scuffed every time you stack them? I know I was! That’s why I decided to take matters into my own hands and create my own DIY pot protectors. It’s a super easy and affordable project, and trust me, your cookware will thank you. Let’s dive in!
Materials You’ll Need:
Before we get started, let’s gather all the necessary materials. You probably have some of these lying around already!
* Felt Sheets: This is the star of the show! Choose a color (or multiple colors!) that you like. I prefer thicker felt for extra protection, but any felt will do. You’ll need enough to cut out circles slightly larger than the diameter of your pots and pans.
* Scissors: A good pair of sharp scissors is essential for clean cuts.
* Pencil or Marker: For tracing the circles.
* Ruler or Measuring Tape: To measure the diameter of your pots and pans.
* Circular Objects (Optional): Plates, bowls, or lids that are the same size as your pots and pans can be used as templates.
* Sewing Machine or Needle and Thread (Optional): For adding a decorative touch or reinforcing the edges.
* Hot Glue Gun and Glue Sticks (Optional): For a quick and easy way to adhere felt layers together.
* Cardboard (Optional): For creating a sturdier protector.
Measuring and Cutting the Felt Circles
This is where the magic begins! We need to create felt circles that are the right size to protect your cookware.
1. Measure Your Pots and Pans: Use a ruler or measuring tape to measure the diameter (the distance across the widest part) of each of your pots and pans. Write down these measurements – you’ll need them later.
2. Choose Your Method: You have a few options for creating the circles:
* Using Circular Objects as Templates: If you have plates, bowls, or lids that are the same size as your pots and pans, you can use them as templates. Simply place the object on the felt sheet and trace around it with a pencil or marker.
* Freehand Drawing: If you’re feeling confident, you can try drawing the circles freehand. This might take a little practice, but it’s a perfectly acceptable method.
* Using a Compass: If you want perfectly precise circles, you can use a compass. Set the compass to half the diameter of your pot or pan (the radius), and draw a circle on the felt sheet.
3. Cut Out the Circles: Carefully cut out the circles you’ve traced or drawn. Try to follow the lines as closely as possible for a neat finish.
4. Repeat: Repeat steps 1-3 for each of your pots and pans. You’ll want to make at least 3-5 protectors for each item, depending on how much protection you want. I usually make 5 for my most used pans.
Adding Layers for Extra Protection
One layer of felt is good, but multiple layers are even better! This will provide extra cushioning and prevent scratches more effectively.
1. Cut Additional Layers: Using the circles you’ve already cut as templates, cut out additional layers of felt for each protector. You can use the same color felt or mix and match different colors for a fun look.
2. Stack the Layers: Stack the layers of felt on top of each other, aligning the edges as closely as possible.
3. Secure the Layers (Optional): You can leave the layers unattached, but I prefer to secure them together to prevent them from shifting around. Here are a few options:
* Sewing: Use a sewing machine or needle and thread to stitch around the edge of the circle. This will create a neat and durable finish. You can use a simple straight stitch or get creative with decorative stitches.
* Hot Glue: Apply a thin line of hot glue around the edge of the circle and press the layers together. Be careful not to use too much glue, as it can make the protector stiff.
* Fabric Glue: Fabric glue is another option for adhering the layers together. It’s less messy than hot glue and provides a more flexible bond.
Creating Sturdier Protectors with Cardboard (Optional)
If you want even more protection, you can add a layer of cardboard to your pot protectors. This will make them sturdier and prevent them from bending or folding.
1. Cut Cardboard Circles: Cut out cardboard circles that are the same size as your felt circles. You can use the felt circles as templates.
2. Sand the Edges: Use sandpaper to smooth the edges of the cardboard circles. This will prevent them from scratching your pots and pans.
3. Attach the Cardboard to the Felt: Use hot glue or fabric glue to attach the cardboard circle to one or more layers of felt. Make sure the cardboard is completely covered with felt to prevent it from scratching your cookware.
4. Add Additional Felt Layers: Add additional layers of felt to the other side of the cardboard circle for extra cushioning.
Adding Decorative Touches (Optional)
Now that you’ve created your pot protectors, you can add some decorative touches to make them even more special.
* Embroidery: Embroider designs or patterns onto the felt circles. This is a great way to personalize your pot protectors and add a touch of elegance.
* Appliqués: Attach fabric appliqués to the felt circles. You can use pre-made appliqués or create your own from scraps of fabric.
* Buttons: Sew buttons onto the felt circles for a fun and whimsical look.
* Ribbon: Glue or sew ribbon around the edge of the felt circles.
* Felt Cutouts: Cut out small shapes from felt and glue them onto the protectors.
Using Your New Pot Protectors
Congratulations! You’ve created your own DIY pot protectors. Now it’s time to put them to use.
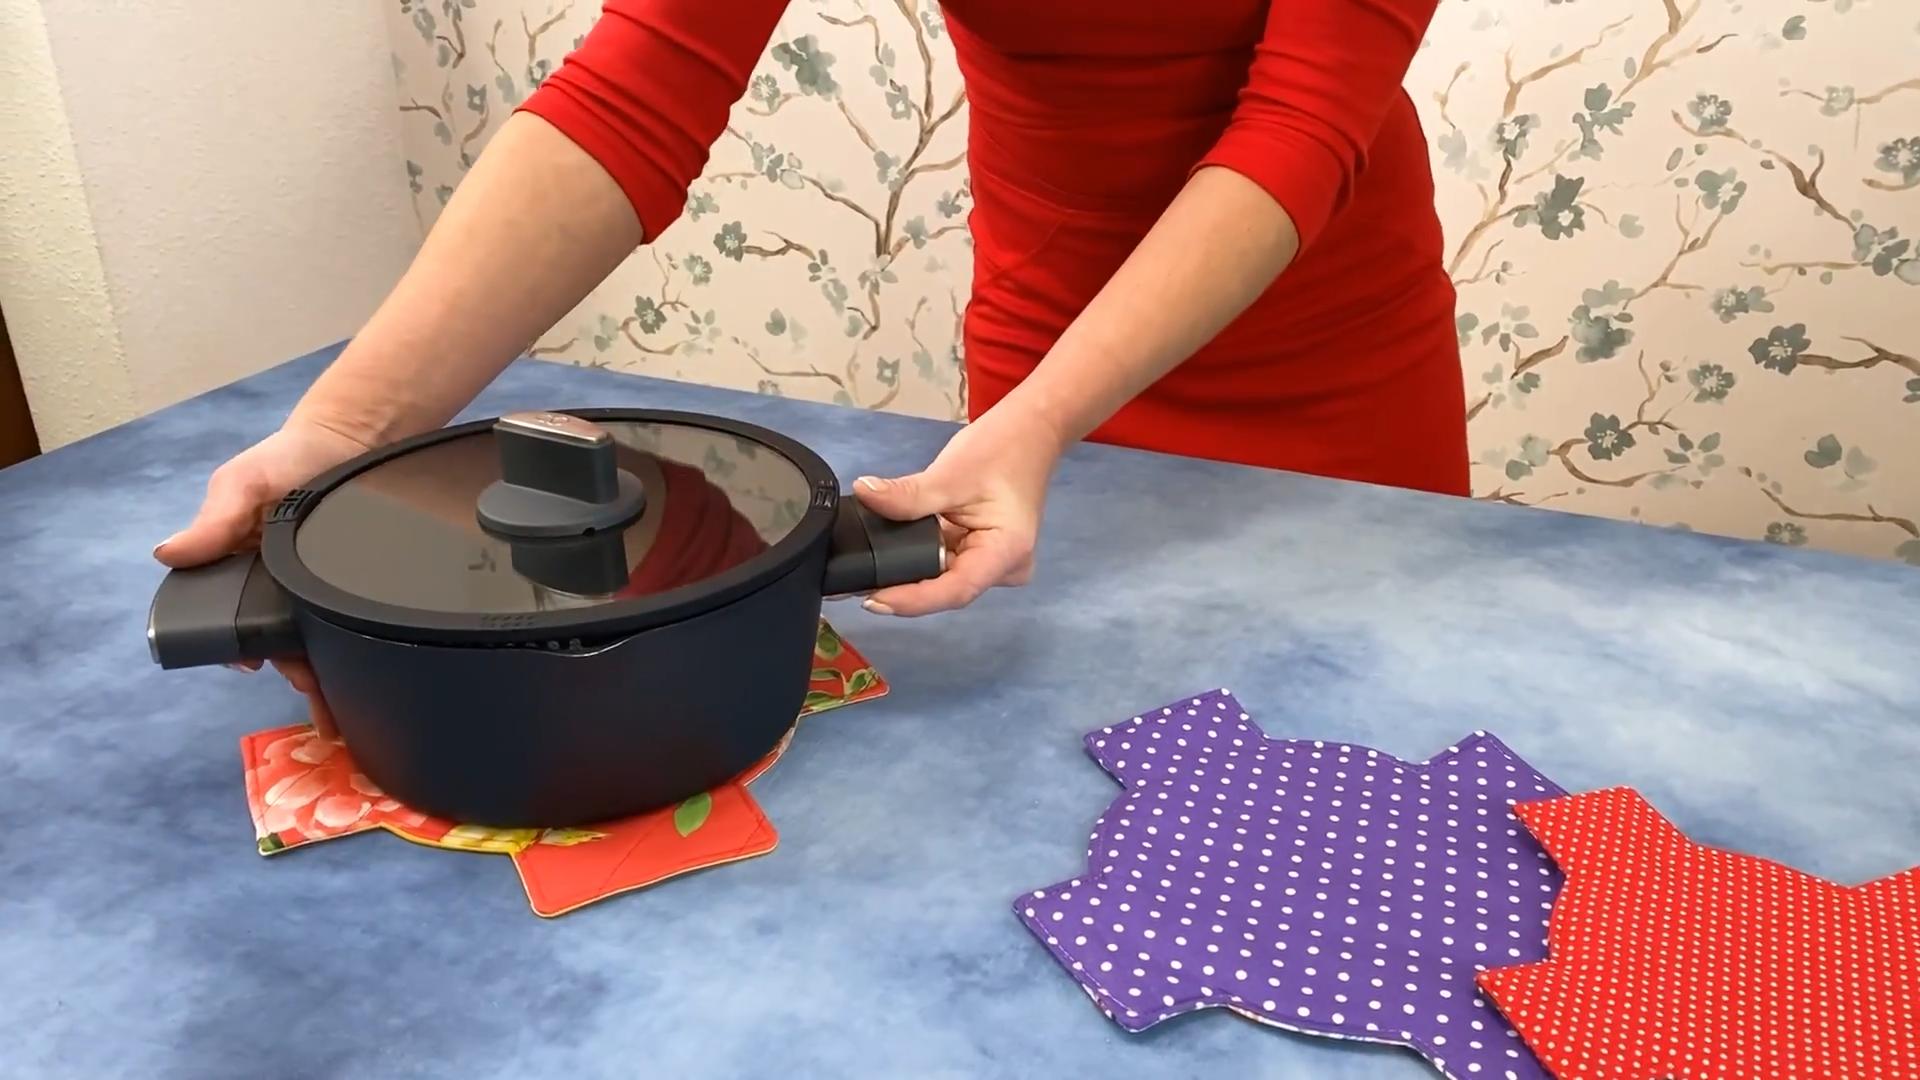
1. Place Protectors Between Pots and Pans: When stacking your pots and pans, place a pot protector between each item. This will prevent them from rubbing against each other and getting scratched.
2. Store Your Cookware: Store your cookware in a cabinet or drawer, making sure the pot protectors are in place.
3. Enjoy Your Scratch-Free Cookware: Enjoy your beautiful, scratch-free pots and pans!
Tips and Tricks for Success
Here are a few extra tips and tricks to help you create the best DIY pot protectors possible:
* Use High-Quality Felt: Investing in high-quality felt will result in more durable and long-lasting pot protectors.
* Cut Carefully: Take your time when cutting out the felt circles. The more precise your cuts, the neater your pot protectors will look.
* Experiment with Colors and Patterns: Don’t be afraid to experiment with different colors and patterns. This is a great way to add a personal touch to your kitchen.
* Consider the Size of Your Cookware: Make sure your pot protectors are large enough to cover the entire surface of your pots and pans.
* Clean Your Pot Protectors Regularly: To keep your pot protectors clean, you can hand wash them with mild soap and water. Allow them to air dry completely before using them again.
* Make Different Sizes: Create pot protectors in various sizes to accommodate all of your cookware, from small saucepans to large stockpots.
* Upcycle Old Felt: If you have any old felt scraps lying around, you can use them to create your pot protectors. This is a great way to reduce waste and save money.
* Consider Thickness: For heavier pans, consider using multiple layers of felt or adding a cardboard insert for extra protection.
* Personalize with Initials: Add your initials or a small design to each protector for a personalized touch. This is especially useful if you have multiple sets of cookware.
* Gift Idea: These pot protectors make a thoughtful and practical gift for anyone who loves to cook.
Troubleshooting
Sometimes, things don’t go exactly as planned. Here are a few common issues you might encounter and how to fix them:
* Felt Circles are Uneven: If your felt circles are uneven, don’t worry! You can trim them up with scissors to make them more uniform.
* Glue is Showing: If you’re using hot glue and it’s showing around the edges, try using less glue next time. You can also try using a toothpick to remove any excess glue.
* Protectors are Too Thin: If your pot protectors are too thin, simply add more layers of felt.
* Cardboard is Warping: If your cardboard is warping, try using a thicker piece of cardboard or adding more layers of felt to
Conclusion
So, there you have it! Ditching those flimsy, store-bought pot protectors and embracing these DIY versions is a game-changer for anyone who values their cookware. We’ve explored how simple materials and a little bit of effort can yield surprisingly effective results. But why is this DIY trick a must-try? It boils down to a few key reasons:
First and foremost, it’s about protection. Scratches and dings on your beloved pots and pans aren’t just unsightly; they can compromise the integrity of the non-stick surfaces and even affect cooking performance over time. These DIY pot protectors act as a crucial barrier, preventing metal-on-metal contact and preserving the pristine condition of your cookware for years to come.
Secondly, it’s about cost-effectiveness. Let’s face it, kitchen gadgets and accessories can add up quickly. By repurposing materials you likely already have on hand – felt scraps, old towels, even cork trivets – you’re saving money and reducing waste. It’s a win-win! Plus, you can customize the size and shape of your protectors to perfectly fit your specific pots and pans, something you can’t always do with store-bought options.
Thirdly, it’s about personalization. You’re not limited to generic designs or colors. You can choose fabrics and patterns that complement your kitchen décor and reflect your personal style. Imagine a set of vibrant, patterned felt protectors adding a pop of color to your pot rack!
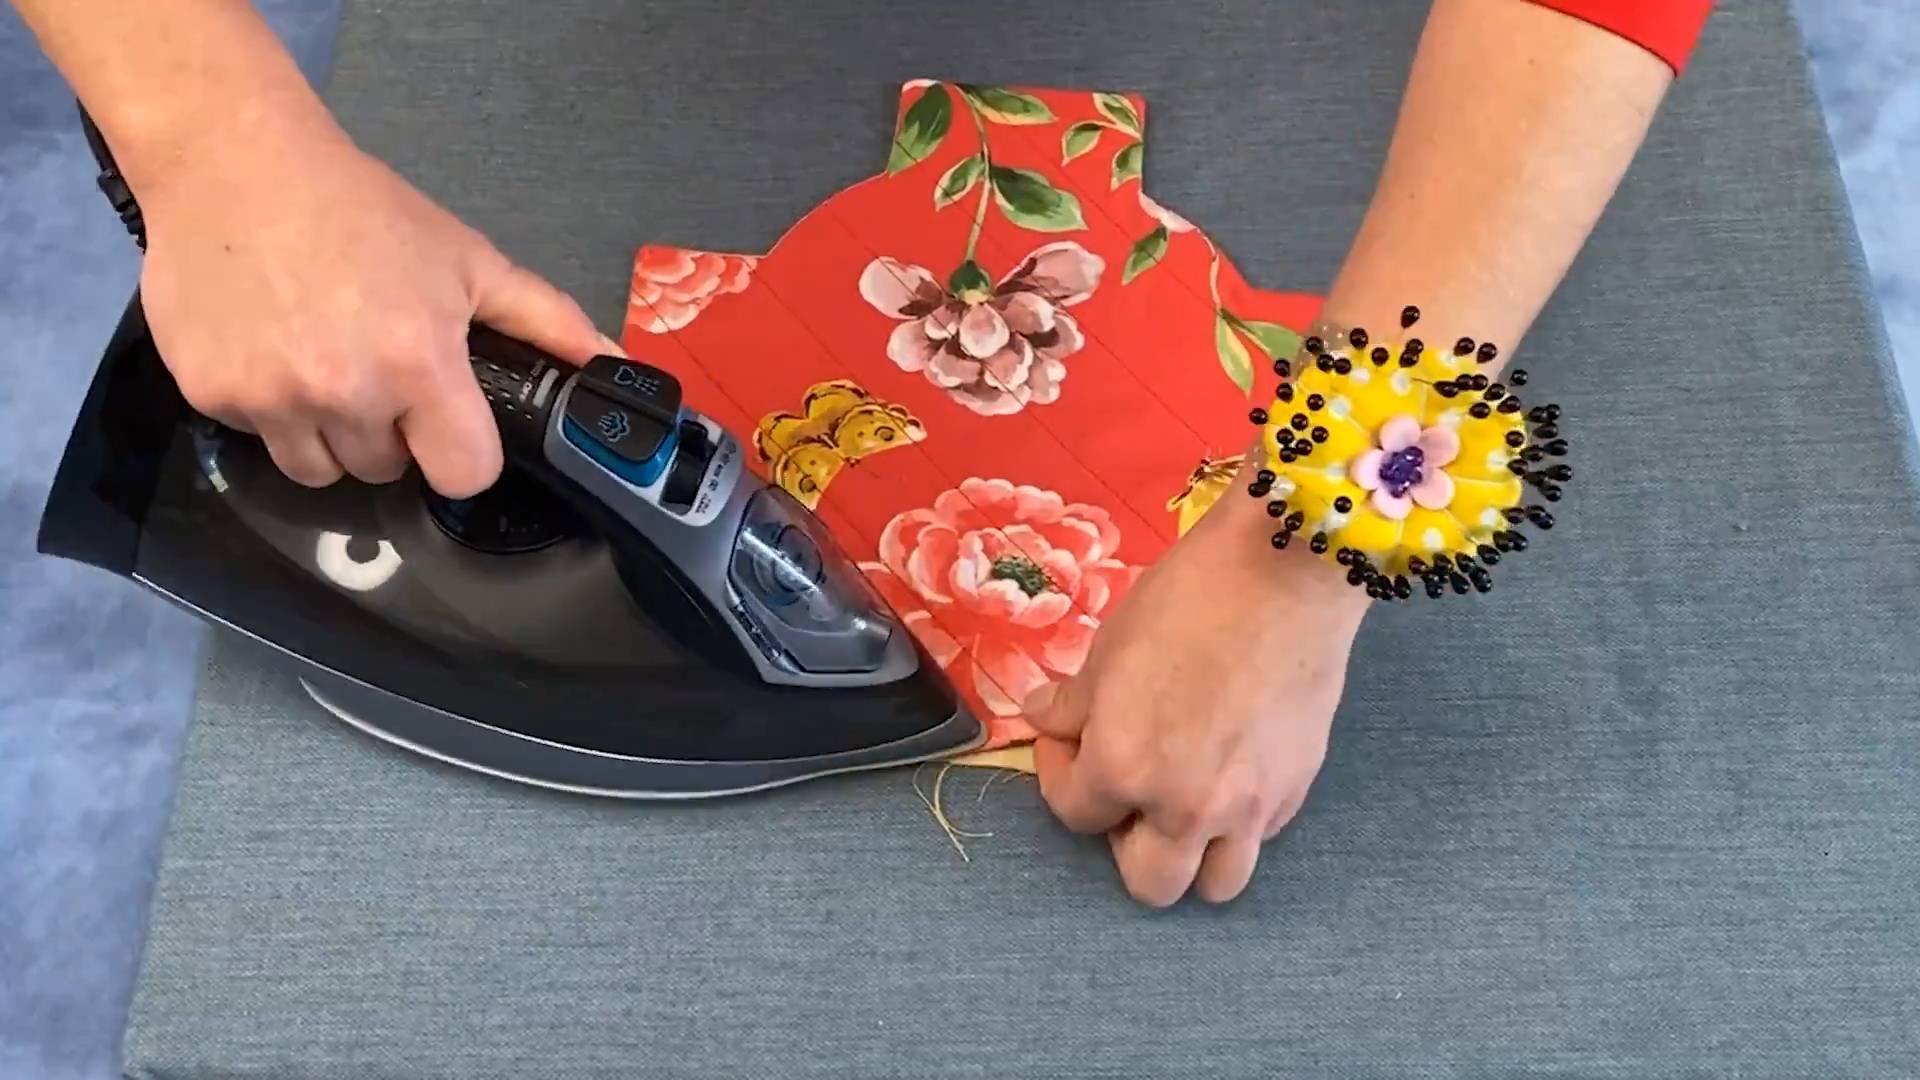
But the benefits don’t stop there. These DIY pot protectors are also incredibly easy to make. Whether you opt for the simple felt circles, the quilted fabric squares, or the repurposed cork trivets, the process is straightforward and requires minimal sewing or crafting skills. It’s a project that even beginners can tackle with confidence.
Now, let’s talk about variations. While felt is a popular choice for its softness and affordability, don’t be afraid to experiment with other materials. Thick cotton fabric, like denim or canvas, can provide extra cushioning. You could even use layers of batting or fleece for added protection. For a more rustic look, consider using burlap or linen. Just be sure to choose materials that are heat-resistant and won’t scratch your cookware.
Another variation is to add pockets or dividers to your pot protectors. This is especially useful for stacking pots and pans with lids, as it prevents the lids from scratching the surfaces below. You can also create individual sleeves for each pot or pan, providing complete coverage and protection.
And if you’re feeling particularly creative, you can embellish your pot protectors with embroidery, appliques, or even fabric paint. Let your imagination run wild and create a set that’s truly unique and personalized.
Ultimately, making your own DIY pot protectors is a simple, affordable, and effective way to protect your investment in quality cookware. It’s a project that’s both practical and rewarding, and it’s a great way to add a personal touch to your kitchen.
So, what are you waiting for? Gather your materials, dust off your sewing machine (or grab your scissors and glue), and get started on your own set of DIY pot protectors today! We’re confident that you’ll be thrilled with the results.
Don’t forget to share your creations with us! We’d love to see your unique designs and hear about your experiences with this DIY trick. Post photos of your pot protectors on social media using #DIYYPotProtectors and tag us so we can admire your handiwork. We can’t wait to see what you come up with! Protect your cookware and unleash your creativity – it’s time to embrace the power of DIY!
Frequently Asked Questions
What materials are best for making DIY pot protectors?
The best materials for DIY pot protectors are those that are soft, durable, and heat-resistant. Felt is a popular choice because it’s inexpensive, easy to work with, and provides good cushioning. However, you can also use other fabrics like cotton, denim, canvas, or even repurposed towels. Avoid materials that are abrasive or prone to melting at high temperatures. Cork is also a great option, especially for trivets that can double as pot protectors.
How do I determine the right size for my pot protectors?
The size of your pot protectors will depend on the size of your pots and pans. A good rule of thumb is to make them slightly larger than the diameter of the cookware they’re intended to protect. This will ensure that the entire surface is covered and prevent scratches. You can measure the diameter of your pots and pans with a ruler or measuring tape and then add an inch or two to each measurement. For protectors that will be placed between stacked pots, consider the height of the pot as well to ensure adequate coverage.
Can I wash my DIY pot protectors?
Whether or not you can wash your DIY pot protectors will depend on the materials you used to make them. Felt protectors can usually be hand-washed with mild soap and water, but they may shrink slightly. Fabric protectors made from cotton, denim, or canvas can typically be machine-washed on a gentle cycle. Always check the care instructions for the specific fabric you used. Cork trivets can be wiped clean with a damp cloth. It’s best to air dry your pot protectors to prevent shrinkage or damage.
How do I prevent my DIY pot protectors from slipping?
If you’re concerned about your DIY pot protectors slipping, there are a few things you can do. You can add a non-slip backing to the protectors by using a rubberized fabric or applying a thin layer of silicone sealant. You can also sew or glue small pieces of non-slip fabric to the bottom of the protectors. Another option is to use a textured fabric like corduroy or waffle weave, which will provide more grip.
Are DIY pot protectors as effective as store-bought ones?
DIY pot protectors can be just as effective as store-bought ones, as long as you use the right materials and construction techniques. The key is to choose materials that are soft, durable, and provide adequate cushioning. You should also make sure that the protectors are properly sized to fit your pots and pans. In some cases, DIY pot protectors may even be more effective than store-bought ones, as you can customize them to perfectly fit your specific cookware and needs.
What if I don’t know how to sew? Can I still make these?
Absolutely! Sewing is not a requirement for making DIY pot protectors. You can easily create no-sew versions using fabric glue or hot glue. Simply cut out the desired shapes from your chosen fabric and glue them together. You can also use pre-cut felt circles or squares, which are readily available at craft stores. For cork trivets, you can simply use them as is or decorate them with paint or markers. The key is to be creative and resourceful!
How can I make my DIY pot protectors more decorative?
There are many ways to make your DIY pot protectors more decorative. You can use patterned fabrics, add embroidery or appliques, or even paint them with fabric paint. You can also embellish them with buttons, beads, or ribbons. Consider using colors and patterns that complement your kitchen décor. Get creative and have fun with it!
Can I use these DIY pot protectors for other things besides pots and pans?
Yes, absolutely! These DIY pot protectors can be used for a variety of other purposes. You can use them to protect delicate dishes, glassware, or even furniture. They can also be used as coasters, placemats, or trivets. The possibilities are endless!
How long will my DIY pot protectors last?
The lifespan of your DIY pot protectors will depend on the materials you used and how often you use them. Felt protectors may wear out more quickly than fabric protectors made from more durable materials like denim or canvas. To extend the lifespan of your pot protectors, be sure to wash them regularly and store them properly when not in use. With proper care, your DIY pot protectors should last for several years.
Where can I find inspiration for my DIY pot protector designs?
There are many places to find inspiration for your DIY pot protector designs. You can browse online craft blogs, search for ideas on Pinterest, or even look through home décor magazines. Pay attention to the colors, patterns, and textures that you like and try to incorporate them into your designs. Don’t be afraid to experiment and try new things! The most important thing is to have fun and create something that you love.

Leave a Comment