

DIY Pen Holder: Are you tired of a cluttered desk, pens scattered everywhere like a chaotic Jackson Pollock painting? I know I am! There’s something incredibly satisfying about having a tidy workspace, and it all starts with organization. This isn’t just about aesthetics; it’s about boosting your productivity and sparking creativity.
Throughout history, humans have sought ways to organize their tools and writing implements. From ancient scribes carefully storing their reeds to Renaissance artists meticulously arranging their brushes, the desire for order is deeply ingrained in our nature. While the materials and methods have evolved, the underlying need remains the same: to keep our essential tools within easy reach and in good condition.
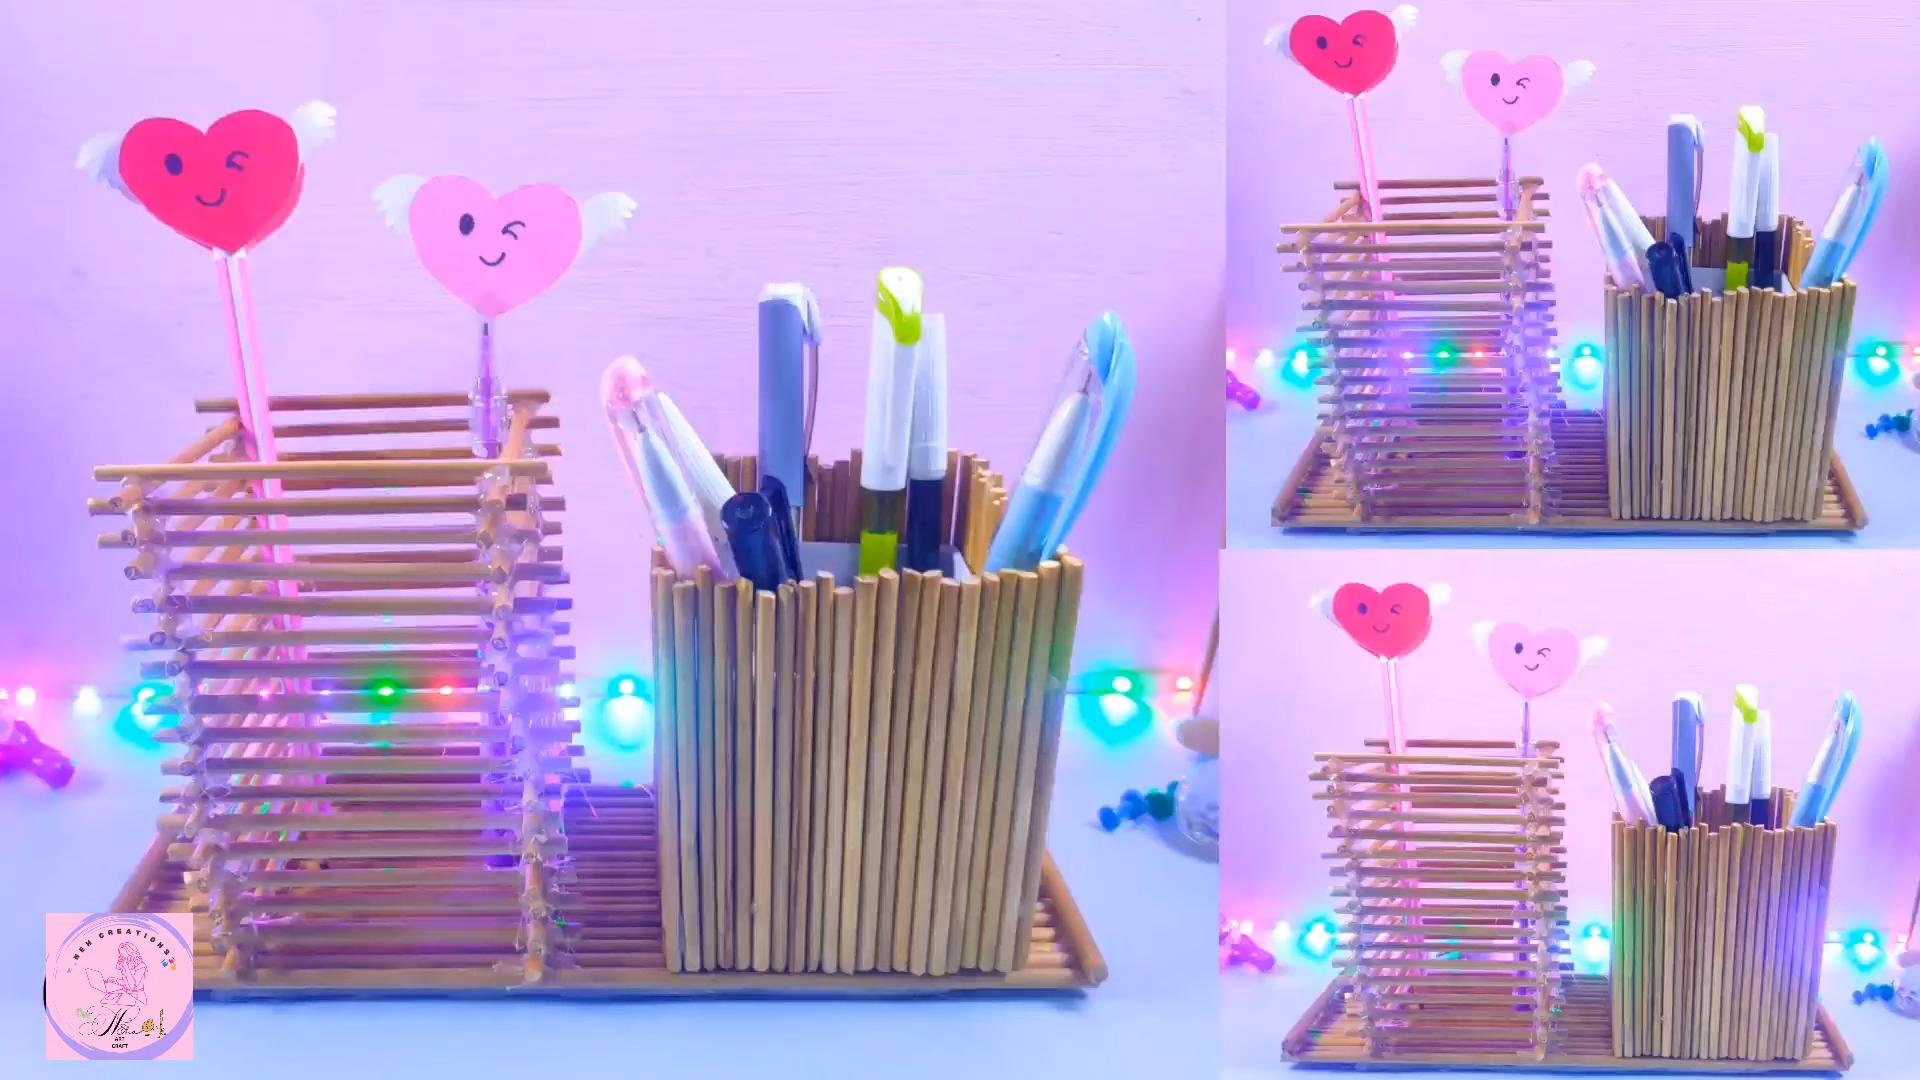
That’s where this super easy and fun DIY pen holder project comes in! In this article, I’m going to show you how to create a stylish and functional DIY pen holder using materials you probably already have lying around your house. We’re talking upcycling at its finest! Not only will this project help you declutter your desk, but it’s also a fantastic way to express your creativity and add a personal touch to your workspace. Plus, it’s a budget-friendly alternative to buying a pen holder from the store. So, grab your supplies, and let’s get crafting!
DIY Upcycled Denim Pen Holder: A Stylish and Sustainable Desk Organizer
Hey there, fellow crafters! Are you drowning in pens, pencils, and markers? Do you have a pair of old jeans that are just begging for a new life? Well, you’ve come to the right place! Today, I’m going to walk you through creating a super cool and practical pen holder from upcycled denim. It’s a fantastic way to declutter your desk, reduce waste, and add a touch of personalized style to your workspace. Let’s get started!
Materials You’ll Need
Before we dive in, let’s gather our supplies. Don’t worry, you probably have most of these lying around already!
* Old pair of jeans (the thicker the denim, the sturdier the holder)
* Empty tin can (soup cans, vegetable cans, or even coffee cans work great!)
* Fabric scissors
* Hot glue gun and glue sticks (or fabric glue, but hot glue is faster)
* Ruler or measuring tape
* Pencil or fabric marker
* Optional: Embellishments like buttons, patches, lace, ribbon, or paint
Preparing the Denim
Okay, first things first, we need to get our denim ready. This involves cutting and prepping the fabric to perfectly fit our tin can.
1. Measure the Can: Use your ruler or measuring tape to determine the height and circumference of your tin can. Write these measurements down – we’ll need them later. For example, let’s say your can is 4 inches tall and has a circumference of 10 inches.
2. Cut the Denim: Now, we’re going to cut a rectangular piece of denim. The height of the rectangle should be about 1 inch taller than the height of your can (this allows for overlap at the top and bottom). So, if your can is 4 inches tall, cut the denim to be 5 inches tall. The width of the rectangle should be about 1 inch wider than the circumference of your can. So, if your can has a circumference of 10 inches, cut the denim to be 11 inches wide. This extra inch on both sides will give us room to glue the denim securely to the can.
3. Optional: Add a Design Element: If you want to incorporate a specific part of the jeans into your design (like a pocket, a seam, or a cool faded area), now is the time to position it on the denim rectangle. Keep in mind where the edges of the denim will meet when wrapped around the can.
4. Prepare the Edges (Optional): If you want a more finished look, you can fold over and iron the edges of the denim rectangle before gluing it to the can. This will prevent fraying and give it a cleaner appearance. However, I personally like the raw, frayed look of denim, so I usually skip this step!
Attaching the Denim to the Can
This is where the magic happens! We’ll carefully glue the denim to the can, creating the base of our pen holder.
1. Apply Glue to the Can: Using your hot glue gun (be careful!), apply a thin line of glue along the entire height of the can, near one of the vertical edges. Work in small sections to prevent the glue from drying too quickly.
2. Attach the Denim Edge: Carefully press one of the short edges of your denim rectangle onto the glued area of the can. Make sure it’s straight and aligned with the bottom edge of the can. Hold it in place for a few seconds until the glue sets.
3. Wrap the Denim Around the Can: Continue applying glue in small sections along the can, wrapping the denim tightly as you go. Make sure the denim is smooth and even, without any wrinkles or bubbles.
4. Overlap and Secure: When you reach the other short edge of the denim, overlap it slightly over the first edge (about 1 inch). Apply glue to the overlapping section and press it firmly in place.
5. Secure the Top and Bottom Edges: Now, we’ll secure the top and bottom edges of the denim to the inside of the can. Fold the excess denim (the 1-inch allowance we added earlier) over the top edge of the can and glue it to the inside. Repeat this process for the bottom edge of the can. This will create a clean and finished look.
Embellishing Your Pen Holder (The Fun Part!)
This is where you can really let your creativity shine! Add buttons, patches, lace, ribbon, paint – whatever your heart desires!
1. Plan Your Design: Before you start gluing anything on, take a moment to plan your design. Arrange your embellishments on the denim to see how they look together. Consider the overall aesthetic you’re going for – rustic, chic, playful, etc.
2. Add Buttons: Buttons are a classic embellishment for denim. You can glue them on randomly for a quirky look, or arrange them in a pattern for a more structured design.
3. Apply Patches: Patches are a great way to add personality to your pen holder. Choose patches that reflect your interests or hobbies.
4. Incorporate Lace or Ribbon: Lace and ribbon can add a touch of elegance to your pen holder. Glue them along the top or bottom edge, or wrap them around the can for a decorative effect.
5. Get Creative with Paint: If you’re feeling artistic, you can use fabric paint to add designs or patterns to your pen holder. Stencils can be helpful for creating more intricate designs.
6. Other Embellishments: Don’t be afraid to experiment with other embellishments like beads, sequins, charms, or even small pieces of fabric.
Adding a Base (Optional but Recommended)
Adding a base to your pen holder will make it more stable and prevent it from scratching your desk.
1. Cut a Circle of Cardboard or Felt: Trace the bottom of your tin can onto a piece of cardboard or felt. Cut out the circle.
2. Glue the Circle to the Bottom: Apply glue to the bottom of the can and carefully attach the cardboard or felt circle. Press firmly until the glue sets.
Alternative Denim Techniques
Want to try something a little different? Here are a few alternative denim techniques you can use to customize your pen holder:
* Braided Denim: Cut long strips of denim and braid them together. Glue the braid around the can for a textured look.
* Denim Flowers: Cut small circles of denim and shape them into flower petals. Glue the petals around the can to create a floral design.
* Distressed Denim: Use sandpaper or a cheese grater to distress the denim before gluing it to the can. This will give it a more worn and vintage look.
* Denim Pockets: Cut out pockets from old jeans and glue them onto the can. These pockets can be used to hold small items like paper clips or erasers.
Safety Tips
* Always use caution when working with a hot glue gun. Avoid touching the hot nozzle and be careful not to burn yourself.
* Work in a well-ventilated area when using glue or paint.
* Supervise children when they are working on this project.
Troubleshooting
* Denim is wrinkling: Make sure you’re pulling the denim taut as you wrap it around the can. If wrinkles do occur, try smoothing them out with your fingers or a rolling pin.
* Glue is not sticking: Make sure the surface of the can is clean and dry before applying glue. Use a high-quality glue that is designed for bonding fabric to metal.
* Embellishments are falling off: Use a strong glue to attach your embellishments. You may also need to apply pressure to the embellishments for a longer period of time to ensure they are securely attached.
Final Touches
Once you’re happy with your design, let the glue dry completely before using your pen holder. And that’s it! You’ve successfully created a stylish and sustainable pen holder from upcycled denim. Now you can proudly display your pens and pencils in your new, one-of-a-kind desk organizer. Enjoy!
Conclusion
So, there you have it! Transforming everyday items into functional and stylish storage solutions is not only incredibly rewarding but also a fantastic way to declutter and personalize your workspace. This DIY pen holder project is more than just a craft; it’s an opportunity to express your creativity, reduce waste, and create a unique piece that reflects your personality.
Why is this DIY pen holder a must-try? Because it’s simple, affordable, and endlessly customizable. Forget those generic, mass-produced desk organizers. With a few basic materials and a little imagination, you can craft a pen holder that perfectly suits your needs and aesthetic. It’s a project that’s accessible to crafters of all skill levels, from beginners to seasoned DIY enthusiasts. Plus, it’s a fantastic way to upcycle materials you might otherwise throw away, contributing to a more sustainable lifestyle.
But the fun doesn’t stop there! Feel free to experiment with different materials and embellishments to create a truly one-of-a-kind pen holder. Consider using fabric scraps, buttons, beads, or even paint to add texture and visual interest. You could also try different container shapes and sizes, depending on the types of pens and pencils you need to store. For a rustic look, use reclaimed wood or branches. For a more modern aesthetic, opt for sleek metal containers or geometric designs.
Variations to Explore:
* Themed Pen Holders: Create pen holders that reflect your hobbies or interests. A music lover could decorate their pen holder with sheet music or guitar picks. An artist could use paintbrushes or colorful yarn.
* Personalized Pen Holders: Add a personal touch by incorporating photos, quotes, or monograms. This makes a thoughtful and unique gift for friends, family, or colleagues.
* Multi-Compartment Pen Holders: Combine several smaller containers to create a pen holder with multiple compartments for different types of writing instruments and office supplies.
* Desk Organizer Combo: Expand the project to include other desk organization elements. Attach a small notepad or create a space for paperclips and sticky notes.
* Vertical Garden Pen Holder: Attach small planters to the side of your pen holder and grow herbs or succulents for a touch of greenery on your desk.
We’re confident that you’ll love the process of creating your own DIY pen holder and the satisfaction of having a personalized and functional desk accessory. So, gather your materials, unleash your creativity, and get crafting!
We can’t wait to see what you come up with! Share your creations with us on social media using the hashtag #DIYPenHolder. We’re eager to see your unique designs and hear about your experiences. Let’s inspire each other to create beautiful and functional spaces, one DIY project at a time. Don’t be shy – show off your handmade DIY pen holder!
FAQ
Frequently Asked Questions About Your DIY Pen Holder
Q: What are the best materials to use for a DIY pen holder?
A: The beauty of this project is its versatility! You can use a wide range of materials, depending on the look you’re going for. Recycled cans, glass jars, cardboard tubes, plastic bottles, and even wooden blocks can all be transformed into stylish pen holders. Consider the durability and stability of the material, as well as its aesthetic appeal. For embellishments, you can use paint, fabric scraps, yarn, beads, buttons, washi tape, and more. The possibilities are endless!
Q: How do I ensure my DIY pen holder is stable and won’t tip over?
A: Stability is key! If you’re using a lightweight material like a can or plastic bottle, consider adding weight to the bottom. You can do this by filling the container with sand, pebbles, or even plaster of Paris. Another option is to attach a wider base to the bottom of the pen holder using glue or tape. Make sure the base is sturdy and provides ample support. For taller pen holders, consider using a heavier material or reinforcing the structure with cardboard or wood.
Q: What if I don’t have any crafting experience? Is this project still suitable for me?
A: Absolutely! This DIY pen holder project is designed to be beginner-friendly. The basic steps are simple and straightforward, and you can easily adapt the project to your skill level. Start with a simple design and gradually add more complex embellishments as you gain confidence. There are also plenty of online tutorials and videos that can guide you through the process. Don’t be afraid to experiment and have fun!
Q: How can I make my DIY pen holder more durable and long-lasting?
A: To ensure your pen holder stands the test of time, consider using durable materials and applying protective coatings. If you’re using paint, choose a high-quality acrylic paint that is resistant to chipping and fading. You can also apply a clear sealant or varnish to protect the surface from scratches and moisture. For fabric embellishments, use a strong adhesive and consider sewing the fabric onto the container for added durability.
Q: Can I use this DIY pen holder for other purposes besides holding pens and pencils?
A: Absolutely! The versatility of this project extends beyond just holding pens and pencils. You can use your DIY pen holder to store a variety of small items, such as paintbrushes, makeup brushes, craft supplies, office supplies, or even small tools. Get creative and adapt the design to suit your specific needs. For example, you could create a pen holder with multiple compartments to organize different types of items.
Q: How do I clean my DIY pen holder?
A: The cleaning method will depend on the materials you used to create your pen holder. For most materials, you can simply wipe it down with a damp cloth. Avoid using harsh chemicals or abrasive cleaners, as these can damage the surface. If you used fabric embellishments, you may need to spot clean them with a mild detergent. For pen holders made from recycled cans or jars, you can wash them with soap and water, but make sure to dry them thoroughly to prevent rust.
Q: Where can I find inspiration for my DIY pen holder design?
A: Inspiration is everywhere! Browse online platforms like Pinterest, Instagram, and Etsy for DIY pen holder ideas. Look through magazines and books for crafting inspiration. Pay attention to the colors, patterns, and textures that you find appealing. You can also draw inspiration from your surroundings, such as nature, architecture, or art. Don’t be afraid to experiment and combine different ideas to create a truly unique design.
Q: How can I involve my kids in this DIY pen holder project?
A: This is a great project to do with kids! Choose age-appropriate materials and embellishments. Let them decorate their pen holders with their favorite colors, characters, or themes. Provide guidance and supervision as needed, but encourage them to express their creativity and make their own design choices. This is a fun and educational activity that can help develop their fine motor skills, creativity, and problem-solving abilities.
Leave a Comment