

Grow Jerusalem Artichokes – ever dreamt of harvesting your own nutty, slightly sweet, and incredibly versatile tubers right in your backyard? I know I have! For centuries, these fascinating plants, also known as sunchokes, have been a staple in indigenous North American diets, offering a nutritious and readily available food source. Their journey across the Atlantic brought them to Europe, where they were initially mistaken for sunflowers (hence the “sun” in their name) and quickly gained popularity.
But let’s be honest, sometimes the thought of growing your own food can feel a little daunting, right? That’s where this DIY guide comes in! I’m here to show you that growing Jerusalem Artichokes is surprisingly easy and rewarding, even if you’re a complete beginner. Forget complicated gardening techniques and expensive equipment. We’ll explore simple, effective tricks and hacks to ensure a bountiful harvest.
Why should you bother learning to grow Jerusalem Artichokes? Well, besides the delicious taste and nutritional benefits, these plants are incredibly low-maintenance and can thrive in a variety of conditions. Plus, they’re a fantastic way to add a unique and sustainable element to your garden. So, grab your gardening gloves, and let’s get started on this exciting journey of cultivating your own homegrown Jerusalem Artichokes!
Grow Your Own Sunroots: A Beginner’s Guide to Jerusalem Artichokes
Okay, so you’re thinking about growing Jerusalem artichokes, also known as sunroots? Awesome! They’re surprisingly easy to grow, produce a delicious and nutritious crop, and are a beautiful addition to any garden. I’ve been growing them for years, and I’m excited to share my tips and tricks with you. Let’s dive in!
What are Jerusalem Artichokes Anyway?
Before we get started, let’s clarify what these things actually are. Despite the name, Jerusalem artichokes have absolutely nothing to do with Jerusalem or artichokes! They’re actually a type of sunflower (Helianthus tuberosus) that produces edible tubers. The tubers look a bit like ginger root and have a nutty, slightly sweet flavor. You can eat them raw, roasted, boiled, or even pickled. They’re also incredibly healthy, packed with inulin, a prebiotic fiber that’s great for your gut.
Choosing the Right Variety
While there aren’t a ton of different varieties readily available, you might come across a few. Some common ones include:
* Fuseau: This is a popular variety known for its smooth, elongated tubers, making them easier to clean.
* White French Mammoth: This one produces large, knobby tubers with a mild flavor.
* Red Rover: As the name suggests, this variety has reddish-skinned tubers.
Honestly, for a beginner, any variety will do. Just focus on getting healthy-looking tubers to start with.
Getting Started: Planting Your Sunroots
The best time to plant Jerusalem artichokes is in the spring, after the last frost, or in the fall, before the ground freezes. I prefer planting in the spring because it gives the plants a full growing season to establish themselves.
Here’s what you’ll need:
* Jerusalem artichoke tubers (obviously!)
* A sunny spot in your garden
* Well-drained soil
* Compost or other organic matter
* A shovel or garden fork
Step-by-Step Planting Instructions:
1. Prepare the Soil: Jerusalem artichokes aren’t too picky about soil, but they do prefer well-drained conditions. Amend your soil with compost or other organic matter to improve drainage and fertility. I usually dig in a generous amount of compost a few weeks before planting.
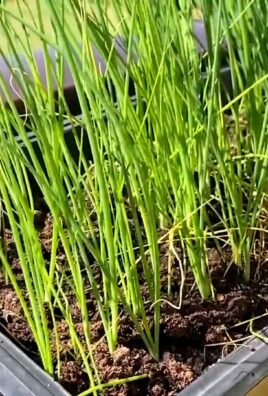
2. Choose Your Location Wisely: These plants can get tall – like, *really* tall (6-10 feet!). So, plant them where they won’t shade out other plants in your garden. Also, be aware that they can spread aggressively, so consider planting them in a contained area or being diligent about removing any unwanted shoots. I learned this the hard way!
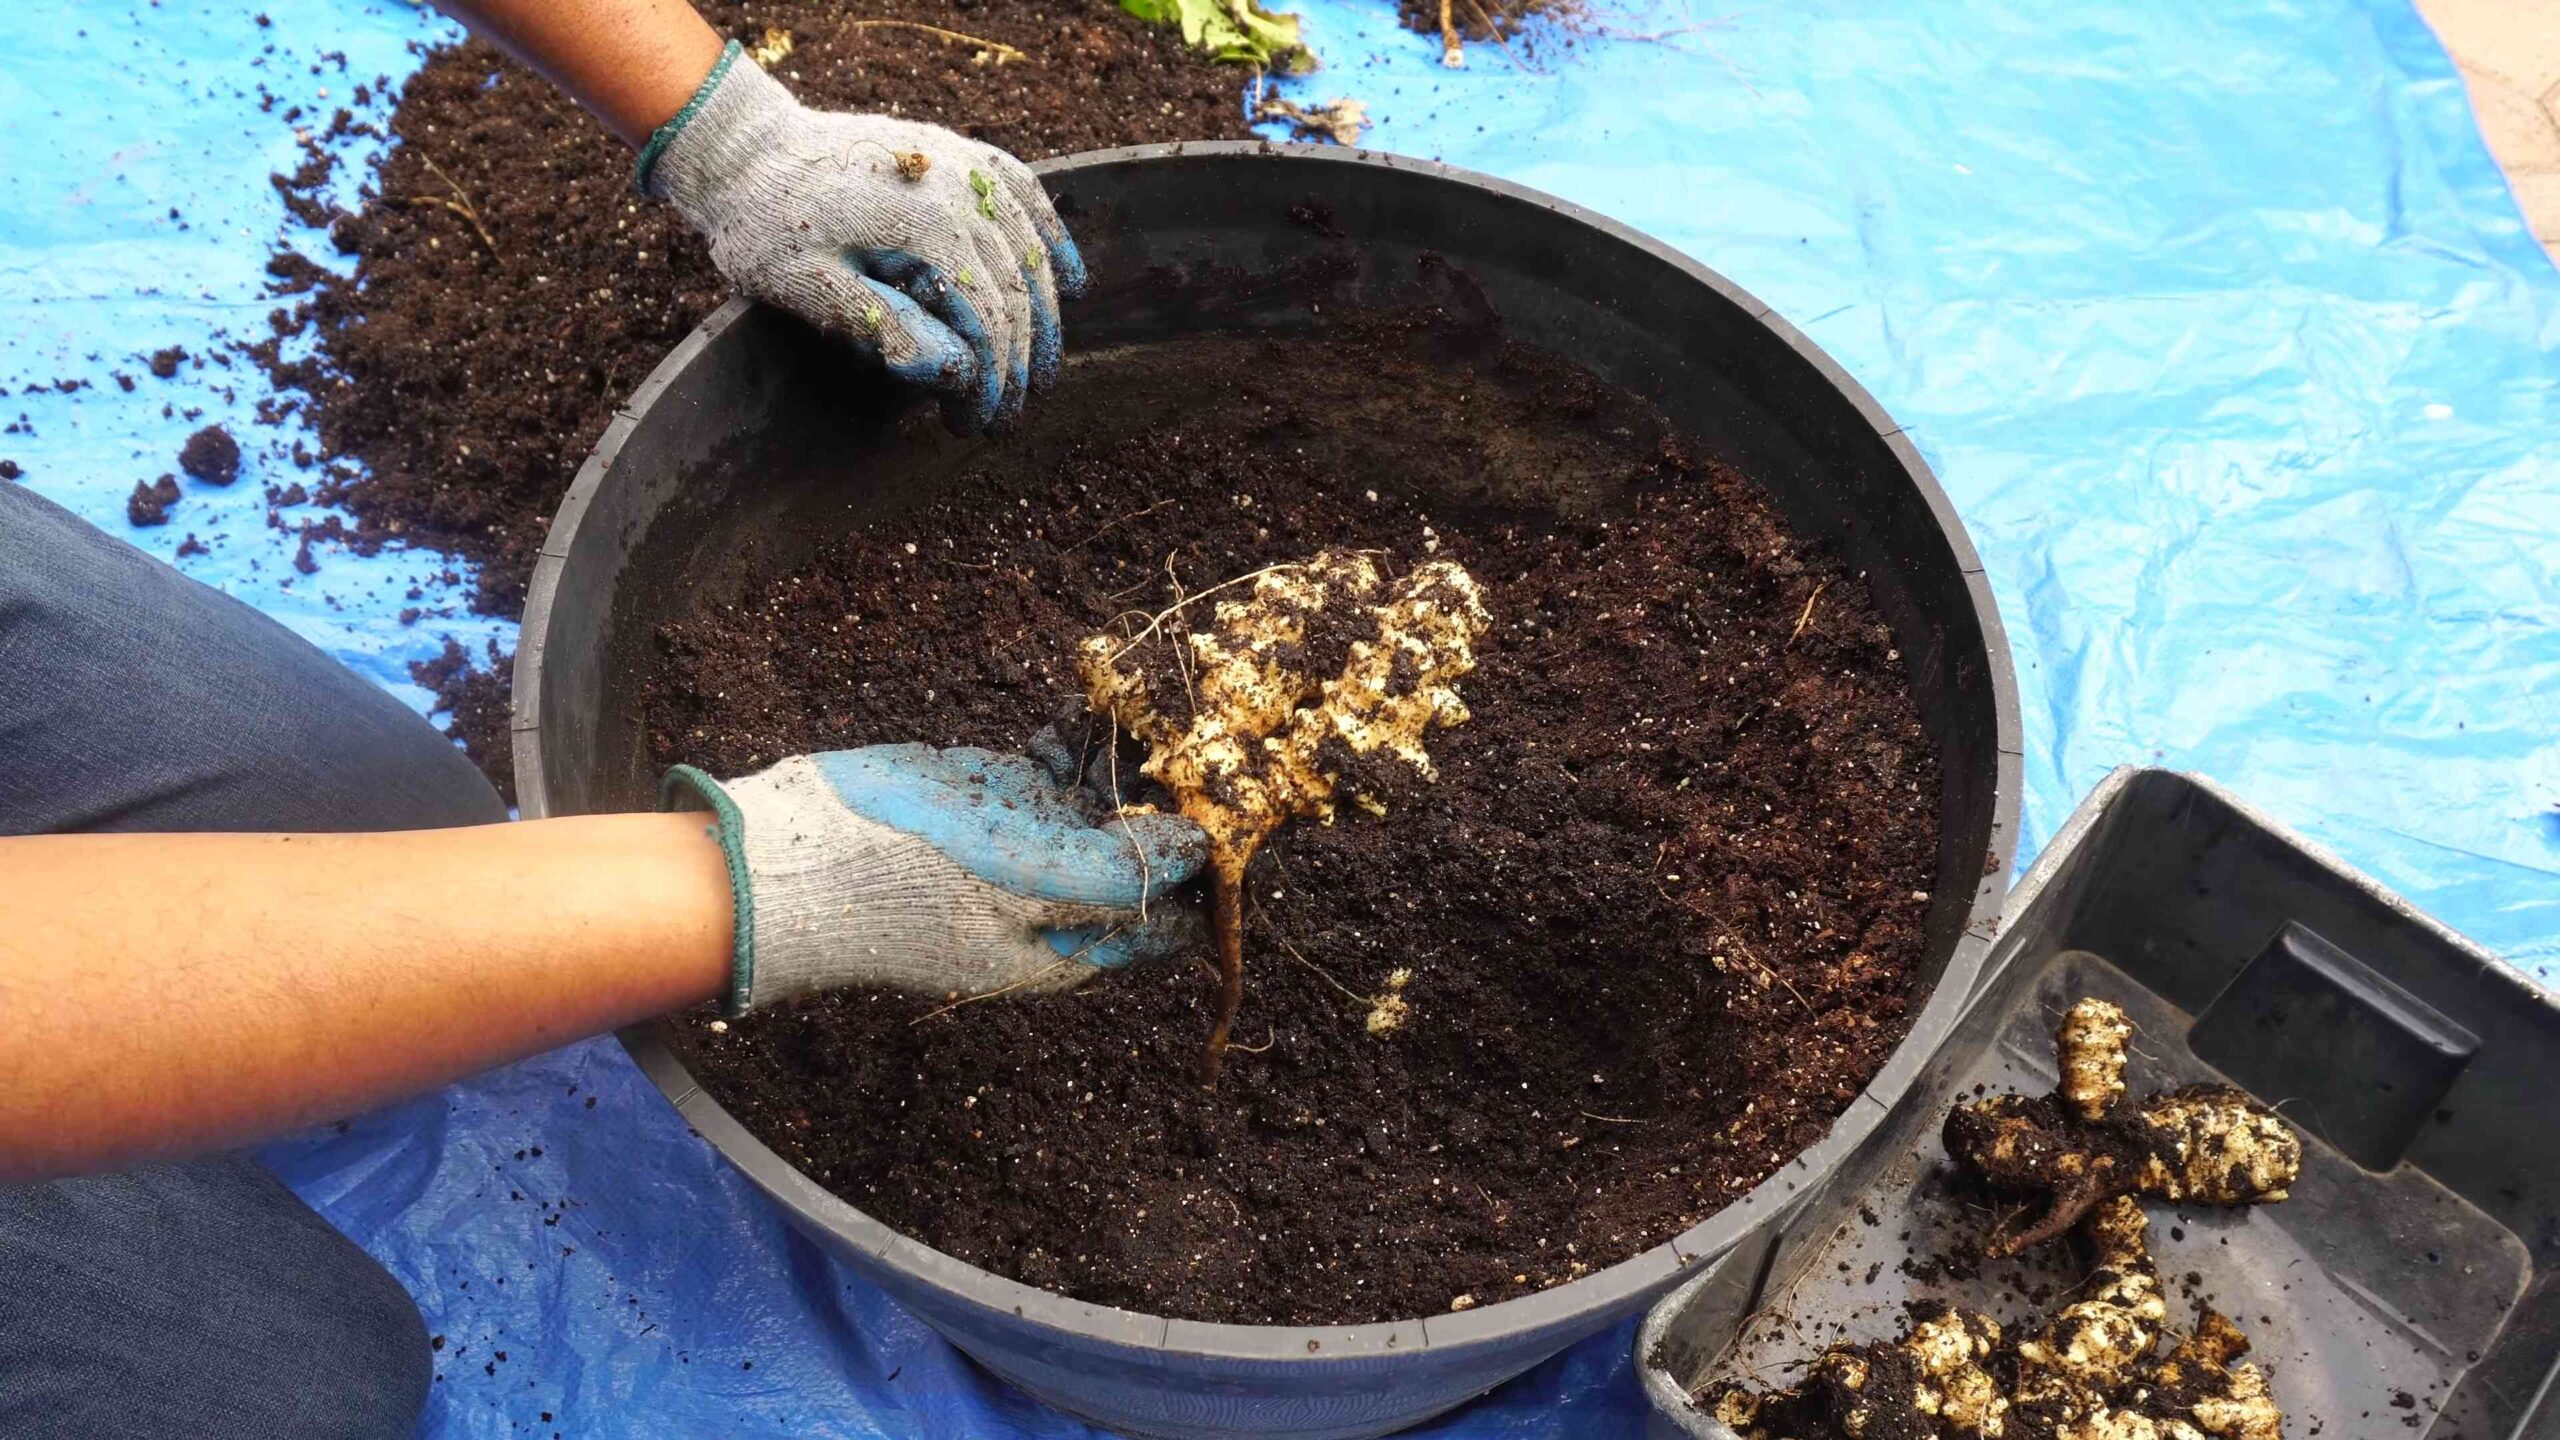
3. Cut the Tubers (Optional): If you have large tubers, you can cut them into smaller pieces, each with at least one “eye” (bud). This will give you more plants. I usually cut mine into pieces about the size of a small potato.
4. Plant the Tubers: Dig holes about 4-6 inches deep and 12-18 inches apart. Place the tubers in the holes with the eyes facing up. Cover them with soil and gently pat down.
5. Water Well: After planting, water the area thoroughly. Keep the soil consistently moist, but not waterlogged, until the plants emerge.
Caring for Your Jerusalem Artichokes
Once your Jerusalem artichokes are planted, they’re pretty low-maintenance. Here’s what you need to do to keep them happy and healthy:
* Watering: Water regularly, especially during dry periods. They need consistent moisture to produce good tubers.
* Weeding: Keep the area around your plants free of weeds. Weeds can compete with your Jerusalem artichokes for nutrients and water.
* Fertilizing: You can fertilize your plants with a balanced fertilizer in the spring. I usually use a slow-release organic fertilizer.
* Staking (Optional): Because they get so tall, Jerusalem artichokes can sometimes topple over in strong winds. If you live in a windy area, you might want to stake them.
* Controlling Spread: As I mentioned earlier, Jerusalem artichokes can spread aggressively. To control their spread, you can plant them in a contained area, such as a raised bed or a large pot. You can also dig up any unwanted shoots that pop up around your plants.
Dealing with Pests and Diseases
Jerusalem artichokes are generally pretty resistant to pests and diseases. However, they can sometimes be affected by:
* Aphids: These tiny insects can suck the sap from your plants. You can control aphids by spraying them with a strong stream of water or by using insecticidal soap.
* Powdery Mildew: This fungal disease can cause a white, powdery coating on the leaves of your plants. You can prevent powdery mildew by ensuring good air circulation around your plants and by avoiding overhead watering.
* Sclerotinia Stem Rot: This can be a problem in wet conditions. Ensure good drainage and air circulation.
Honestly, I rarely have any problems with pests or diseases on my Jerusalem artichokes. They’re pretty tough plants!
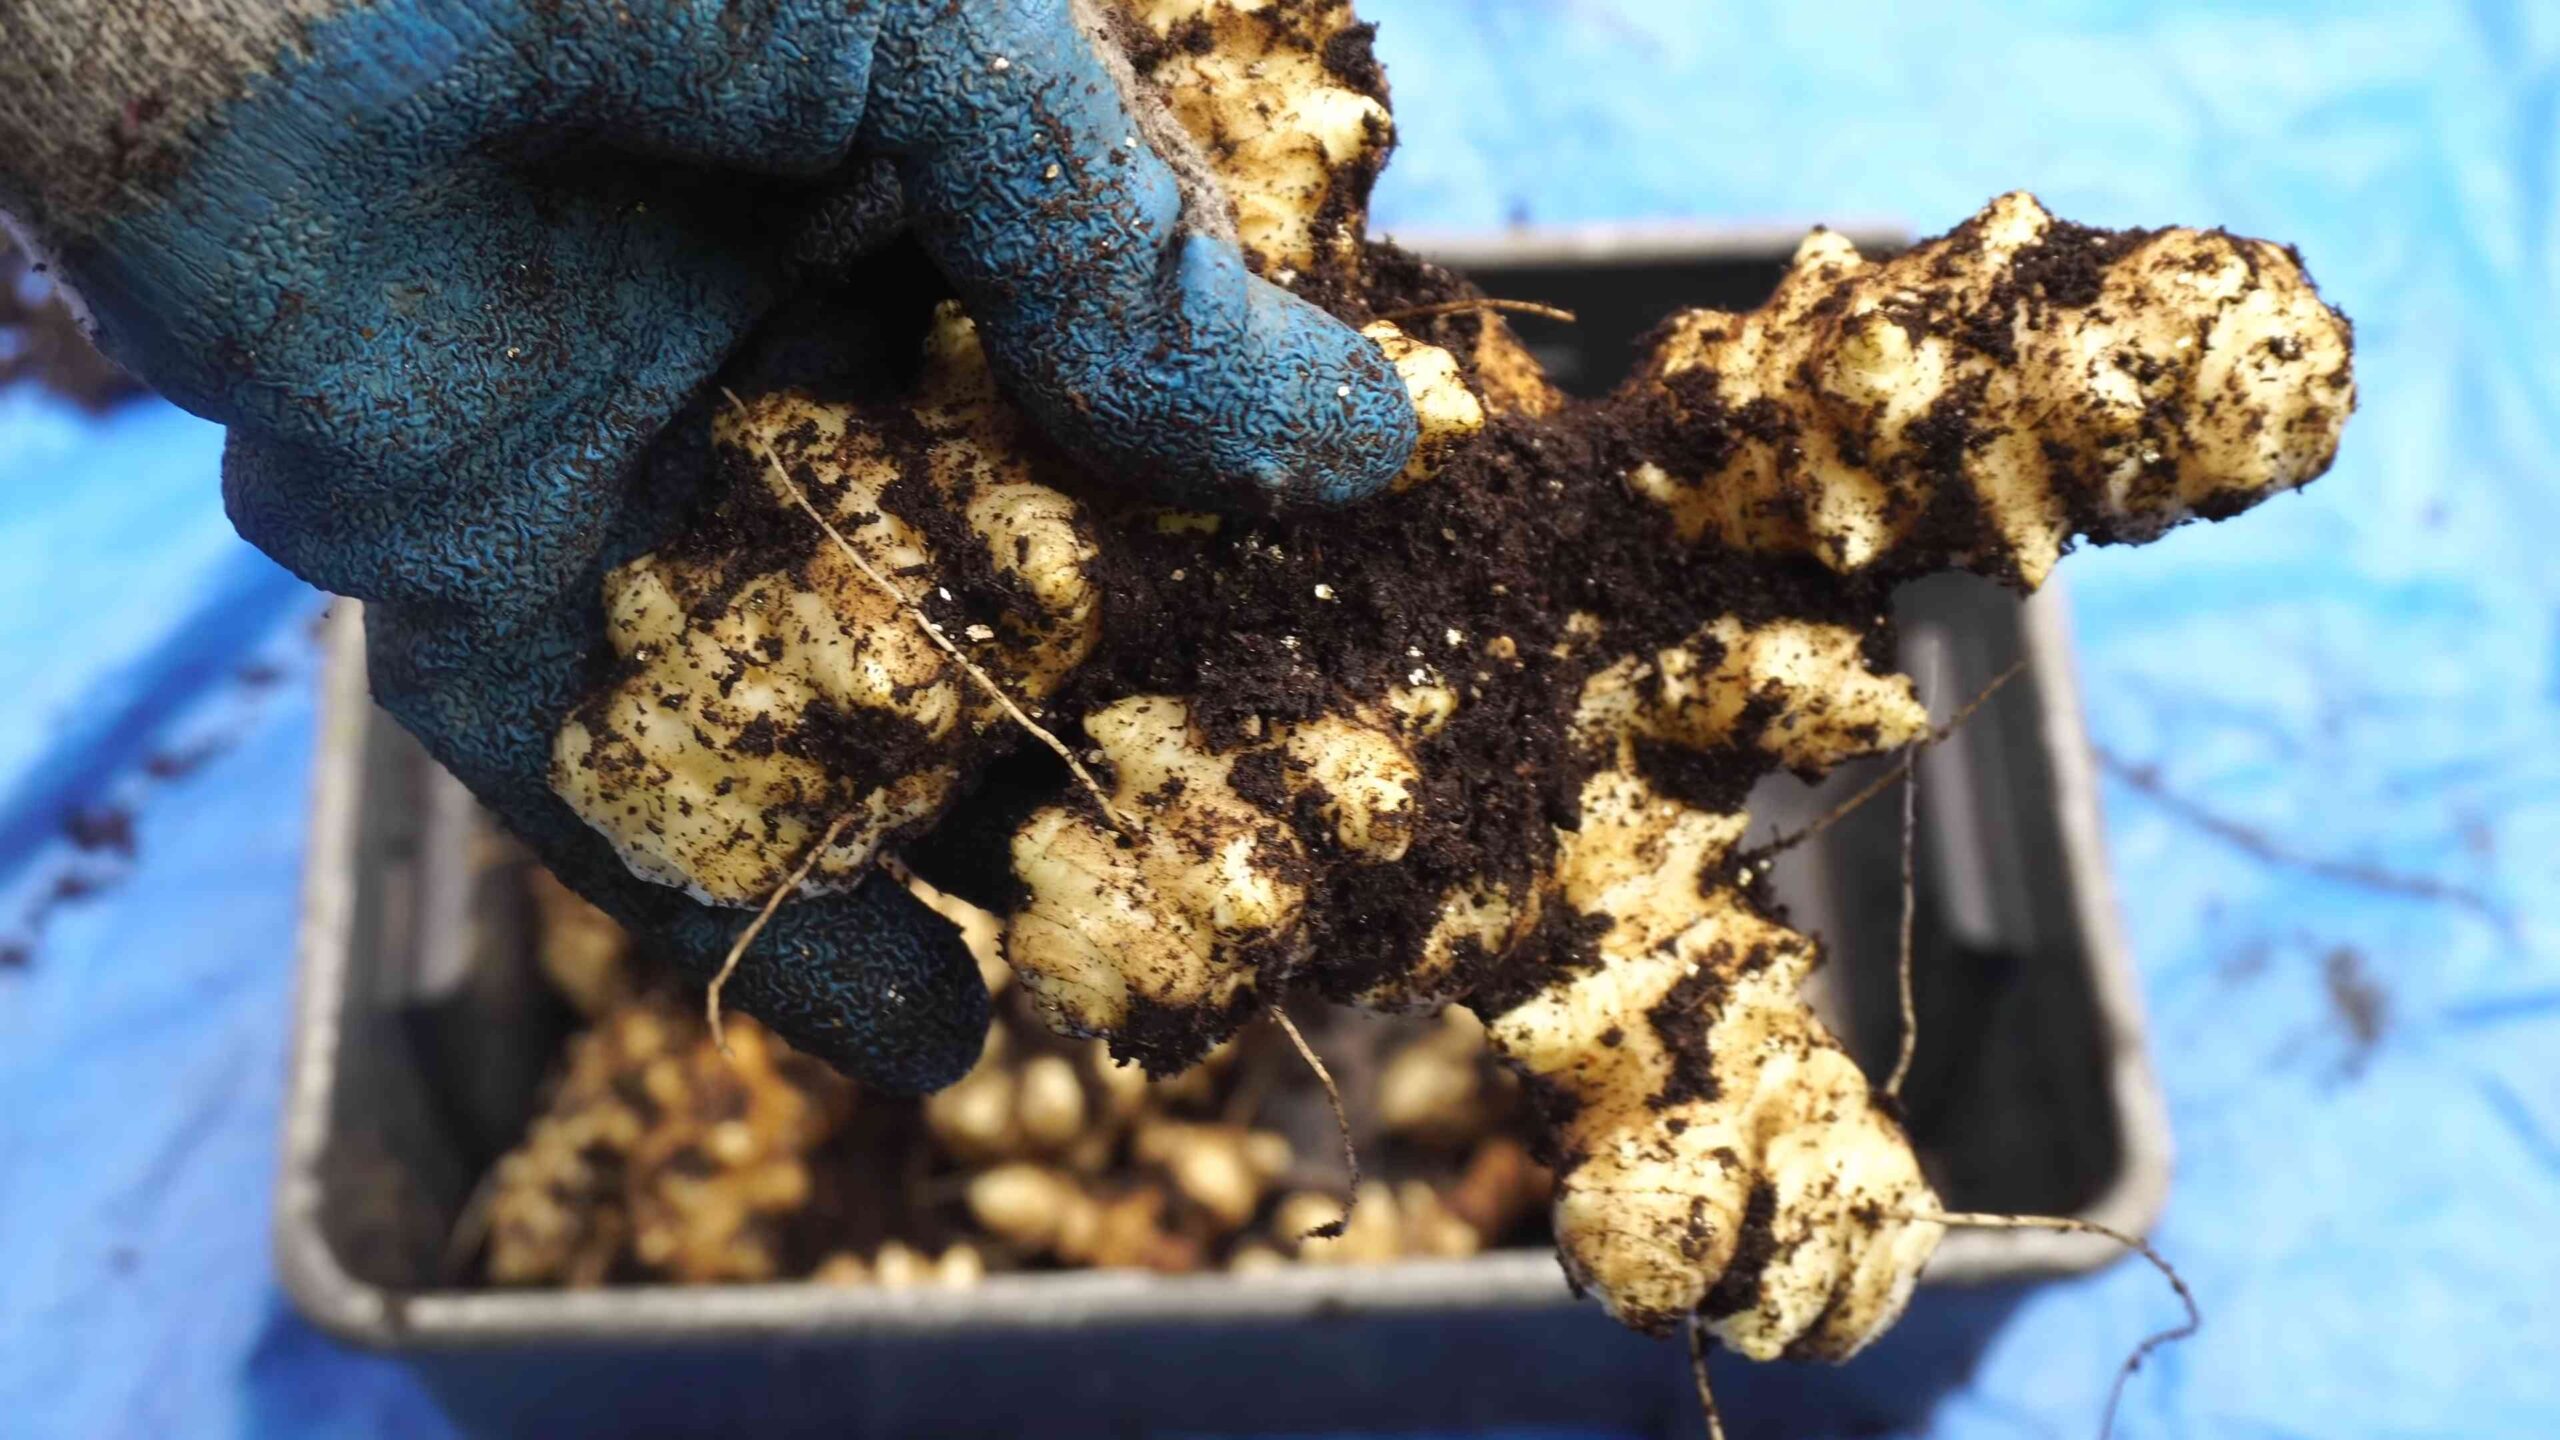
Harvesting Your Sunroots
The best time to harvest Jerusalem artichokes is in the fall, after the plants have died back. You can also harvest them in the spring, before the plants start to grow again. I usually harvest mine in the late fall, after the first frost. The frost actually sweetens the tubers a bit.
Here’s how to harvest them:
1. Cut Back the Stalks: Cut the stalks of your plants down to the ground.
2. Dig Up the Tubers: Use a shovel or garden fork to carefully dig up the tubers. Be careful not to damage them.
3. Clean the Tubers: Brush off any excess soil from the tubers.
4. Store the Tubers: Store the tubers in a cool, dark, and humid place. You can store them in the refrigerator in a plastic bag or container. They’ll keep for several weeks. You can also leave them in the ground and harvest them as needed throughout the winter. Just be sure to mulch them well to protect them from freezing.
Cooking with Jerusalem Artichokes
Now for the fun part – eating your sunroots! There are so many ways to enjoy them. Here are a few of my favorites:
* Roasted: Toss them with olive oil, salt, and pepper, and roast them in the oven until they’re tender and slightly caramelized.
* Mashed: Boil them until they’re tender, then mash them with butter, milk, and seasonings.
* Soup: Add them to your favorite soup recipe for a nutty, slightly sweet flavor.
* Raw: Slice them thinly and add them to salads for a crunchy texture and a unique flavor.
* Pickled: Pickle them for a tangy and delicious treat.
Important Note: Jerusalem artichokes contain inulin, which can cause gas and bloating in some people, especially if they’re not used to eating them. Start with small portions and gradually increase your intake to avoid any digestive discomfort.
Propagating Jerusalem Artichokes
The easiest way to propagate Jerusalem artichokes is by replanting the tubers. You can simply save some of your harvested tubers and plant them in the spring. You can also propagate them from seed, but it’s a much slower process.
Troubleshooting
* No Tubers: If your plants are growing well but not producing tubers, it could be due to a lack of sunlight or nutrients. Make sure they’re getting at least six hours of sunlight per day and fertilize them with a balanced fertilizer.
* Small Tubers: Small tubers can be caused by overcrowding. Thin out your plants to give them more space to grow.
* Spreading Too Much: As mentioned before, Jerusalem artichokes can spread aggressively. Plant them in a contained area or be diligent about removing any unwanted shoots.
Final Thoughts
Growing Jerusalem artichokes is a rewarding experience. They’re easy to grow, produce a delicious and nutritious crop, and are a beautiful addition to any garden. With a little bit of care, you can enjoy a bountiful harvest of sunroots for years to come. Happy gardening!
Conclusion
So, there you have it! Growing Jerusalem Artichokes at home is not only surprisingly simple, but it’s also incredibly rewarding. Forget those expensive, often lackluster tubers from the grocery store. With a little effort, you can cultivate your own supply of fresh, nutty, and versatile Jerusalem Artichokes, right in your backyard.
Why is this DIY trick a must-try? Because it puts you in control. You know exactly where your food is coming from, what (if anything) has been used to treat it, and you get the satisfaction of nurturing something from the earth to your table. Plus, the taste of homegrown Jerusalem Artichokes is simply unmatched. They’re sweeter, earthier, and have a more pronounced flavor than anything you’ll find commercially.
Beyond the basic method outlined, there are plenty of ways to customize your Jerusalem Artichoke growing experience. Consider these variations:
* **Container Gardening:** If you’re short on space, Jerusalem Artichokes can be successfully grown in large containers. Just ensure the pot is at least 24 inches deep and wide to accommodate their extensive root system. Use a high-quality potting mix and be diligent about watering.
* **Succession Planting:** To extend your harvest, plant Jerusalem Artichokes in stages, a few weeks apart. This will ensure a continuous supply of tubers throughout the fall and winter.
* **Companion Planting:** Jerusalem Artichokes thrive alongside certain plants. Consider planting them near legumes like beans or peas, which can help fix nitrogen in the soil. Avoid planting them near sunflowers, as they can compete for resources.
* **Different Varieties:** Explore the different varieties of Jerusalem Artichokes available. Some are smoother and easier to peel, while others have a more intense flavor. Experiment to find your favorite!
* Experiment with different soil amendments. While Jerusalem Artichokes are relatively unfussy, adding compost or well-rotted manure to the soil can significantly improve their growth and yield.
The beauty of growing your own Jerusalem Artichokes is that it’s an ongoing learning experience. Don’t be afraid to experiment, adapt, and find what works best for your specific climate and growing conditions.
We wholeheartedly encourage you to give this DIY trick a try. It’s an investment in your health, your garden, and your culinary adventures. Imagine the delicious soups, roasted vegetables, and creative dishes you can create with your own homegrown Jerusalem Artichokes!
But don’t just take our word for it. Get your hands dirty, plant those tubers, and witness the magic of growing your own food. And most importantly, we want to hear about your experience! Share your tips, tricks, and triumphs in the comments below. Let’s build a community of Jerusalem Artichoke enthusiasts and learn from each other. What are you waiting for? Start growing Jerusalem Artichokes today!
FAQ
What exactly are Jerusalem Artichokes? Are they related to artichokes?
Jerusalem Artichokes, also known as sunchokes, are the tubers of a type of sunflower (Helianthus tuberosus). Despite their name, they are not related to globe artichokes. They have a nutty, slightly sweet flavor and can be eaten raw or cooked.
When is the best time to plant Jerusalem Artichokes?
The ideal time to plant Jerusalem Artichokes is in the early spring, after the last frost, or in the late fall, before the ground freezes. Planting in the fall allows the tubers to overwinter and get a head start in the spring.
How do I plant Jerusalem Artichokes?
Plant Jerusalem Artichoke tubers about 4-6 inches deep and 12-18 inches apart. Choose a sunny location with well-drained soil. You can plant whole tubers or cut them into pieces, ensuring each piece has at least one “eye” or bud.
What kind of soil do Jerusalem Artichokes need?
Jerusalem Artichokes are relatively adaptable but thrive in well-drained soil that is rich in organic matter. Amend heavy clay soils with compost or other organic materials to improve drainage. A slightly acidic to neutral pH is ideal.
How much sun do Jerusalem Artichokes need?
Jerusalem Artichokes need at least 6 hours of sunlight per day to thrive. Choose a location in your garden that receives full sun for optimal growth and tuber production.
How often should I water Jerusalem Artichokes?
Water Jerusalem Artichokes regularly, especially during dry periods. Aim to keep the soil consistently moist but not waterlogged. Once established, they are relatively drought-tolerant.
Do Jerusalem Artichokes need fertilizer?
While not essential, fertilizing Jerusalem Artichokes can boost their growth and yield. Apply a balanced fertilizer in the spring, following the package instructions. Avoid over-fertilizing, as this can lead to excessive foliage growth at the expense of tuber production.
How tall do Jerusalem Artichoke plants grow?
Jerusalem Artichoke plants can grow quite tall, reaching heights of 6-12 feet. Be sure to provide adequate space for them to grow and consider staking them to prevent them from falling over in windy conditions.
When are Jerusalem Artichokes ready to harvest?
Jerusalem Artichokes are typically ready to harvest in the late fall or early winter, after the foliage has died back. You can also harvest them in the spring, before new growth begins.
How do I harvest Jerusalem Artichokes?
To harvest Jerusalem Artichokes, carefully dig around the base of the plant and lift the tubers from the soil. Use a garden fork to avoid damaging the tubers.
How do I store Jerusalem Artichokes?
Jerusalem Artichokes can be stored in a cool, dark, and humid place, such as a root cellar or refrigerator. They can also be left in the ground and harvested as needed throughout the winter.
Are Jerusalem Artichokes invasive?
Jerusalem Artichokes can be quite prolific and can spread aggressively if not managed properly. To prevent them from becoming invasive, consider growing them in containers or using a barrier to contain their roots.
Can I eat the leaves or flowers of Jerusalem Artichokes?
While the tubers are the primary edible part of the plant, the young leaves and flower buds of Jerusalem Artichokes are also edible. The leaves can be used in salads or cooked like spinach, and the flower buds can be steamed or sautéed.
Are there any health benefits to eating Jerusalem Artichokes?
Jerusalem Artichokes are a good source of fiber, potassium, and iron. They also contain inulin, a type of prebiotic fiber that can promote gut health. However, some people may experience gas or bloating after eating Jerusalem Artichokes due to their high inulin content. Cooking them thoroughly can help reduce this effect.
What are some ways to cook with Jerusalem Artichokes?
Jerusalem Artichokes are incredibly versatile and can be used in a variety of dishes. They can be roasted, mashed, pureed into soups, added to stews, or even eaten raw in salads. Their nutty flavor pairs well with herbs, spices, and other root vegetables.
Can I grow Jerusalem Artichokes in a small garden?
Yes, you can grow Jerusalem Artichokes in a small garden, but you’ll need to manage their growth carefully. Consider growing them in containers or using a barrier to contain their roots. Also, be prepared to prune the plants to keep them from becoming too large.
What pests or diseases affect Jerusalem Artichokes?
Jerusalem Artichokes are generally resistant to pests and diseases. However, they can be susceptible to aphids, slugs, and powdery mildew. Monitor your plants regularly and take action if you notice any signs of infestation or disease.
Can I save seeds from Jerusalem Artichokes?
Jerusalem Artichokes are typically propagated by tubers, not seeds. While they do produce flowers, the seeds are often not viable. It’s best to save tubers from your harvest to plant the following year.
How long does it take for Jerusalem Artichokes to grow?
From planting to harvest, Jerusalem Artichokes typically take about 120-150 days to mature. The exact time will depend on your climate and growing conditions.
Leave a Comment