

Growing Yellow Habanero Peppers can seem daunting, but trust me, with a few simple tricks and a little DIY spirit, you can cultivate these fiery gems right in your own backyard! Imagine the satisfaction of harvesting vibrant, sunshine-yellow peppers, ready to add a kick to your favorite dishes.
For centuries, peppers, including the habanero, have been cherished for their flavor and medicinal properties. Originating in the Amazon basin, habaneros spread throughout the Americas, becoming integral to cuisines from Mexico to the Caribbean. The yellow habanero, with its fruity aroma and intense heat, is a particular favorite among chili enthusiasts.
Why bother with the effort of growing your own? Well, for starters, store-bought peppers often lack the freshness and flavor intensity of homegrown varieties. Plus, you have complete control over the growing process, ensuring your peppers are free from harmful pesticides. But more importantly, growing Yellow Habanero Peppers is incredibly rewarding! This DIY guide will equip you with the knowledge and techniques to successfully cultivate these peppers, even if you’re a beginner gardener. We’ll cover everything from seed starting to pest control, ensuring you have a bountiful harvest of these delicious and fiery peppers. Get ready to spice up your life, one pepper at a time!
Growing Yellow Habanero Peppers: A Fiery DIY Guide
Hey there, fellow chili enthusiasts! I’m so excited to share my experience growing yellow habanero peppers. These little sunbursts of heat are not only delicious but also add a vibrant pop of color to your garden. Growing them yourself is surprisingly rewarding, and I’m here to guide you through every step, from seed to harvest. Let’s get started!
Choosing Your Seeds and Starting Indoors
Yellow habaneros, like all peppers, thrive with a head start. Starting them indoors gives them a fighting chance against unpredictable weather and pests.
What you’ll need:
* Yellow habanero pepper seeds (purchase from a reputable source)
* Seed starting trays or small pots
* Seed starting mix (a light, well-draining mix is crucial)
* Spray bottle with water
* Heat mat (optional, but highly recommended)
* Grow lights (essential for strong seedlings)
* Small fan (for air circulation)
Step-by-step instructions:
1. Sowing the Seeds: Fill your seed starting trays or pots with the seed starting mix. Gently press the soil down, leaving about half an inch of space at the top. Moisten the soil thoroughly with your spray bottle. You want it damp, not soggy. Place 2-3 seeds in each cell or pot, about ¼ inch deep. Cover lightly with more seed starting mix.
2. Creating the Ideal Environment: Place the trays or pots on a heat mat. Habaneros need warmth to germinate, ideally between 80-90°F (27-32°C). Cover the trays with a humidity dome or plastic wrap to retain moisture.
3. Germination Time: Be patient! Habanero seeds can take anywhere from 7-21 days to germinate. Check the soil moisture daily and mist with water as needed to keep it consistently damp. Once you see sprouts, remove the humidity dome or plastic wrap.
4. Light it Up: Immediately place the seedlings under grow lights. Position the lights a few inches above the seedlings and adjust as they grow. Aim for 14-16 hours of light per day. This prevents them from becoming leggy and weak.
5. Air Circulation is Key: Set up a small fan to gently circulate air around the seedlings. This helps prevent fungal diseases and strengthens the stems. Run the fan for a few hours each day.
6. Thinning the Seedlings: Once the seedlings have their first true leaves (the second set of leaves that appear after the initial seed leaves), thin them out by snipping off the weaker seedlings at the soil line, leaving only the strongest one in each cell or pot. Don’t pull them out, as this can disturb the roots of the remaining seedling.
7. Watering Wisely: Water the seedlings when the top inch of soil feels dry to the touch. Avoid overwatering, as this can lead to root rot. Water from the bottom by placing the trays in a shallow dish of water and allowing the soil to absorb the moisture.
8. Fertilizing Gently: After a couple of weeks, start feeding the seedlings with a diluted liquid fertilizer specifically formulated for seedlings. Follow the instructions on the fertilizer package carefully.
Hardening Off Your Seedlings
Before transplanting your precious habanero seedlings outdoors, you need to “harden them off.” This process gradually acclimates them to the outdoor environment, preventing shock and ensuring a smoother transition.
What you’ll need:
* Your healthy habanero seedlings
* A sheltered outdoor location (partially shaded)
Step-by-step instructions:
1. Day 1-3: Place the seedlings outdoors in a sheltered, partially shaded location for just 1-2 hours. Bring them back inside.
2. Day 4-6: Gradually increase the amount of time they spend outdoors each day, adding an hour or two. Expose them to a little more sunlight each day.
3. Day 7-10: By the end of the hardening-off period, the seedlings should be able to tolerate a full day outdoors, including several hours of direct sunlight.
4. Watch the Weather: If the weather is particularly harsh (strong winds, heavy rain, or extreme temperatures), bring the seedlings back inside.
Transplanting Outdoors
Now for the exciting part – planting your habaneros in their permanent home!
What you’ll need:
* Your hardened-off habanero seedlings
* A sunny garden location with well-draining soil
* Compost or well-rotted manure
* Gardening gloves
* Trowel or shovel
* Watering can or hose
* Mulch (optional, but recommended)
* Stakes or tomato cages (optional, for support)
Step-by-step instructions:
1. Choosing the Right Location: Select a location that receives at least 6-8 hours of direct sunlight per day. Habaneros love the sun!
2. Preparing the Soil: Habaneros need well-draining soil that is rich in organic matter. Amend the soil with compost or well-rotted manure. Dig a hole that is twice as wide and as deep as the root ball of the seedling.
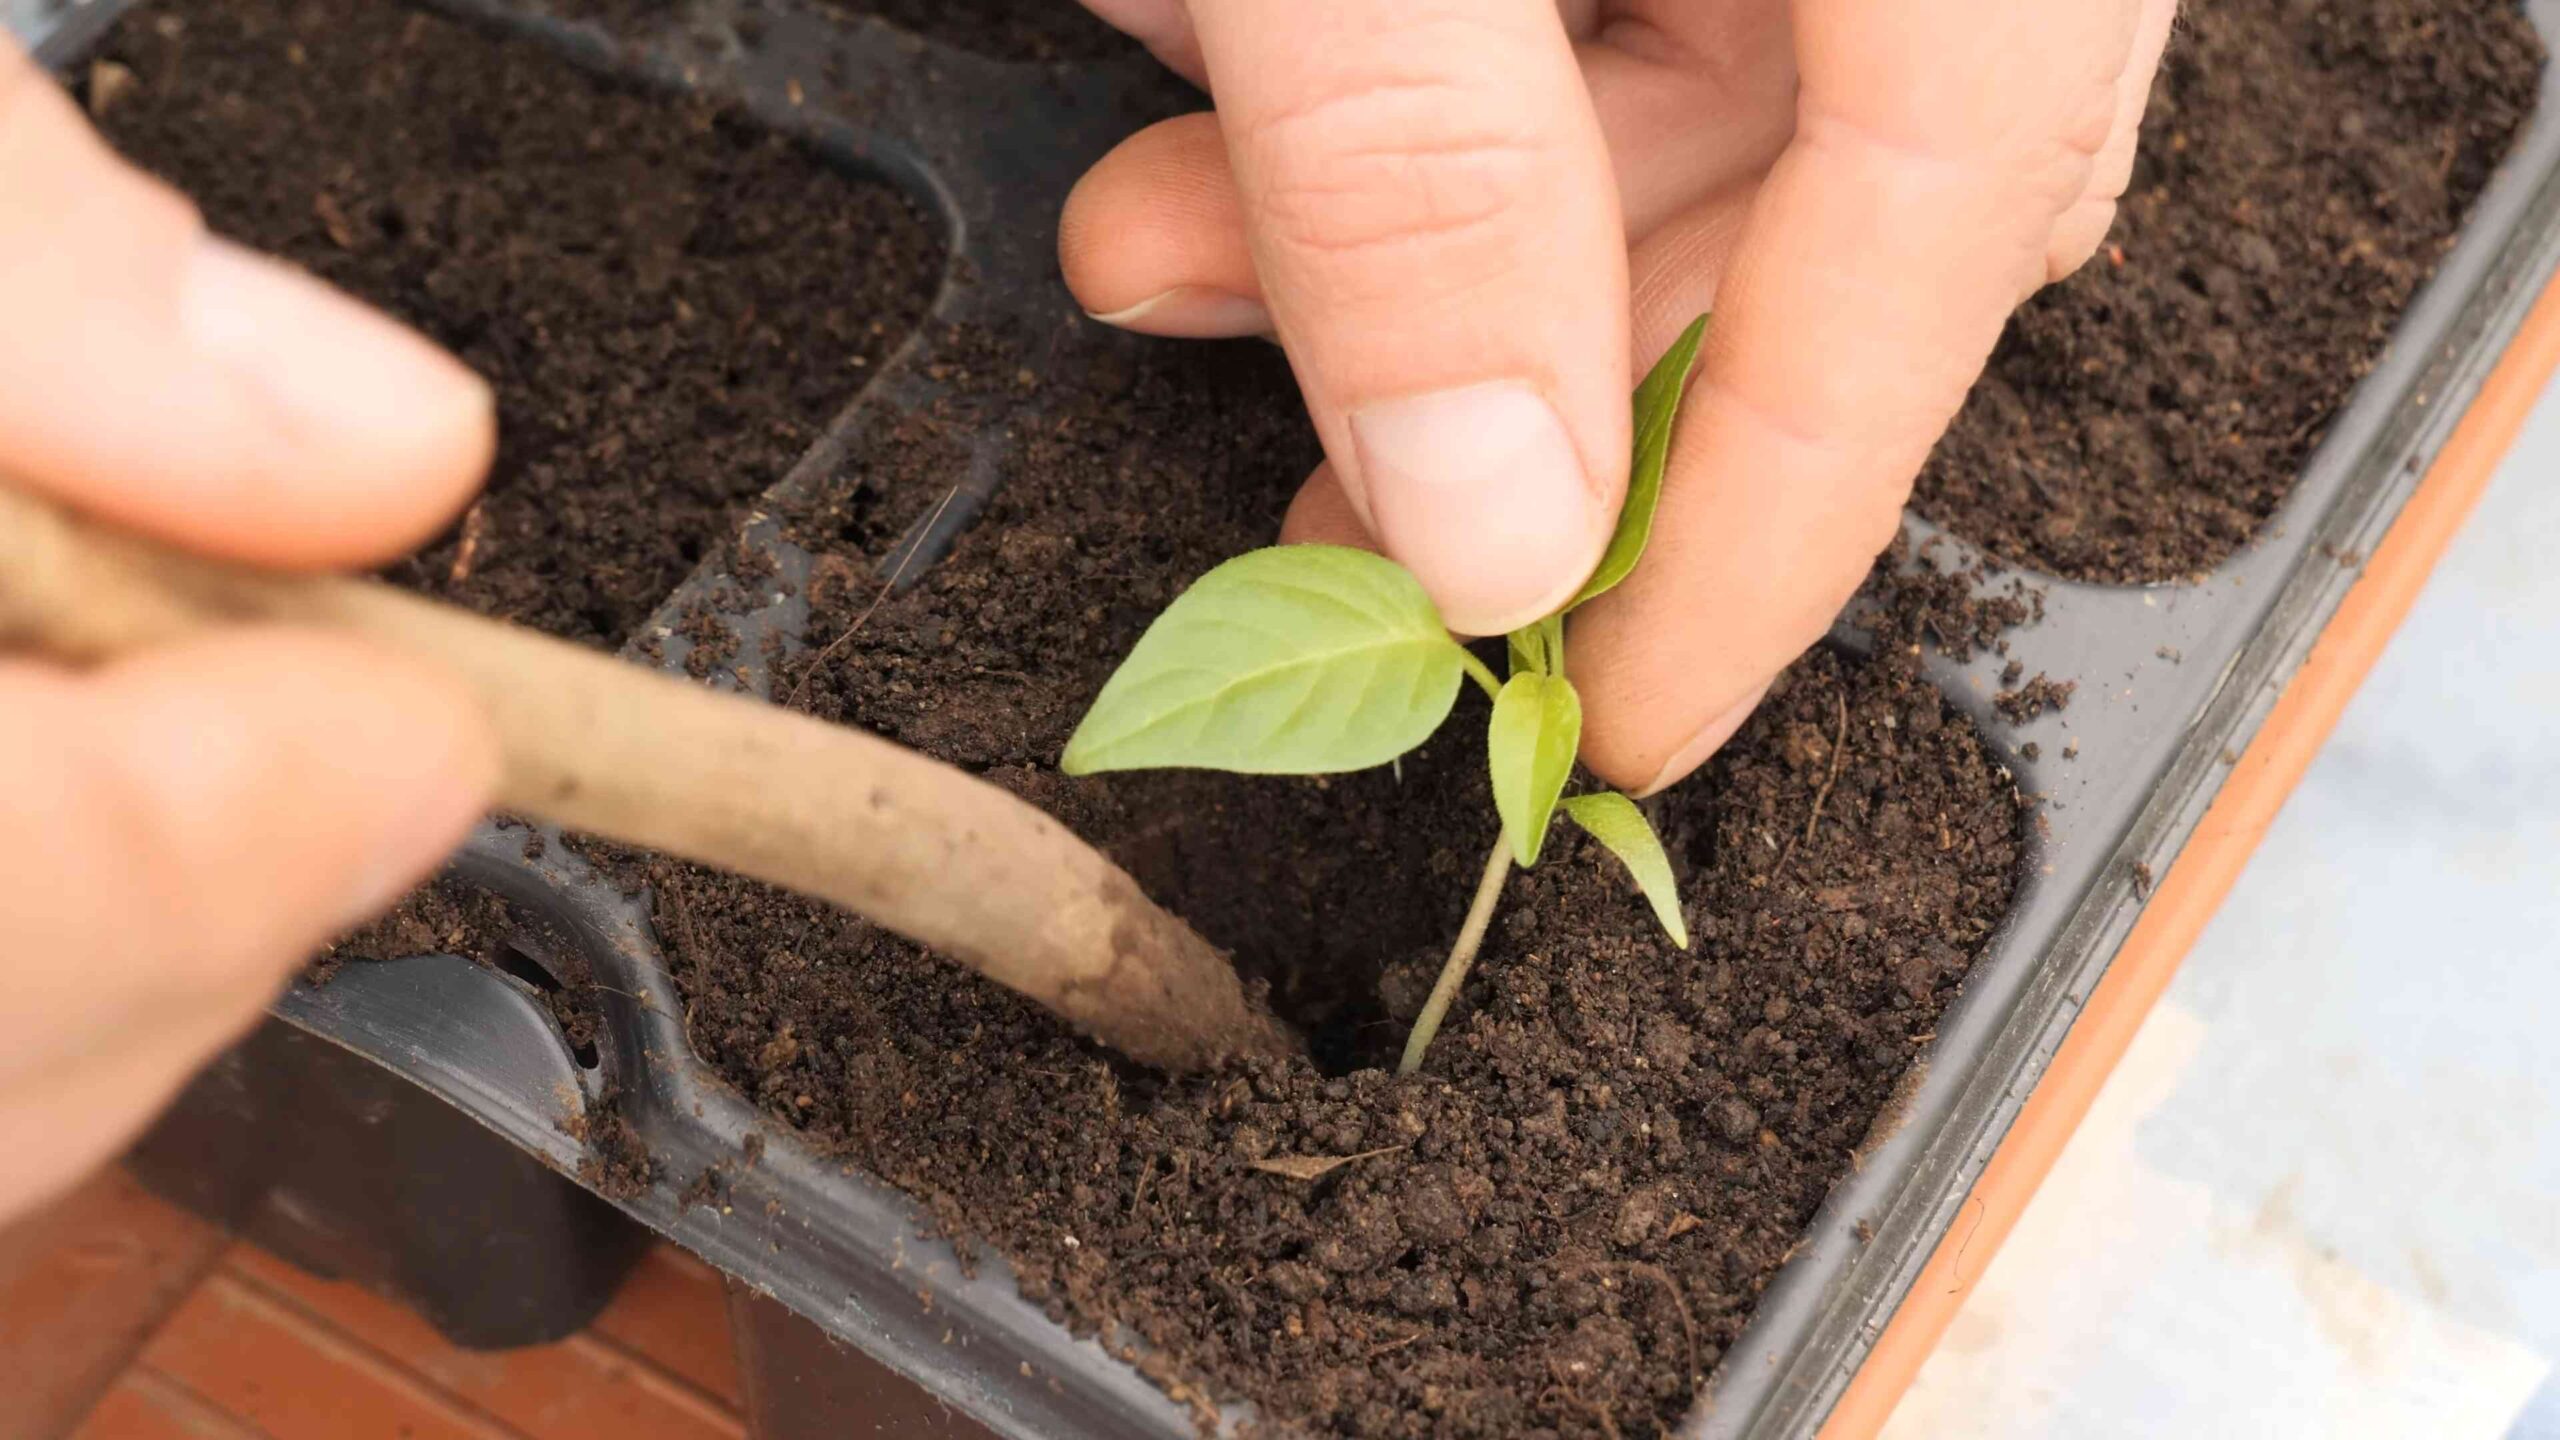
3. Planting the Seedlings: Gently remove the seedling from its pot. Loosen the roots slightly. Place the seedling in the hole, ensuring that the top of the root ball is level with the surrounding soil. Backfill the hole with soil, gently firming it around the base of the plant.
4. Spacing: Space the plants about 18-24 inches apart. This allows them plenty of room to grow and prevents overcrowding.
5. Watering Thoroughly: Water the newly transplanted seedlings thoroughly. This helps settle the soil and encourages root growth.
6. Mulching (Optional): Apply a layer of mulch around the base of the plants. Mulch helps retain moisture, suppress weeds, and regulate soil temperature.
7. Providing Support (Optional): If you live in an area with strong winds or if you anticipate the plants becoming heavily laden with peppers, consider staking them or using tomato cages for support.
Caring for Your Habanero Plants
Consistent care is essential for healthy, productive habanero plants.
What you’ll need:
* Watering can or hose
* Fertilizer (specifically formulated for peppers or tomatoes)
* Gardening gloves
* Pruning shears (optional)
* Insecticidal soap or neem oil (for pest control)
Step-by-step instructions:
1. Watering Regularly: Water your habanero plants regularly, especially during hot, dry weather. Aim to keep the soil consistently moist, but not waterlogged. Water deeply, allowing the water to soak into the soil.
2. Fertilizing: Fertilize your habanero plants every 2-3 weeks with a fertilizer specifically formulated for peppers or tomatoes. Follow the instructions on the fertilizer package carefully. Avoid over-fertilizing, as this can lead to excessive foliage growth at the expense of pepper production.
3. Pruning (Optional): Pruning can help improve air circulation and encourage bushier growth. Remove any yellowing or dead leaves. You can also pinch off the tips of the branches to encourage more branching.
4. Pest Control: Keep an eye out for pests such as aphids, whiteflies, and spider mites. If you notice any pests, treat them with insecticidal soap or neem oil. Follow the instructions on the product label carefully.
5. Weed Control: Keep the area around your habanero plants free of weeds. Weeds compete with the plants for water and nutrients.
Harvesting Your Yellow Habaneros
The moment you’ve been waiting for! Harvesting your fiery bounty.
What you’ll need:
* Gardening gloves (trust me, you’ll want these!)
* Pruning shears or scissors
Step-by-step instructions:
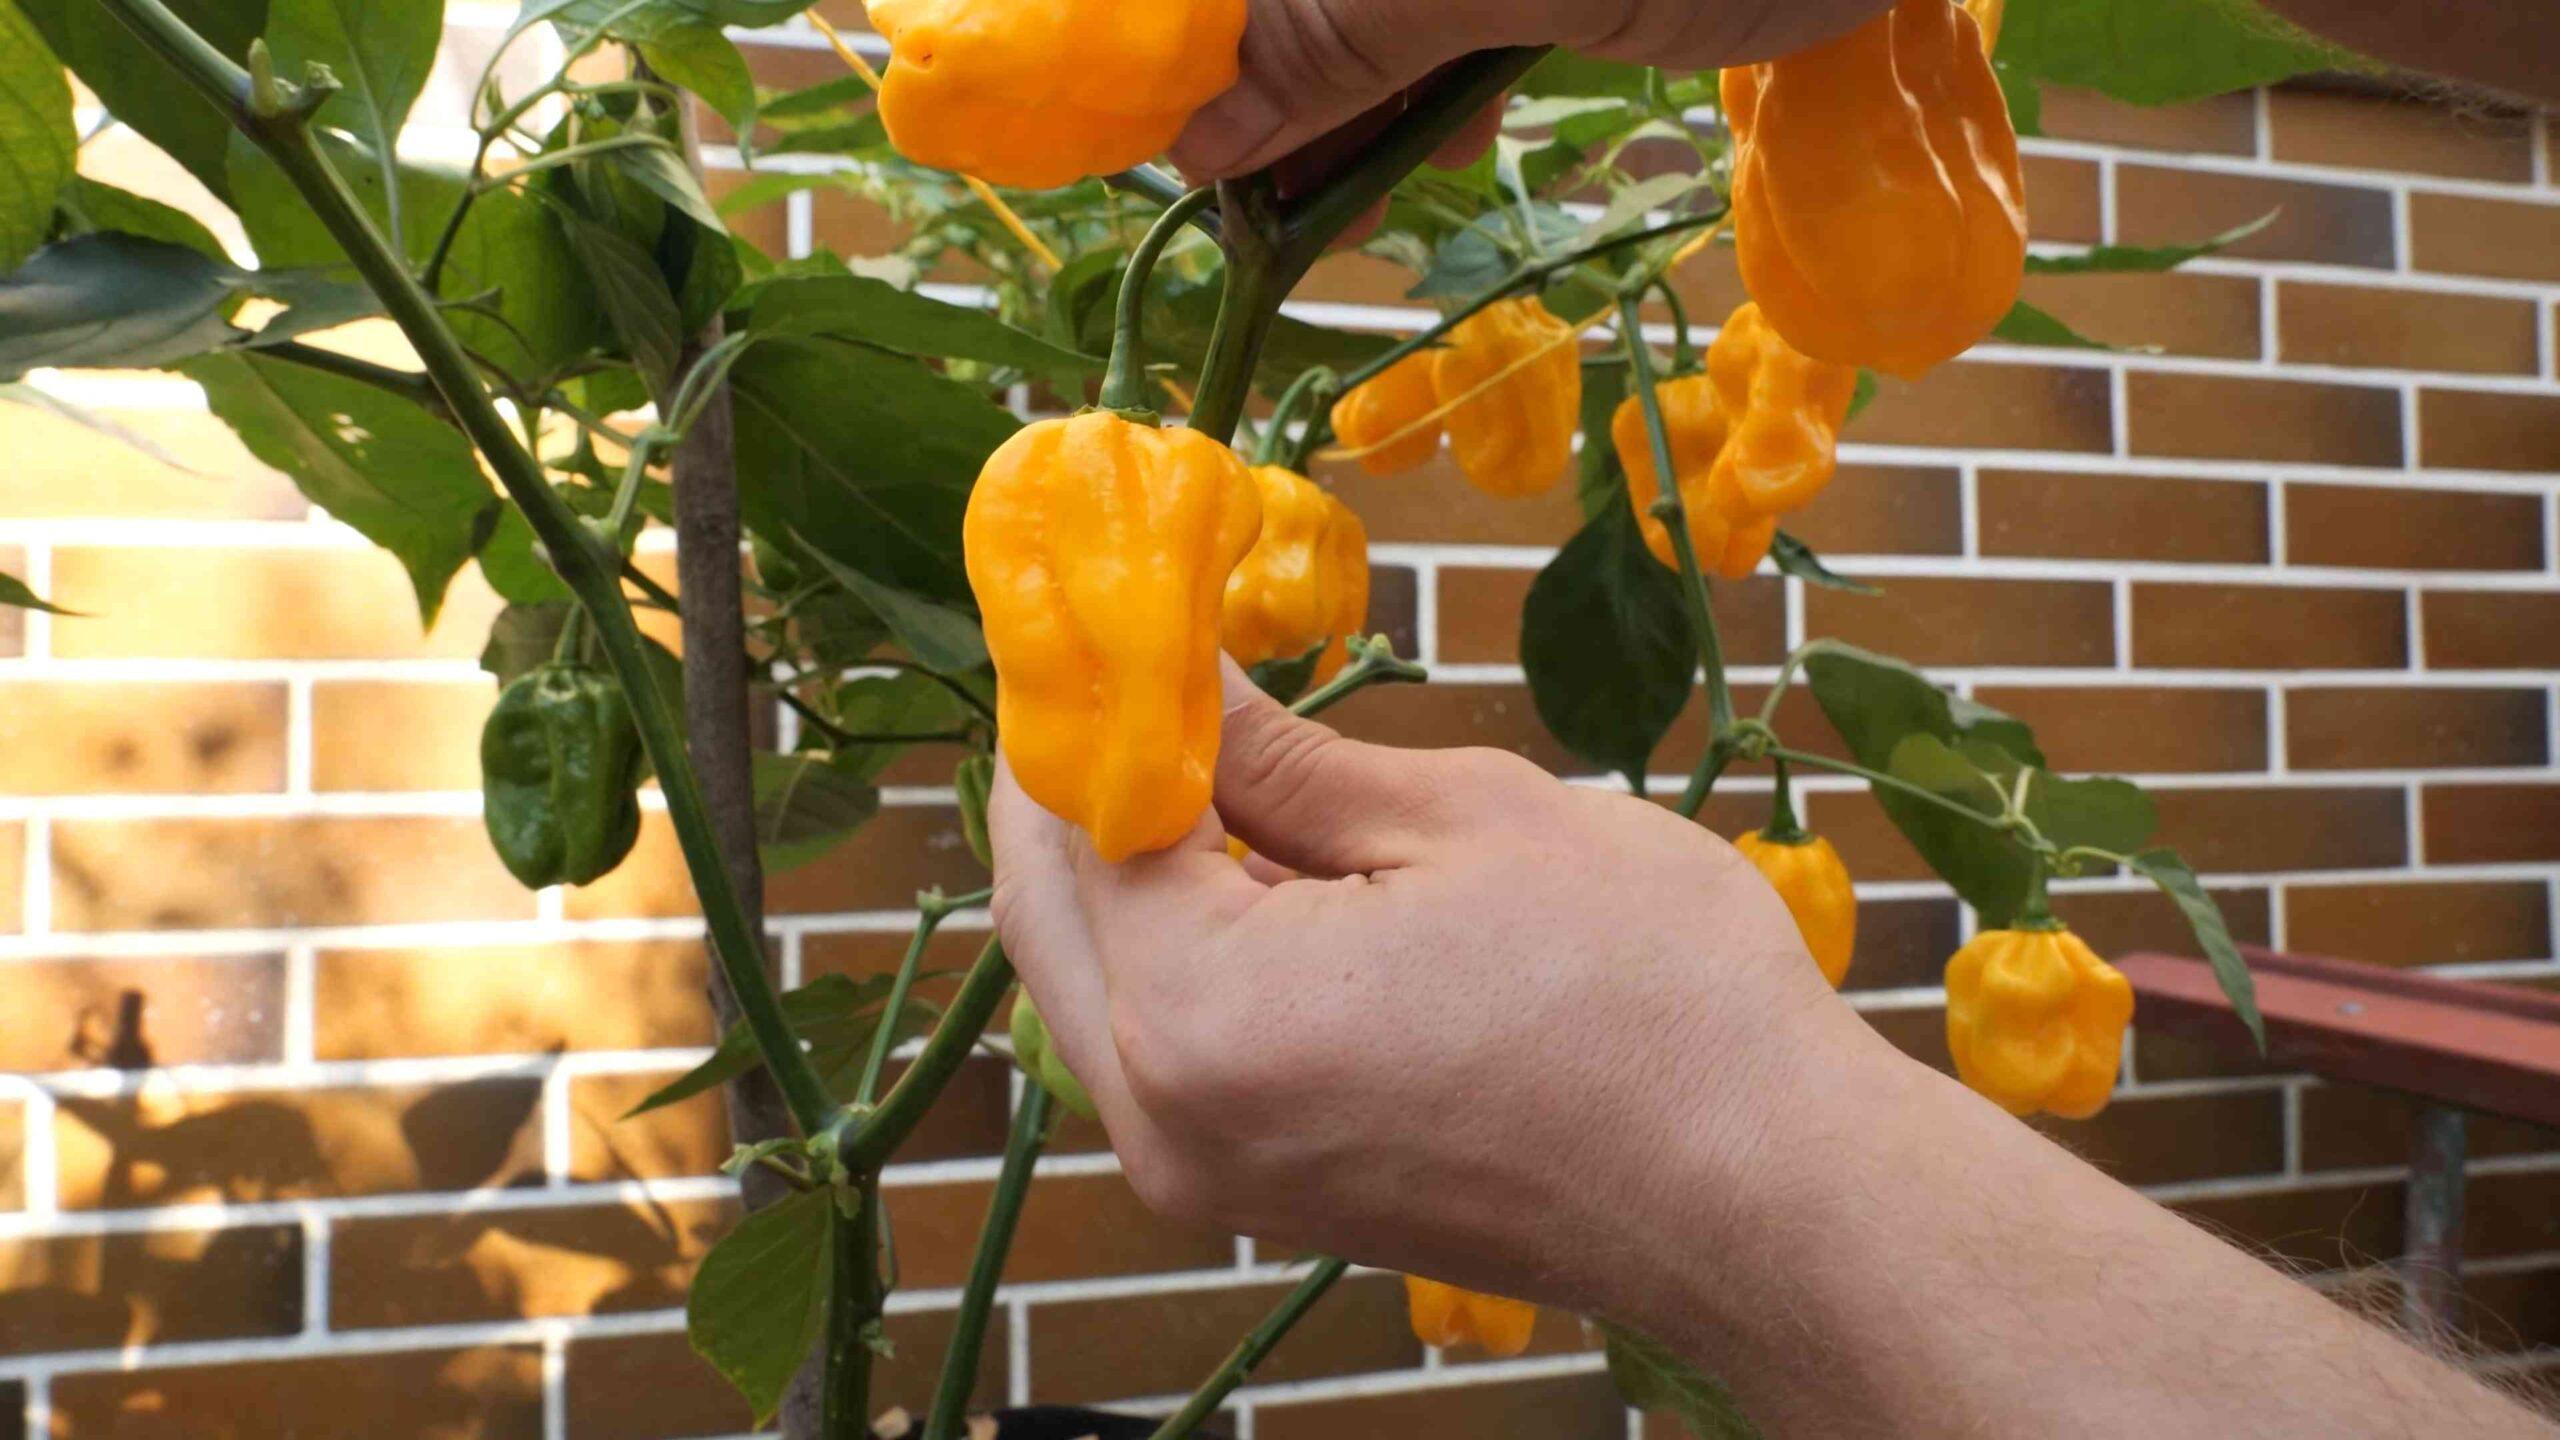
1. When to Harvest: Yellow habaneros are typically ready to harvest when they turn a vibrant yellow color and are firm to the touch. This usually occurs about 80-100 days after transplanting.
2. Harvesting Carefully: Wear gardening gloves to protect your hands from the capsaicin oil, which can cause a burning sensation. Use pruning shears or scissors to cut the peppers from the plant, leaving a small stem attached.
3. Handling with Care: Handle the peppers carefully to avoid bruising them.
4. Enjoying Your Harvest: Use your yellow habaneros fresh in salsas, sauces, and other dishes. You can also dry them, pickle them, or freeze them for later use.
Troubleshooting Common Problems
Even with the best care, you might encounter some challenges along the way. Here are a few common problems and how to address them:
* Blossom End Rot:
Conclusion
So, there you have it! Growing your own yellow habanero peppers isn’t just a gardening project; it’s an adventure in flavor, a testament to your green thumb, and a guaranteed way to spice up your culinary creations. We’ve walked you through the entire process, from selecting the perfect seeds to harvesting those fiery jewels. But why is this DIY trick a must-try?
Firstly, the flavor. Store-bought habaneros, while convenient, often lack the vibrant, fruity heat that homegrown peppers possess. When you nurture your own plants, you control the environment, the nutrients, and ultimately, the flavor profile. You’ll be rewarded with peppers that are bursting with sunshine and a complex heat that will elevate your dishes to new heights.
Secondly, the satisfaction. There’s an unparalleled sense of accomplishment that comes from nurturing a plant from seed to harvest. Watching those tiny seedlings sprout, patiently tending to them, and finally reaping the rewards of your labor is incredibly fulfilling. It’s a connection to nature that’s both grounding and empowering.
Thirdly, the cost savings. Let’s be honest, specialty peppers like yellow habaneros can be pricey at the grocery store. By growing your own, you’ll not only have a steady supply of these flavorful peppers, but you’ll also save money in the long run. Think of all the delicious hot sauces, salsas, and spicy dishes you can create without breaking the bank!
But the benefits don’t stop there. Growing your own peppers allows for endless experimentation. Want to try a different growing medium? Go for it! Curious about different fertilizers? Experiment away! The possibilities are endless.
Here are a few suggestions and variations to consider:
* Hydroponics: For those with limited space or a penchant for technology, consider growing your yellow habaneros hydroponically. This method allows for precise control over nutrients and water, resulting in faster growth and higher yields.
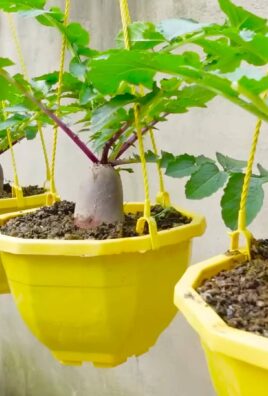
* Container Gardening: If you don’t have a garden, don’t despair! Yellow habaneros thrive in containers, making them perfect for patios, balconies, or even sunny windowsills. Just be sure to choose a pot that’s at least 5 gallons in size and provides good drainage.
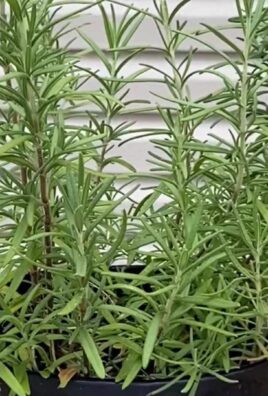
* Companion Planting: Enhance your pepper plants’ growth and flavor by planting them alongside beneficial companions like basil, carrots, or onions. These plants can help deter pests, attract pollinators, and improve soil health.
* Fermented Hot Sauce: Once you’ve harvested your peppers, consider making a batch of fermented hot sauce. Fermentation not only adds complexity to the flavor but also preserves your peppers for longer.
* Pepper Powder: Dehydrate your peppers and grind them into a fine powder for a versatile spice that can be used in countless dishes.
We wholeheartedly encourage you to embark on this exciting journey of growing your own yellow habanero peppers. It’s a rewarding experience that will not only enhance your culinary skills but also connect you with the natural world.
Don’t be afraid to experiment, learn from your mistakes, and most importantly, have fun! And once you’ve harvested your fiery bounty, we’d love to hear about your experience. Share your tips, tricks, and delicious creations with us in the comments below. Let’s build a community of passionate pepper growers and spread the love of homegrown heat! Now is the perfect time to start planning your garden and mastering the art of **growing yellow habanero peppers**!
Frequently Asked Questions (FAQ)
What is the ideal climate for growing yellow habanero peppers?
Yellow habanero peppers thrive in warm climates with plenty of sunshine. They require a long growing season of at least 100 days with temperatures consistently above 70°F (21°C). If you live in a cooler climate, you can start your seeds indoors 6-8 weeks before the last expected frost and transplant them outdoors once the weather warms up. Using a greenhouse or cold frame can also extend the growing season in colder regions.
How often should I water my yellow habanero pepper plants?
Water your yellow habanero pepper plants deeply and regularly, especially during hot, dry weather. Aim to keep the soil consistently moist but not waterlogged. Overwatering can lead to root rot, while underwatering can stunt growth and reduce pepper production. A good rule of thumb is to water when the top inch of soil feels dry to the touch. Mulching around the base of the plants can help retain moisture and suppress weeds.
What kind of fertilizer should I use for yellow habanero peppers?
Yellow habanero peppers benefit from regular fertilization throughout the growing season. Start with a balanced fertilizer (e.g., 10-10-10) when transplanting seedlings. Once the plants start to flower, switch to a fertilizer that is higher in phosphorus and potassium (e.g., 5-10-10) to promote fruit production. Avoid fertilizers that are too high in nitrogen, as this can lead to excessive foliage growth at the expense of pepper development. Organic options like compost tea or fish emulsion are also excellent choices.
How do I protect my yellow habanero pepper plants from pests and diseases?
Regularly inspect your plants for signs of pests and diseases. Common pests that affect yellow habanero peppers include aphids, spider mites, and whiteflies. These can be controlled with insecticidal soap or neem oil. Diseases like blossom end rot and fungal infections can be prevented by providing proper drainage, avoiding overwatering, and ensuring good air circulation. Consider using companion planting to deter pests naturally.
When should I harvest my yellow habanero peppers?
Yellow habanero peppers are typically ready to harvest when they turn a vibrant yellow color and are firm to the touch. The exact timing will depend on the variety and growing conditions, but generally, it takes about 90-100 days from transplanting to harvest. Use pruning shears or scissors to carefully cut the peppers from the plant, leaving a small stem attached.
How hot are yellow habanero peppers?
Yellow habanero peppers are known for their intense heat. They typically range from 100,000 to 350,000 Scoville Heat Units (SHU) on the Scoville scale, making them significantly hotter than jalapeño peppers. Handle them with care and wear gloves when handling or preparing them.
Can I grow yellow habanero peppers indoors?
Yes, you can grow yellow habanero peppers indoors, but you’ll need to provide them with adequate light and warmth. Place them in a sunny window that receives at least 6-8 hours of direct sunlight per day, or supplement with grow lights. Use a well-draining potting mix and water regularly. Pollinating the flowers by hand may be necessary to ensure fruit production.
What can I do with my harvested yellow habanero peppers?
The possibilities are endless! You can use them to make hot sauce, salsa, chili, or other spicy dishes. You can also dry them and grind them into a powder for a versatile spice. Pickling or fermenting them are other great ways to preserve their flavor and heat. Be creative and experiment with different recipes to find your favorites.
My yellow habanero pepper plant is producing flowers, but no peppers. What could be the problem?
There are several reasons why your yellow habanero pepper plant might be producing flowers but not peppers. One common cause is lack of pollination. Pepper plants are self-pollinating, but sometimes they need a little help, especially indoors. Gently shake the plant or use a small brush to transfer pollen from one flower to another. Other potential causes include temperature stress (too hot or too cold), insufficient sunlight, or nutrient deficiencies.
How do I save seeds from my yellow habanero peppers for next year?
To save seeds from your yellow habanero peppers, allow the peppers to fully ripen on the plant. Once they are ripe, carefully cut them open and remove the seeds. Spread the seeds out on a paper towel and let them dry completely for several days. Once dry, store the seeds in an airtight container in a cool, dark, and dry place. They should remain viable for several years.
Leave a Comment