

Summer herbs for hot climates can transform your garden into a fragrant oasis, even when the sun is blazing! Have you ever dreamed of stepping outside your door and snipping fresh basil for your pasta or mint for a refreshing summer drink? Well, you’re not alone! For centuries, cultivating herbs has been a vital part of human culture, from ancient medicinal practices to adding flavor to our favorite dishes. Think of the Romans, who carried herbs across their vast empire, or the Egyptians, who used them in elaborate rituals and perfumes.
But let’s be honest, gardening in hot climates can be challenging. The scorching sun and dry conditions can make it seem impossible to grow anything, let alone delicate herbs. That’s where these DIY tricks and hacks come in! I’m going to share some simple, yet effective, techniques that will help you cultivate thriving summer herbs for hot climates, even if you’re a beginner. Imagine the satisfaction of harvesting your own herbs, knowing you’ve nurtured them from seed to table. Not only will you save money on store-bought herbs, but you’ll also enjoy the unparalleled flavor and aroma of freshly grown ingredients. Plus, gardening is a fantastic way to de-stress and connect with nature. So, grab your gardening gloves, and let’s get started!
DIY Herb Garden Oasis: Thriving in the Summer Heat
Hey there, fellow garden enthusiasts! Living in a hot climate can be a real challenge when it comes to growing herbs. But don’t worry, I’m here to share my secrets for creating a thriving herb garden that can withstand the summer heat. We’ll focus on selecting the right herbs, preparing the perfect soil, and implementing some clever tricks to keep your plants happy and healthy. Let’s get started!
Choosing the Right Herbs for the Heat
The first step to success is selecting herbs that are naturally heat-tolerant. These herbs are like the superheroes of the garden, able to shrug off the scorching sun and still produce delicious flavors. Here are some of my favorites:
- Rosemary: This woody herb is a Mediterranean native and loves the sun. It’s drought-tolerant once established and adds a wonderful aroma to your garden.
- Thyme: Another Mediterranean gem, thyme thrives in hot, dry conditions. It’s perfect for ground cover or container gardening.
- Sage: Sage is a hardy herb that can handle the heat with ease. It comes in various varieties, each with its unique flavor and aroma.
- Lavender: Not only is lavender beautiful and fragrant, but it’s also incredibly heat-tolerant. It attracts pollinators and adds a touch of elegance to your garden.
- Oregano: This flavorful herb is a staple in Mediterranean and Mexican cuisine. It’s easy to grow and can withstand high temperatures.
- Basil: While basil prefers consistent moisture, some varieties, like Thai basil and lemon basil, are more heat-tolerant than others. Just make sure to provide some afternoon shade.
- Mint: Mint is a vigorous grower and can tolerate a wide range of conditions, including heat. However, it’s best to keep it contained in a pot to prevent it from spreading.
- Chives: These onion-flavored herbs are surprisingly heat-tolerant and add a delicate flavor to salads and other dishes.
Preparing the Perfect Soil
The right soil is crucial for healthy herb growth, especially in hot climates. You need a well-draining soil that can retain moisture without becoming waterlogged. Here’s my go-to soil mix:
- Well-draining: This prevents root rot, a common problem in hot, humid climates.
- Rich in organic matter: Organic matter improves soil structure, water retention, and nutrient availability.
- Slightly acidic to neutral pH: Most herbs prefer a pH between 6.0 and 7.0.
Step-by-Step Soil Preparation:
- Choose your location: Select a sunny spot in your garden that receives at least 6-8 hours of sunlight per day.
- Clear the area: Remove any weeds, rocks, or debris from the planting area.
- Amend the soil: Dig in plenty of compost, aged manure, or other organic matter to improve soil structure and fertility. I usually aim for a 50/50 mix of existing soil and amendments.
- Test the pH: Use a soil testing kit to check the pH level. If the soil is too acidic, add lime to raise the pH. If it’s too alkaline, add sulfur to lower the pH.
- Till the soil: Use a garden fork or tiller to loosen the soil to a depth of at least 12 inches. This will improve drainage and aeration.
- Rake the soil: Smooth out the soil surface with a rake to create a level planting bed.
Planting Your Herbs
Now that your soil is ready, it’s time to plant your herbs! You can start with seeds or transplants, depending on your preference and the availability of plants.
Planting from Seeds:
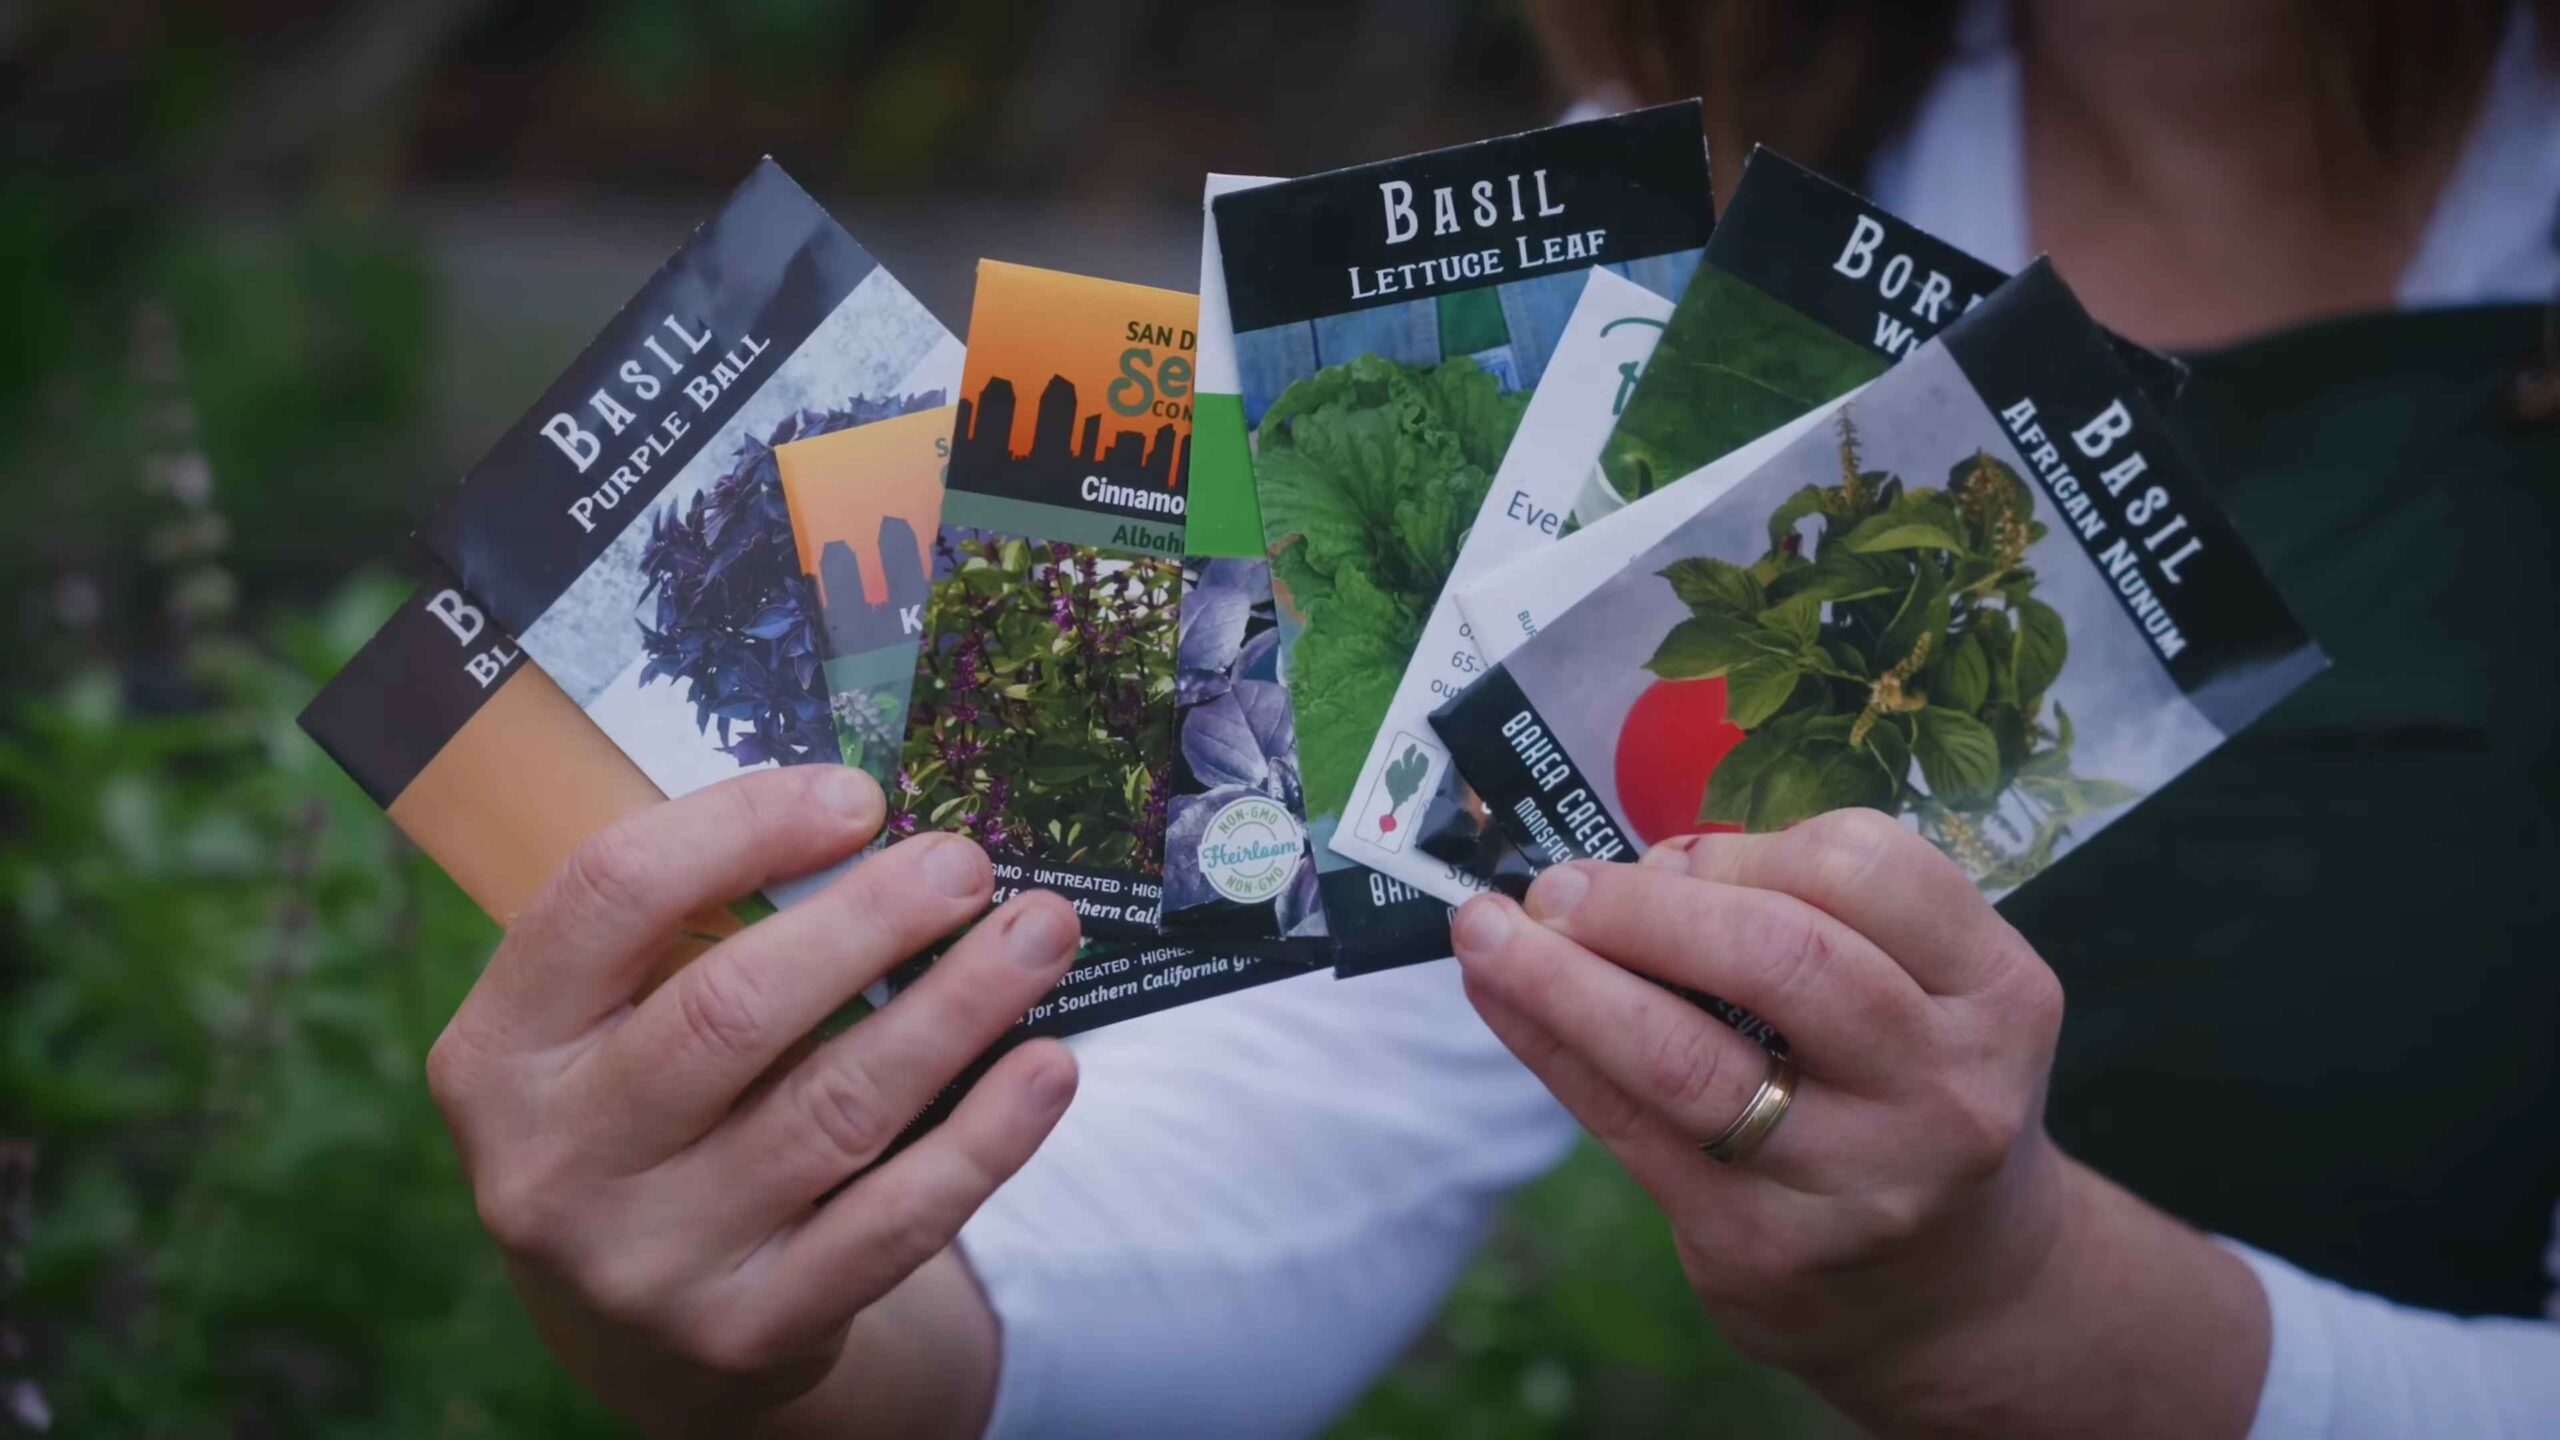
- Choose your seeds: Select high-quality seeds from a reputable source.
- Sow the seeds: Follow the instructions on the seed packet for planting depth and spacing. Generally, you’ll want to sow seeds thinly and cover them with a light layer of soil.
- Water gently: Use a watering can or hose with a gentle spray nozzle to water the seeds. Keep the soil consistently moist but not waterlogged.
- Provide warmth: Seeds need warmth to germinate. If the weather is cool, you can use a heat mat or greenhouse to provide extra warmth.
- Thin seedlings: Once the seedlings emerge, thin them out to the recommended spacing. This will give them enough room to grow and prevent overcrowding.
Planting Transplants:
- Choose healthy transplants: Select plants that are healthy, vigorous, and free from pests and diseases.
- Dig a hole: Dig a hole that is slightly larger than the root ball of the transplant.
- Remove the plant from the container: Gently remove the plant from its container, being careful not to damage the roots.
- Loosen the roots: Gently loosen the roots of the plant to encourage them to spread out into the surrounding soil.
- Place the plant in the hole: Place the plant in the hole and backfill with soil. Make sure the top of the root ball is level with the surrounding soil.
- Water thoroughly: Water the plant thoroughly after planting to help it settle in.
Watering Strategies for Hot Climates
Watering is critical for herb survival in hot climates. You need to water deeply and regularly, but avoid overwatering, which can lead to root rot.
- Water deeply: Water deeply enough to saturate the soil to a depth of at least 6 inches. This encourages deep root growth, which makes plants more drought-tolerant.
- Water early in the morning: Watering early in the morning allows the foliage to dry before the heat of the day, reducing the risk of fungal diseases.
- Use a soaker hose or drip irrigation: These methods deliver water directly to the roots, minimizing water loss through evaporation.
- Mulch around your plants: Mulch helps to retain moisture in the soil and suppress weeds. Use organic mulches like straw, wood chips, or shredded leaves.
- Check the soil moisture regularly: Stick your finger into the soil to check the moisture level. If the top inch of soil is dry, it’s time to water.
Providing Shade and Protection
Even heat-tolerant herbs can benefit from some shade and protection during the hottest part of the day.
- Plant in a location with afternoon shade: If possible, choose a location that receives afternoon shade. This will help to protect your herbs from the intense heat of the sun.
- Use shade cloth: Shade cloth can be used to provide temporary shade during the hottest part of the day.
- Plant taller plants nearby: Taller plants can provide shade for your herbs.
- Use row covers: Row covers can protect your herbs from extreme heat, wind, and pests.
Fertilizing Your Herbs
Herbs generally don’t need a lot of fertilizer, but a light feeding can help them to thrive, especially in poor soil.
- Use a balanced fertilizer: Choose a balanced fertilizer with equal amounts of nitrogen, phosphorus, and potassium.
- Fertilize sparingly: Over-fertilizing can lead to leggy growth and reduced flavor.
- Use organic fertilizers: Organic fertilizers like compost tea, fish emulsion, and seaweed extract are gentle and provide essential nutrients.
- Fertilize in the spring and summer: Fertilize your herbs in the spring and summer when they are actively growing.
Harvesting Your Herbs
Harvesting your herbs regularly encourages new growth and keeps them producing throughout the season.
- Harvest in the morning: Harvest your herbs in the morning after the dew has dried. This is when they have the highest concentration of essential oils.
- Use sharp scissors or pruning shears: Use sharp scissors or pruning shears to avoid damaging the plants.
- Harvest regularly: Harvest your herbs regularly, even if you don’t need them. This will encourage new growth and prevent them from becoming leggy.
- Pinch off flower buds: Pinch off flower buds to encourage leaf production.
Dealing with Pests and Diseases
Even in a well-maintained herb garden, pests and diseases can sometimes be a problem.
- Inspect your plants regularly: Inspect your plants regularly for signs of pests and diseases.
- Use organic pest control methods: Use organic pest control methods like insecticidal soap, neem oil, and diatomaceous earth.
- Remove diseased plants: Remove diseased plants immediately to prevent the spread of disease.
Conclusion
So, there you have it! This simple DIY trick for propagating summer herbs in hot climates is more than just a fun project; it’s a game-changer for any gardener looking to maximize their yield and enjoy fresh, flavorful herbs all season long. We’ve walked you through the steps, highlighting the importance of each stage, from selecting the right cuttings to providing the optimal environment for root development.
Why is this a must-try? Because in hot climates, traditional propagation methods can often fall short. The intense heat can quickly dry out cuttings, leading to failure. This DIY method, however, creates a mini-greenhouse effect, maintaining consistent humidity and temperature, which are crucial for successful rooting. Imagine having a constant supply of basil for your pesto, mint for your mojitos, and rosemary for your roasted vegetables, all grown from cuttings you propagated yourself! The satisfaction of nurturing new life from a simple cutting is incredibly rewarding.
But the benefits don’t stop there. This method is also incredibly cost-effective. Instead of constantly buying new herb plants from the store, you can simply take cuttings from your existing plants and create new ones. This is especially useful for herbs like mint and oregano, which tend to spread aggressively and can easily be propagated from cuttings.
Ready to take your herb garden to the next level?
Consider these variations to tailor the method to your specific needs and preferences:
* **Experiment with different rooting mediums:** While we recommended using a well-draining potting mix, you can also try using perlite, vermiculite, or even coconut coir. Each medium has its own unique properties, so experiment to see which one works best for your herbs and climate.
* **Use a rooting hormone:** While not strictly necessary, a rooting hormone can help to speed up the rooting process and increase the success rate. Simply dip the cut end of the stem into the hormone powder before planting it in the rooting medium.
* **Try different types of containers:** While we suggested using a clear plastic container with a lid, you can also use other types of containers, such as glass jars or even plastic bags. Just make sure that the container is clear or translucent so that the cuttings can receive enough light.
* Propagate other plants:** This method isn’t just for herbs! You can also use it to propagate other types of plants, such as succulents, shrubs, and even some trees. Just be sure to research the specific propagation requirements of each plant before you begin.
* Consider the time of day: Take your cuttings in the early morning when the plants are most hydrated. This will give them the best chance of survival.
Don’t be afraid to experiment and adapt the method to suit your own unique gardening conditions. The key is to provide the cuttings with consistent moisture, warmth, and light.
We are confident that this DIY trick will revolutionize your herb gardening experience, especially when dealing with the challenges of hot climates. It’s a simple, effective, and rewarding way to expand your herb collection and enjoy fresh, flavorful herbs all season long.
So, what are you waiting for? Gather your supplies, take some cuttings, and get started! We encourage you to try this DIY trick and share your experience with us. Let us know which herbs you propagated, what variations you tried, and what results you achieved. Your feedback will help us to refine this method and make it even more effective for other gardeners. Share your photos and stories in the comments below – we can’t wait to see your thriving herb gardens! Happy gardening!
Frequently Asked Questions (FAQ)
Why is this DIY propagation method better than simply planting seeds in hot climates?
Planting seeds directly in hot climates can be challenging due to the intense sun and heat, which can quickly dry out the soil and prevent germination. This DIY propagation method, using cuttings in a controlled environment, provides a more stable and humid environment, increasing the chances of successful root development. Seeds also take longer to mature into usable plants, while cuttings can provide a harvest much sooner. Furthermore, propagating from cuttings ensures that the new plants are genetically identical to the parent plant, preserving desirable traits like flavor and disease resistance.
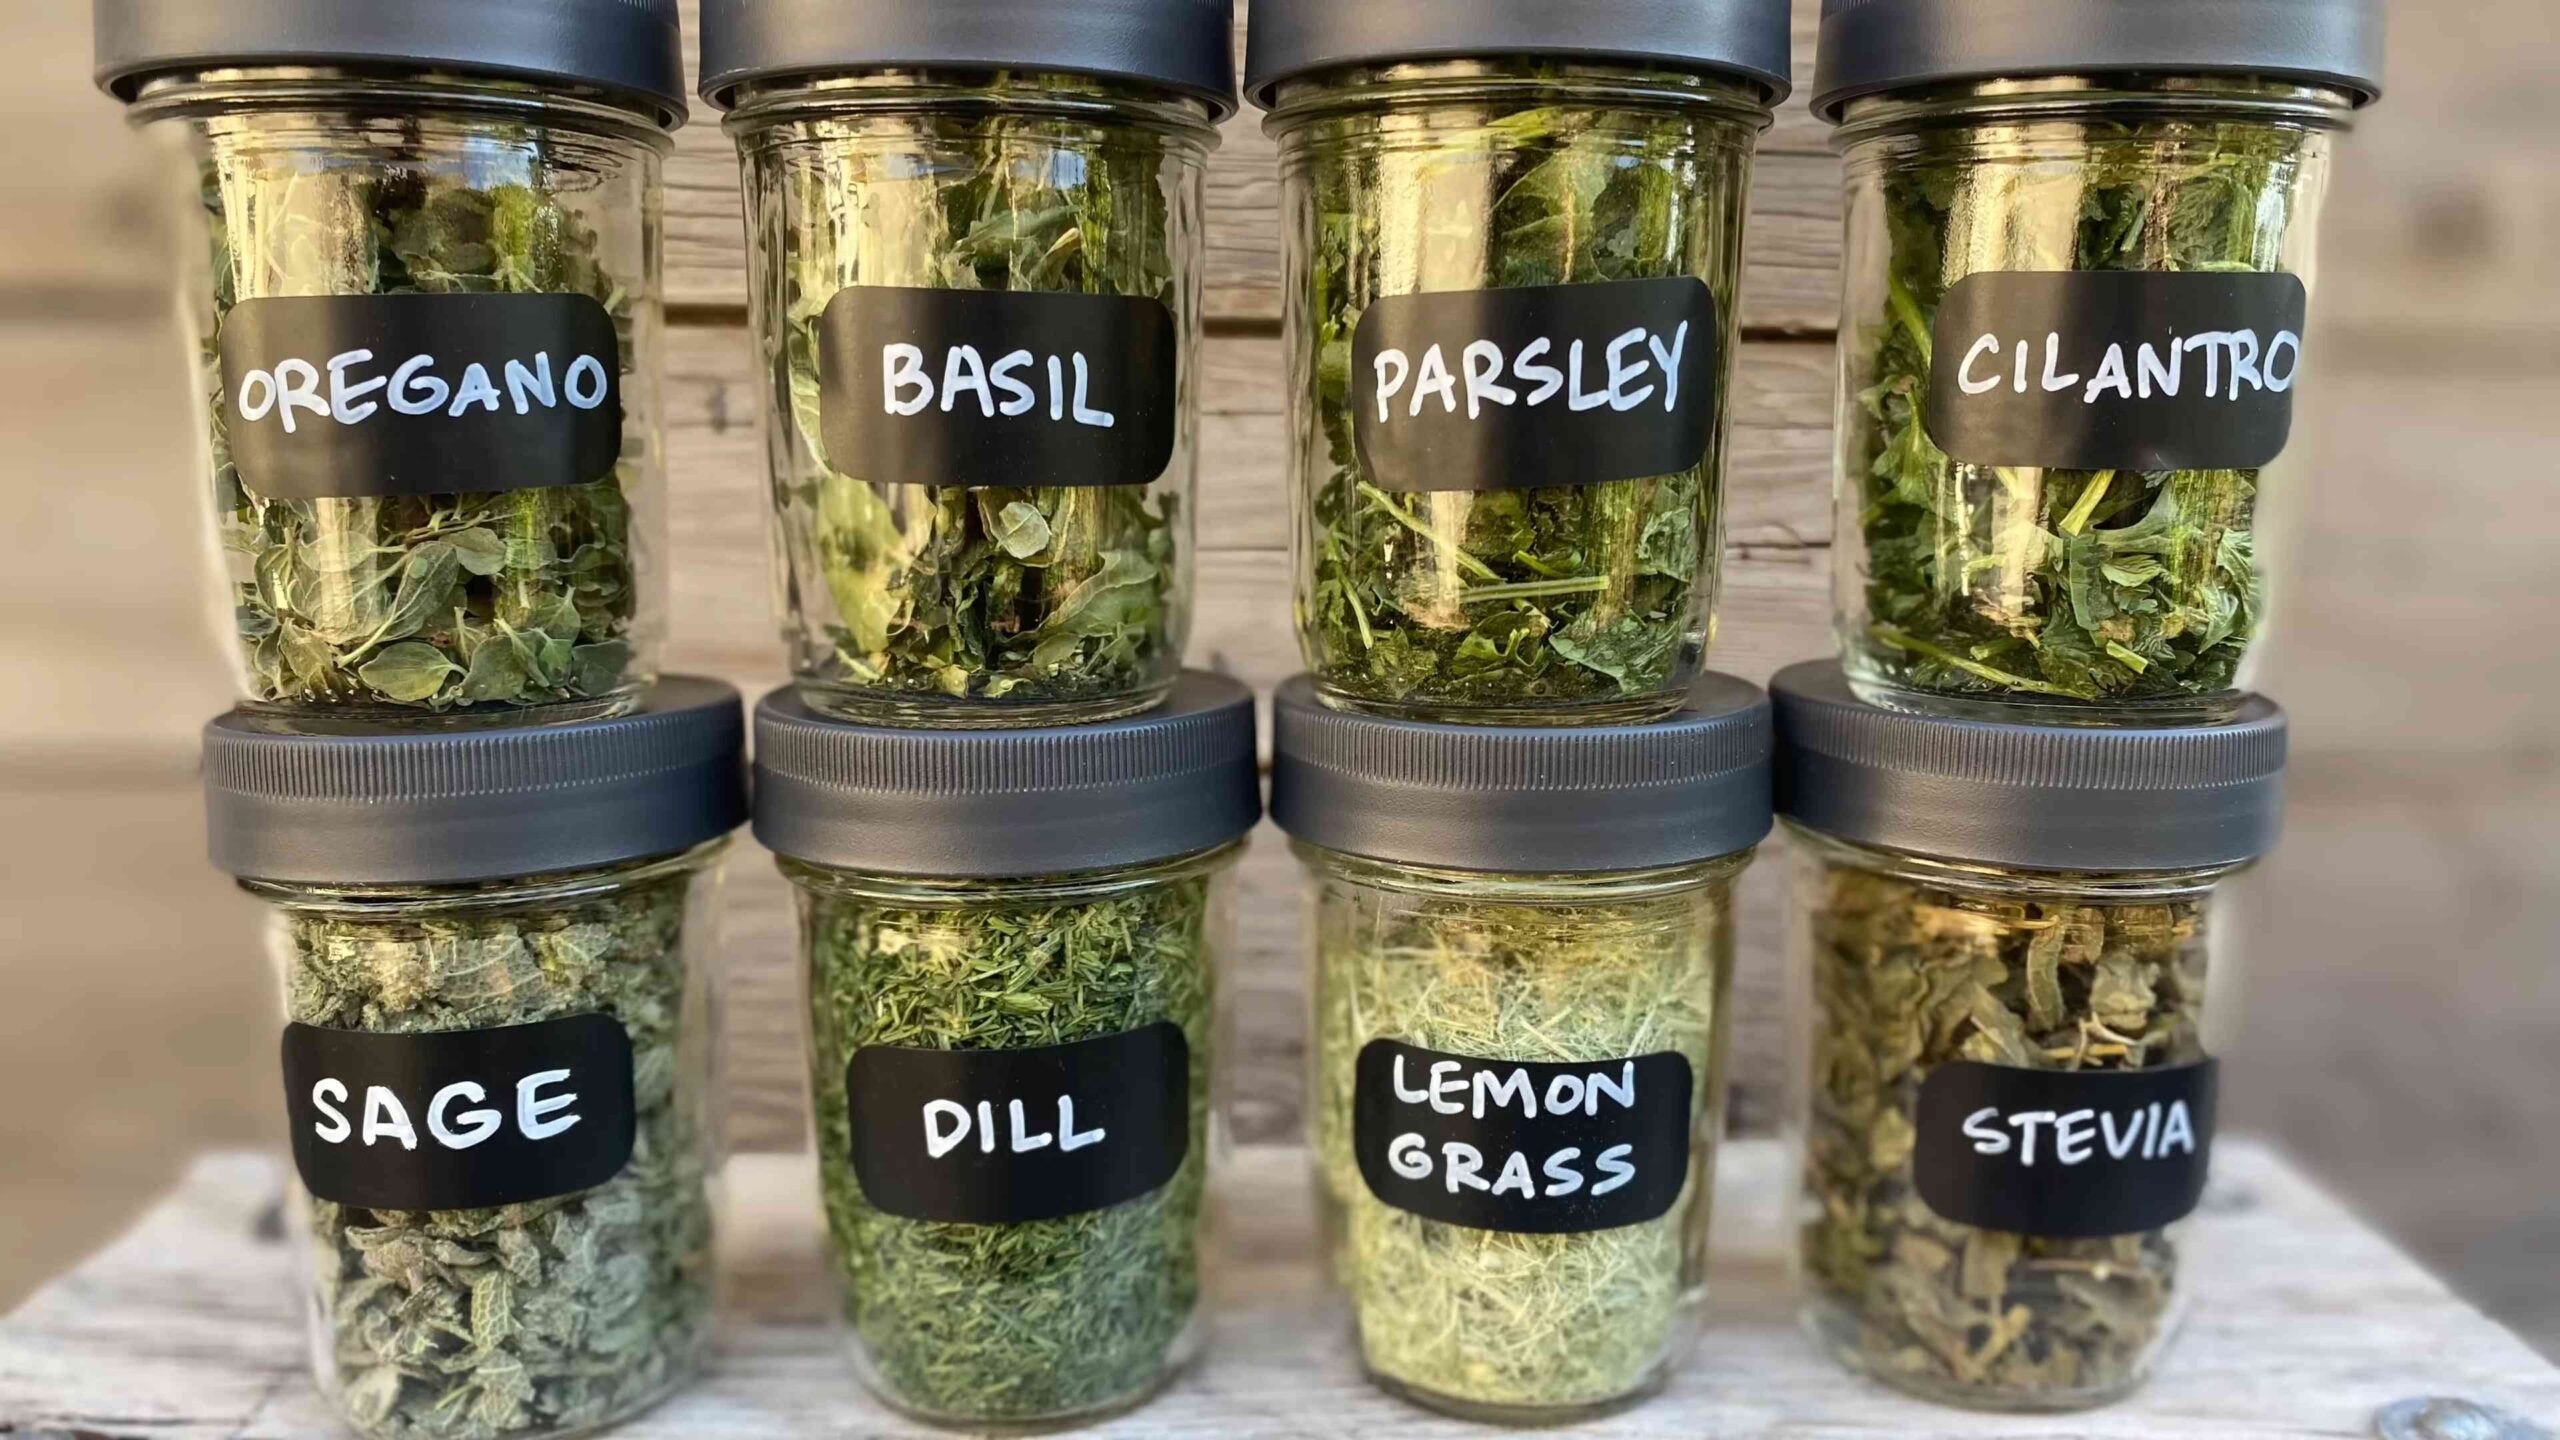
What are the best summer herbs to propagate using this method in hot climates?
Several summer herbs thrive when propagated using this method in hot climates. Some excellent choices include:
* **Basil:** Basil is a fast-growing herb that roots easily from cuttings.
* **Mint:** Mint is another vigorous herb that propagates readily from cuttings. Be mindful of its invasive nature and keep it contained.
* **Rosemary:** Rosemary can be a bit more challenging, but with the right conditions, it can be successfully propagated from cuttings.
* **Thyme:** Thyme is a hardy herb that roots well from cuttings.
* **Oregano:** Oregano is similar to mint in its ease of propagation and spreading habit.
* **Sage:** Sage can also be propagated using this method, although it may take a bit longer to root.
* **Stevia:** Stevia is a great option for those looking for a natural sweetener.
How often should I water the cuttings during the propagation process?
The key to successful propagation is maintaining consistent moisture without overwatering. Check the rooting medium daily. If it feels dry to the touch, lightly mist the cuttings with water. Avoid soaking the medium, as this can lead to rot. The humidity inside the container should help to keep the cuttings moist, but you may need to adjust the watering frequency depending on the temperature and humidity of your environment.
How long does it typically take for the cuttings to develop roots?
The time it takes for cuttings to develop roots can vary depending on the herb, the temperature, and the humidity. Generally, you can expect to see roots forming within 1-3 weeks. You can gently check for root development by carefully tugging on the cutting. If you feel resistance, it means that roots have formed.
What type of light is best for the cuttings during propagation?
Cuttings need light to photosynthesize and produce energy for root development, but direct sunlight can be too intense and cause them to dry out. Place the container in a location that receives bright, indirect light. A north-facing window or a spot under a shade cloth is ideal. If you don’t have access to natural light, you can use a grow light.
When should I transplant the rooted cuttings into individual pots?
Once the cuttings have developed a healthy root system (typically 1-2 inches long), they are ready to be transplanted into individual pots. Gently remove the cuttings from the rooting medium, being careful not to damage the roots. Plant them in well-draining potting mix and water thoroughly.
What kind of potting mix should I use for the rooted cuttings?
Use a well-draining potting mix that is specifically formulated for herbs or seedlings. Avoid using garden soil, as it can be too heavy and may contain pathogens that can harm the young plants. A mix of peat moss, perlite, and vermiculite is a good option.
How do I harden off the transplanted cuttings before planting them in the garden?
Hardening off is the process of gradually acclimating the young plants to outdoor conditions. Before planting them in the garden, place the pots in a sheltered location outdoors for a few hours each day, gradually increasing the amount of time they spend outside. This will help them to adjust to the sun, wind, and temperature changes. After about a week, they should be ready to be planted in the garden.
Can I use this method to propagate herbs indoors during the winter?
Yes, this method can be used to propagate herbs indoors during the winter. In fact, it can be a great way to keep your herb garden going year-round. Just make sure to provide the cuttings with adequate light and warmth.
What if my cuttings start to rot or develop mold?
Rotting or mold is usually a sign of overwatering or poor air circulation. Remove any affected cuttings immediately to prevent the spread of the problem. Ensure that the rooting medium is well-draining and that the container has adequate ventilation. You can also try using a fungicide to prevent further fungal growth.
Is it necessary to use a rooting hormone?
While not essential, using a rooting hormone can significantly increase the success rate of propagation, especially for herbs that are more difficult to root. Rooting hormones contain auxins, which are plant hormones that promote root development. If you are having trouble getting your cuttings to root, using a rooting hormone is definitely worth a try.
How can I prevent damping off disease?
Damping off is a fungal disease that can kill young seedlings and cuttings. To prevent damping off, use a sterile rooting medium, avoid overwatering, and provide good air circulation. You can also treat the rooting medium with a fungicide before planting the cuttings.
What are some common mistakes to avoid when propagating herbs from cuttings?
Some common mistakes to avoid include:
* Using dull or dirty cutting tools.
* Taking cuttings that are too long or too short.
* Overwatering or underwatering the cuttings.
* Exposing the cuttings to direct sunlight.
* Failing to harden off the transplanted cuttings.
By avoiding these mistakes, you can increase your chances of success and enjoy a bountiful harvest of fresh, homegrown herbs.

Leave a Comment