

Growing Anemones Successfully can feel like unlocking a secret garden, and I’m here to share all the insider tips and DIY tricks to make it a reality for you! Forget complicated gardening guides – we’re diving into practical, hands-on solutions that will have your garden bursting with these vibrant, poppy-like blooms.
Anemones, with their captivating colors and delicate petals, have been admired for centuries. In Greek mythology, they’re said to have sprung from the tears of Aphrodite, adding a touch of romance and history to your garden. But beyond their beauty, anemones can sometimes be a bit finicky. That’s where these DIY hacks come in!
Let’s face it, nobody wants to spend hours toiling in the garden only to be met with disappointment. Whether you’re struggling with getting your anemone bulbs to sprout, battling pests, or simply looking for ways to maximize their blooming potential, I’ve got you covered. This article is packed with simple, effective, and budget-friendly DIY solutions that will help you achieve growing anemones successfully, regardless of your gardening experience. Get ready to transform your outdoor space into a colorful oasis with these easy-to-follow tips!

Growing Anemones Successfully: A DIY Guide
Anemones, with their vibrant colors and delicate petals, are a stunning addition to any garden or floral arrangement. But let’s be honest, they can be a little finicky. I’ve learned a few tricks over the years to help these beauties thrive, and I’m excited to share them with you! This guide will walk you through everything you need to know to grow anemones successfully, from choosing the right bulbs to enjoying their gorgeous blooms.
Choosing and Preparing Your Anemone Bulbs
The first step to anemone success is selecting healthy bulbs and giving them a good start. Here’s what I recommend:
- Source Matters: Buy your anemone bulbs from a reputable supplier. This ensures you’re getting quality bulbs that haven’t been sitting around too long.
- Look for Firmness: When you receive your bulbs, they’ll likely look like small, shriveled pebbles. That’s normal! But make sure they’re firm to the touch and free from any signs of mold or rot.
- The Soaking Secret: This is crucial! Anemone bulbs are notoriously dry and need to be rehydrated before planting.
Step-by-Step: Soaking Your Anemone Bulbs
1. Gather Your Supplies: You’ll need a bowl or container, lukewarm water, and a well-ventilated area.
2. Fill the Bowl: Pour lukewarm water into your container. Don’t use hot water, as this can damage the bulbs.
3. Submerge the Bulbs: Place the anemone bulbs in the water. They’ll likely float at first. Don’t worry, they’ll eventually sink as they absorb water.
4. The Waiting Game: Let the bulbs soak for 2-4 hours. I usually aim for 3 hours. You’ll notice they plump up slightly.
5. Drain and Prepare to Plant: After soaking, gently drain the water and get ready to plant your rehydrated bulbs.
Planting Your Anemone Bulbs
Now that your bulbs are nice and plump, it’s time to get them in the ground (or a pot!). Here’s what you need to know:
- Timing is Key: The best time to plant anemone bulbs depends on your climate. In areas with mild winters, you can plant them in the fall for spring blooms. In colder climates, plant them in the spring after the last frost. I live in zone 7, so I usually plant mine in late fall.
- Choosing the Right Location: Anemones love sunshine! Select a spot in your garden that receives at least 6 hours of direct sunlight per day. They also need well-draining soil.
- Soil Preparation: Anemones prefer slightly acidic to neutral soil. Amend your soil with compost or other organic matter to improve drainage and fertility.
- Planting Depth and Spacing: Plant the bulbs 1-2 inches deep and 4-6 inches apart. The pointy end (if you can identify it) should face down. If you’re not sure which end is up, plant them on their side – they’ll figure it out!
Step-by-Step: Planting Anemone Bulbs in the Ground
1. Prepare the Soil: Loosen the soil in your chosen planting area and amend it with compost.
2. Dig the Holes: Dig holes that are 1-2 inches deep and spaced 4-6 inches apart.
3. Plant the Bulbs: Place one anemone bulb in each hole, pointy end down (or on its side).
4. Cover with Soil: Gently cover the bulbs with soil and lightly pat it down.
5. Water Thoroughly: Water the planting area thoroughly to help settle the soil and encourage root growth.
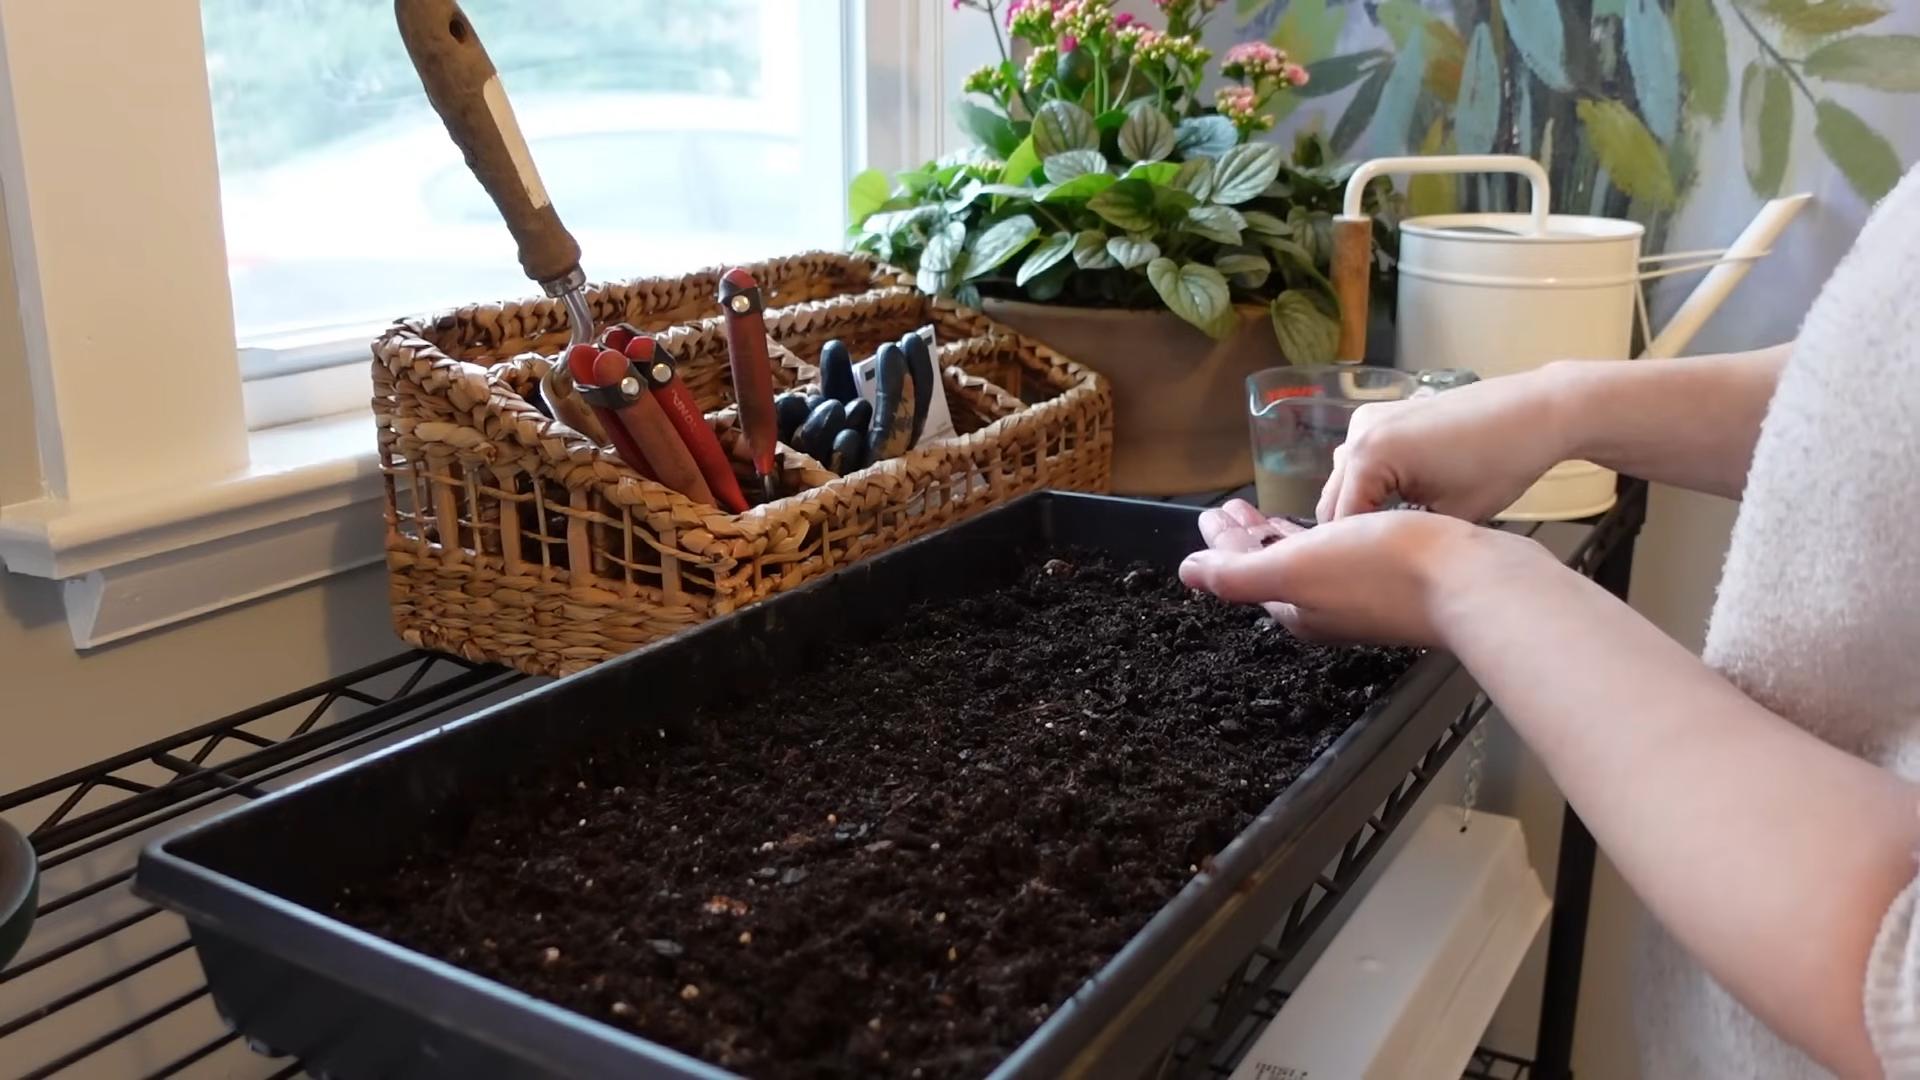
Step-by-Step: Planting Anemone Bulbs in Pots
1. Choose a Pot: Select a pot that is at least 6 inches deep and has drainage holes.
2. Fill with Potting Mix: Fill the pot with a well-draining potting mix.
3. Plant the Bulbs: Plant the anemone bulbs 1-2 inches deep and 2-3 inches apart in the pot. You can plant several bulbs in a single pot for a fuller display.
4. Cover with Potting Mix: Gently cover the bulbs with potting mix and lightly pat it down.
5. Water Thoroughly: Water the pot thoroughly until water drains out of the bottom.
Caring for Your Anemones
Once your anemones are planted, it’s important to provide them with the right care to ensure they thrive.
- Watering: Anemones need consistent moisture, especially during their growing season. Water them regularly, but avoid overwatering, which can lead to rot. Let the top inch of soil dry out between waterings.
- Fertilizing: Feed your anemones with a balanced fertilizer every 2-3 weeks during their growing season. I like to use a liquid fertilizer diluted to half strength.
- Mulching: Apply a layer of mulch around your anemones to help retain moisture, suppress weeds, and regulate soil temperature.
- Deadheading: Remove spent flowers to encourage more blooms. This also prevents the plant from wasting energy on seed production.
- Pest and Disease Control: Anemones can be susceptible to pests like aphids and slugs, as well as diseases like powdery mildew. Inspect your plants regularly and take action if you notice any problems. I usually use insecticidal soap for aphids and slug bait for slugs. For powdery mildew, ensure good air circulation and consider using a fungicide if necessary.
Dealing with Dormancy
After your anemones have finished blooming, they’ll enter a period of dormancy. The foliage will start to die back, and the plant will appear to be dead. Don’t worry, this is normal!
- Stop Watering: Once the foliage starts to die back, gradually reduce watering.
- Cut Back Foliage: Once the foliage is completely brown and dry, cut it back to the ground.
- Lifting Bulbs (Optional): In areas with very cold winters, you may want to lift the bulbs and store them in a cool, dry place over the winter. This will protect them from freezing temperatures. However, in milder climates, you can leave the bulbs in the ground.
- Storing Bulbs (If Lifting): If you choose to lift the bulbs, clean them gently and allow them to dry completely. Then, store them in a paper bag or box filled with peat moss or vermiculite in a cool, dry place.
Troubleshooting Common Problems
Even with the best care, you may encounter some problems when growing anemones. Here are a few common issues and how to address them:
- No Blooms: If your anemones aren’t blooming, it could be due to several factors, including insufficient sunlight, poor soil, or lack of water. Make sure they’re getting enough sunlight, amend the soil with compost, and water them regularly.
- Yellowing Leaves: Yellowing leaves can be a sign of overwatering, underwatering, or nutrient deficiency. Check the soil moisture and adjust your watering accordingly. Fertilize the plants with a balanced fertilizer.
- Rotting Bulbs: Rotting bulbs are usually caused by overwatering or poor drainage. Make sure the soil is well-draining and avoid overwatering. If you suspect rot, carefully dig up the bulbs and inspect them. Discard any bulbs that are soft or mushy.
- Pest Infestations: Keep an eye out for pests like aphids, slugs, and snails. Treat infestations promptly with appropriate insecticides or traps.
Enjoying Your Anemone Blooms
The best part of growing anemones is, of course, enjoying their beautiful blooms!
- Cutting for Bouquets: Anemones make excellent cut flowers. Cut the stems in the morning when they’re fully hydrated. Place them in a vase of fresh water with flower food.
- Extending Vase Life: To extend the vase life of your anemones, recut the stems every few days and change the water regularly.
- Photographing Your Blooms: Don’t forget to capture the beauty of your anemones with photos! They’re a great subject for garden photography.
Growing anemones can be a rewarding experience. With a little patience and the right care, you can enjoy these stunning flowers in your garden or home. Happy gardening!
Conclusion
So, there you have it! Successfully growing anemones doesn’t have to be shrouded in mystery or reserved for expert gardeners. By understanding their specific needs and implementing these simple yet effective DIY tricks, you can transform your garden into a vibrant haven bursting with color and life. The key is patience, observation, and a willingness to adapt your approach based on your local climate and the specific variety of anemone you’re cultivating.
This isn’t just about planting a bulb and hoping for the best; it’s about creating an environment where these delicate beauties can thrive. The pre-soaking method, for instance, is a game-changer, ensuring proper hydration and kickstarting the germination process. Similarly, understanding the importance of well-draining soil and appropriate sunlight exposure can make all the difference between a flourishing anemone patch and a disappointing display.
But don’t stop there! Feel free to experiment with different companion plants to create a visually stunning and ecologically balanced garden. Consider planting low-growing ground covers around your anemones to help retain moisture and suppress weeds. Or, try interplanting them with other spring-blooming bulbs like tulips or daffodils for a continuous display of color.
For those in warmer climates, you might want to explore growing anemones in containers, allowing you to move them to shadier locations during the hottest part of the day. And if you’re feeling adventurous, why not try propagating your anemones from seed? It’s a more challenging process, but the reward of nurturing new plants from scratch is incredibly satisfying.
Remember, the beauty of gardening lies in the journey of discovery. There’s no one-size-fits-all approach, and what works for one gardener might not work for another. The most important thing is to be observant, learn from your mistakes, and never be afraid to experiment.
We truly believe that anyone can master the art of growing anemones successfully with a little knowledge and dedication. So, grab your gardening gloves, gather your supplies, and get ready to witness the magic of these captivating blooms unfold in your own backyard.
We’re eager to hear about your experiences! Share your tips, tricks, and photos in the comments below. Let’s create a community of anemone enthusiasts and inspire each other to cultivate even more beautiful gardens. Happy gardening!
Frequently Asked Questions (FAQs)
What are the most common reasons for anemones not blooming?
Several factors can contribute to anemones failing to bloom. One of the most common is improper planting depth. Anemone corms should be planted approximately 2-3 inches deep, with the pointed end facing down. Planting them too shallow or too deep can hinder their growth and flowering. Another reason is inadequate sunlight. Anemones thrive in full sun to partial shade, requiring at least 4-6 hours of sunlight per day. Insufficient sunlight can result in weak growth and a lack of blooms. Overwatering or poorly draining soil can also lead to root rot, which can prevent flowering. Finally, nutrient deficiencies can play a role. Anemones benefit from regular feeding with a balanced fertilizer, especially during the growing season.
How do I know if my anemone corms are still viable?
Before planting, it’s essential to check the viability of your anemone corms. Healthy corms should be firm and plump. If they are shriveled, dried out, or mushy, they are likely no longer viable. To test their viability, you can soak a few corms in water for several hours. If they begin to swell and show signs of rehydration, they are likely still alive. However, if they remain shriveled or start to decompose, it’s best to discard them. Purchasing fresh corms from a reputable source is always recommended to ensure the best chance of success.
What type of soil is best for growing anemones?
Anemones prefer well-draining soil that is rich in organic matter. Heavy clay soil can retain too much moisture, leading to root rot. To improve drainage, amend the soil with compost, peat moss, or perlite. A slightly acidic to neutral soil pH (around 6.0 to 7.0) is ideal. You can test your soil pH using a soil testing kit and adjust it accordingly. Adding lime to the soil can raise the pH, while adding sulfur can lower it.
How often should I water my anemones?
Watering frequency depends on the climate and soil conditions. Generally, anemones need consistent moisture, especially during the growing season. Water deeply when the top inch of soil feels dry to the touch. Avoid overwatering, as this can lead to root rot. During periods of heavy rainfall, you may need to reduce watering frequency. In hot, dry climates, you may need to water more frequently. Mulching around the plants can help retain moisture and reduce the need for frequent watering.
Do anemones need fertilizer? If so, what kind?
Yes, anemones benefit from regular fertilization, especially during the growing season. Use a balanced fertilizer with an NPK ratio of 10-10-10 or 20-20-20. Apply the fertilizer according to the package instructions, typically every 4-6 weeks. Avoid over-fertilizing, as this can burn the roots. You can also use a slow-release fertilizer at the time of planting. Alternatively, you can amend the soil with compost or well-rotted manure to provide a slow-release source of nutrients.
How do I protect my anemones from pests and diseases?
Anemones are generally resistant to pests and diseases, but they can occasionally be affected by aphids, slugs, or snails. Aphids can be controlled with insecticidal soap or neem oil. Slugs and snails can be handpicked or trapped using beer traps. Root rot is the most common disease affecting anemones, which is caused by overwatering or poorly draining soil. To prevent root rot, ensure that the soil is well-draining and avoid overwatering. You can also apply a fungicide to protect against fungal diseases.
Can I grow anemones in containers?
Yes, anemones can be successfully grown in containers. Choose a pot that is at least 6 inches deep and has drainage holes. Use a well-draining potting mix and water regularly. Container-grown anemones may need more frequent watering than those grown in the ground, especially during hot weather. You can also move the containers to a shadier location during the hottest part of the day to protect the plants from excessive heat.
What should I do with my anemone corms after they have finished blooming?
After the anemones have finished blooming, allow the foliage to die back naturally. This allows the corms to store energy for the following year. Once the foliage has completely dried, you can either leave the corms in the ground or dig them up and store them in a cool, dry place until the next planting season. If you live in a cold climate, it’s best to dig up the corms to protect them from freezing temperatures. Store them in a paper bag or cardboard box filled with peat moss or vermiculite.
Are there different varieties of anemones, and which ones are best for beginners?
Yes, there are many different varieties of anemones, each with its own unique characteristics. Some popular varieties include Anemone coronaria (Poppy Anemone), Anemone blanda (Grecian Windflower), and Anemone hupehensis (Japanese Anemone). For beginners, Anemone blanda is often recommended as it is relatively easy to grow and tolerates a wider range of conditions. Anemone coronaria is also a good choice, but it requires more attention to watering and drainage. Researching the specific needs of each variety before planting is always a good idea.
How can I encourage my anemones to rebloom the following year?
To encourage anemones to rebloom the following year, it’s important to provide them with proper care after they have finished blooming. Allow the foliage to die back naturally, and avoid cutting it off prematurely. Fertilize the plants with a balanced fertilizer to replenish their nutrient reserves. If you live in a cold climate, dig up the corms and store them in a cool, dry place over the winter. Replant them in the spring, and they should bloom again the following year. Providing consistent moisture and adequate sunlight will also help ensure successful reblooming.


Leave a Comment