

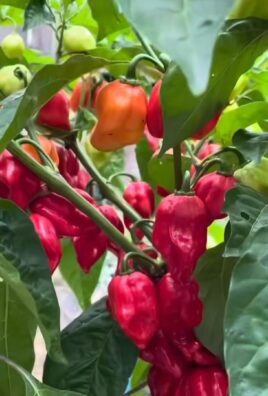
Propagate banana plants at home? Absolutely! Imagine turning one banana plant into a thriving mini-plantation, all from the comfort of your own backyard. It’s not just a gardener’s dream; it’s a surprisingly achievable reality with the right know-how. For centuries, propagating plants has been a cornerstone of agriculture and horticulture, allowing communities to cultivate essential food sources and beautiful landscapes. Think of ancient civilizations carefully nurturing cuttings and offshoots, passing down valuable knowledge through generations.
But why should you learn to propagate banana plants at home? Well, beyond the sheer satisfaction of nurturing new life, it’s a fantastic way to expand your banana crop without spending a fortune on new plants. Plus, it’s an incredibly rewarding experience to witness the entire life cycle of a plant, from a small offshoot to a fruit-bearing beauty. In this article, I’m going to share some simple, effective DIY tricks and hacks that will empower you to successfully propagate banana plants at home, even if you’re a complete beginner. Get ready to unleash your inner plant parent and enjoy the sweet rewards of your labor!
Propagating Banana Plants: A DIY Guide for Budding Gardeners
Hey there, fellow plant enthusiasts! Ever looked at your thriving banana plant and thought, “I wish I had more of these!” Well, you’re in luck! Propagating banana plants at home is totally doable, and I’m here to walk you through the process. It’s easier than you might think, and the reward of seeing new banana plants sprout from your efforts is incredibly satisfying.
Understanding Banana Plant Propagation
Before we dive in, let’s quickly cover the basics. Banana plants, technically giant herbs, primarily propagate through offshoots called “pups” or “suckers.” These pups emerge from the base of the mother plant and are essentially clones. We’ll be focusing on separating these pups to create new, independent banana plants. While you can technically grow bananas from seed, it’s a much longer and less reliable process, so we’ll stick with the pup method.
What You’ll Need
To successfully propagate your banana plants, gather these essential supplies:
* A healthy, mature banana plant with pups (at least 1-2 pups that are a decent size – ideally around 1-3 feet tall).
* A sharp, clean knife or pruning saw (sterilize it with rubbing alcohol to prevent disease).
* Gardening gloves (to protect your hands).
* A sturdy shovel or spade.
* Pots or containers (choose sizes appropriate for the size of the pups you’re separating).
* Well-draining potting mix (a mix specifically formulated for tropical plants is ideal).
* Watering can or hose.
* Rooting hormone (optional, but it can help encourage root growth).
* A clean bucket or container for soaking the pups.
Choosing the Right Pups
Not all pups are created equal! Selecting the right ones is crucial for successful propagation. Here’s what to look for:
* Size Matters: Aim for pups that are at least 1-3 feet tall. Smaller pups might struggle to survive on their own.
* Healthy Appearance: Choose pups that are vibrant green and free from any signs of disease or pests. Avoid pups with yellowing leaves, spots, or other abnormalities.
* Well-Developed Roots (Ideally): While you won’t be able to see the roots directly, try to select pups that appear to be growing vigorously. A strong, healthy pup is more likely to have a good root system.
* Sword Suckers vs. Water Suckers: Sword suckers, with their narrow, sword-like leaves, are generally preferred over water suckers, which have broader leaves. Sword suckers tend to develop stronger root systems.
Step-by-Step Propagation Guide
Alright, let’s get our hands dirty! Here’s a detailed guide to propagating your banana plants:
Phase 1: Preparing the Pups
1. Water the Mother Plant: A day or two before you plan to separate the pups, thoroughly water the mother plant. This will help loosen the soil and make it easier to dig around the base.
2. Clear the Area: Gently remove any mulch, debris, or dead leaves around the base of the mother plant to expose the pups and the surrounding soil.
3. Carefully Excavate: Using your shovel or spade, carefully dig around the base of the pup you want to separate. Be gentle and avoid damaging the roots of the mother plant or the pup. You’ll need to dig down a bit to expose the connection between the pup and the mother plant’s rhizome (the underground stem).
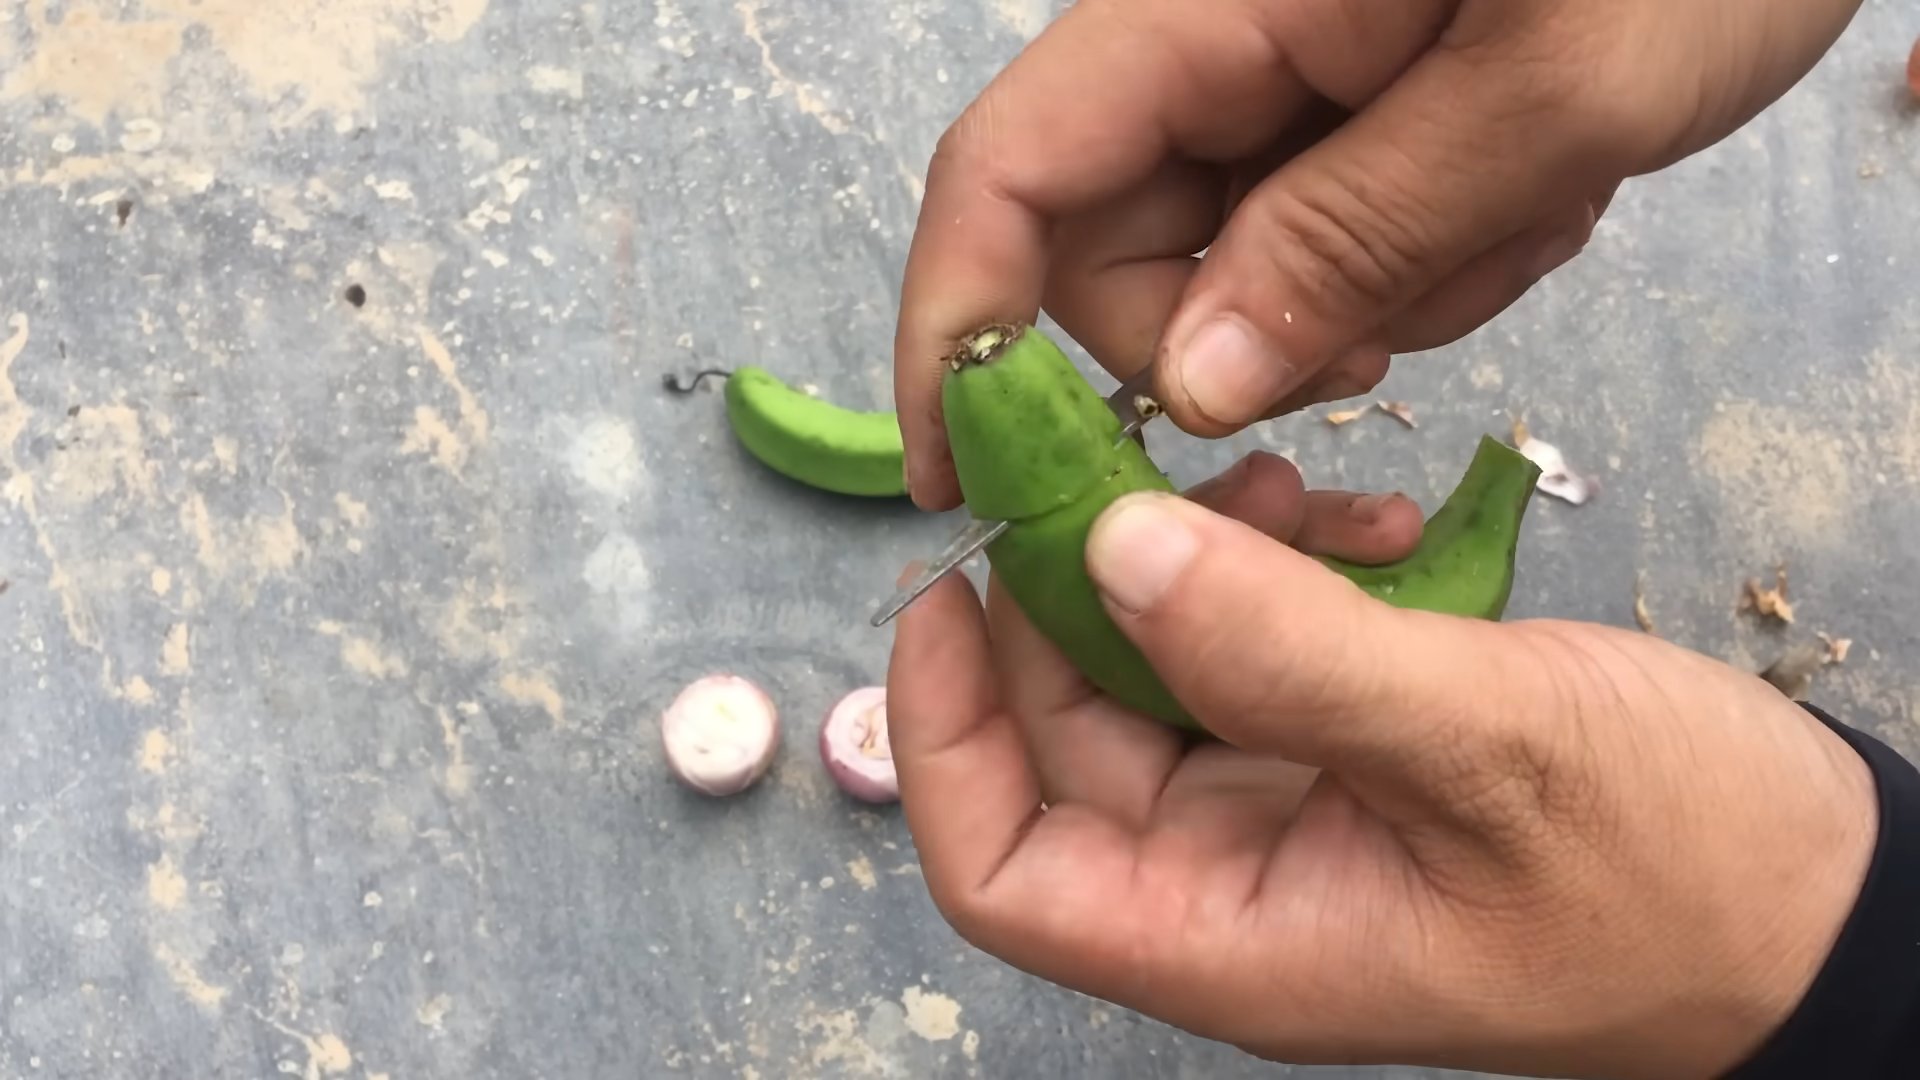
4. Sever the Connection: This is the most crucial step! Using your sterilized knife or pruning saw, carefully sever the connection between the pup and the mother plant’s rhizome. Make a clean, sharp cut to minimize damage. Try to get as much of the pup’s own root system as possible.
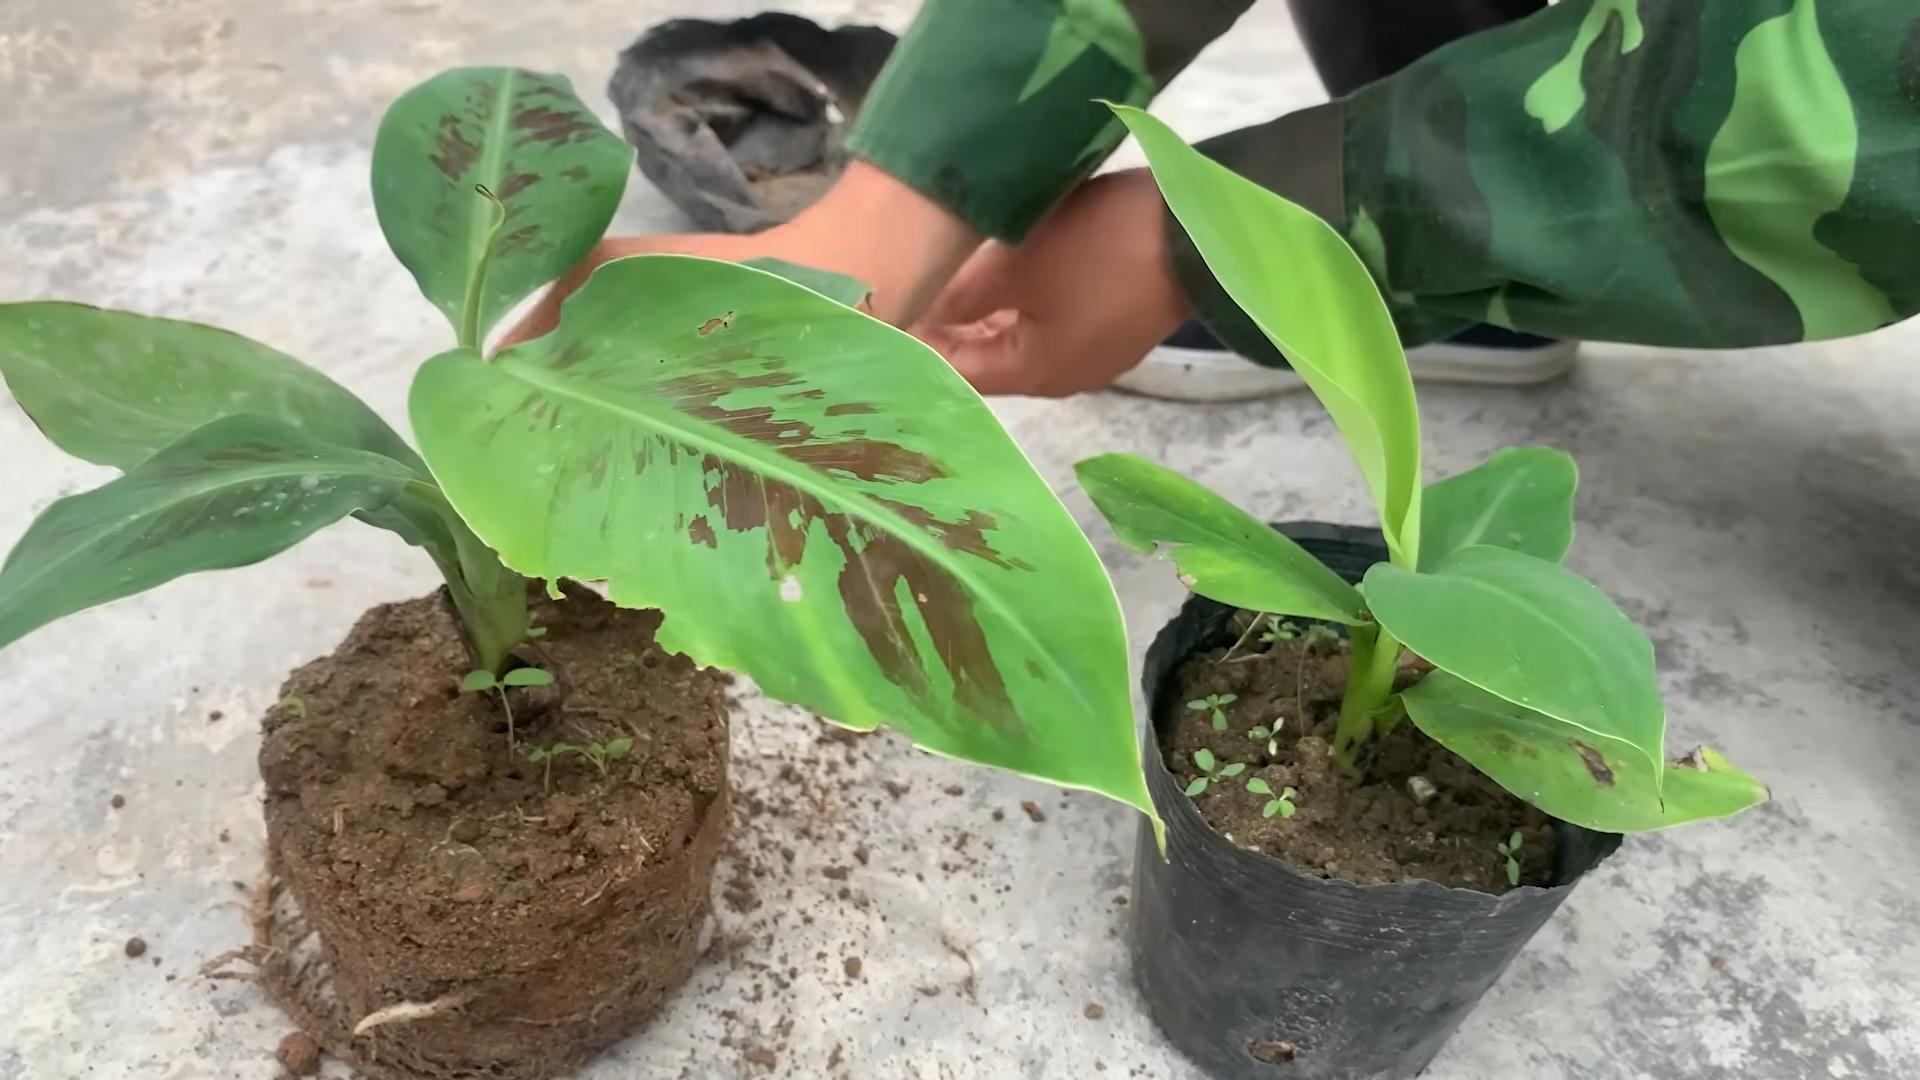
5. Gently Remove the Pup: Once the connection is severed, carefully lift the pup out of the ground. Shake off any excess soil.
6. Trim the Roots (Optional): If the pup has excessively long or damaged roots, you can trim them back slightly. This will encourage new root growth.
7. Soak the Pup: Fill your clean bucket or container with water and soak the pup for about 30 minutes to an hour. This will help rehydrate the pup and remove any remaining soil.
Phase 2: Planting the Pups
1. Prepare the Potting Mix: Fill your chosen pot or container with well-draining potting mix. Leave a few inches of space at the top.
2. Apply Rooting Hormone (Optional): If you’re using rooting hormone, dip the cut end of the pup’s rhizome into the powder or liquid. This will help stimulate root growth.
3. Plant the Pup: Create a hole in the center of the potting mix that’s large enough to accommodate the pup’s root system. Gently place the pup in the hole and backfill with potting mix. Make sure the base of the pup (where the leaves emerge) is slightly above the soil line.
4. Water Thoroughly: Water the newly planted pup thoroughly until water drains out of the bottom of the pot. This will help settle the soil and provide the pup with essential moisture.
Phase 3: Post-Planting Care
1. Provide Adequate Light: Place the potted pup in a location that receives bright, indirect sunlight. Avoid direct sunlight, which can scorch the leaves.
2. Maintain Consistent Moisture: Keep the potting mix consistently moist, but not waterlogged. Water when the top inch of soil feels dry to the touch.
3. Maintain Humidity: Banana plants thrive in humid environments. You can increase humidity by misting the leaves regularly or placing the pot on a tray filled with pebbles and water.
4. Fertilize Regularly: Once the pup starts to show signs of new growth (usually within a few weeks), begin fertilizing it regularly with a balanced fertilizer. Follow the instructions on the fertilizer label.
5. Monitor for Pests and Diseases: Keep an eye out for any signs of pests or diseases, such as aphids, spider mites, or fungal infections. Treat any problems promptly.
6. Be Patient: It can take several weeks or even months for the pup to establish a strong root system and begin growing vigorously. Be patient and continue to provide proper care.
Troubleshooting Tips
* Pup Isn’t Growing: If your pup isn’t showing any signs of growth after a few weeks, don’t panic! Make sure it’s receiving adequate light, moisture, and humidity. You can also try applying a diluted fertilizer solution.
* Leaves Turning Yellow: Yellowing leaves can be a sign of overwatering, underwatering, or nutrient deficiency. Adjust your watering schedule and fertilize as needed.
* Pests or Diseases: If you notice any pests or diseases, treat them promptly with an appropriate insecticide or fungicide.
* Pup Rotting: Rotting can be caused by overwatering or poor drainage. Make sure your potting mix is well-draining and avoid overwatering.
Important Considerations
* Timing: The best time to propagate banana plants is during the warmer months (spring or summer) when they are actively growing.
* Mother Plant Health: Only propagate pups from healthy, vigorous mother plants.
* Sterilization: Always sterilize your tools before and after use to prevent the spread of disease.
* Climate: Consider your local climate when choosing a location for your banana plants. They thrive in warm, humid environments.
Final Thoughts
Propagating banana plants is a rewarding experience that allows you to expand your banana family and enjoy the beauty of these tropical plants. With a little patience and care, you can successfully propagate your own banana plants and share them with friends and family. Happy gardening!
Conclusion
So, there you have it! Propagating banana plants at home isn’t just a fun gardening project; it’s a gateway to multiplying your tropical paradise and enjoying an abundance of these magnificent plants. Forget expensive nursery trips and embrace the satisfaction of nurturing new life from your existing banana plant. This DIY trick is a must-try for several compelling reasons.
First and foremost, it’s incredibly cost-effective. Instead of purchasing new banana plants, you’re essentially creating them for free, using the resources you already have. This is a significant advantage, especially if you’re looking to establish a larger banana grove or share your love of these plants with friends and family.
Secondly, propagating banana plants at home allows you to control the genetic lineage of your plants. You know the parent plant’s characteristics – its fruit quality, disease resistance, and growth habit. By propagating from it, you’re ensuring that the new plants inherit these desirable traits. This is particularly important if you’ve found a banana variety that you absolutely adore.
Thirdly, the process itself is deeply rewarding. Witnessing the emergence of new shoots and roots from a seemingly dormant rhizome is a truly magical experience. It connects you to the natural world in a profound way and fosters a sense of accomplishment that’s hard to replicate.
But the benefits don’t stop there. Propagating banana plants is also a sustainable practice. By multiplying your existing plants, you’re reducing the demand for commercially grown bananas, which often involve intensive farming practices and long-distance transportation. You’re contributing to a more environmentally friendly way of enjoying these delicious fruits.
Now, let’s talk about variations and suggestions. While the method we’ve outlined is highly effective, there are a few ways you can customize it to suit your specific needs and preferences.
For instance, if you live in a colder climate, you can start the propagation process indoors during the winter months. This will give the new plants a head start and ensure that they’re strong enough to withstand the outdoor conditions when spring arrives. You can use a heat mat to provide bottom heat, which will further accelerate root development.
Another variation involves using different types of rooting hormones. While we recommend a general-purpose rooting hormone, you can experiment with different formulations to see which one works best for your particular banana variety. Some gardeners swear by natural rooting agents like willow water or honey.
Finally, don’t be afraid to experiment with different potting mixes. While a well-draining mix is essential, you can add amendments like compost, perlite, or vermiculite to improve drainage, aeration, and nutrient retention.
We strongly encourage you to try this DIY trick and experience the joy of propagating banana plants at home. It’s a simple, affordable, and rewarding way to expand your garden and enjoy an abundance of these tropical beauties.
Once you’ve successfully propagated your banana plants, we’d love to hear about your experience! Share your tips, tricks, and photos in the comments section below. Let’s create a community of banana-loving gardeners who are passionate about sharing their knowledge and inspiring others. Your insights could be invaluable to someone who’s just starting out. So, go ahead, give it a try, and let us know how it goes! Happy gardening!
Frequently Asked Questions (FAQ)
Q: What is the best time of year to propagate banana plants?
A: The ideal time to propagate banana plants is during the warmer months, typically spring or early summer. This is when the plants are actively growing and have the energy reserves to support new root and shoot development. However, if you live in a tropical or subtropical climate, you can propagate banana plants year-round. If you live in a colder climate, you can start the propagation process indoors during the late winter or early spring to give the new plants a head start.
Q: How long does it take for a banana plant rhizome to sprout?
A: The time it takes for a banana plant rhizome to sprout can vary depending on several factors, including the variety of banana, the size of the rhizome, the temperature, and the humidity. Generally, you can expect to see new shoots emerging within 2 to 8 weeks. Providing consistent moisture, warmth, and bright, indirect light will help to accelerate the sprouting process. Be patient and avoid disturbing the rhizome too frequently, as this can hinder its development.
Q: What type of soil is best for propagating banana plants?
A: Banana plants thrive in well-draining soil that is rich in organic matter. A good potting mix for propagating banana plants should consist of a combination of peat moss, perlite, and vermiculite. You can also add compost or well-rotted manure to improve the soil’s fertility and drainage. Avoid using heavy clay soils, as they can become waterlogged and suffocate the roots. The ideal pH range for banana plants is between 6.0 and 7.0.
Q: How often should I water the rhizome after planting?
A: After planting the banana plant rhizome, water it thoroughly to moisten the soil. Then, allow the top inch of soil to dry out before watering again. Avoid overwatering, as this can lead to root rot. The frequency of watering will depend on the temperature, humidity, and the type of potting mix you’re using. In general, you’ll need to water more frequently during the warmer months and less frequently during the cooler months.
Q: What kind of light do banana plant rhizomes need to sprout?
A: Banana plant rhizomes need bright, indirect light to sprout. Avoid placing them in direct sunlight, as this can scorch the leaves. A location near an east-facing or west-facing window is ideal. If you don’t have access to natural light, you can use grow lights to provide supplemental lighting. The rhizomes should receive at least 6 to 8 hours of light per day.
Q: Can I use rooting hormone to propagate banana plants?
A: Yes, using rooting hormone can significantly increase the success rate of propagating banana plants. Rooting hormone contains auxins, which are plant hormones that stimulate root development. To use rooting hormone, simply dip the cut end of the rhizome in the hormone powder or liquid before planting it in the potting mix. Be sure to follow the instructions on the rooting hormone package.
Q: What if my banana plant rhizome doesn’t sprout?
A: If your banana plant rhizome doesn’t sprout after several weeks, don’t give up hope just yet. There are several reasons why a rhizome might fail to sprout. It could be that the rhizome is too small or damaged, the temperature is too cold, the soil is too dry or too wet, or the rhizome is not receiving enough light. Check these factors and make any necessary adjustments. You can also try gently scratching the surface of the rhizome to encourage sprouting. If the rhizome still doesn’t sprout after a few more weeks, it may be best to discard it and try again with a fresh rhizome.
Q: How do I care for my new banana plant after it sprouts?
A: Once your banana plant sprouts, it’s important to provide it with proper care to ensure its continued growth and development. Water the plant regularly, allowing the top inch of soil to dry out between waterings. Fertilize the plant every two to four weeks with a balanced fertilizer. Provide the plant with bright, indirect light. As the plant grows, you may need to repot it into a larger container.
Q: Can I propagate banana plants from seeds?
A: While it is possible to propagate banana plants from seeds, it is a much more challenging and time-consuming process than propagating from rhizomes. Banana seeds have a very hard seed coat, which makes it difficult for them to germinate. They also require specific conditions, such as high humidity and warm temperatures. Furthermore, banana plants grown from seeds may not produce fruit that is true to the parent plant. For these reasons, propagating from rhizomes is the preferred method for most gardeners.
Q: What are some common problems that can occur when propagating banana plants?
A: Some common problems that can occur when propagating banana plants include root rot, fungal infections, and pest infestations. Root rot is caused by overwatering and can be prevented by using well-draining soil and allowing the soil to dry out between waterings. Fungal infections can be prevented by providing good air circulation and avoiding overhead watering. Pest infestations can be controlled by using insecticidal soap or neem oil. Regularly inspect your banana plants for signs of pests or diseases and take action promptly to prevent them from spreading.
Leave a Comment