

Bathroom cleaning hacks – who doesn’t need them? Let’s be honest, cleaning the bathroom is nobody’s favorite chore. It’s right up there with doing taxes and going to the dentist! But what if I told you that keeping your bathroom sparkling clean doesn’t have to be a dreaded all-day affair? What if I could share some simple, effective, and even *fun* DIY tricks that will transform your bathroom cleaning routine?
For centuries, people have been searching for easier ways to maintain a clean and healthy home. From ancient Roman bathhouses to modern-day apartments, the need for effective cleaning methods has always been a priority. While our tools and cleaning products have evolved, the fundamental goal remains the same: to create a hygienic and pleasant space.
That’s where these bathroom cleaning hacks come in. I’m going to share some of my favorite DIY solutions that use everyday ingredients you probably already have in your pantry. These aren’t just quick fixes; they’re smart, sustainable, and budget-friendly ways to tackle grime, soap scum, and hard water stains. Forget spending hours scrubbing – with these tips, you’ll have a sparkling bathroom in no time, leaving you more time to relax and enjoy your clean, fresh space!
DIY Bathroom Cleaning Hacks: Sparkling Clean with Minimal Effort
Hey there! Let’s face it, cleaning the bathroom is nobody’s favorite chore. But what if I told you there are some super easy, DIY hacks that can make the whole process faster, cheaper, and even a little bit…dare I say…fun? I’ve compiled my go-to bathroom cleaning tricks that use common household ingredients. Get ready to say goodbye to stubborn stains and hello to a sparkling clean bathroom!
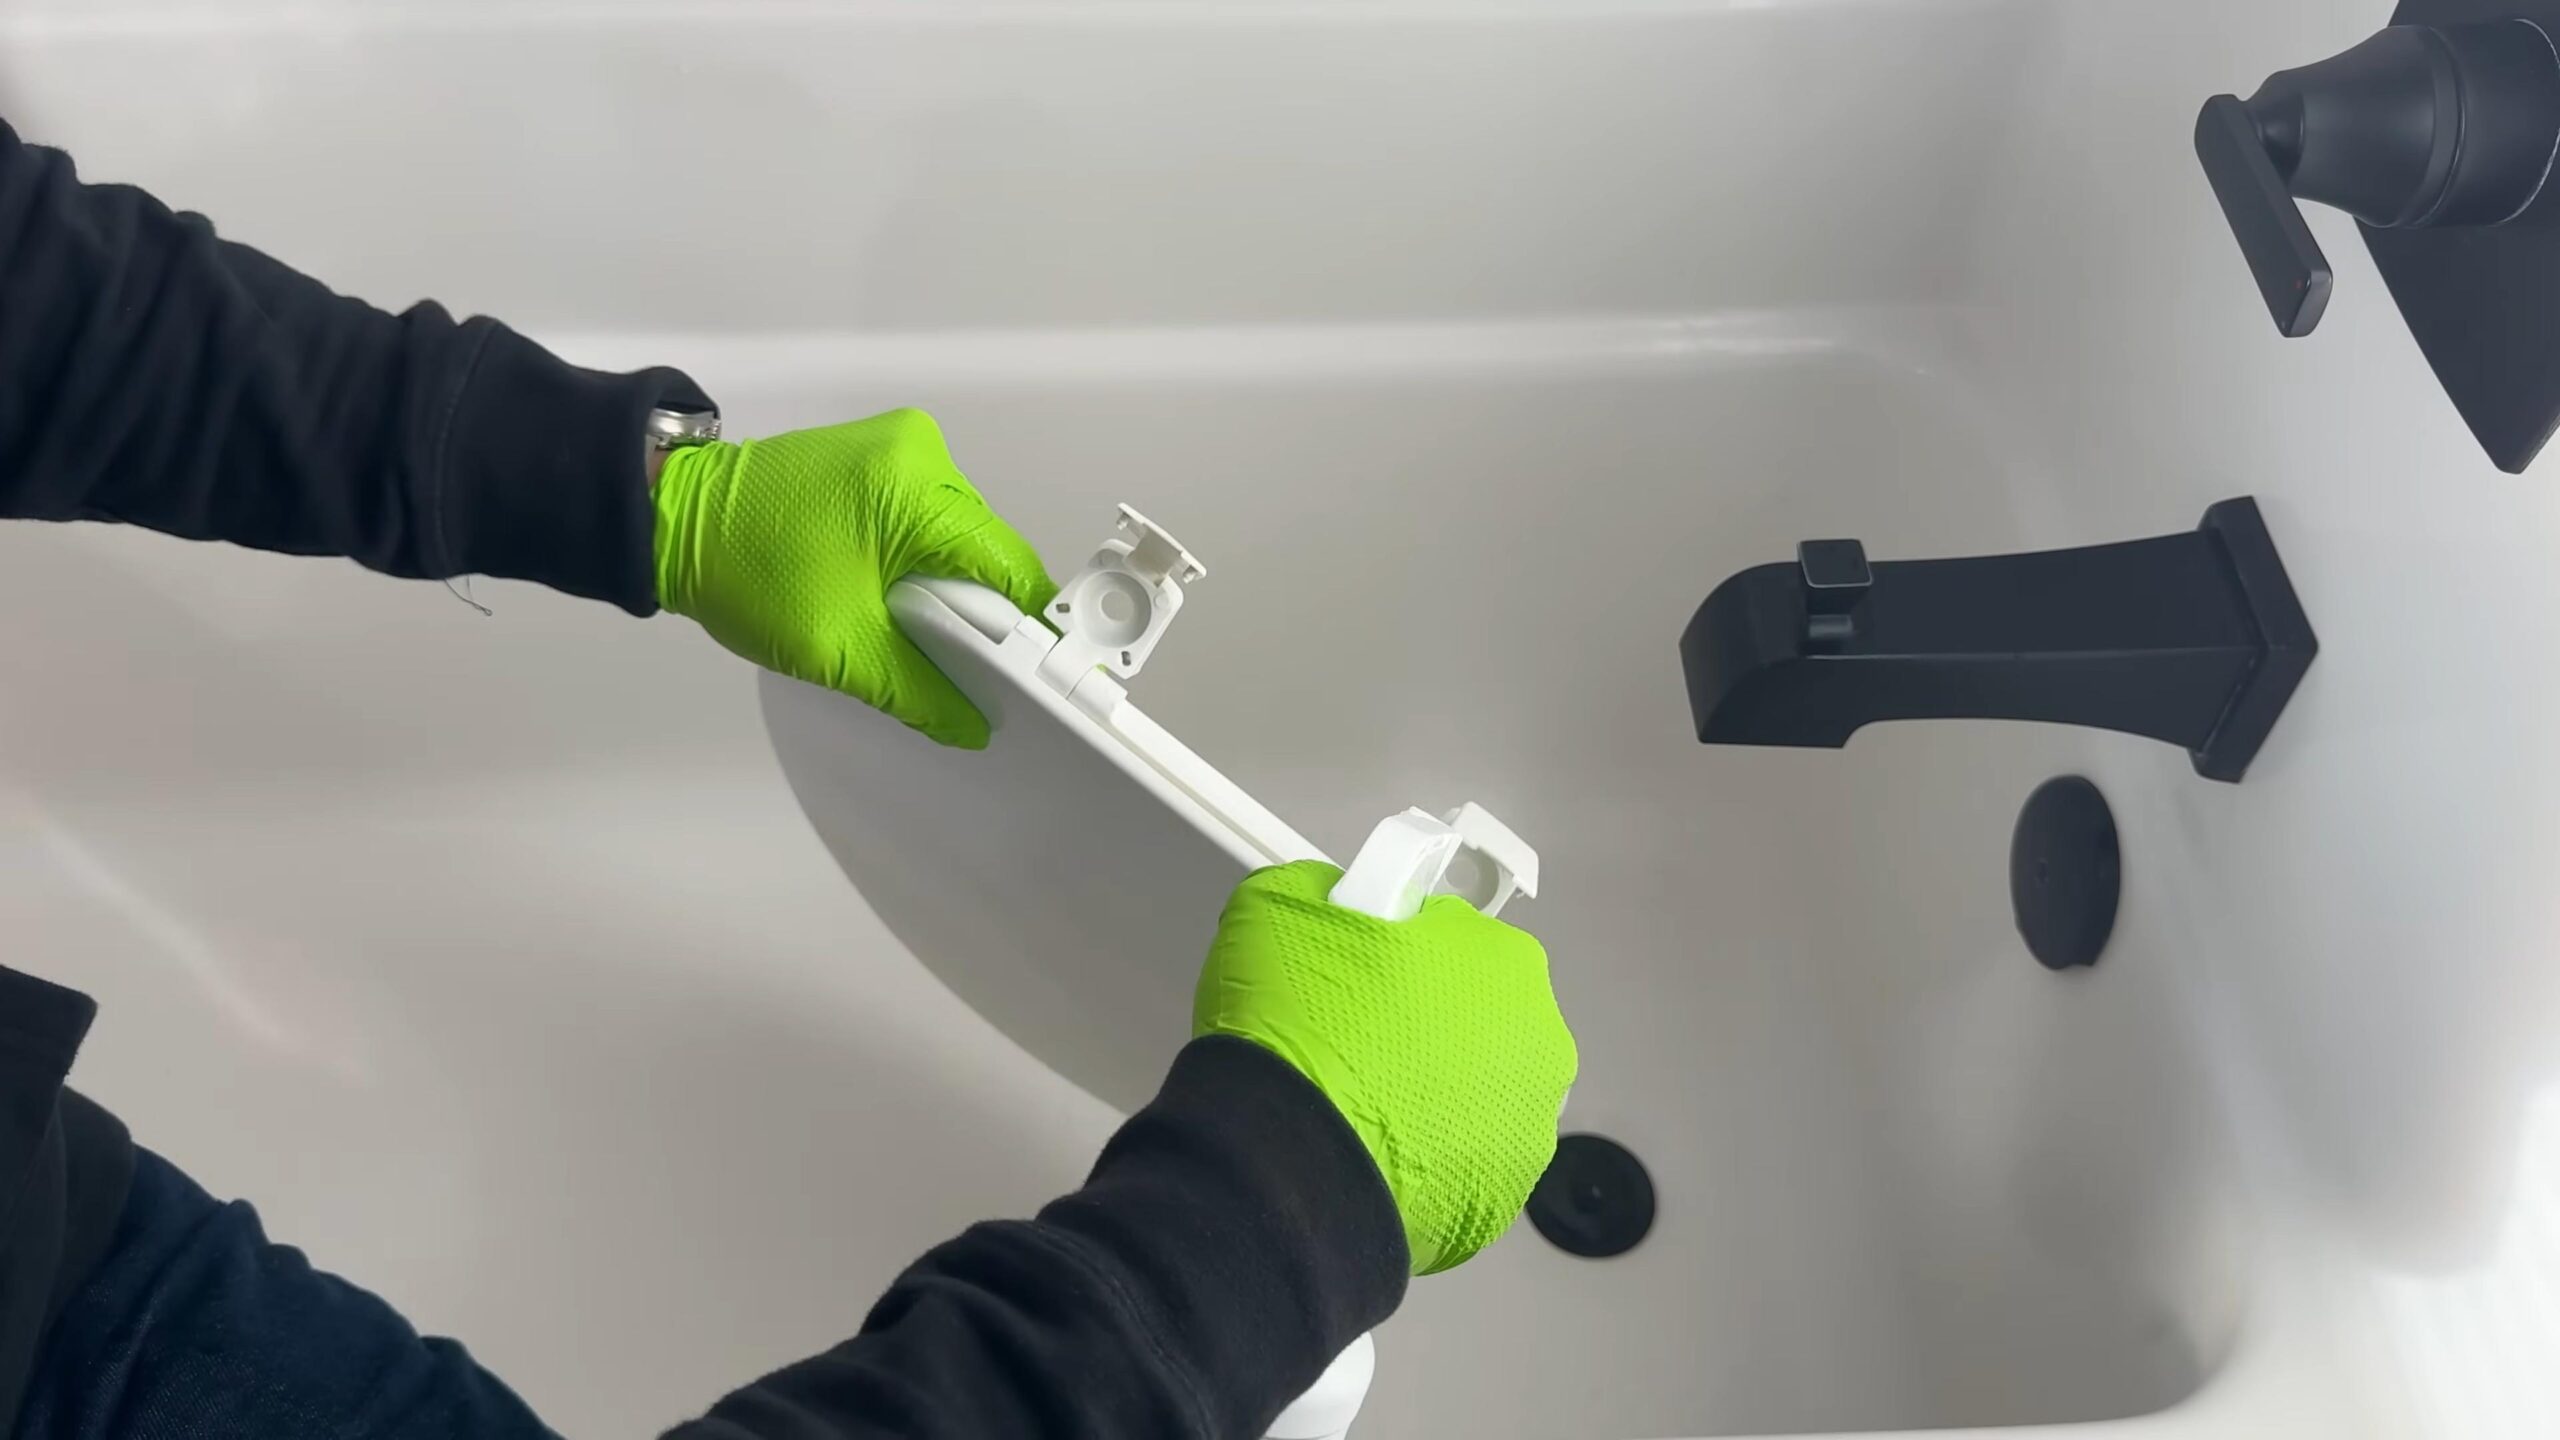
Hack 1: Sparkling Showerhead with Vinegar
Hard water deposits can really clog up your showerhead, reducing water pressure and making your shower less enjoyable. This hack uses the power of vinegar to dissolve those mineral deposits and restore your showerhead to its former glory.
What you’ll need:
* White vinegar
* A plastic bag (sandwich bag or grocery bag works)
* Rubber band or twist tie
Step-by-step instructions:
1. Prepare the vinegar bath: Pour enough white vinegar into the plastic bag to fully submerge your showerhead.
2. Attach the bag: Carefully position the bag over the showerhead, ensuring the showerhead is completely immersed in the vinegar.
3. Secure the bag: Use a rubber band or twist tie to tightly secure the bag around the showerhead neck. Make sure it’s snug to prevent leaks.
4. Soak overnight: Leave the showerhead to soak in the vinegar overnight (at least 8 hours). This allows the vinegar to fully dissolve the mineral deposits.
5. Remove and rinse: The next morning, remove the bag and discard the vinegar.
6. Flush the showerhead: Turn on the shower and let the water run for a few minutes to flush out any remaining vinegar and loosened deposits.
7. Wipe clean: Use a clean cloth or sponge to wipe down the showerhead. You should see a noticeable improvement in water pressure and a sparkling clean finish.
Hack 2: Grout Cleaning Power with Baking Soda Paste
Grime and mildew love to hide in grout lines, making your bathroom look dingy. This baking soda paste is a natural and effective way to brighten those grout lines.
What you’ll need:
* Baking soda
* Water
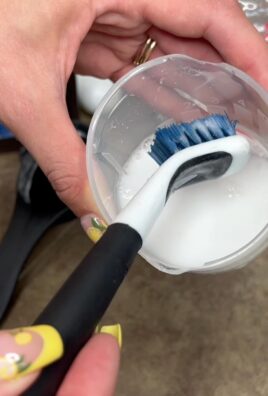
* Old toothbrush or grout brush
* Spray bottle (optional)
Step-by-step instructions:
1. Make the paste: In a small bowl, mix baking soda with just enough water to form a thick paste. The consistency should be similar to toothpaste.
2. Apply the paste: Using your fingers or a small spatula, apply the baking soda paste generously to the grout lines.
3. Let it sit: Allow the paste to sit on the grout for at least 15-20 minutes. For heavily soiled grout, you can let it sit for up to an hour.
4. Scrub the grout: Use an old toothbrush or grout brush to scrub the grout lines vigorously. You’ll see the grime and mildew start to lift.
5. Rinse thoroughly: Rinse the area with clean water. You can use a spray bottle to make rinsing easier.
6. Dry the area: Use a clean towel to dry the grout lines. You should see a significant improvement in the brightness of your grout.
Bonus Tip: For extra cleaning power, you can spray the grout with white vinegar before applying the baking soda paste. The fizzing action will help to loosen the grime. Just be sure to test this in an inconspicuous area first to ensure it doesn’t damage your tile.
Hack 3: Toilet Bowl Cleaning with Cola
Yes, you read that right! Cola, like Coca-Cola or Pepsi, can actually be used to clean your toilet bowl. The acids in cola help to break down stains and mineral deposits.
What you’ll need:
* One can or bottle of cola
* Toilet brush
Step-by-step instructions:
1. Pour the cola: Pour the entire can or bottle of cola around the rim of the toilet bowl, ensuring it coats the entire surface.
2. Let it sit: Allow the cola to sit in the toilet bowl for at least one hour, or preferably overnight. This gives the acids time to work on the stains.
3. Scrub the bowl: Use a toilet brush to scrub the bowl thoroughly, paying attention to any stubborn stains.
4. Flush the toilet: Flush the toilet to rinse away the cola and loosened stains.
5. Repeat if necessary: If there are still some stains remaining, repeat the process.
Hack 4: Mirror and Glass Cleaner with Vinegar and Water
Forget expensive glass cleaners! This simple mixture of vinegar and water will leave your mirrors and glass shower doors streak-free and sparkling.
What you’ll need:
* White vinegar
* Water
* Spray bottle
* Microfiber cloth
Step-by-step instructions:
1. Mix the solution: In a spray bottle, mix equal parts white vinegar and water.
2. Spray the surface: Spray the vinegar and water solution onto the mirror or glass surface.
3. Wipe clean: Use a clean microfiber cloth to wipe the surface dry. Microfiber cloths are ideal because they don’t leave streaks or lint.
4. Buff to shine: For an extra shine, buff the surface with a dry microfiber cloth.
Hack 5: Drain De-clogging with Baking Soda and Vinegar
Clogged drains are a common bathroom problem. This natural solution uses the power of baking soda and vinegar to break down clogs and keep your drains flowing freely.
What you’ll need:
* Baking soda
* White vinegar
* Hot water
Step-by-step instructions:
1. Pour in baking soda: Pour about 1/2 cup of baking soda down the drain.
2. Add vinegar: Pour 1 cup of white vinegar down the drain after the baking soda.
3. Let it fizz: The mixture will start to fizz. Let it fizz for about 30 minutes.
4. Flush with hot water: After 30 minutes, flush the drain with a pot of boiling hot water.
5. Repeat if necessary: If the drain is still clogged, repeat the process.
Important Note: Be careful when pouring boiling water. Avoid splashing and protect your hands.
Hack 6: Freshening the Air with Essential Oils and Cotton Balls
Instead of using harsh chemical air fresheners, try this natural alternative to keep your bathroom smelling fresh and clean.
What you’ll need:
* Essential oil (lavender, eucalyptus, lemon, or your favorite scent)
* Cotton balls
* Small dish or decorative container
Step-by-step instructions:
1. Saturate the cotton balls: Place a few cotton balls in a small dish or decorative container.
2. Add essential oil: Add several drops of your favorite essential oil to the cotton balls, saturating them with the scent.
3. Place in the bathroom: Place the dish or container in your bathroom. The cotton balls will slowly release the essential oil, freshening the air.
4. Refresh as needed: Add more essential oil to the cotton balls as needed to maintain the scent.
Hack 7: Cleaning Faucets and Fixtures with Lemon
Lemon juice is a natural cleaner and disinfectant that can be used to remove water spots and grime from faucets and fixtures.
What you’ll need:
* Lemon (half or slices)
* Soft cloth
Step-by-step instructions:
1. Cut the lemon: Cut a lemon in half or into slices.
2. Rub the fixtures: Rub the cut side of the lemon over the faucets and fixtures, paying attention to areas with water spots or grime.
3. Let it sit: Allow the lemon juice to sit on the fixtures for a few minutes.
4. Wipe clean: Use a soft cloth to wipe the fixtures clean.
5. Rinse and dry: Rinse the fixtures with water and dry them with a clean cloth.
Hack 8: Preventing Mildew with Proper Ventilation
Prevention is key! One of the best ways to keep your bathroom clean is to prevent mildew from growing in the first place.
What you’ll need:
* Bathroom fan or open window
Step-by-step instructions:
1. Run the fan or open the window: After showering or bathing, always run the bathroom fan or open a window to ventilate the room.
2. Dry surfaces: Wipe down wet surfaces, such as shower walls and doors, with a towel to remove excess moisture.
3. Keep shower curtain open: Leave the shower curtain or door open to allow air to circulate and dry out the shower area.
By
Conclusion
So, there you have it! These DIY bathroom cleaning hacks are not just about saving money; they’re about reclaiming your time and creating a healthier, more pleasant environment. Forget harsh chemicals and back-breaking scrubbing. These simple, natural solutions harness the power of everyday ingredients to tackle even the most stubborn bathroom grime.
Why is this a must-try? Because it’s effective, eco-friendly, and empowering. You’re taking control of your cleaning routine, knowing exactly what’s going into the solutions you’re using, and reducing your reliance on potentially harmful commercial products. Plus, the satisfaction of seeing your bathroom sparkle after using something you whipped up yourself is incredibly rewarding.
Don’t be afraid to experiment and adapt these hacks to suit your specific needs and preferences. For instance, if you’re dealing with particularly tough hard water stains, consider adding a bit more vinegar to your cleaning solution. Or, if you prefer a different scent, swap out the lemon essential oil for lavender or tea tree oil – both known for their antibacterial properties. You can even infuse your vinegar with citrus peels for a more potent and fragrant cleaning agent. Simply soak citrus peels in vinegar for a few weeks, then strain before using.
Another variation to consider is using baking soda as a gentle abrasive cleaner. Sprinkle it directly onto surfaces like sinks and tubs, then scrub with a damp sponge or cloth. For grout cleaning, make a paste of baking soda and water, apply it to the grout lines, let it sit for a few minutes, and then scrub with an old toothbrush.
These bathroom cleaning hacks are designed to be versatile and adaptable. The key is to find what works best for you and your bathroom.
We truly believe that once you try these DIY methods, you’ll never go back to store-bought cleaners. The results speak for themselves, and the peace of mind knowing you’re using safe, natural ingredients is priceless.
So, what are you waiting for? Gather your supplies, roll up your sleeves, and get ready to transform your bathroom into a sparkling oasis. We’re confident you’ll be amazed by the results.
But don’t just take our word for it. We encourage you to try these DIY bathroom cleaning hacks and share your experience with us! Let us know which hacks worked best for you, any variations you tried, and any tips you have to share. Your feedback is invaluable and helps us continue to refine and improve these methods. Share your before-and-after photos on social media and tag us! We can’t wait to see your sparkling bathrooms and hear your success stories. Together, we can create a community of eco-conscious cleaners who are passionate about creating healthy and beautiful homes.
FAQ
What if I don’t have all the ingredients listed?
That’s perfectly fine! The beauty of these DIY bathroom cleaning hacks is their flexibility. Many of the ingredients can be substituted or omitted depending on your needs and what you have on hand. For example, if you don’t have lemon essential oil, you can use another essential oil with antibacterial properties, such as tea tree or eucalyptus. If you don’t have borax, you can increase the amount of baking soda in your cleaning solution. The key is to experiment and find what works best for you. However, avoid mixing bleach with vinegar or ammonia, as this can create dangerous fumes.
Are these DIY cleaners safe for all bathroom surfaces?
While these DIY cleaners are generally safe for most bathroom surfaces, it’s always a good idea to test them in an inconspicuous area first, especially on delicate surfaces like marble or natural stone. Vinegar, in particular, can be acidic and may etch some surfaces if left on for too long. For these surfaces, consider using a milder cleaning solution, such as a mixture of baking soda and water. Always rinse surfaces thoroughly after cleaning to remove any residue.
How often should I use these DIY bathroom cleaning hacks?
The frequency of cleaning depends on how often your bathroom is used and how quickly it gets dirty. For general cleaning, once a week is usually sufficient. However, you may need to clean more frequently if you have a large family or if your bathroom is prone to mold or mildew. For specific tasks, such as cleaning the shower or toilet, you may want to clean more often. The best approach is to assess your bathroom’s needs and adjust your cleaning schedule accordingly.
Can I use these DIY cleaners to remove mold and mildew?
Yes, many of these DIY cleaners are effective at removing mold and mildew. Vinegar, in particular, is a natural fungicide and can kill mold spores. To use vinegar for mold removal, spray it directly onto the affected area, let it sit for an hour, and then scrub with a brush or sponge. You can also use a mixture of baking soda and water to create a paste that can be applied to moldy areas. Let the paste sit for a few minutes, then scrub and rinse. For stubborn mold, you may need to repeat the process several times. Always ensure proper ventilation when cleaning mold to avoid inhaling spores.
How long will these DIY cleaners last?
The shelf life of these DIY cleaners depends on the ingredients used. Cleaners made with water should be used within a few weeks, as they can become contaminated with bacteria over time. Cleaners made with vinegar or alcohol will last longer, as these ingredients have antibacterial properties. To extend the shelf life of your DIY cleaners, store them in airtight containers in a cool, dark place. Always label your containers with the date and ingredients so you know what’s inside and when it was made.
What are some other natural ingredients I can use for bathroom cleaning?
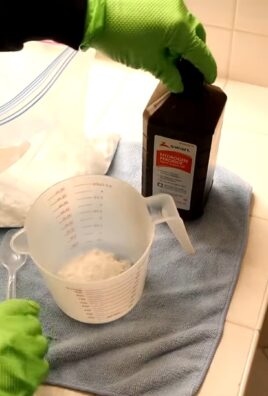
Besides vinegar, baking soda, and lemon essential oil, there are many other natural ingredients you can use for bathroom cleaning. Borax is a natural mineral that can be used as a disinfectant and deodorizer. Castile soap is a gentle, all-purpose cleaner that can be used on a variety of surfaces. Hydrogen peroxide is a natural bleaching agent that can be used to remove stains and disinfect surfaces. Tea tree oil is a natural antiseptic and antifungal agent that can be used to kill mold and mildew. Experiment with different ingredients to find what works best for you.
Are these DIY bathroom cleaning hacks safe for pets and children?
While these DIY cleaners are generally safer than commercial cleaners, it’s still important to take precautions when using them around pets and children. Keep all cleaning solutions out of reach of children and pets. Avoid spraying cleaners directly onto surfaces that pets or children may lick or touch. If you’re concerned about the safety of a particular ingredient, do some research to learn more about its potential risks. When in doubt, err on the side of caution and choose a safer alternative.
Can I use these DIY cleaners in other parts of my house?
Absolutely! Many of these DIY cleaners are versatile and can be used in other parts of your house. Vinegar, for example, can be used to clean windows, floors, and countertops. Baking soda can be used to deodorize carpets and clean ovens. Lemon essential oil can be used to freshen the air and disinfect surfaces. The key is to adapt the recipes to suit the specific needs of each area of your house.

Leave a Comment