

Budget kitchen cleaning supplies – that’s music to my ears! Let’s face it, keeping a kitchen sparkling can feel like a never-ending battle, especially when you’re trying to save a few bucks. But what if I told you that you could ditch those expensive, chemical-laden cleaners and achieve a spotless kitchen using items you probably already have in your pantry?
For generations, resourceful homemakers have relied on simple, natural ingredients to keep their homes clean. Think about it – before the age of fancy cleaning products, vinegar, baking soda, and lemon were the go-to solutions for everything from scrubbing countertops to deodorizing refrigerators. These time-tested methods aren’t just effective; they’re also incredibly budget-friendly and eco-conscious.
In today’s world, where we’re all looking for ways to cut costs and reduce our environmental footprint, mastering the art of using budget kitchen cleaning supplies is more relevant than ever. Not only will you save money, but you’ll also create a healthier living environment for yourself and your family by avoiding harsh chemicals. So, are you ready to unlock the secrets to a sparkling clean kitchen without breaking the bank? Let’s dive into some amazing DIY tricks and hacks that will transform your cleaning routine!
DIY Budget Kitchen Cleaning: Sparkling Clean Without Breaking the Bank
Okay, let’s face it, keeping a kitchen clean can feel like a never-ending battle. Between splatters, spills, and the general chaos of cooking, it’s easy for things to get grimy. But fear not! You don’t need a cabinet full of expensive, specialized cleaners to achieve a sparkling clean kitchen. I’m going to show you how to tackle almost any kitchen cleaning challenge using simple, affordable ingredients you probably already have in your pantry.
Gathering Your Arsenal of Affordable Cleaning Supplies
Before we dive into the nitty-gritty, let’s make sure we have everything we need. The beauty of this approach is that it relies on versatile, multi-purpose ingredients. Here’s what I recommend having on hand:
* White Vinegar: This is your all-purpose cleaning superhero. It’s a natural disinfectant, deodorizer, and grease cutter.
* Baking Soda: Another powerhouse! Baking soda is a gentle abrasive, deodorizer, and helps to lift stains.
* Dish Soap: A good quality dish soap is essential for cutting grease and cleaning surfaces.
* Lemon Juice: Not only does it smell amazing, but lemon juice is also a natural disinfectant and stain remover.
* Salt: Coarse salt can be used as a gentle abrasive for scrubbing.
* Olive Oil: Yes, you read that right! Olive oil is fantastic for polishing stainless steel.
* Spray Bottles: You’ll need these to mix and apply your homemade cleaning solutions.
* Microfiber Cloths: These are your best friends for wiping down surfaces without leaving streaks.
* Sponges: For scrubbing tougher messes.
* Old Toothbrush: Perfect for getting into those hard-to-reach nooks and crannies.
* Rubber Gloves: Protect your hands!
Cleaning Your Kitchen Counters
Counters are the workhorses of the kitchen, and they see a lot of action. Here’s how to keep them clean and sanitized:
1. Clear the Counters: Remove everything from your countertops – appliances, canisters, cutting boards, everything! This gives you a clear space to work.
2. Wipe Down with Dish Soap: Mix a few drops of dish soap with warm water in a bowl. Dip a microfiber cloth into the soapy water, wring it out well, and wipe down the entire surface of your counters. This will remove loose dirt and grime.
3. Vinegar Spray (For Most Surfaces): Fill a spray bottle with equal parts white vinegar and water. Spray the mixture onto your counters and let it sit for a few minutes. This will help to disinfect and cut through grease.
4. Wipe Clean: Use a clean, damp microfiber cloth to wipe away the vinegar solution.
5. Dry Thoroughly: Use another clean, dry microfiber cloth to dry the counters completely. This will prevent water spots.
Important Note: Avoid using vinegar on natural stone countertops like granite or marble. The acidity can damage the surface. For these surfaces, stick to the dish soap and water solution.
Tackling the Greasy Stovetop
The stovetop is a magnet for grease and splatters. Here’s how to get it sparkling clean:
1. Remove Grates and Burner Caps: Take off the grates and burner caps from your stovetop.
2. Soak Grates and Caps: Fill your sink with hot, soapy water. Add a generous amount of dish soap and let the grates and burner caps soak for at least 30 minutes. This will help to loosen the grease and grime.
3. Scrub the Stovetop: While the grates and caps are soaking, sprinkle baking soda liberally over the stovetop surface.
4. Vinegar Power: Spray the baking soda with white vinegar. You’ll see it fizz – that’s a good thing! The fizzing action helps to lift the grease and grime.
5. Let it Sit: Let the baking soda and vinegar mixture sit on the stovetop for about 15-20 minutes.
6. Scrub and Wipe: Use a sponge or scrub brush to scrub the stovetop. You may need to apply some elbow grease, especially for stubborn stains.
7. Rinse and Dry: Rinse the stovetop with clean water and dry it thoroughly with a microfiber cloth.
8. Clean Grates and Caps: After soaking, scrub the grates and burner caps with a sponge or scrub brush. Rinse them thoroughly with clean water and let them dry completely before placing them back on the stovetop.
Cleaning the Microwave Like a Pro
Microwaves can get incredibly gross, incredibly fast. Here’s a simple and effective way to clean them:
1. Lemon Steam Clean: Fill a microwave-safe bowl with 1 cup of water and add the juice of one lemon (or a few tablespoons of vinegar).
2. Microwave for 3-5 Minutes: Place the bowl in the microwave and heat it on high for 3-5 minutes, or until the water boils and the microwave is filled with steam.
3. Let it Sit: Leave the microwave door closed for another 5-10 minutes. The steam will loosen the grime and splatters.
4. Wipe Clean: Carefully remove the bowl (it will be hot!). Use a sponge or microfiber cloth to wipe down the inside of the microwave. The grime should come off easily.
5. Dry Thoroughly: Dry the inside of the microwave with a clean, dry microfiber cloth.
Degreasing the Oven
Ovens can be a real challenge to clean, but with a little patience and the right technique, you can get them looking like new.
1. Remove Racks: Take out the oven racks.
2. Baking Soda Paste: Mix 1/2 cup of baking soda with enough water to form a thick paste.
3. Coat the Oven: Spread the baking soda paste all over the inside of the oven, avoiding the heating elements.
4. Let it Sit Overnight: This is the key! Let the baking soda paste sit in the oven overnight (or for at least 12 hours).
5. Clean the Racks: While the baking soda is working its magic in the oven, soak the racks in hot, soapy water. You can also sprinkle them with baking soda and scrub them with a brush.
6. Wipe Away the Paste: The next day, use a damp sponge or cloth to wipe away the baking soda paste. You may need to use a little elbow grease to remove stubborn spots.
7. Vinegar Rinse: Fill a spray bottle with white vinegar and spray the inside of the oven. This will react with any remaining baking soda and help to remove it.
8. Wipe Clean Again: Wipe the oven clean with a damp cloth.
9. Dry Thoroughly: Dry the inside of the oven with a clean, dry cloth.
10. Replace Racks: Put the clean oven racks back in the oven.
Shining Up Stainless Steel Appliances
Stainless steel appliances can look beautiful, but they’re also prone to fingerprints and smudges. Here’s how to keep them looking their best:
1. Vinegar Wipe Down: Lightly dampen a microfiber cloth with white vinegar and wipe down the stainless steel surfaces. Be sure to wipe in the direction of the grain.
2. Olive Oil Polish: Pour a small amount of olive oil onto a clean, dry microfiber cloth. Buff the stainless steel surfaces with the olive oil, again wiping in the direction of the grain.
3. Buff to Shine: Use a clean section of the microfiber cloth to buff the stainless steel until it shines.
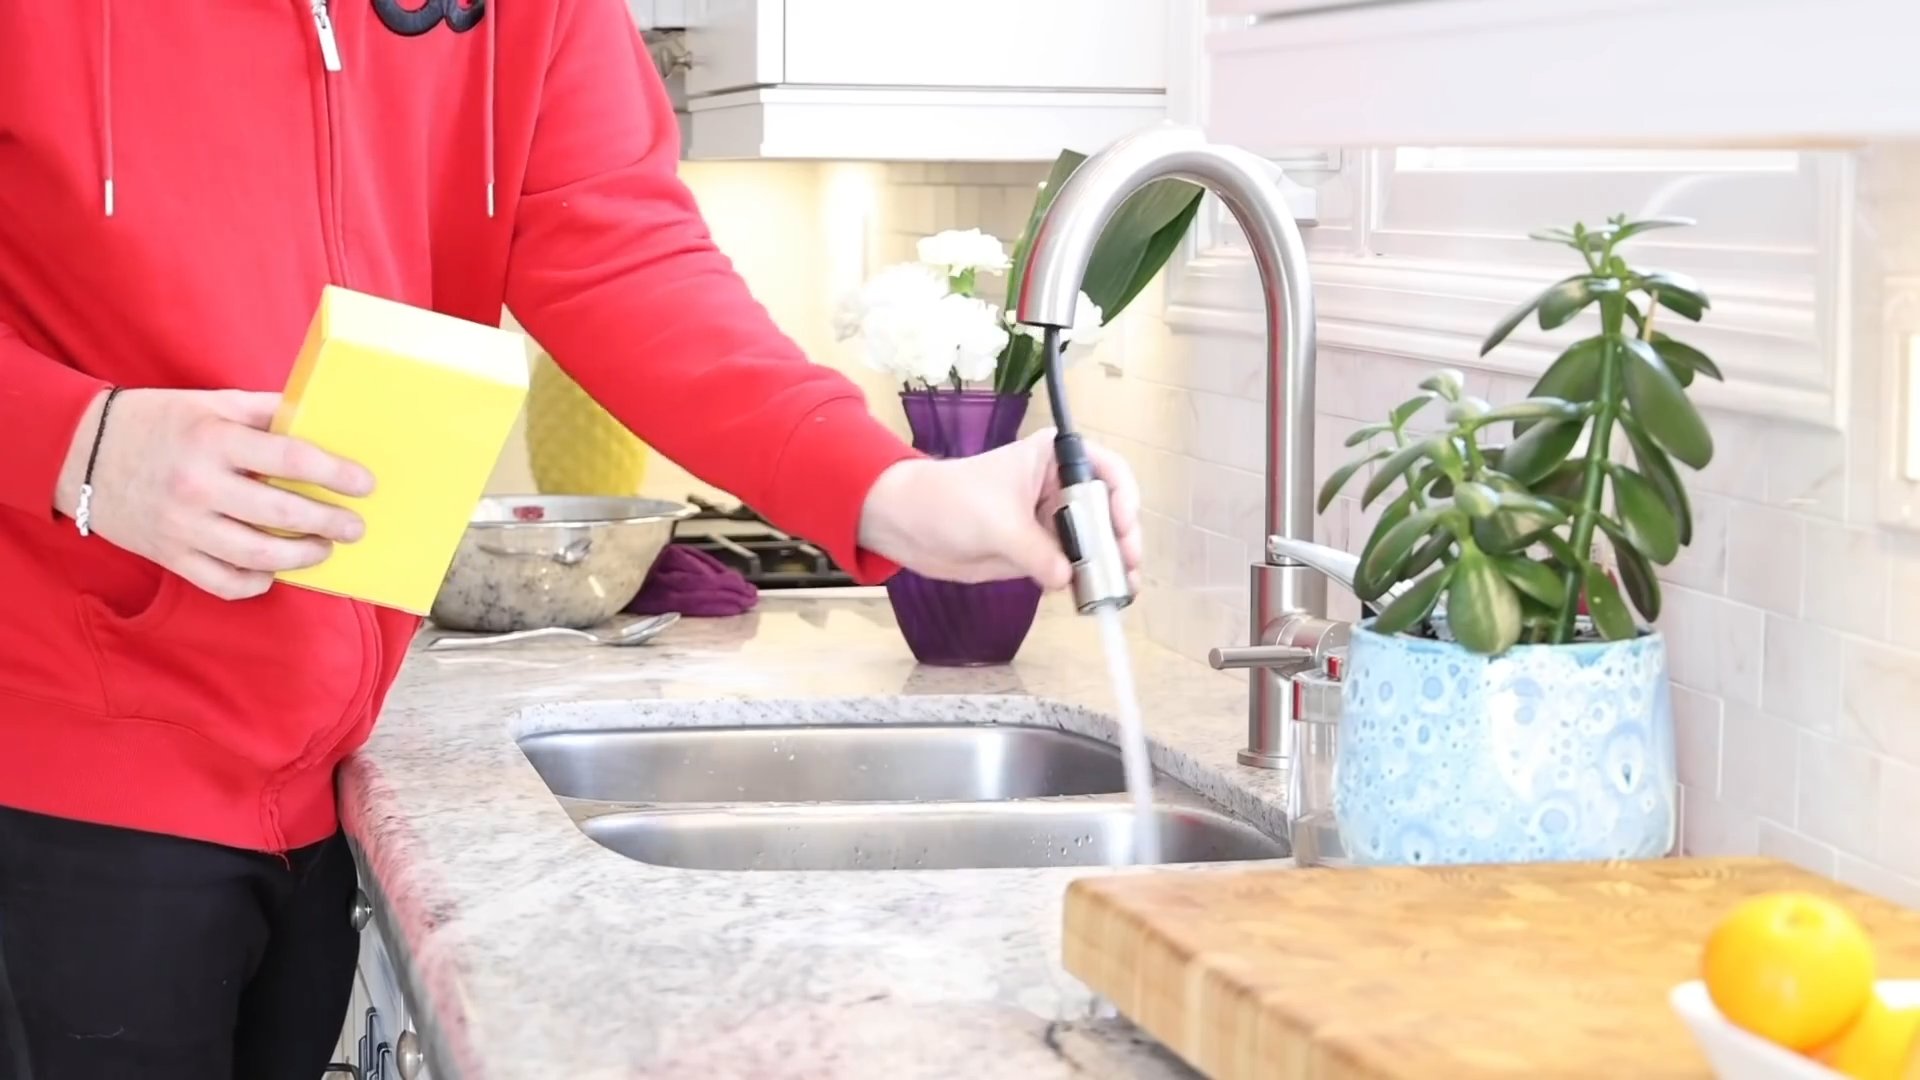
Cleaning the Kitchen Sink
Your kitchen sink sees a lot of action, so it’s important to keep it clean and sanitized.
1. Rinse and Remove Debris: Rinse the sink thoroughly with water and remove any food particles or debris.
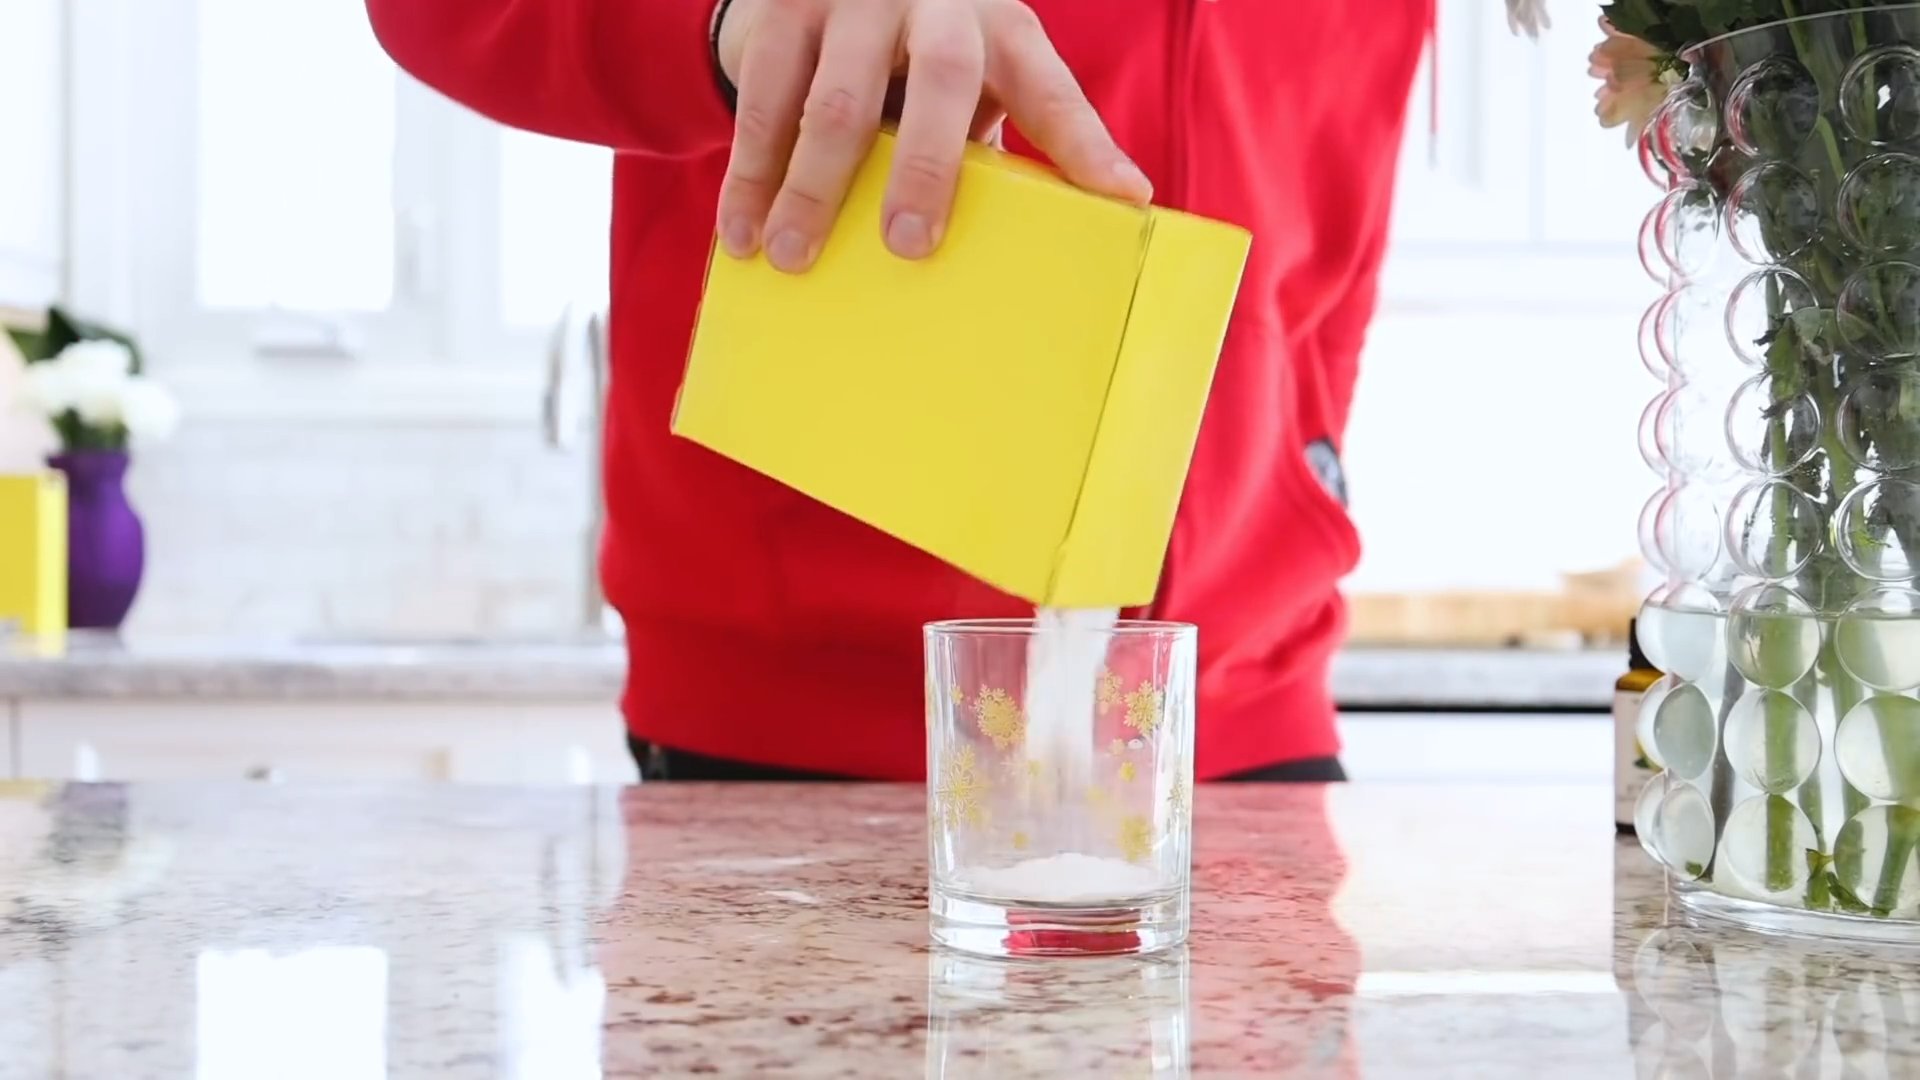
2. Baking Soda Scrub: Sprinkle baking soda all over the sink.
3. Scrub with a Sponge: Use a damp sponge to scrub the sink, paying attention to any stains or grime.
4. Vinegar Rinse: Pour white vinegar over the baking soda. It will fizz.
5. Rinse Thoroughly: Rinse the sink thoroughly with water.
6. Lemon Refresh: Cut a lemon in half and rub it all over the sink. This will help to deodorize and disinfect.
7. Rinse Again: Rinse the sink one last time with water.
Freshening Up the Garbage Disposal
Garbage disposals can get pretty stinky. Here’s how to freshen them up:
1. Run Cold Water: Run cold water into the disposal for about a minute.
2. Lemon or Lime Peels: Toss a few lemon or lime
Conclusion
So, there you have it! Mastering the art of creating your own budget kitchen cleaning supplies isn’t just about saving money; it’s about taking control of what you bring into your home and reducing your environmental impact. We’ve explored simple yet effective recipes that utilize ingredients you likely already have in your pantry. From the all-purpose cleaner that tackles grease and grime to the powerful scouring scrub that banishes stubborn stains, these DIY solutions are not only cost-effective but also surprisingly potent.
Why is this a must-try? Because it’s a win-win situation. You’re ditching harsh chemicals that can irritate your skin and pollute your home, and you’re embracing a more sustainable and budget-friendly approach to cleaning. Plus, there’s a certain satisfaction that comes from knowing exactly what’s in your cleaning products and crafting them yourself.
But the fun doesn’t stop there! Feel free to experiment with variations to suit your specific needs and preferences. For instance, if you’re a fan of essential oils, add a few drops of your favorite scent to your all-purpose cleaner for an extra boost of freshness. Lavender, lemon, and tea tree oil are all excellent choices for their antibacterial and aromatic properties. If you have particularly stubborn stains on your stovetop, try adding a bit of baking soda to your scouring scrub for extra abrasive power.
For those with sensitive skin, consider using distilled water in your recipes to minimize potential irritants. You can also substitute white vinegar with apple cider vinegar for a slightly milder scent. Remember to always test your DIY cleaners on a small, inconspicuous area first to ensure they don’t damage the surface.
Don’t be afraid to get creative and personalize your cleaning routine. The beauty of DIY is that you can tailor it to your specific needs and preferences. Perhaps you want to infuse your vinegar with citrus peels for a more pleasant scent, or maybe you want to create a specialized cleaner for your stainless steel appliances. The possibilities are endless!
We truly believe that once you experience the effectiveness and affordability of these homemade cleaners, you’ll never go back to store-bought alternatives. It’s a simple change that can have a significant impact on your wallet, your health, and the environment.
So, what are you waiting for? Gather your ingredients, put on your apron, and get ready to transform your kitchen cleaning routine. We’re confident that you’ll be amazed by the results.
We’re eager to hear about your experiences with these DIY budget kitchen cleaning supplies. Did you try any of the recipes? Did you make any modifications? What were your results? Share your tips, tricks, and feedback in the comments below. Let’s create a community of eco-conscious cleaners who are passionate about saving money and protecting the planet. Your insights could inspire others to make the switch and embrace a more sustainable lifestyle. Let us know what worked for you and what didn’t. Your feedback is invaluable in helping us refine these recipes and provide the best possible information to our readers. Happy cleaning!
Frequently Asked Questions (FAQ)
Are these DIY kitchen cleaners as effective as store-bought cleaners?
Yes, in many cases, they can be just as effective, if not more so. The key is using the right ingredients and following the recipes carefully. For example, vinegar is a powerful disinfectant and degreaser, while baking soda is a natural abrasive that can remove stubborn stains. Many commercial cleaners rely on harsh chemicals to achieve similar results, but these DIY alternatives offer a safer and more environmentally friendly approach. The effectiveness also depends on the specific task. For heavy-duty cleaning, you might need to use a stronger concentration of ingredients or allow the cleaner to sit for a longer period of time. However, for everyday cleaning, these DIY solutions are more than capable of keeping your kitchen sparkling clean.
What are the benefits of using DIY kitchen cleaning supplies?
The benefits are numerous! First and foremost, you’ll save money. The ingredients used in these recipes are typically much cheaper than store-bought cleaners. Second, you’ll reduce your exposure to harsh chemicals, which can be harmful to your health and the environment. Third, you’ll have more control over what goes into your cleaning products, allowing you to avoid allergens and irritants. Fourth, you’ll be contributing to a more sustainable lifestyle by reducing your reliance on plastic packaging and chemical-laden products. Finally, you’ll gain a sense of accomplishment and satisfaction from creating your own cleaning solutions.
Are there any surfaces that I should avoid using these DIY cleaners on?
Yes, there are a few surfaces that are sensitive to certain ingredients. Avoid using vinegar on natural stone surfaces like marble and granite, as it can etch and damage the stone. Also, be cautious when using abrasive cleaners like baking soda on delicate surfaces like stainless steel, as it can scratch the finish. Always test your DIY cleaners on a small, inconspicuous area first to ensure they don’t cause any damage. For wooden surfaces, use a diluted solution and avoid prolonged contact. When in doubt, consult the manufacturer’s instructions for the specific surface you’re cleaning.
How long do these DIY kitchen cleaners last?
The shelf life of these cleaners depends on the ingredients used. Cleaners made with water should be used within a few weeks to prevent bacterial growth. Cleaners made with vinegar or alcohol will last longer, typically several months. Store your DIY cleaners in airtight containers in a cool, dark place to maximize their shelf life. Always label your containers with the date you made the cleaner so you know when to discard it. If you notice any changes in color, odor, or consistency, it’s best to discard the cleaner and make a fresh batch.
Can I use essential oils in these DIY kitchen cleaning supplies?
Absolutely! Essential oils can add a pleasant scent and provide additional cleaning benefits. Lavender, lemon, tea tree, and eucalyptus oils are all excellent choices for their antibacterial and antiseptic properties. Add a few drops of your favorite essential oil to your all-purpose cleaner or scouring scrub for an extra boost of freshness and cleaning power. However, be mindful of the potential for allergic reactions and always use essential oils in moderation. Also, be sure to research the safety of specific essential oils before using them around children and pets.
What if I don’t have all the ingredients listed in the recipes?
Don’t worry! You can often substitute ingredients based on what you have on hand. For example, if you don’t have white vinegar, you can use apple cider vinegar. If you don’t have baking soda, you can use borax. However, keep in mind that substitutions may affect the effectiveness of the cleaner. If you’re unsure about a substitution, it’s best to do some research or consult with a cleaning expert. The beauty of DIY is that you can experiment and find what works best for you.
How do I store these DIY kitchen cleaning supplies?
Store your DIY cleaners in airtight containers to prevent evaporation and contamination. Glass spray bottles are a great option for all-purpose cleaners, while plastic containers with tight-fitting lids are suitable for scouring scrubs and other thicker cleaners. Label each container clearly with the name of the cleaner and the date it was made. Store your cleaners in a cool, dark place away from direct sunlight and heat. Keep them out of reach of children and pets.
Are these DIY cleaners safe for septic systems?
In general, yes, these DIY cleaners are safe for septic systems. The ingredients used, such as vinegar, baking soda, and lemon juice, are biodegradable and won’t harm the beneficial bacteria in your septic tank. However, avoid using excessive amounts of any cleaner, as this could disrupt the balance of your septic system. If you have any concerns, consult with a septic system professional.
Can I use these cleaners on my kitchen appliances?
Yes, you can use these cleaners on most kitchen appliances. However, always test the cleaner on a small, inconspicuous area first to ensure it doesn’t damage the finish. Avoid using abrasive cleaners on stainless steel appliances, as they can scratch the surface. For appliances with electronic components, be careful not to get any liquid inside the appliance. Always unplug the appliance before cleaning it.
What are some other budget-friendly kitchen cleaning tips?
In addition to making your own cleaning supplies, there are many other ways to save money on kitchen cleaning. Use reusable cloths and sponges instead of paper towels. Wash dishes immediately after use to prevent food from drying and becoming difficult to remove. Clean your refrigerator regularly to prevent spills and odors. Sweep or vacuum your kitchen floor frequently to remove dirt and debris. By following these simple tips, you can keep your kitchen clean and save money at the same time.


Leave a Comment