

Easy Cleaning Routine: Who doesn’t dream of a sparkling clean home without spending their entire weekend scrubbing? I know I do! We’ve all been there, staring at a mountain of chores, feeling overwhelmed and wishing there was a magic wand. Well, while I can’t promise magic, I can offer you some game-changing DIY tricks that will transform your cleaning routine from a dreaded task into a manageable, even enjoyable, activity.
For centuries, cultures around the world have developed ingenious methods for keeping their homes clean using natural ingredients and clever techniques. Think about the age-old wisdom of using vinegar and baking soda – these aren’t just trendy cleaning hacks; they’re time-tested solutions passed down through generations. These methods were born out of necessity, a desire to maintain a healthy and pleasant living space with limited resources.
In today’s fast-paced world, time is a precious commodity. That’s why mastering an easy cleaning routine is more important than ever. These DIY hacks aren’t just about saving time; they’re about reclaiming your weekends, reducing stress, and creating a healthier environment for you and your family. Imagine spending less time cleaning and more time doing the things you love! So, let’s dive into some simple yet effective DIY cleaning tricks that will revolutionize your home and your life. Get ready to say goodbye to endless scrubbing and hello to a sparkling clean home, effortlessly!

DIY Deep Cleaning Your Home: A Comprehensive Guide
Okay, let’s face it, cleaning isn’t exactly anyone’s favorite pastime. But a clean home is a happy home, right? And it doesn’t have to be a monumental chore you dread. I’m going to walk you through a DIY deep cleaning routine that’s manageable, effective, and even a little bit…dare I say…enjoyable? We’ll break it down room by room, focusing on the areas that often get neglected in our regular cleaning.
Getting Prepared: Your Cleaning Arsenal
Before we dive in, let’s gather our supplies. Having everything ready beforehand will save you time and frustration. Here’s what I recommend:
* Microfiber cloths: These are your best friends! They’re super absorbent and great for dusting and wiping surfaces. Stock up!
* All-purpose cleaner: Choose one you love the smell of! It makes the whole process more pleasant.
* Glass cleaner: For sparkling windows and mirrors.
* Bathroom cleaner: Specifically for tackling soap scum and grime in the bathroom.
* Toilet bowl cleaner: A must-have for obvious reasons.
* Baking soda: A natural and effective cleaner and deodorizer.
* White vinegar: Another cleaning powerhouse! Great for disinfecting and removing hard water stains.
* Dish soap: For washing dishes and general cleaning.
* Rubber gloves: Protect your hands!
* Scrub brush: For tackling tough stains and grime.
* Vacuum cleaner: A good vacuum is essential for removing dust and dirt from floors and carpets.
* Mop and bucket: For cleaning hard floors.
* Sponges: For general cleaning tasks.
* Old toothbrush: Perfect for getting into those hard-to-reach places.
* Spray bottles: For diluting cleaning solutions.
* Trash bags: For obvious reasons!
* Optional: Essential oils: Add a few drops to your cleaning solutions for a natural fragrance boost.
Phase 1: The Kitchen – Conquering the Heart of the Home
The kitchen is often the busiest room in the house, and it can quickly become a breeding ground for dirt and grime. Let’s tackle it step-by-step:
1. Clear the countertops: Remove everything from your countertops – appliances, utensils, everything! This will give you a clear surface to work with.
2. Clean out the refrigerator: This is a big one!
* Unplug the refrigerator: Safety first!
* Remove all the food: Check expiration dates and toss anything that’s past its prime.
* Remove shelves and drawers: Wash them with warm, soapy water.
* Wipe down the interior: Use a solution of baking soda and water to neutralize odors and clean surfaces.
* Dry everything thoroughly: Before putting the shelves and drawers back in.
* Return the food: Organize it neatly and strategically.
3. Clean the oven:
* Self-cleaning oven: If you have a self-cleaning oven, run the self-cleaning cycle. Be sure to follow the manufacturer’s instructions.
* Manual cleaning: If you don’t have a self-cleaning oven, you can use a commercial oven cleaner or make your own paste of baking soda and water. Apply the paste to the interior of the oven, let it sit overnight, and then scrub it clean.
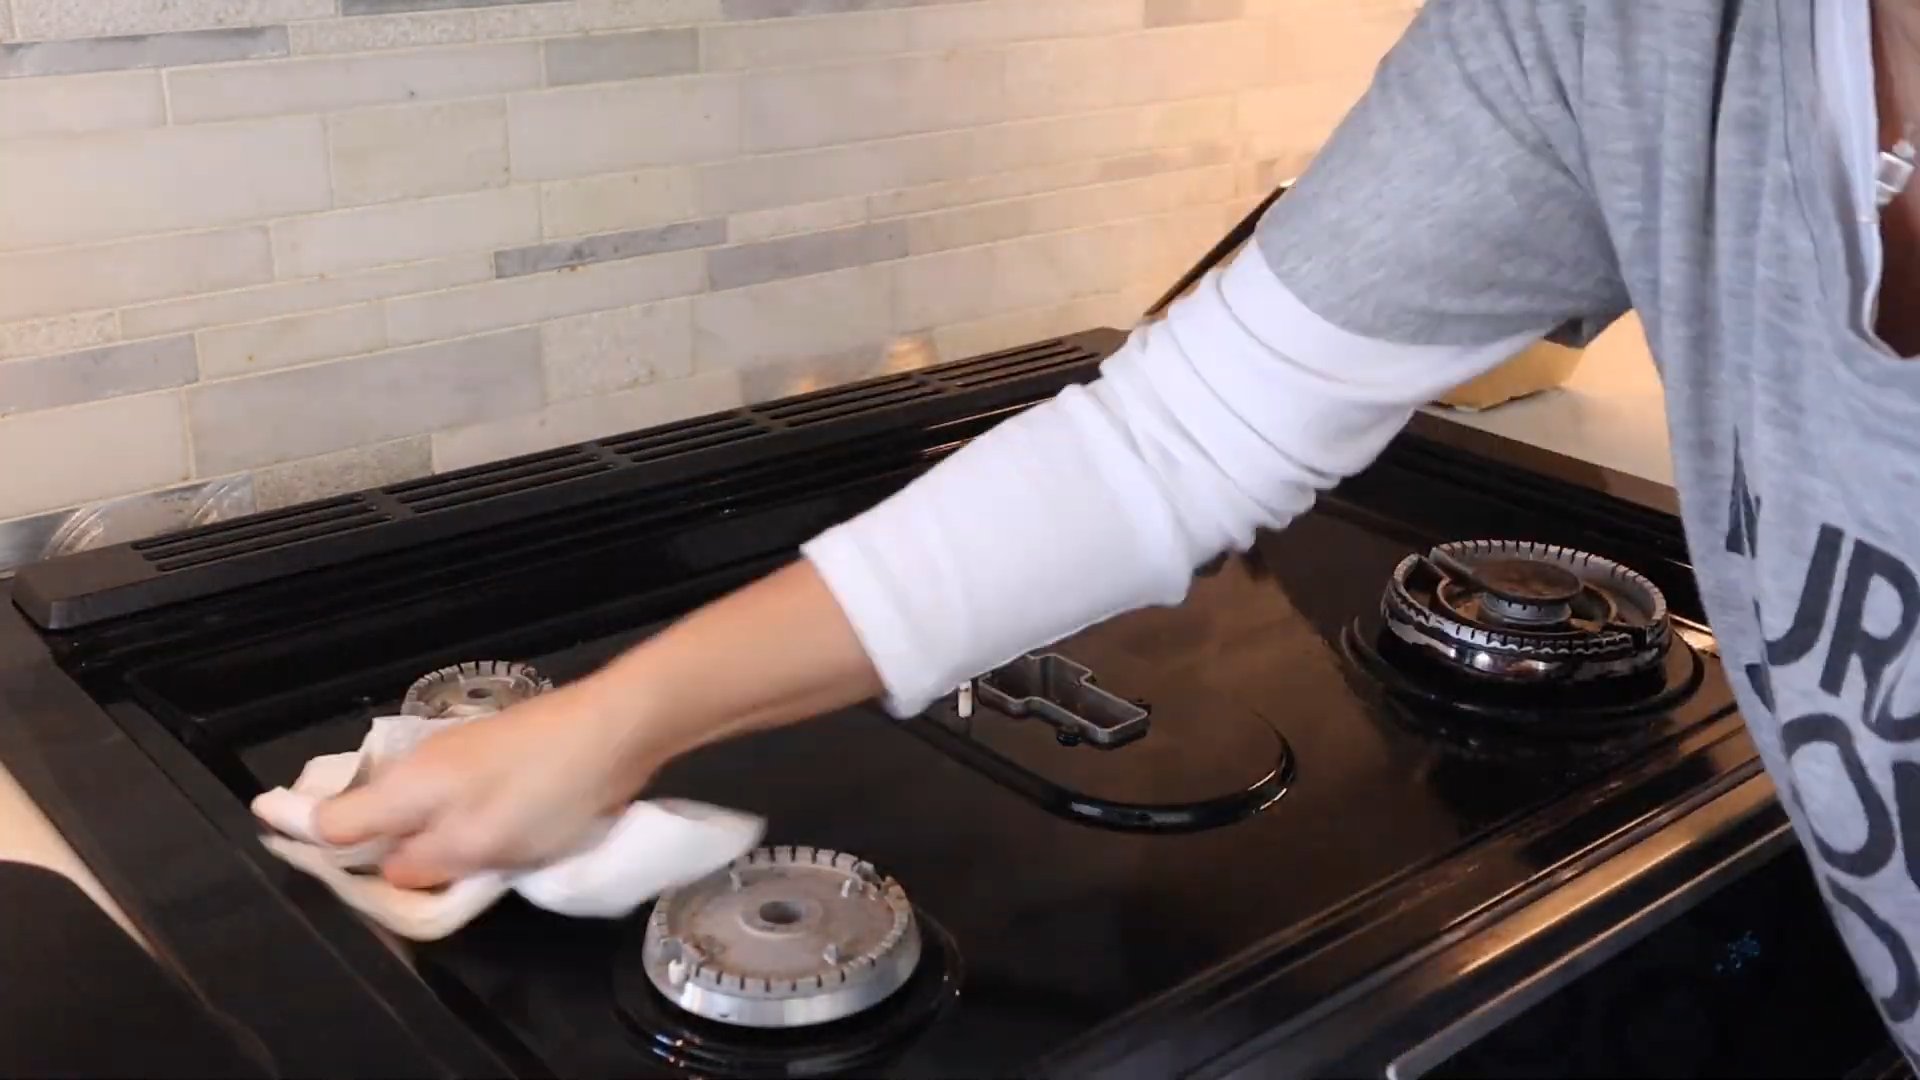
4. Clean the stovetop:
* Remove grates and burner caps: Wash them with warm, soapy water.
* Wipe down the stovetop: Use an all-purpose cleaner to remove grease and grime.
* Clean the burner bowls: If they’re removable, wash them with warm, soapy water. If not, scrub them with a scrub brush and all-purpose cleaner.
5. Clean the microwave:
* Place a microwave-safe bowl filled with water and lemon slices in the microwave: Heat for 3-5 minutes, or until the water boils.
* Let the steam loosen the grime: Leave the door closed for a few minutes.
* Wipe down the interior: The steam will have loosened the grime, making it easy to wipe away.
6. Clean the dishwasher:
* Remove the filter: Clean it with warm, soapy water.
* Run an empty cycle with vinegar: Pour a cup of white vinegar into the dishwasher and run a normal cycle. This will help to remove mineral deposits and freshen the dishwasher.
7. Clean the sink:
* Scrub the sink with baking soda and water: This will help to remove stains and odors.
* Rinse thoroughly: With clean water.
8. Wipe down the countertops and cabinets: Use an all-purpose cleaner to remove grease and grime.
9. Sweep and mop the floor: Start by sweeping to remove loose dirt and debris, then mop with a solution of water and all-purpose cleaner.
10. Empty the trash can and replace the liner: A clean trash can is a happy trash can!
Phase 2: The Bathroom – Banishing Bacteria and Grime
The bathroom is another area that requires regular deep cleaning to prevent the buildup of bacteria and grime.
1. Clear the countertops: Remove everything from your countertops – toiletries, makeup, everything!
2. Clean the toilet:
* Apply toilet bowl cleaner: Under the rim and let it sit for a few minutes.
* Scrub the bowl: With a toilet brush.
* Flush the toilet: And wipe down the exterior of the toilet with a disinfectant wipe.
3. Clean the shower and tub:
* Spray the shower and tub with bathroom cleaner: Let it sit for a few minutes to loosen soap scum and grime.
* Scrub the shower and tub: With a scrub brush or sponge.
* Rinse thoroughly: With clean water.
* Clean the showerhead: Soak it in a bag filled with vinegar to remove mineral deposits.
4. Clean the sink and countertops:
* Scrub the sink with baking soda and water: This will help to remove stains and odors.
* Wipe down the countertops: With an all-purpose cleaner.
5. Clean the mirror:
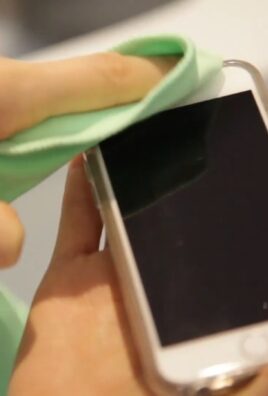
* Spray the mirror with glass cleaner: And wipe it clean with a microfiber cloth.
6. Sweep and mop the floor: Start by sweeping to remove loose dirt and debris, then mop with a solution of water and all-purpose cleaner.
7. Replace towels and bath mat: Fresh towels and a clean bath mat will make the bathroom feel much cleaner.
Phase 3: The Living Room – Dusting and Decluttering
The living room is where we relax and entertain, so it’s important to keep it clean and inviting.
1. Declutter: Remove any items that don’t belong in the living room.
2. Dust:
* Dust all surfaces: Including furniture, shelves, picture frames, and lamps.
* Dust ceiling fans: Use a duster with an extension pole to reach high places.
3. Vacuum:
* Vacuum the carpets and rugs: Pay attention to high-traffic areas.
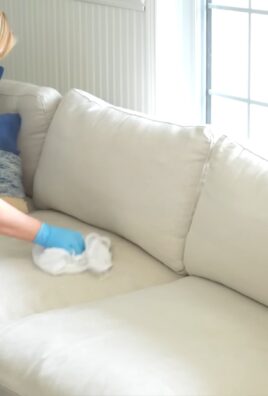
* Vacuum the furniture: Use the upholstery attachment to vacuum sofas, chairs, and other upholstered furniture.
4. Clean windows and mirrors: Spray with glass cleaner and wipe clean with a microfiber cloth.
5. Wipe down surfaces: Use an all-purpose cleaner to wipe down coffee tables, end tables, and other surfaces.
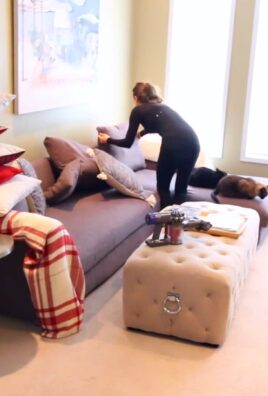
6. Fluff pillows and blankets: Make the living room feel cozy and inviting.
Phase 4: The Bedrooms – Creating a Sanctuary of Clean
The bedroom should be a relaxing and peaceful space, so it’s important to keep it clean and organized.
1. Declutter: Remove any items that don’t belong in the bedroom.
2. Make the bed: A made bed instantly makes the room feel cleaner.
3. Dust:
* Dust all surfaces: Including furniture, shelves, picture frames, and lamps.
* Dust ceiling fans: Use a duster with an extension pole to reach high places.
4. Vacuum:
* Vacuum the carpets and rugs: Pay attention to high-traffic areas.
* Vacuum under the bed: This is often a forgotten area!
5. Clean windows and mirrors: Spray with glass
Conclusion
So, there you have it! Transforming your cleaning routine with this simple, yet incredibly effective DIY trick is more than just a way to save money; it’s about reclaiming your time and creating a healthier, happier home. We’ve shown you how to create a powerful cleaning solution using ingredients you likely already have in your pantry, bypassing harsh chemicals and expensive store-bought alternatives.
This isn’t just about cleaning; it’s about conscious living. By understanding what goes into your cleaning products, you’re making a proactive choice for your family’s well-being and the environment. The reduced exposure to synthetic fragrances and potentially harmful chemicals is a significant benefit, especially for those with sensitivities or allergies.
But the advantages don’t stop there. Think about the sheer convenience! No more last-minute trips to the store when you run out of cleaner. No more struggling to decipher confusing ingredient lists. With this DIY solution, you’re in complete control.
Why is this DIY cleaning trick a must-try? Because it’s economical, eco-friendly, effective, and empowering. It simplifies your life while contributing to a healthier planet. It’s a win-win situation!
Now, let’s talk about variations. Feel free to experiment with different essential oils to customize the scent and add extra cleaning power. Lavender, tea tree, lemon, and eucalyptus are all excellent choices, each offering unique antibacterial and antiviral properties. For tougher stains, consider adding a bit of borax or washing soda to the mix. Remember to always test any new solution on an inconspicuous area first to ensure it doesn’t damage the surface.
Another variation involves the application method. While we’ve focused on a spray bottle, you can easily adapt this solution for use in a bucket for mopping floors or in a sponge for scrubbing surfaces. The possibilities are endless!
We are confident that once you experience the ease and effectiveness of this DIY cleaning solution, you’ll never go back to store-bought cleaners. It’s a game-changer for anyone looking to simplify their life and create a healthier home.
Don’t just take our word for it, though. We encourage you to try this easy cleaning routine for yourself and see the difference it makes. We’re eager to hear about your experiences, your variations, and your successes. Share your thoughts and tips in the comments below! Let’s build a community of conscious cleaners, sharing our knowledge and empowering each other to create healthier, happier homes.
Frequently Asked Questions (FAQ)
Q: What exactly are the benefits of using a DIY cleaning solution compared to store-bought cleaners?
A: The benefits are numerous! DIY cleaning solutions are generally more economical, as you’re using inexpensive ingredients you likely already have. They’re also much more environmentally friendly, reducing plastic waste from bottles and minimizing the release of harmful chemicals into the environment. Furthermore, you have complete control over the ingredients, avoiding harsh chemicals, synthetic fragrances, and potential allergens found in many commercial cleaners. This is especially beneficial for individuals with sensitivities, allergies, or young children. Finally, DIY cleaning can be just as effective, if not more so, than store-bought options, depending on the ingredients you choose.
Q: What are some essential oils that are good for cleaning, and what are their specific benefits?
A: Several essential oils possess excellent cleaning properties. Lavender is known for its antibacterial and antifungal properties, as well as its calming scent. Tea tree oil is a powerful antiseptic and antiviral agent, making it ideal for disinfecting surfaces. Lemon oil is a natural degreaser and disinfectant, leaving a fresh, citrusy scent. Eucalyptus oil is effective against bacteria and viruses, and its invigorating aroma can help clear congestion. Peppermint oil can also be used for its antibacterial properties and refreshing scent. When using essential oils, always dilute them properly and test on an inconspicuous area first.
Q: Can I use this DIY cleaning solution on all surfaces in my home?
A: While this DIY cleaning solution is generally safe for most surfaces, it’s always best to test it on an inconspicuous area first, especially on delicate surfaces like wood or marble. Avoid using vinegar-based solutions on natural stone, as it can etch the surface. For wood surfaces, use a diluted solution and wipe dry immediately. Always read the manufacturer’s instructions for specific cleaning recommendations for your surfaces.
Q: How long does this DIY cleaning solution last?
A: The shelf life of your DIY cleaning solution depends on the ingredients you use. Solutions containing water are more prone to bacterial growth, so it’s best to use them within a few weeks. Adding a preservative like grapefruit seed extract can help extend the shelf life. Solutions made with vinegar or alcohol tend to last longer due to their natural antibacterial properties. Always store your DIY cleaning solution in a clean, airtight container in a cool, dark place. If you notice any changes in color, odor, or consistency, discard the solution.
Q: What if I don’t have all the ingredients listed in the recipe? Can I substitute anything?
A: Depending on the ingredient, substitutions may be possible. For example, if you don’t have white vinegar, you can use apple cider vinegar, although it may have a slightly different scent. If you don’t have a specific essential oil, you can substitute it with another essential oil that has similar cleaning properties. However, avoid substituting key ingredients like baking soda or washing soda, as they play a crucial role in the cleaning process.
Q: How do I properly dilute essential oils for cleaning?
A: Essential oils are highly concentrated and should always be diluted before use. A general guideline is to use 10-15 drops of essential oil per cup of water or other carrier liquid. You can adjust the concentration based on your preference and the specific essential oil you’re using. Always test the diluted solution on an inconspicuous area first to ensure it doesn’t damage the surface.
Q: Is this DIY cleaning solution safe to use around pets and children?
A: While DIY cleaning solutions are generally safer than commercial cleaners, it’s still important to exercise caution when using them around pets and children. Keep the solution out of reach of children and pets. Avoid spraying directly on pets or in areas where they frequently spend time. If you’re using essential oils, research their safety for pets, as some essential oils can be toxic to animals. Always ventilate the area well after cleaning.
Q: Can I use this DIY cleaning solution to clean my toilet?
A: Yes, this DIY cleaning solution can be used to clean your toilet. You can spray it directly into the bowl and scrub with a toilet brush. For extra cleaning power, you can add a bit of baking soda to the bowl before spraying the solution. Let it sit for a few minutes before scrubbing and flushing.
Q: What are some common mistakes to avoid when making DIY cleaning solutions?
A: Some common mistakes include using too much essential oil, which can be irritating or even toxic. Another mistake is mixing incompatible ingredients, such as vinegar and bleach, which can create harmful fumes. Always follow the recipe carefully and research the properties of each ingredient before using it. Finally, avoid storing DIY cleaning solutions in unlabeled containers, as this can lead to accidental ingestion or misuse.
Q: How can I make my DIY cleaning routine even more sustainable?
A: There are several ways to make your DIY cleaning routine even more sustainable. Use reusable spray bottles and containers instead of disposable ones. Compost food scraps and other organic waste to reduce landfill waste. Choose eco-friendly sponges and cloths made from natural materials. Consider using a refillable soap dispenser for hand soap and dish soap. By making small changes to your cleaning habits, you can significantly reduce your environmental impact.
Leave a Comment