

Grow angled luffa at home and unlock a world of natural sponges right in your backyard! Forget those synthetic scrubbers – imagine harvesting your own eco-friendly, exfoliating wonders. Have you ever wondered how those amazing luffa sponges are made? Well, the secret lies in this fascinating gourd, and I’m here to show you how surprisingly easy it is to cultivate your own.
The luffa, also known as the sponge gourd, has a rich history, particularly in Asian cultures where it’s been used for centuries not only as a cleaning tool but also as a food source when young. From traditional medicine to culinary delights, the luffa has proven its versatility. But its most popular use, of course, is as a natural sponge.
In today’s world, where sustainability is more important than ever, learning to grow angled luffa at home is a fantastic way to reduce your reliance on plastic and embrace a more eco-conscious lifestyle. Plus, it’s incredibly rewarding to nurture a plant from seed to sponge! This DIY guide will provide you with simple, step-by-step instructions and helpful tips to ensure a bountiful harvest. So, let’s get our hands dirty and embark on this exciting gardening adventure together!

Grow Angled Luffa at Home: A Comprehensive DIY Guide
Hey there, fellow gardening enthusiasts! Ever dreamt of growing your own natural sponges? Well, angled luffa, also known as Chinese okra or ridged gourd, is your answer! It’s not only a fun and rewarding gardening project, but you’ll also end up with a sustainable and eco-friendly alternative to synthetic sponges. I’m going to walk you through the entire process, from seed to sponge, so you can enjoy the satisfaction of harvesting your own luffa.
What You’ll Need
Before we dive in, let’s gather all the necessary materials. Having everything ready beforehand will make the process much smoother.
* **Angled Luffa Seeds:** You can find these online or at your local garden center. Make sure they are from a reputable source to ensure good germination rates.
* **Seed Starting Trays or Pots:** These will be used to start the seeds indoors.
* **Seed Starting Mix:** A light and well-draining mix is crucial for successful germination.
* **Larger Pots (Optional):** If you’re starting indoors and plan to transplant, you’ll need larger pots for the seedlings to grow in before moving them outside.
* **Well-Draining Soil:** Luffa plants need rich, well-draining soil to thrive. Amend your garden soil with compost or aged manure.
* **Trellis or Support Structure:** Luffa vines are vigorous climbers, so they need a strong trellis or fence to support their weight.
* **Fertilizer:** A balanced fertilizer will help your luffa plants grow strong and produce plenty of gourds.
* **Watering Can or Hose:** For regular watering.
* **Gloves:** To protect your hands.
* **Pruning Shears or Scissors:** For pruning the vines.
* **Sharp Knife or Saw:** For harvesting the mature luffa.
* **Bucket or Tub:** For soaking the luffa gourds.
* **Sunlight:** Luffa needs at least 6-8 hours of direct sunlight daily.
Phase 1: Starting Your Luffa Seeds
Luffa has a long growing season, so starting the seeds indoors is highly recommended, especially if you live in a cooler climate. This gives them a head start and ensures they have enough time to mature before the first frost.
1. **Soak the Seeds:** To improve germination, soak the luffa seeds in warm water for 24-48 hours. This helps soften the hard outer shell and encourages sprouting. I usually put them in a small bowl and change the water once a day.
2. **Prepare the Seed Starting Trays:** Fill your seed starting trays or pots with seed starting mix. Moisten the mix thoroughly, but don’t let it become waterlogged.
3. **Sow the Seeds:** Plant the seeds about 1 inch deep in the soil. Place one or two seeds per cell or pot.
4. **Provide Warmth:** Luffa seeds need warmth to germinate. The ideal temperature is between 70-80°F (21-27°C). You can use a heat mat or place the trays in a warm location.
5. **Maintain Moisture:** Keep the soil consistently moist, but not soggy. You can cover the trays with a plastic dome or plastic wrap to help retain moisture.
6. **Wait for Germination:** Germination usually takes 7-14 days. Once the seedlings emerge, remove the plastic cover and provide them with plenty of light.
Phase 2: Transplanting Your Luffa Seedlings
Once your seedlings have developed a few sets of true leaves, they’re ready to be transplanted into larger pots or directly into the garden.
1. **Harden Off the Seedlings:** Before transplanting outdoors, you need to harden off the seedlings. This process gradually acclimates them to the outdoor environment. Start by placing the seedlings outside for a few hours each day, gradually increasing the amount of time they spend outdoors over a week or two. Protect them from direct sunlight and strong winds during this process.
2. **Prepare the Garden Bed:** Choose a sunny location with well-draining soil. Amend the soil with compost or aged manure to improve its fertility. Luffa plants need plenty of space to grow, so space them about 2-3 feet apart.
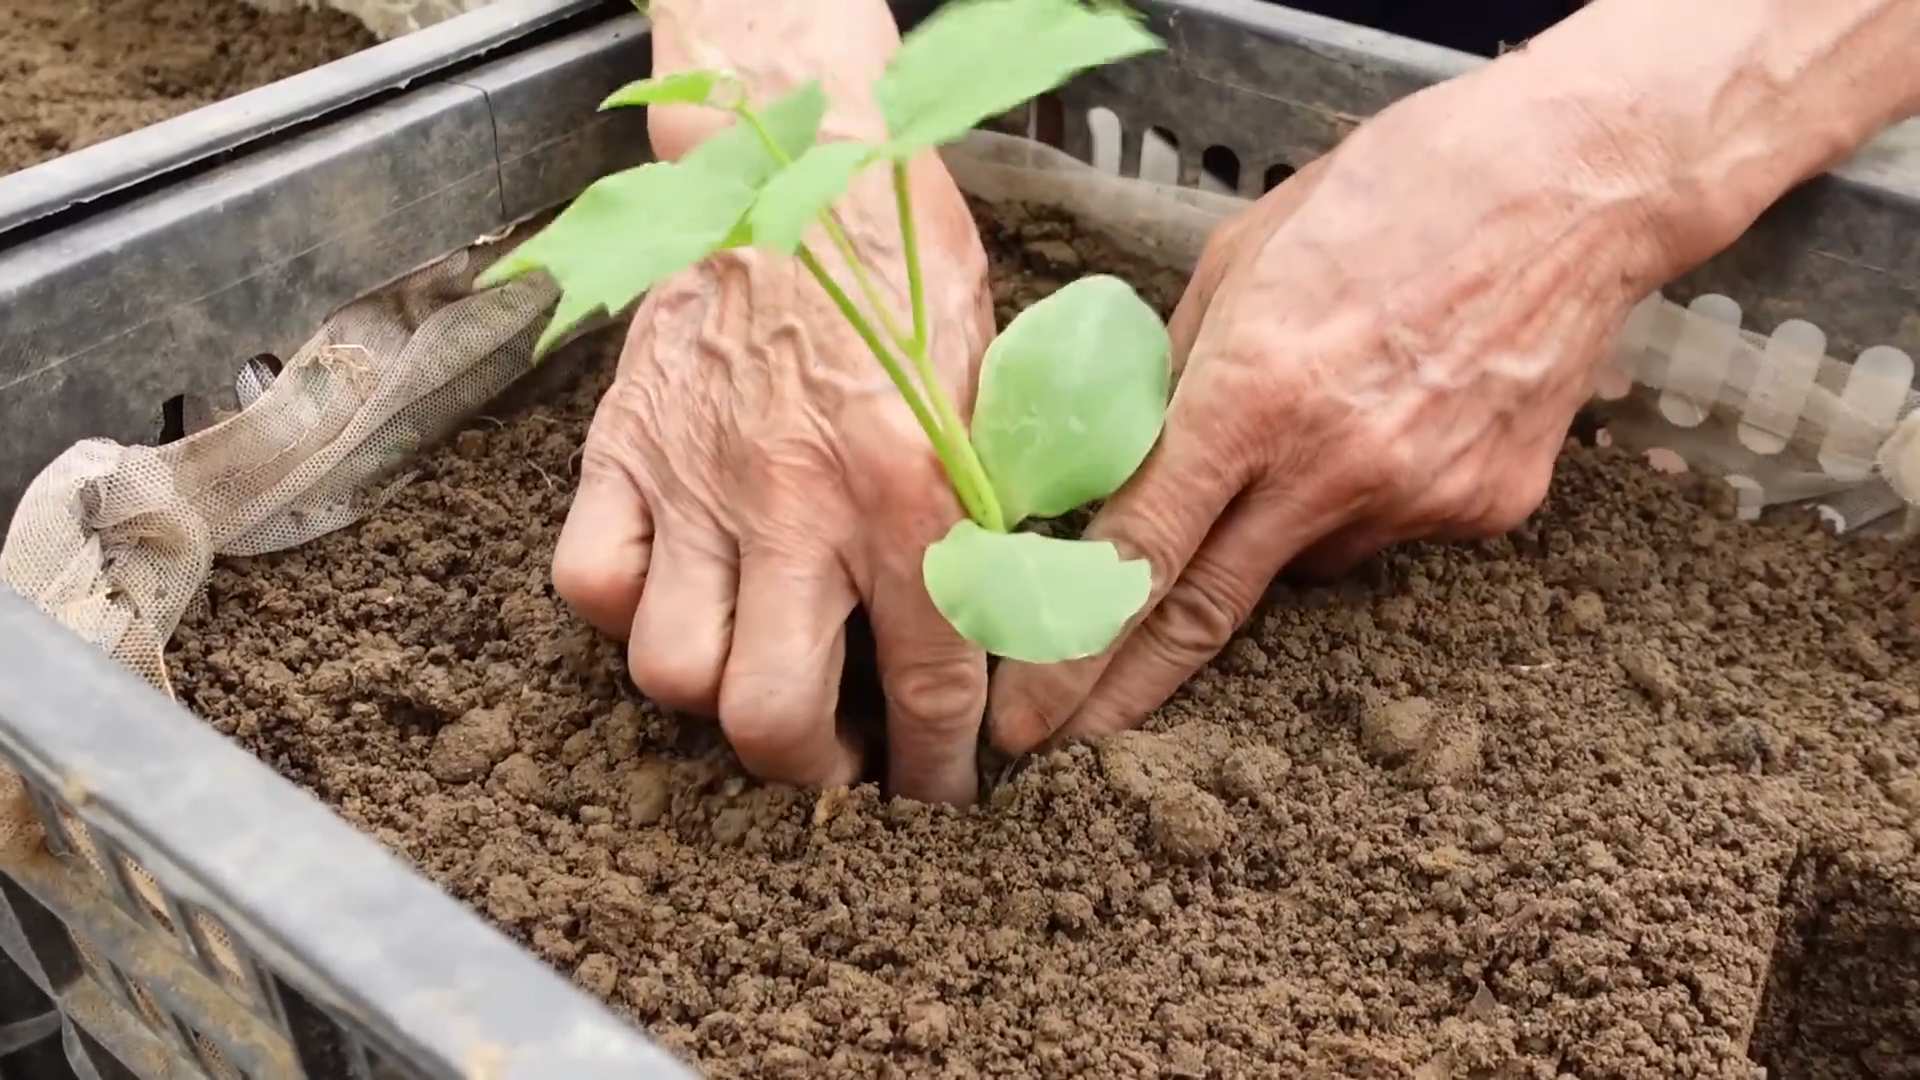
3. **Transplant the Seedlings:** Carefully remove the seedlings from their pots, being careful not to damage the roots. Plant them at the same depth they were growing in the pots.
4. **Water Thoroughly:** After transplanting, water the seedlings thoroughly to help them establish their roots.
5. **Provide Support:** Install a strong trellis or fence near the plants. Luffa vines can grow up to 30 feet long, so they need a sturdy support structure to climb on.
Phase 3: Caring for Your Luffa Plants
Now that your luffa plants are in the ground, it’s time to provide them with the care they need to thrive.
1. **Watering:** Luffa plants need consistent watering, especially during hot and dry weather. Water deeply and regularly, ensuring the soil stays moist but not waterlogged.
2. **Fertilizing:** Feed your luffa plants with a balanced fertilizer every 2-3 weeks. This will help them grow strong and produce plenty of gourds. You can also use organic fertilizers like compost tea or fish emulsion.
3. **Pruning:** Pruning can help improve air circulation and encourage fruit production. Remove any dead or yellowing leaves. You can also prune the vines to control their growth and prevent them from becoming too unruly.
4. **Pest and Disease Control:** Luffa plants are generally resistant to pests and diseases, but they can be susceptible to problems like squash bugs, aphids, and powdery mildew. Inspect your plants regularly and take action if you notice any signs of infestation or disease. You can use organic pest control methods like insecticidal soap or neem oil.
5. **Pollination:** Luffa plants have separate male and female flowers. The female flowers need to be pollinated in order to produce gourds. If you don’t see any gourds developing, you may need to hand-pollinate the flowers. To do this, use a small paintbrush to transfer pollen from the male flowers to the female flowers.
Phase 4: Harvesting and Processing Your Luffa
The moment you’ve been waiting for! Harvesting and processing your luffa is the most rewarding part of the process.
1. **Harvesting:** Luffa gourds are ready to harvest when they are fully mature and the skin has turned brown and dry. The gourds should feel light and hollow. It usually takes around 90-120 days from planting to harvest.
2. **Cutting the Gourds:** Use a sharp knife or saw to cut the gourds from the vine. Leave a few inches of stem attached to the gourd.
3. **Soaking the Gourds:** Soak the harvested gourds in a bucket or tub of water for several days. This will help loosen the skin and make it easier to remove.
4. **Removing the Skin:** After soaking, the skin should be easy to peel off. You can use your hands or a scrub brush to remove the skin. Be careful not to damage the sponge inside.
5. **Removing the Seeds:** Once the skin is removed, shake out the seeds. You can save these seeds for planting next year.
6. **Washing the Sponge:** Rinse the luffa sponge thoroughly with water to remove any remaining debris.
7. **Drying the Sponge:** Hang the luffa sponge in a well-ventilated area to dry completely. This may take several days.
8. **Bleaching (Optional):** If you want to bleach your luffa sponge, you can soak it in a diluted bleach solution for a few minutes. Rinse it thoroughly with water and allow it to dry completely. I personally prefer to skip this step and keep mine natural.
9. **Cutting and Shaping:** Once the sponge is dry, you can cut it into smaller pieces and shape it to your liking.
Tips for Success
* Choose the Right Variety: There are different varieties of luffa, so choose one that is well-suited to your climate.
* Provide Plenty of Sunlight: Luffa plants need at least 6-8 hours of direct sunlight per day.
* Water Regularly: Luffa plants need consistent watering, especially during hot and dry weather.
* Fertilize Regularly: Feed your luffa plants with a balanced fertilizer every 2-3 weeks.
* Provide Strong Support: Luffa vines are vigorous climbers, so they need a strong trellis or fence to support their weight.
* Be Patient: Luffa plants take a long time to mature, so be patient and don’t give up!
Troubleshooting
* Poor Germination: If your luffa seeds are not germinating, make sure they are getting enough warmth and moisture. You can also try scarifying the seeds
Conclusion
So, there you have it! Growing angled luffa at home, especially with our angled approach, is more than just a gardening project; it’s an investment in sustainable living, a creative outlet, and a source of natural, exfoliating goodness right at your fingertips. Forget those mass-produced, often chemically treated sponges from the store. Imagine the satisfaction of harvesting your own, knowing exactly where it came from and how it was grown.
This isn’t just about saving money, although that’s certainly a perk. It’s about connecting with nature, understanding the life cycle of a plant, and appreciating the simple pleasures of homegrown products. The angled luffa, with its unique ridges and texture, offers a superior exfoliating experience compared to its straight-edged cousin. It’s perfect for scrubbing away dead skin cells, promoting circulation, and leaving your skin feeling refreshed and revitalized.
But the benefits don’t stop there. Think about the possibilities! You can gift your homegrown luffa sponges to friends and family, sharing the joy of natural skincare. You can experiment with different growing techniques, such as vertical gardening or hydroponics, to maximize your yield. You can even use the luffa fibers for other creative projects, like crafting natural scrub pads for your kitchen or creating unique bath accessories.
Variations and Suggestions:
* Seed Starting: For a head start, consider starting your luffa seeds indoors 6-8 weeks before the last expected frost. This will give your plants a longer growing season and increase your chances of a successful harvest.
* Support Structures: Experiment with different types of trellises or supports to find what works best for your growing space. A sturdy structure is essential for supporting the heavy luffa gourds as they mature.
* Soil Amendments: Enrich your soil with compost, aged manure, or other organic matter to provide your luffa plants with the nutrients they need to thrive.
* Watering Techniques: Water deeply and regularly, especially during hot, dry weather. Consider using a soaker hose or drip irrigation system to conserve water and prevent fungal diseases.
* Harvesting Time: Pay close attention to the color and texture of your luffa gourds as they mature. Harvest them when they are fully ripe and the skin has turned brown and dry.
* Seed Saving: Save seeds from your best-performing luffa plants to ensure a continuous supply for future growing seasons.
* Companion Planting: Plant luffa alongside beneficial companion plants, such as basil, marigolds, or nasturtiums, to deter pests and attract pollinators.
We truly believe that growing angled luffa at home is a rewarding and enriching experience. It’s a chance to connect with nature, learn new skills, and create something truly special. So, grab your seeds, prepare your soil, and get ready to embark on this exciting gardening adventure.
Don’t be afraid to experiment, make mistakes, and learn along the way. Gardening is a journey, not a destination. And remember, the most important ingredient is passion.
We’re confident that you’ll be amazed by the results. And we can’t wait to hear about your experiences! Share your photos, tips, and stories with us in the comments below. Let’s create a community of angled luffa enthusiasts and inspire others to embrace the joys of homegrown skincare. Happy gardening!
Frequently Asked Questions (FAQ)
What exactly is an angled luffa, and how is it different from a regular luffa?
Angled luffa (Luffa acutangula), also known as ridged gourd or Chinese okra, is a variety of luffa characterized by its distinct ridges that run lengthwise along the gourd. Unlike the smooth-skinned luffa (Luffa aegyptiaca), the angled luffa has a more pronounced texture, making it ideal for exfoliating. The ridges provide a slightly more abrasive surface, which many find more effective for removing dead skin cells and stimulating circulation. Both types of luffa can be grown at home and used as natural sponges, but the angled variety offers a unique textural experience.
How long does it take to grow angled luffa from seed to harvest?
The growing season for angled luffa is relatively long, typically requiring 150-200 warm days from seed to harvest. This means that in cooler climates, starting seeds indoors 6-8 weeks before the last expected frost is crucial. Once transplanted outdoors, the plants will need consistent warmth, sunlight, and moisture to thrive. The exact time to harvest will depend on your local climate and growing conditions, but generally, you can expect to harvest your luffa gourds in the late summer or early fall.
What are the ideal growing conditions for angled luffa?
Angled luffa thrives in warm, sunny locations with well-drained soil. It requires at least 6-8 hours of direct sunlight per day. The soil should be rich in organic matter and have a slightly acidic to neutral pH (6.0-7.0). Consistent moisture is essential, especially during hot, dry weather. Providing a sturdy trellis or support structure is crucial, as the vines can grow quite long and the gourds can become heavy. Protection from strong winds is also recommended to prevent damage to the vines and gourds.
How do I know when my angled luffa is ready to harvest?
The best time to harvest angled luffa for use as a sponge is when the gourd is fully mature and the skin has turned brown and dry. The gourd should feel lightweight and the seeds should rattle inside. If you’re growing angled luffa for culinary purposes, you can harvest it when it’s still young and green, similar to zucchini. However, for sponge production, it’s important to wait until the gourd is fully ripe.
What’s the best way to process my harvested angled luffa into a usable sponge?
Processing your harvested angled luffa is a relatively simple process. First, soak the gourd in water for a few days to soften the skin. Then, use your hands or a knife to peel away the outer skin, revealing the fibrous interior. Remove the seeds and rinse the sponge thoroughly to remove any remaining pulp or debris. Finally, allow the sponge to dry completely in a well-ventilated area. Once dry, you can cut it into smaller pieces or use it whole.
Are there any common pests or diseases that affect angled luffa, and how can I prevent them?
Angled luffa can be susceptible to certain pests and diseases, such as squash bugs, vine borers, and powdery mildew. To prevent these problems, practice good garden hygiene, such as removing plant debris and weeds regularly. Companion planting with beneficial herbs and flowers can also help deter pests. Ensure proper air circulation to prevent fungal diseases. If pests or diseases do occur, consider using organic pest control methods, such as insecticidal soap or neem oil.
Can I save seeds from my angled luffa to grow more plants next year?
Yes, saving seeds from your angled luffa is a great way to ensure a continuous supply for future growing seasons. To save seeds, allow a few of your best-performing luffa gourds to fully mature on the vine. Once the gourds are completely dry and the seeds rattle inside, harvest them and extract the seeds. Spread the seeds out on a paper towel to dry completely, then store them in an airtight container in a cool, dark place.
Is growing angled luffa at home truly sustainable?
Absolutely! Growing angled luffa at home is a highly sustainable practice. You’re reducing your reliance on commercially produced sponges, which often contain synthetic materials and contribute to plastic waste. You’re also minimizing your carbon footprint by growing your own products locally. Plus, you can compost the luffa scraps and use them to enrich your soil, creating a closed-loop system. It’s a win-win for you and the environment.
What other uses are there for angled luffa besides using it as a sponge?
Besides being an excellent exfoliating sponge, angled luffa has a variety of other uses. Young, immature luffa gourds can be eaten as a vegetable, similar to zucchini or okra. The fibers can be used to create natural scrub pads for your kitchen or unique bath accessories. The seeds can be roasted and eaten as a snack. And the vines can be used to create natural trellises or supports for other plants.
Where can I find angled luffa seeds to get started?
Angled luffa seeds can be found at many local garden centers, nurseries, and online seed retailers. Look for reputable seed companies that offer high-quality, non-GMO seeds. You can also check with local gardening groups or seed exchanges to see if anyone is sharing seeds from their own plants. Remember to choose a variety that is well-suited to your local climate and growing conditions.
Leave a Comment