

Indoor Veggie Tower: Imagine fresh, homegrown vegetables gracing your kitchen counter, even if you don’t have a sprawling backyard! That’s the magic of an indoor veggie tower, and I’m here to show you how to build your own. For centuries, humans have cultivated food in limited spaces, from ancient rooftop gardens to modern-day apartment balconies. This DIY project taps into that rich history, bringing the joy of gardening indoors.
Why do you need an indoor veggie tower? Well, think about it: access to fresh, organic produce year-round, regardless of the weather. Plus, it’s a fantastic way to reduce your carbon footprint and know exactly where your food comes from. Store-bought vegetables often travel long distances and can be laden with pesticides. With your own indoor veggie tower, you control everything, from the soil to the sunlight.
This isn’t just about growing food; it’s about creating a beautiful, living piece of art in your home. It’s a conversation starter, a stress reliever, and a delicious source of healthy ingredients. So, if you’re ready to ditch the bland supermarket veggies and embrace the vibrant flavors of homegrown goodness, let’s get started! I’ll guide you through each step, making this project fun, easy, and totally rewarding.
Build Your Own Amazing Indoor Veggie Tower!
Hey there, fellow gardening enthusiasts! Are you dreaming of fresh, homegrown veggies all year round, but short on space? Well, I’ve got the perfect solution for you: a DIY indoor veggie tower! This project is surprisingly easy, incredibly rewarding, and will bring a touch of green goodness into your home. I’m going to walk you through every step, so even if you’re a beginner, you can totally nail this. Let’s get started!
What You’ll Need
Before we dive in, let’s gather all the necessary materials. This will save you time and frustration later. Here’s what you’ll need:
* Piping:
* One 6-inch diameter PVC pipe (about 5-6 feet long – adjust to your desired tower height). This will be the main structure.
* One 2-inch diameter PVC pipe (slightly longer than the 6-inch pipe). This will be the irrigation pipe.
* PVC pipe cutter or saw.
* Containers:
* Several plastic pots or containers (various sizes work, but aim for at least 6-inch diameter). The number depends on how many plants you want to grow. I usually use around 10-15.
* Alternatively, you can use plastic cups or even cut-up plastic bottles. Get creative!
* Growing Medium:
* Potting mix suitable for vegetables. I recommend a mix that drains well.
* Perlite or vermiculite (optional, but helps with drainage and aeration).
* Irrigation:
* End cap for the 2-inch PVC pipe.
* Drill with various sized drill bits.
* Water pump (small submersible pump designed for aquariums or small fountains).
* Tubing to connect the pump to the 2-inch PVC pipe.
* Timer for the water pump (optional, but highly recommended).
* Tools & Other Supplies:
* Measuring tape or ruler.
* Marker or pen.
* Safety glasses.
* Gloves (optional, but recommended for handling potting mix).
* Sandpaper (to smooth rough edges).
* Zip ties or strong tape (to secure the irrigation tubing).
* Gravel or small rocks (for drainage at the bottom of the tower).
* Water reservoir (a bucket or container to hold the water for the pump).
* Plants:
* Your favorite veggie seedlings or seeds! I love growing herbs, lettuce, strawberries, and cherry tomatoes in my tower.
Preparing the Main Structure (6-inch PVC Pipe)
This is where we create the openings for our plants to thrive. Take your time and measure carefully!
1. Mark the Planting Holes: Decide how many planting holes you want and how far apart they should be. I usually space them about 6-8 inches apart vertically and stagger them around the pipe for even light distribution. Use your measuring tape and marker to mark the centers of each hole.
2. Cut the Holes: Now, carefully cut out the holes. You can use a drill with a hole saw attachment (the easiest and cleanest method) or a jigsaw. If you’re using a jigsaw, drill a pilot hole first to get the blade started. Make sure to wear safety glasses!
3. Smooth the Edges: Once the holes are cut, use sandpaper to smooth any rough edges. This will prevent damage to your plants’ stems.
Setting Up the Irrigation System (2-inch PVC Pipe)
This is the heart of your veggie tower, ensuring your plants get the water they need.
1. Drill Irrigation Holes: Drill small holes (about 1/8 inch) along the length of the 2-inch PVC pipe. These holes will release water to your plants. Space them about 2-3 inches apart and stagger them around the pipe.
2. Cap the Bottom: Attach the end cap to the bottom of the 2-inch PVC pipe. This will prevent water from leaking out.
3. Position the Irrigation Pipe: Insert the 2-inch PVC pipe into the center of the 6-inch PVC pipe. Make sure it’s centered and extends slightly above the top of the larger pipe.
Assembling the Veggie Tower
Now for the fun part – putting everything together!
1. Add Drainage: Place a layer of gravel or small rocks at the bottom of the 6-inch PVC pipe. This will improve drainage and prevent the potting mix from becoming waterlogged.
2. Add Potting Mix: Gradually fill the 6-inch PVC pipe with potting mix, leaving enough space at each planting hole to accommodate your plants.
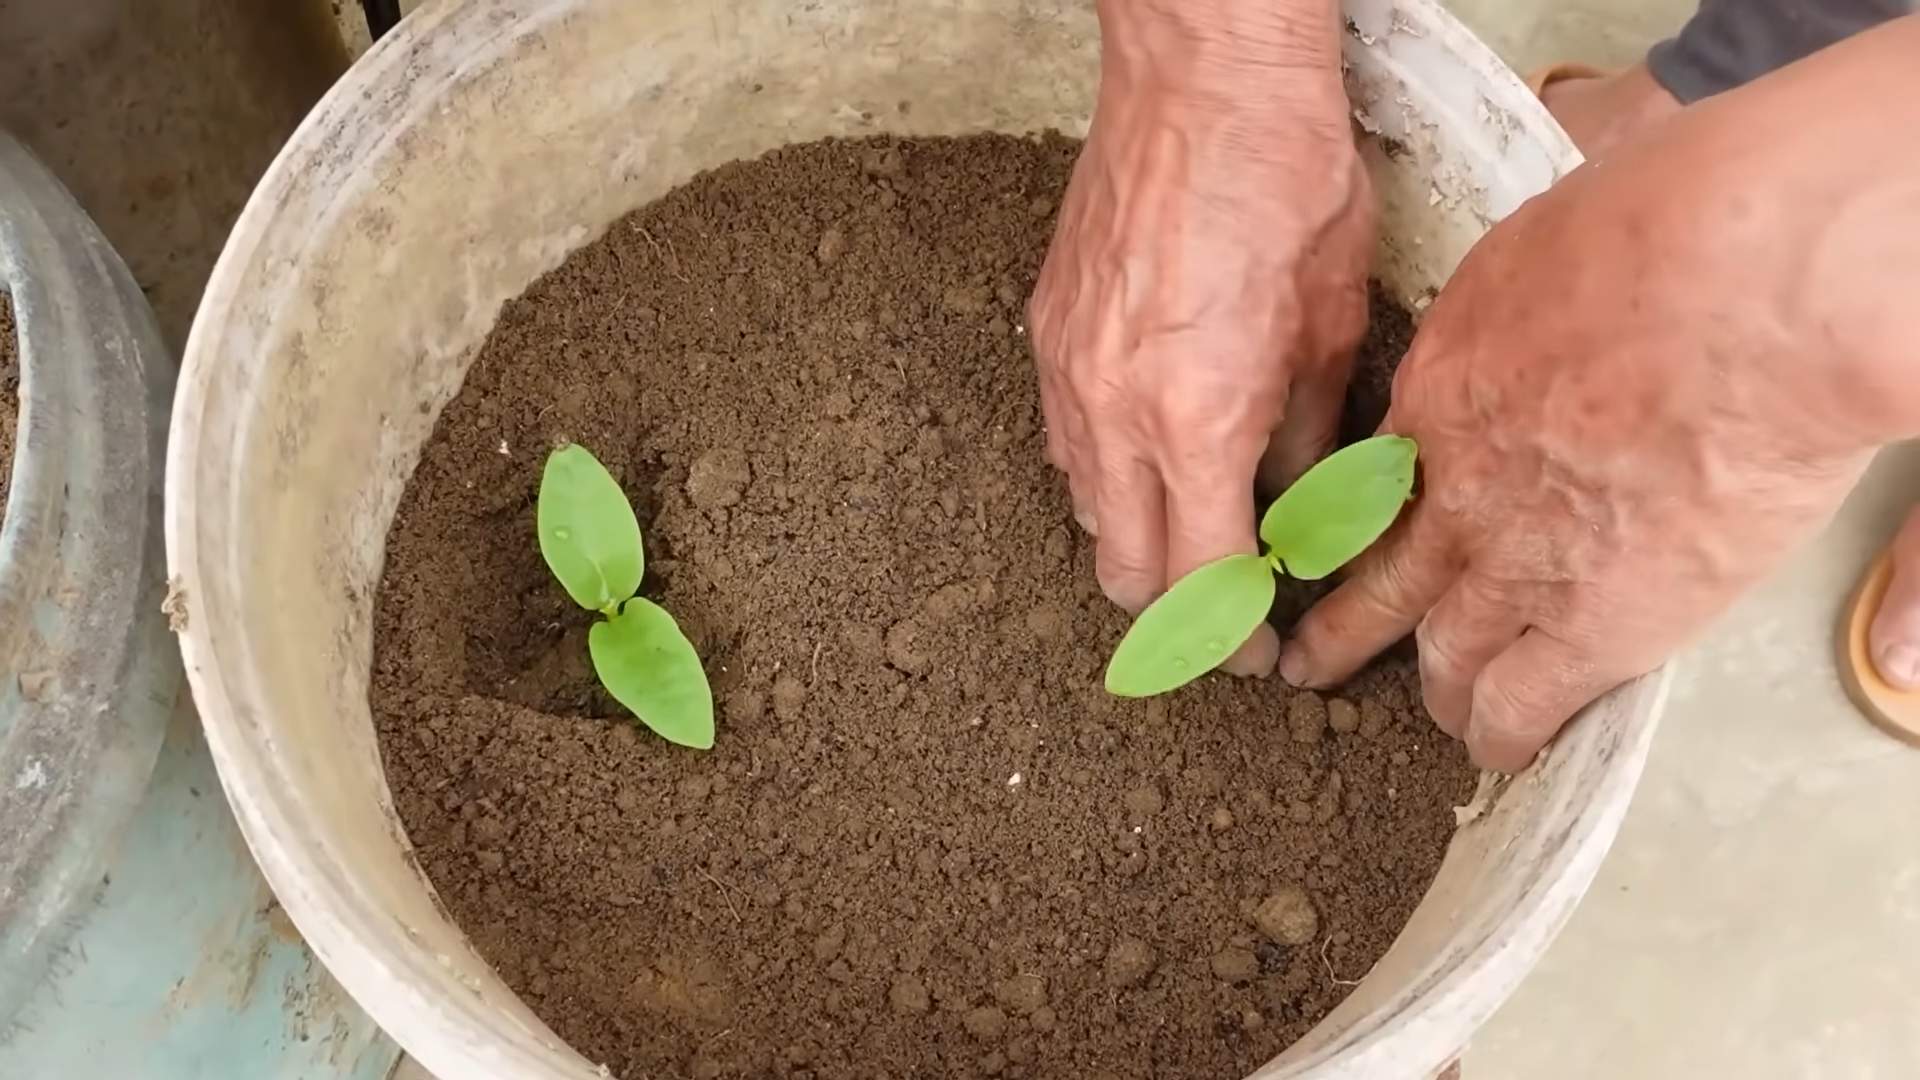
3. Plant Your Veggies: Carefully plant your seedlings or seeds into the planting holes. Gently press the potting mix around the roots to secure them.
4. Secure the Irrigation Tubing: Connect the tubing from your water pump to the top of the 2-inch PVC pipe. Use zip ties or strong tape to secure the tubing and prevent leaks.
5. Place the Water Reservoir: Place your water reservoir (bucket or container) at the base of the tower. Submerge the water pump in the reservoir.
Setting Up the Irrigation System
Getting the watering right is crucial for healthy plants.
1. Test the System: Plug in the water pump and observe how the water is distributed through the irrigation holes. Adjust the pump’s flow rate if necessary. You want a gentle, even flow of water.
2. Set the Timer (Optional): If you’re using a timer, set it to water your plants for a few minutes several times a day. The frequency and duration will depend on the type of plants you’re growing and the environmental conditions. I usually water mine for 5 minutes, 3 times a day.
3. Monitor and Adjust: Keep a close eye on your plants and adjust the watering schedule as needed. If the leaves are wilting, they need more water. If the soil is constantly soggy, reduce the watering frequency.
Choosing the Right Location
Sunlight is key for healthy veggie growth.
1. Find a Sunny Spot: Place your veggie tower in a location that receives at least 6 hours of direct sunlight per day. A south-facing window is ideal.
2. Consider Supplemental Lighting: If you don’t have enough natural light, you can supplement with grow lights. LED grow lights are energy-efficient and provide the right spectrum of light for plant growth.
3. Protect from Wind: If you’re placing your tower outdoors, make sure it’s protected from strong winds, which can damage the plants.
Maintaining Your Veggie Tower
A little TLC goes a long way!
1. Water Regularly: Even with the irrigation system, check the soil moisture regularly and water manually if needed.
2. Fertilize: Feed your plants with a balanced liquid fertilizer every few weeks. Follow the instructions on the fertilizer label.
3. Prune: Prune your plants regularly to encourage bushier growth and remove any dead or yellowing leaves.
4. Pest Control: Keep an eye out for pests and diseases. Treat any problems promptly with organic pest control methods.
5. Rotate Crops: After each harvest, consider rotating your crops to prevent soil depletion and pest buildup.
Troubleshooting Tips
Even the best-laid plans can sometimes go awry. Here are a few common problems and how to fix them:
* Yellowing Leaves: This could be a sign of overwatering, underwatering, nutrient deficiency, or pest infestation. Check the soil moisture, fertilize, and inspect for pests.
* Wilting Leaves: This is usually a sign of underwatering. Water your plants thoroughly and make sure the irrigation system is working properly.
* Slow Growth: This could be due to insufficient sunlight, nutrient deficiency, or poor soil quality. Move your tower to a sunnier location, fertilize, and consider repotting with fresh potting mix.
* Pest Infestation: Treat pests with organic pest control methods, such as insecticidal soap or neem oil.
Planting Suggestions
Not sure what to grow in your veggie tower? Here are a few of my favorites:
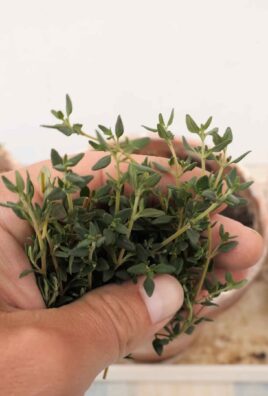
* Herbs: Basil, mint, parsley, oregano, thyme, rosemary
* Lettuce: Romaine, butter lettuce, spinach
* Strawberries: Everbearing varieties are best for continuous harvests.
* Cherry Tomatoes: Bush varieties are ideal for containers.
* Peppers: Small pepper varieties like chili peppers or bell peppers.
* Spinach: Baby spinach grows well in containers.
* Radishes: Quick and easy to grow.
Customization Ideas
Want to make your veggie tower even more unique? Here are a few ideas:
* Paint the PVC
Conclusion
So, there you have it! Creating your own indoor veggie tower isn’t just a fun project; it’s a gateway to fresh, homegrown produce right in your home, regardless of the season or the size of your outdoor space. We’ve walked you through the steps, highlighting the simplicity and adaptability of this fantastic DIY endeavor.
Why is this a must-try? Because it empowers you to take control of your food source, reduces your reliance on store-bought vegetables (often laden with pesticides and transported long distances), and adds a vibrant touch of green to your living space. Imagine stepping into your kitchen and snipping fresh basil for your pasta, plucking ripe cherry tomatoes for your salad, or harvesting crisp lettuce for your sandwiches – all grown with your own hands. The satisfaction is unparalleled!
But the beauty of this project lies in its versatility. Feel free to experiment with different materials. Instead of PVC pipes, consider using recycled plastic bottles or even stacked terracotta pots for a more rustic look. The possibilities are endless!
Think about the types of vegetables you want to grow. While we’ve focused on herbs, lettuce, and strawberries, you can adapt your indoor veggie tower to accommodate other compact vegetables like spinach, kale, radishes, or even dwarf varieties of peppers and eggplants. Just be sure to choose plants that thrive in similar conditions and provide adequate lighting.
Consider adding a small, submersible pump to your reservoir for automated watering. This is especially helpful if you travel frequently or tend to forget to water your plants. You can even connect the pump to a timer for precise watering schedules.
Another variation is to incorporate vertical gardening techniques. Instead of solely relying on the tower structure, you can attach hanging planters or pockets to the sides to maximize your growing space. This is a great way to add visual interest and create a lush, green wall.
Don’t be afraid to get creative with the design. Paint your PVC pipes in vibrant colors, add decorative elements, or even build a custom frame to support your indoor veggie tower. The goal is to create a functional and aesthetically pleasing addition to your home.
We are confident that building your own indoor veggie tower will be a rewarding experience. It’s a project that combines creativity, sustainability, and the joy of growing your own food. It’s also a fantastic way to introduce children to the wonders of gardening and teach them about the importance of healthy eating.
So, what are you waiting for? Gather your materials, follow our guide, and embark on this exciting DIY adventure. We encourage you to try this **indoor veggie tower** project and share your experiences with us. Post photos of your creations on social media using [Your Hashtag Here] and let us know what worked well for you, what challenges you encountered, and any tips you have for fellow gardeners. We can’t wait to see your thriving indoor gardens! Let’s cultivate a community of indoor gardeners and inspire others to embrace the joy of homegrown produce.
Frequently Asked Questions (FAQ)
What kind of lighting is best for my indoor veggie tower?
The amount of light your plants need depends on the specific vegetables you’re growing. Generally, leafy greens like lettuce and spinach require less light than fruiting vegetables like tomatoes and peppers. However, most indoor environments don’t provide enough natural light for optimal growth. Therefore, supplemental lighting is usually necessary.
LED grow lights are an excellent choice for indoor veggie towers. They are energy-efficient, produce minimal heat, and provide the full spectrum of light that plants need to thrive. Look for LED grow lights with a color temperature of around 6500K for vegetative growth (leafy greens) and 2700K for flowering and fruiting (tomatoes, peppers).
You can also use fluorescent grow lights, but they are less energy-efficient than LEDs and may need to be replaced more frequently. Place your grow lights about 6-12 inches above your plants and keep them on for 12-16 hours per day.
How often should I water my indoor veggie tower?
Watering frequency depends on several factors, including the type of plants you’re growing, the size of your tower, the ambient temperature, and the humidity level. As a general rule, check the soil moisture daily. If the top inch of soil feels dry to the touch, it’s time to water.
When watering, make sure to saturate the soil thoroughly, allowing excess water to drain out of the bottom of the tower. Avoid overwatering, as this can lead to root rot. If you’re using a reservoir, monitor the water level and refill it as needed.
Consider using a self-watering system to simplify the watering process. These systems typically consist of a reservoir and a wicking material that draws water up to the plants as needed.
What type of soil should I use for my indoor veggie tower?
The best type of soil for an indoor veggie tower is a well-draining potting mix that is specifically formulated for container gardening. Avoid using garden soil, as it can be too heavy and compact, which can hinder root growth and drainage.
Look for a potting mix that contains a blend of peat moss, perlite, and vermiculite. These ingredients help to retain moisture while providing adequate drainage and aeration. You can also add compost to your potting mix to provide additional nutrients.
Consider using a soilless growing medium like coco coir or rockwool. These materials are lightweight, sterile, and provide excellent drainage. However, they don’t contain any nutrients, so you’ll need to supplement with a liquid fertilizer.
How do I fertilize my indoor veggie tower?
Indoor plants rely on you to provide them with the nutrients they need to grow. Fertilize your indoor veggie tower regularly with a balanced liquid fertilizer. Look for a fertilizer that contains equal amounts of nitrogen, phosphorus, and potassium (NPK).
Follow the instructions on the fertilizer label carefully. Over-fertilizing can damage your plants. It’s generally better to fertilize more frequently with a diluted solution than to fertilize less frequently with a concentrated solution.
You can also use organic fertilizers like compost tea or fish emulsion. These fertilizers are gentle on plants and provide a slow-release source of nutrients.
How do I prevent pests and diseases in my indoor veggie tower?
Prevention is key when it comes to pests and diseases in your indoor veggie tower. Start by using clean potting mix and healthy seedlings. Inspect your plants regularly for signs of pests or diseases.
If you notice any pests, such as aphids, spider mites, or whiteflies, you can try to remove them manually by hand or with a strong spray of water. You can also use insecticidal soap or neem oil to control pests.
To prevent fungal diseases, ensure good air circulation around your plants and avoid overwatering. If you notice any signs of fungal disease, such as powdery mildew or leaf spot, you can treat your plants with a fungicide.
Can I grow my indoor veggie tower outdoors during the summer?
Yes, you can definitely move your indoor veggie tower outdoors during the summer months, provided you take a few precautions. First, gradually acclimate your plants to the outdoor environment by exposing them to increasing amounts of sunlight each day. This will help them to avoid sunburn.
Second, make sure your veggie tower is in a location that receives adequate sunlight but is also protected from strong winds and heavy rain.
Third, monitor the soil moisture closely, as plants tend to dry out more quickly outdoors. You may need to water more frequently.
Finally, be aware that outdoor plants are more susceptible to pests and diseases. Inspect your plants regularly and take appropriate action if you notice any problems.
What are the best vegetables to grow in an indoor veggie tower?
The best vegetables to grow in an indoor veggie tower are those that are compact, fast-growing, and don’t require a lot of space. Some popular choices include:
* Lettuce
* Spinach
* Kale
* Arugula
* Radishes
* Herbs (basil, mint, parsley, chives)
* Strawberries
* Cherry tomatoes
* Peppers (dwarf varieties)
Experiment with different vegetables to see what grows best in your indoor environment. Remember to choose plants that thrive in similar conditions and provide adequate lighting.
Leave a Comment