

Growing radishes without a garden? Absolutely! Who says you need acres of land to enjoy the peppery crunch of freshly harvested radishes? I’m here to tell you that even if you’re living in a tiny apartment with nothing but a sunny windowsill, you can still cultivate these vibrant little root vegetables.
For centuries, radishes have been a staple in gardens worldwide, prized for their quick growth and zesty flavor. From ancient Egypt, where they were a common food, to modern-day salads, radishes have proven their versatility. But what if you don’t have a traditional garden plot? That’s where this DIY guide comes in!
In today’s world, many of us are embracing smaller living spaces and urban lifestyles. But that doesn’t mean we have to give up on the joy of growing our own food. This DIY trick is perfect for anyone who wants to experience the satisfaction of harvesting fresh produce, regardless of their living situation. Plus, growing radishes without a garden is incredibly rewarding and a fantastic way to add a touch of green to your home. I’ll show you how to transform your balcony, patio, or even a sunny corner into a thriving radish patch. Let’s get started!
Growing Radishes Indoors: A Garden-Free Guide
Hey there, fellow gardening enthusiasts! So, you’re itching to grow something, but you don’t have a garden? No problem! Radishes are your answer. These peppery little root veggies are super easy and quick to grow indoors, even if you’re a complete beginner. I’m going to walk you through everything you need to know to have a thriving radish crop right on your windowsill.
What You’ll Need
Before we dive in, let’s gather our supplies. This is a pretty low-cost project, which is always a win!
* Container: A container at least 6 inches deep is ideal. Radishes need room to grow downwards. You can use a plastic container, a terracotta pot, or even a repurposed bucket. Just make sure it has drainage holes!
* Potting Mix: Use a good quality potting mix. Avoid garden soil, as it can be too heavy and compact for radishes. A mix specifically formulated for vegetables is perfect.
* Radish Seeds: Choose a variety that matures quickly. Cherry Belle, French Breakfast, and Easter Egg are all excellent choices for indoor growing.
* Watering Can or Spray Bottle: For gentle watering.
* Grow Lights (Optional but Recommended): If you don’t have a sunny windowsill, grow lights will be your best friend.
* Small Shovel or Trowel: For planting the seeds.
* Fertilizer (Optional): A balanced liquid fertilizer can give your radishes a boost.
Choosing the Right Radish Variety
Not all radishes are created equal, especially when it comes to indoor growing. You want varieties that mature quickly and don’t need a ton of space. Here are my top recommendations:
* Cherry Belle: These are classic, round, red radishes that mature in about 22 days. They’re reliable and easy to grow.
* French Breakfast: These are elongated, red radishes with a white tip. They have a milder flavor and mature in about 25 days.
* Easter Egg: This variety produces radishes in a mix of colors – red, pink, purple, and white. They’re ready in about 28 days and add a fun touch to your harvest.
* Sparkler: Similar to Cherry Belle, but with a slightly milder flavor. They mature in around 24 days.
Step-by-Step Planting Guide
Okay, let’s get our hands dirty! Here’s how to plant your radish seeds:
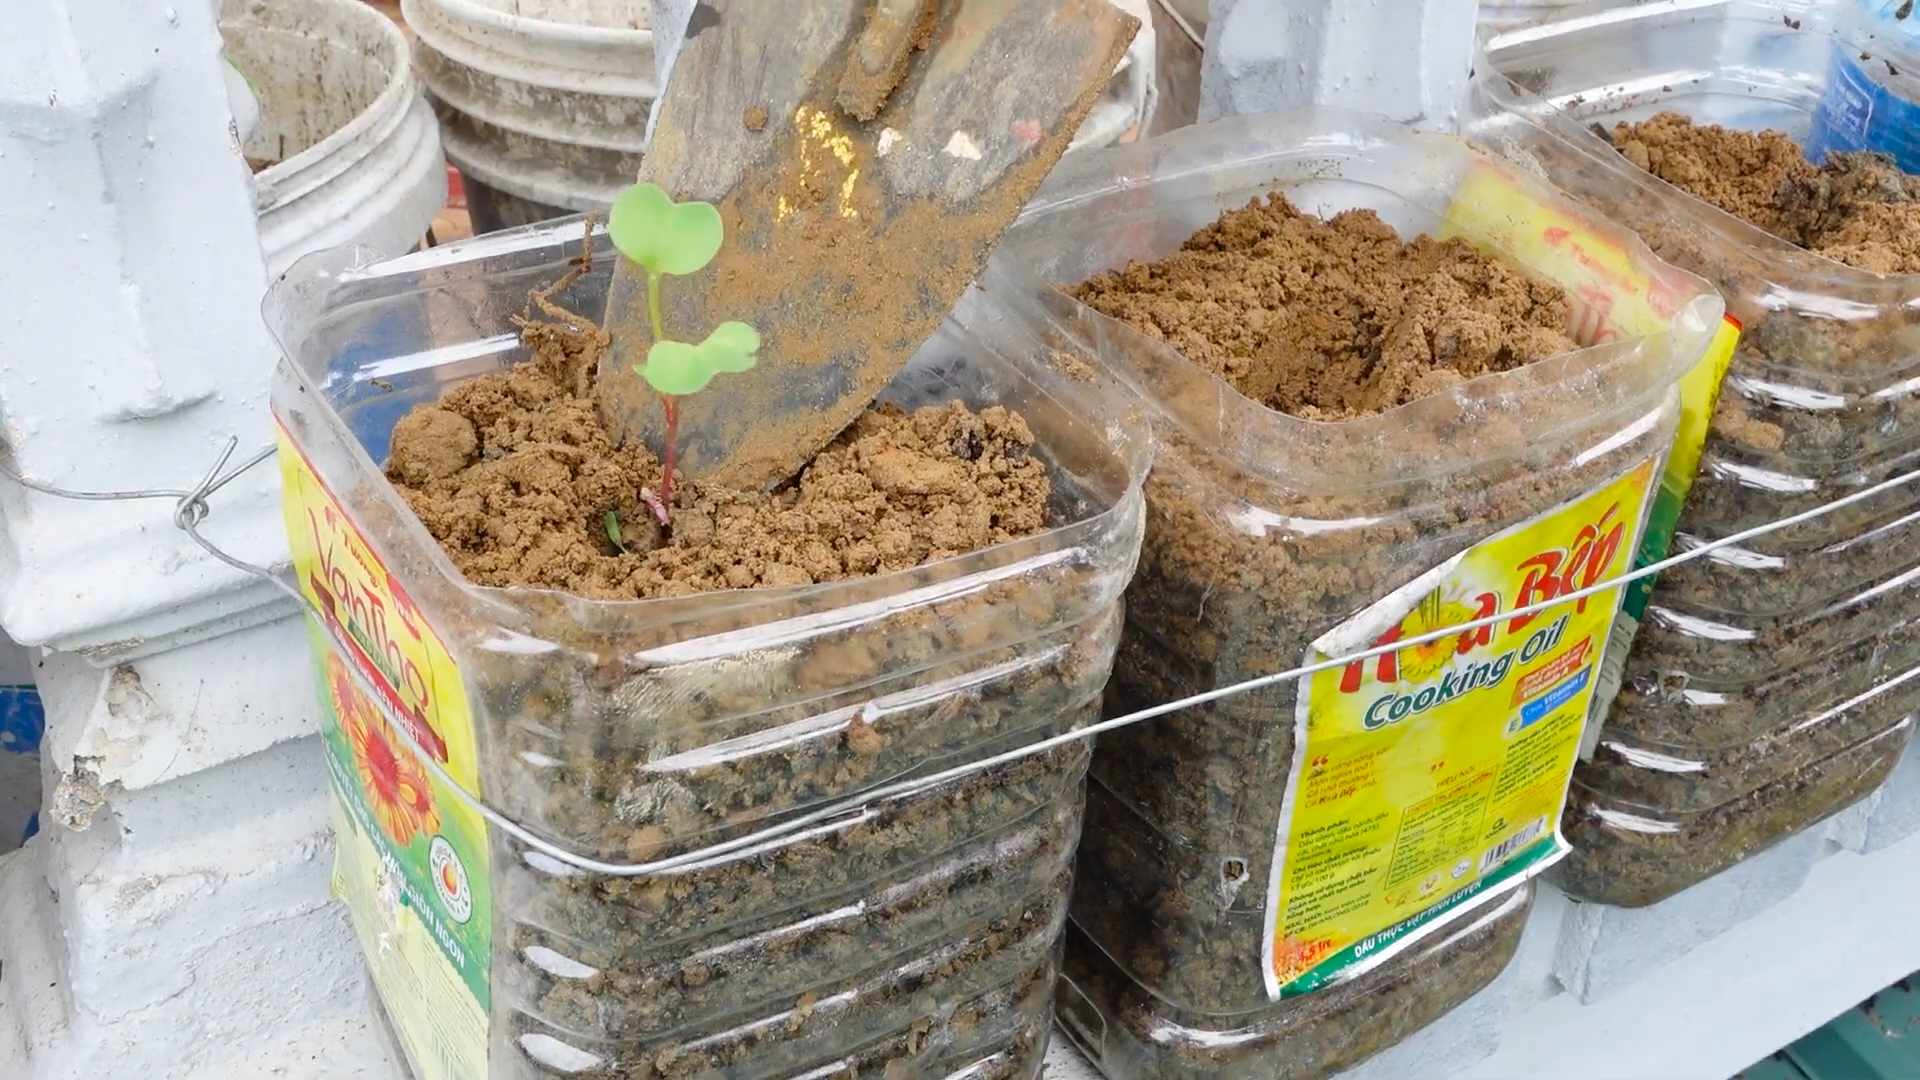
1. Prepare the Container: Fill your container with potting mix, leaving about an inch of space at the top. Gently pat down the soil to remove any large air pockets.
2. Sow the Seeds: Sprinkle the radish seeds evenly over the surface of the soil. Aim for about 1/2 inch spacing between seeds. You can also create shallow rows about 1/2 inch deep and sow the seeds along the rows.
3. Cover the Seeds: Lightly cover the seeds with about 1/4 inch of potting mix.
4. Water Gently: Use a watering can or spray bottle to gently water the soil. You want to moisten the soil without disturbing the seeds.
5. Provide Light: Place the container in a sunny windowsill that receives at least 6 hours of direct sunlight per day. If you don’t have enough sunlight, use grow lights. Position the lights a few inches above the soil surface.
6. Maintain Moisture: Keep the soil consistently moist, but not soggy. Water when the top inch of soil feels dry to the touch.
Caring for Your Radishes
Now that your radishes are planted, it’s time to give them some TLC.
* Watering: Radishes need consistent moisture to grow quickly and develop crisp roots. Water regularly, especially during hot weather. Avoid overwatering, as this can lead to root rot.
* Thinning: Once the seedlings emerge (usually within a few days), you’ll need to thin them out. This means removing some of the seedlings to give the remaining ones enough space to grow. Aim for about 1-2 inches of space between plants. Use small scissors to snip off the unwanted seedlings at the soil level. Don’t pull them out, as this can disturb the roots of the remaining plants.
* Fertilizing (Optional): If you want to give your radishes a boost, you can fertilize them with a balanced liquid fertilizer diluted to half strength. Apply the fertilizer every two weeks, following the instructions on the label.
* Temperature: Radishes prefer cool temperatures, ideally between 50°F and 65°F (10°C and 18°C). Avoid placing them near heat sources, such as radiators.
* Rotation: Rotate the container regularly to ensure that all sides of the plants receive equal sunlight. This will help them grow evenly.
Dealing with Common Problems
Even with the best care, you might encounter a few problems along the way. Here’s how to deal with them:
* Leggy Seedlings: If your seedlings are tall and spindly, it means they’re not getting enough light. Move them to a sunnier location or use grow lights.
* Root Rot: This is caused by overwatering. Make sure your container has good drainage and allow the soil to dry out slightly between waterings.
* Pests: Radishes are generally pest-resistant, but you might occasionally encounter aphids or flea beetles. You can control these pests by spraying the plants with insecticidal soap or neem oil.
* Splitting Roots: This can happen if the soil dries out too much and then is suddenly watered heavily. Maintain consistent moisture to prevent splitting.
Harvesting Your Radishes
The best part! Radishes are ready to harvest when their roots are about 1 inch in diameter. This usually takes about 3-4 weeks, depending on the variety.
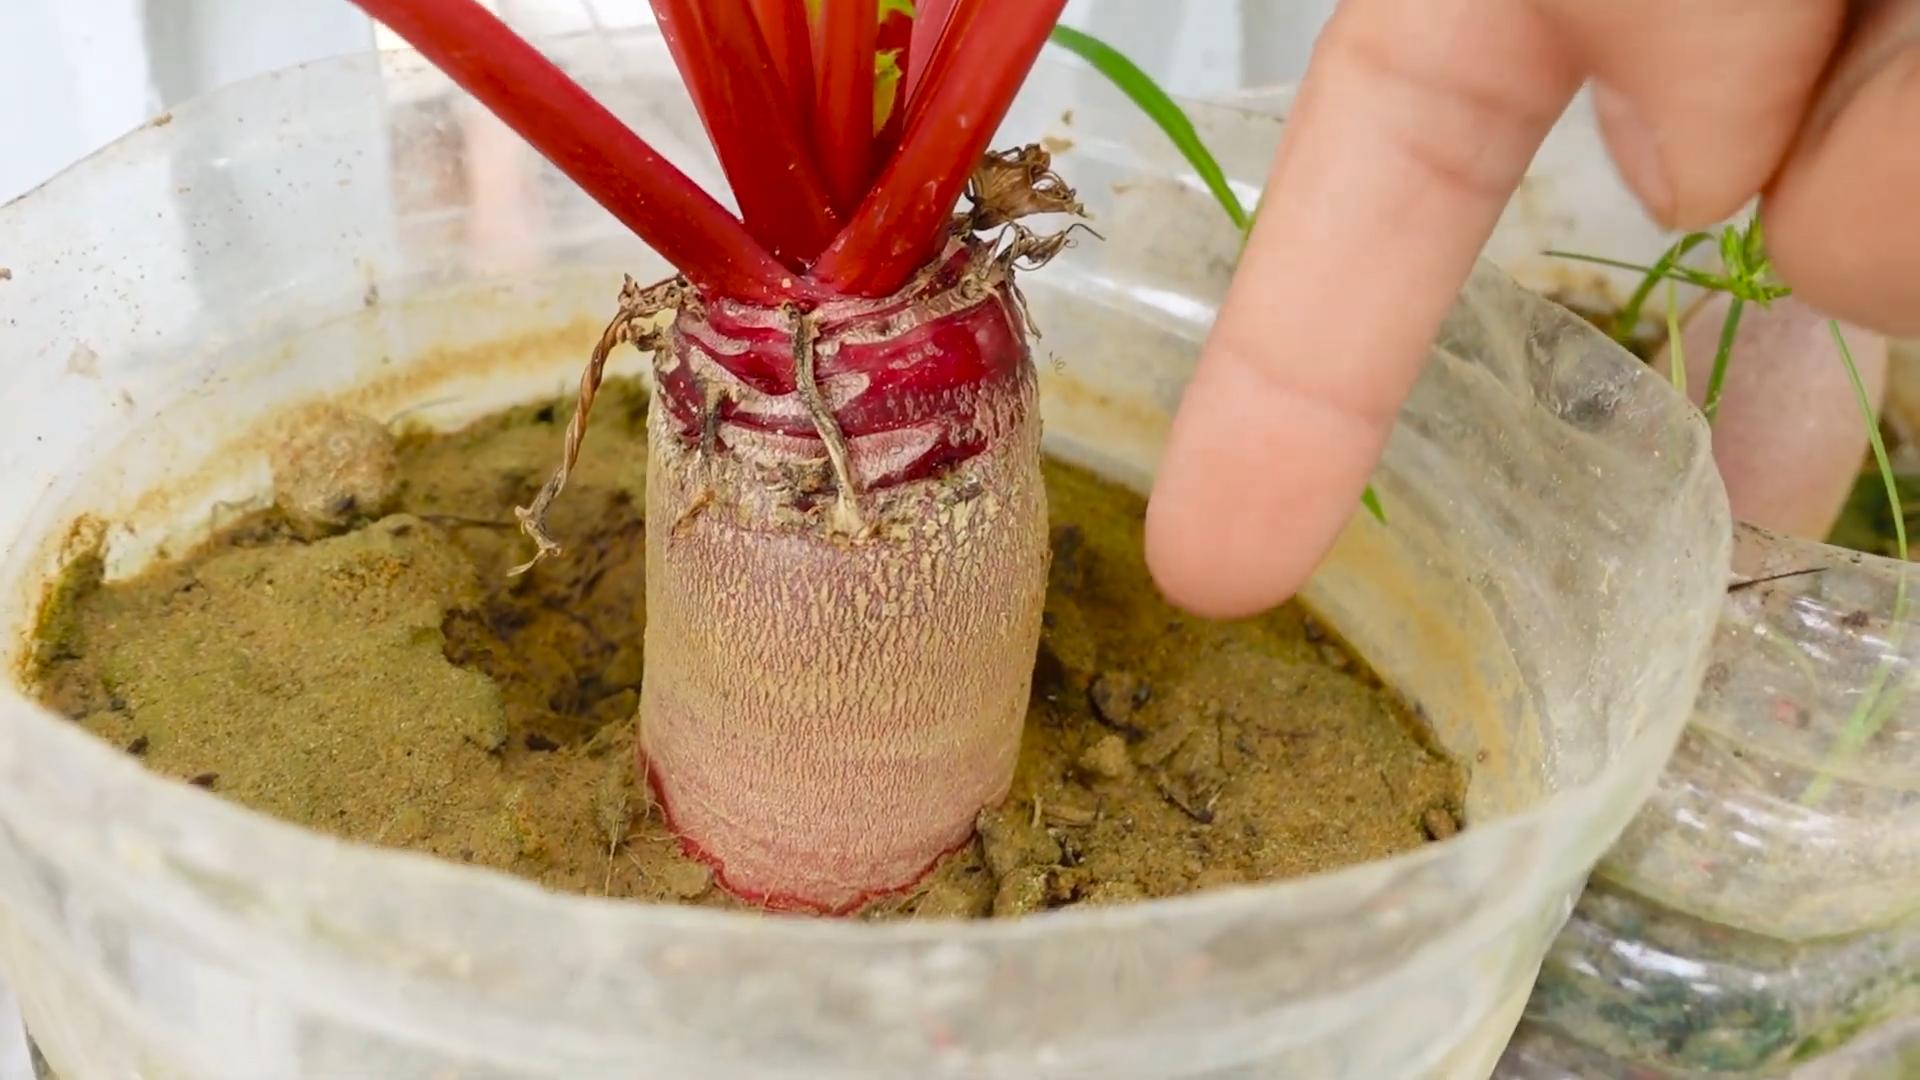
1. Check for Readiness: Gently brush away some of the soil around the base of the plant to check the size of the radish.
2. Harvest Carefully: Grasp the radish leaves near the base and gently pull the radish out of the soil. If it’s difficult to pull, loosen the soil around the radish with a small trowel.
3. Wash and Enjoy: Wash the radishes thoroughly and enjoy them fresh. You can eat them raw in salads, slice them on sandwiches, or roast them for a sweeter flavor.
Extending Your Harvest
Want to keep the radish party going? Here’s how to extend your harvest:
* Succession Planting: Sow a new batch of radish seeds every week or two to have a continuous supply of radishes.
* Cool Storage: Store harvested radishes in the refrigerator in a plastic bag or container. They’ll stay fresh for about a week.
* Radish Greens: Don’t throw away the radish greens! They’re edible and nutritious. You can add them to salads, stir-fries, or soups.
Troubleshooting Tips
* Radishes Not Bulbing: If your radish plants are producing lots of leaves but no bulbs, it could be due to several factors:
* Too much nitrogen: Avoid using fertilizers that are high in nitrogen.
* Overcrowding: Make sure you’ve thinned the seedlings properly.
* Too much heat: Radishes prefer cool temperatures.
* Not enough sunlight: Ensure they are getting adequate light.
* Bitter Radishes: Radishes can become bitter if they are grown in hot weather or if they are not watered consistently. Try to keep the soil cool and moist.
* Small Radishes: Small radishes can be caused by overcrowding, poor soil, or lack of water. Thin the seedlings, amend the soil with compost, and water regularly.
Advanced Techniques (Optional)
If you’re feeling adventurous, here are a few advanced techniques you can try:
* Companion Planting: Plant radishes alongside other vegetables, such as carrots, lettuce, or spinach. Radishes can help deter pests and improve the growth of these other plants.
* Using Compost Tea: Water your radishes with compost tea to provide them with extra nutrients.
* Saving Seeds: If you want to save seeds from your radishes, allow a few plants to bolt (produce flowers). Once the seed pods are dry, harvest them and store the seeds in a cool, dry place.
Final Thoughts
Growing radishes indoors is a fun and rewarding experience. With a little bit of care and attention, you can enjoy fresh, peppery radishes all year round, even without a garden. So, grab some seeds, get planting, and enjoy the fruits (or rather, roots) of your labor! Happy gardening!
Conclusion
So, there you have it! Growing radishes without a garden isn’t just possible; it’s surprisingly simple and incredibly rewarding. We’ve walked you through the process, from selecting the right container and soil to nurturing your tiny radish seedlings into crisp, peppery delights. But why should you bother with this DIY trick? Because it unlocks a world of fresh, homegrown flavor, even if you’re limited to a balcony, patio, or even just a sunny windowsill.
Imagine the satisfaction of snipping fresh radishes to add a vibrant crunch to your salads, tacos, or even just enjoying them sliced with a little butter and salt. This isn’t just about growing food; it’s about connecting with nature, learning a new skill, and enjoying the unparalleled taste of something you’ve nurtured from seed to table. Plus, it’s a fantastic way to introduce children to the wonders of gardening and healthy eating.
But the fun doesn’t stop there! Feel free to experiment with different radish varieties. ‘Cherry Belle’ is a classic for its bright red color and mild flavor, but why not try ‘French Breakfast’ for its elongated shape and slightly sweeter taste, or ‘Watermelon Radish’ for its stunning pink interior? You can also play around with companion planting. Try interspersing your radishes with carrots, lettuce, or spinach to maximize space and potentially deter pests. Consider adding a layer of mulch to help retain moisture and suppress weeds.
And don’t be afraid to get creative with your containers! While we’ve suggested basic pots, you could repurpose old buckets, crates, or even grow bags. Just make sure whatever you choose has adequate drainage. You can even try succession planting, sowing new seeds every couple of weeks, to ensure a continuous harvest throughout the growing season.
The key takeaway is that growing radishes without a garden is an accessible and enjoyable project for anyone, regardless of their gardening experience. It’s a small investment of time and effort that yields a big return in terms of flavor, satisfaction, and a connection to the natural world.
We wholeheartedly encourage you to give this DIY trick a try. You might be surprised at how easy and rewarding it is. And once you’ve harvested your first batch of homegrown radishes, we’d love to hear about your experience! Share your photos, tips, and any variations you’ve tried in the comments below. Let’s build a community of urban radish growers and inspire others to discover the joy of growing their own food, no matter where they live. Happy gardening!
Frequently Asked Questions (FAQ)
What kind of container is best for growing radishes?
The ideal container for growing radishes should be at least 6 inches deep to allow the roots to develop properly. A wider container is preferable to accommodate more plants. You can use plastic pots, terracotta pots, grow bags, or even repurposed containers like buckets or crates. The most important thing is to ensure the container has adequate drainage holes to prevent waterlogging, which can lead to root rot. Consider the material of the container as well. Terracotta pots, for example, tend to dry out faster than plastic pots, so you may need to water more frequently. Ultimately, the best container is one that suits your space, budget, and aesthetic preferences, as long as it meets the basic requirements for depth and drainage.
What type of soil should I use for growing radishes in containers?
Radishes thrive in well-draining, loose soil that is rich in organic matter. A good potting mix specifically formulated for vegetables is an excellent choice. Avoid using garden soil directly in containers, as it tends to compact and doesn’t drain well, which can hinder radish growth. You can also create your own potting mix by combining equal parts of compost, peat moss (or coconut coir), and perlite or vermiculite. Compost provides essential nutrients, peat moss or coconut coir helps retain moisture, and perlite or vermiculite improves drainage and aeration. Before planting, amend the soil with a slow-release fertilizer to provide a steady supply of nutrients throughout the growing season.
How often should I water my container radishes?
Radishes need consistent moisture to grow quickly and develop crisp, flavorful roots. Water your container radishes regularly, especially during hot and dry weather. The frequency of watering will depend on factors such as the type of container, the soil composition, and the weather conditions. A good rule of thumb is to water when the top inch of soil feels dry to the touch. Water deeply until excess water drains out of the drainage holes. Avoid overwatering, as this can lead to root rot. Mulching around the plants can help retain moisture and reduce the need for frequent watering.
How much sunlight do radishes need?
Radishes need at least 6 hours of direct sunlight per day to grow properly. If you don’t have a spot that receives full sun, aim for at least 4 hours of direct sunlight and supplement with artificial light if necessary. Insufficient sunlight can result in leggy plants with small, underdeveloped roots. Place your container radishes in a sunny location, such as a south-facing balcony or patio. If you’re growing them indoors, use grow lights to provide adequate illumination. Rotate the containers regularly to ensure that all sides of the plants receive equal exposure to sunlight.
How long does it take for radishes to mature in containers?
One of the great things about radishes is that they are quick to mature. Most varieties are ready to harvest in just 3 to 4 weeks from planting. The exact time will depend on the variety, the growing conditions, and the weather. Check the seed packet for specific information on the maturity time of the radish variety you’re growing. To harvest, gently pull the radishes from the soil when the roots reach the desired size. Don’t let them get too large, as they can become woody and bitter. Succession planting, sowing new seeds every couple of weeks, will ensure a continuous harvest throughout the growing season.
What are some common pests and diseases that affect radishes, and how can I prevent them?
Radishes are generally relatively pest-free, but they can be susceptible to certain pests and diseases. Common pests include flea beetles, aphids, and root maggots. Flea beetles can chew small holes in the leaves, while aphids can suck the sap from the plants. Root maggots can damage the roots, making them unmarketable. To prevent pest problems, practice good garden hygiene, such as removing weeds and debris that can harbor pests. You can also use row covers to protect the plants from flea beetles and root maggots. If you encounter aphids, you can spray them off with a strong stream of water or use insecticidal soap. Diseases that can affect radishes include damping-off and root rot. Damping-off is a fungal disease that can kill seedlings, while root rot can cause the roots to decay. To prevent these diseases, use well-draining soil, avoid overwatering, and ensure good air circulation.
Can I grow radishes indoors year-round?
Yes, you can grow radishes indoors year-round, provided you can provide them with adequate light and temperature. Radishes prefer cool temperatures, so aim for a temperature range of 60-70°F (15-21°C). Use grow lights to supplement natural light, especially during the winter months. Choose a radish variety that is well-suited for indoor growing, such as ‘Cherry Belle’ or ‘French Breakfast’. Ensure that the container has adequate drainage and use a well-draining potting mix. Water regularly and fertilize as needed. With proper care, you can enjoy fresh, homegrown radishes year-round, regardless of the weather outside.
How do I know when my radishes are ready to harvest?
The best way to determine when your radishes are ready to harvest is to check the seed packet for the expected maturity time. Most radish varieties are ready to harvest in 3 to 4 weeks from planting. You can also gently brush away the soil around the base of the plant to check the size of the root. Radishes are typically harvested when the roots are about 1 inch in diameter, but this can vary depending on the variety. Don’t let the radishes get too large, as they can become woody and bitter. To harvest, gently pull the radishes from the soil. If the soil is dry, you may need to water it first to make it easier to pull the radishes.
Leave a Comment