

Planting Kale Garden Game Changer: Ready to unlock the secrets to a thriving kale patch, even if you think you have a black thumb? I’m here to tell you that growing your own delicious and nutritious kale is easier than you think! For centuries, kale has been a staple in diets around the world, from the hearty stews of Scotland to the vibrant salads of the Mediterranean. Its resilience and nutritional power have made it a beloved crop for generations.
But let’s be honest, sometimes getting those leafy greens to flourish can feel like a battle. That’s where these DIY tricks and hacks come in! I’m going to share some game-changing tips that will transform your kale-growing experience. Forget complicated gardening techniques and expensive equipment. We’re focusing on simple, effective methods that anyone can use, regardless of their experience level.
Why do you need these tricks? Because fresh, homegrown kale tastes infinitely better than anything you’ll find at the grocery store. Plus, you’ll know exactly what’s gone into growing it – no harmful pesticides or mystery ingredients. So, get ready to dive in and discover how planting kale can become a rewarding and delicious part of your life. Let’s get our hands dirty and grow some amazing kale!
Planting Kale: My Game-Changing DIY Guide for a Bountiful Harvest
Hey fellow gardeners! I’m so excited to share my tried-and-true method for planting kale that has completely transformed my garden. Forget struggling with leggy seedlings and disappointing yields. This guide is all about maximizing your kale harvest with a few simple, yet effective, DIY techniques. Get ready to enjoy fresh, delicious kale all season long!
Choosing the Right Kale Variety
Before we even think about planting, let’s talk kale varieties. There are so many to choose from, and the right one for you depends on your taste and climate. Here are a few of my favorites:
- Lacinato (Dinosaur) Kale: This is my go-to. It has a slightly nutty flavor and holds up well in cooking. Plus, it looks super cool in the garden!
- Curly Kale: The classic! It’s a bit tougher than Lacinato, but still delicious, especially when massaged with olive oil.
- Red Russian Kale: This variety has beautiful reddish-purple stems and a milder flavor. It’s also quite cold-hardy.
- Redbor Kale: If you want to add some color to your garden, Redbor is the way to go. Its frilly leaves are a deep purple.
Consider your local climate and growing season when making your choice. Some varieties are more heat-tolerant than others.
Preparing Your Soil: The Foundation for Success
Kale is a heavy feeder, meaning it needs nutrient-rich soil to thrive. Don’t skip this step!
- Soil Testing: Ideally, you should test your soil to determine its pH and nutrient levels. Kale prefers a slightly acidic to neutral pH (6.0-7.5).
- Amending the Soil: Based on your soil test results, amend your soil with compost, well-rotted manure, or other organic matter. This will improve drainage, aeration, and nutrient content. I personally love using a mix of compost and aged chicken manure.
- Raised Beds (Optional): If you have poor soil or drainage issues, consider planting your kale in raised beds. This will give you more control over the soil quality and drainage.
Starting Kale Seeds Indoors (My Secret Weapon!)
This is where the magic happens! Starting your kale seeds indoors gives you a head start on the growing season and allows you to control the growing environment.
Materials You’ll Need:
- Kale seeds (of course!)
- Seed starting trays or small pots
- Seed starting mix (a light, well-draining mix is essential)
- Grow lights (optional, but highly recommended)
- Heat mat (optional, but helpful for germination)
- Spray bottle
Step-by-Step Instructions:
- Sow the Seeds: Fill your seed starting trays or pots with seed starting mix. Moisten the mix thoroughly. Sow 2-3 kale seeds per cell or pot, about ¼ inch deep.
- Provide Warmth and Light: Place the trays or pots on a heat mat (if using) and under grow lights (if using). If you don’t have grow lights, place them in a sunny window.
- Keep the Soil Moist: Use a spray bottle to keep the soil consistently moist, but not soggy.
- Germination: Kale seeds typically germinate in 5-10 days.
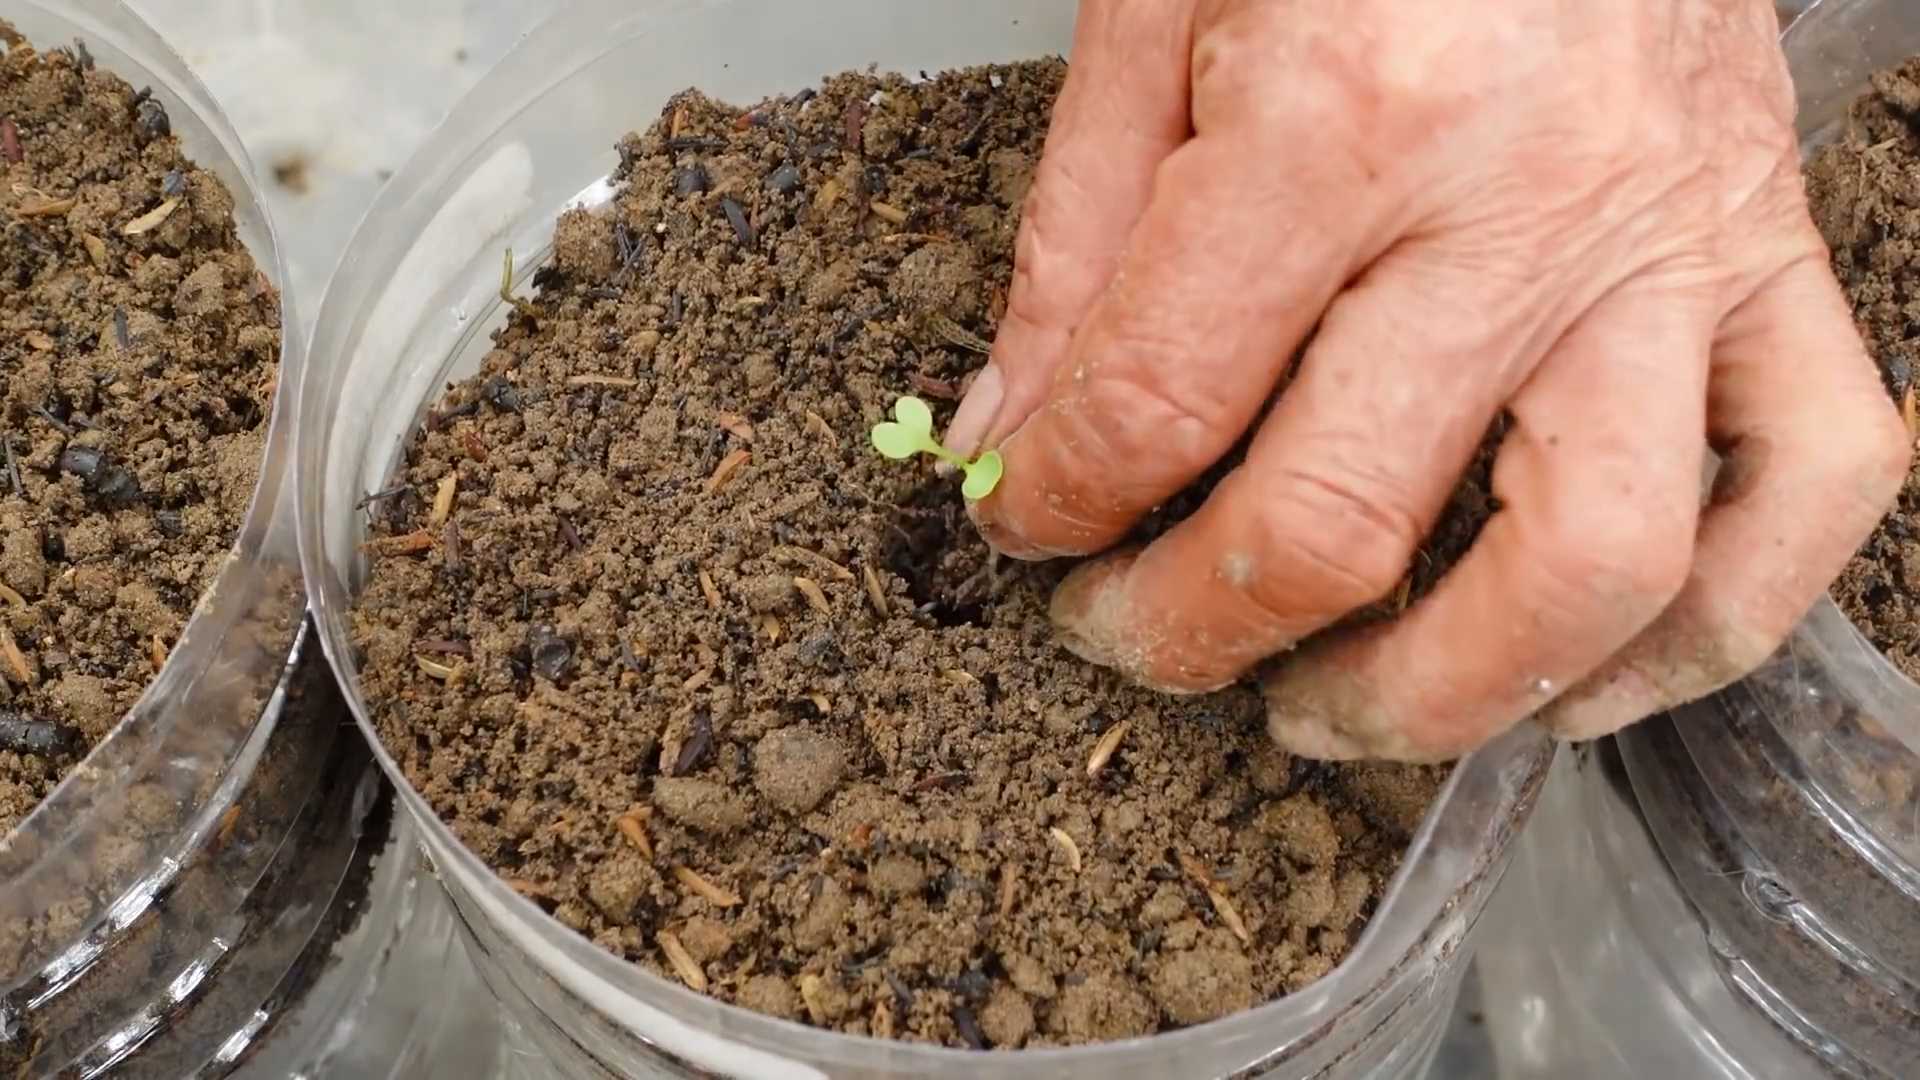
- Thin the Seedlings: Once the seedlings have emerged, thin them to one seedling per cell or pot. Choose the strongest, healthiest-looking seedling.
- Harden Off the Seedlings: Before transplanting the seedlings outdoors, you need to “harden them off.” This means gradually exposing them to outdoor conditions over a period of 7-10 days. Start by placing them outdoors for a few hours each day, gradually increasing the amount of time they spend outside. Protect them from direct sunlight and strong winds.
Transplanting Kale Seedlings Outdoors
Now for the exciting part – getting those kale babies into the garden!
Timing is Key:
Wait until the danger of frost has passed before transplanting your kale seedlings outdoors. Kale can tolerate light frosts, but a hard frost can damage or kill young plants.
Step-by-Step Instructions:
- Prepare the Planting Area: Dig holes in your prepared garden bed, spacing them about 12-18 inches apart.
- Remove Seedlings from Trays: Gently remove the kale seedlings from their trays or pots. Be careful not to damage the roots.
- Plant the Seedlings: Place each seedling in a hole and backfill with soil. Gently firm the soil around the base of the plant.
- Water Thoroughly: Water the newly transplanted seedlings thoroughly.
- Mulch (Optional): Apply a layer of mulch around the plants to help retain moisture and suppress weeds. I like to use straw or shredded leaves.
Direct Sowing Kale Seeds (Another Option)
If you prefer, you can also direct sow kale seeds directly into the garden. This works best in areas with a long growing season.
Step-by-Step Instructions:
- Prepare the Soil: Prepare the soil as described above.
- Sow the Seeds: Sow the kale seeds about ½ inch deep and 1-2 inches apart in rows.
- Water Thoroughly: Water the area thoroughly.
- Thin the Seedlings: Once the seedlings have emerged, thin them to 12-18 inches apart.
Caring for Your Kale Plants: Keeping Them Happy and Healthy
Once your kale plants are in the ground, it’s important to provide them with proper care to ensure a bountiful harvest.
- Watering: Kale needs consistent moisture, especially during hot, dry weather. Water deeply whenever the soil feels dry to the touch.
- Fertilizing: Fertilize your kale plants every few weeks with a balanced organic fertilizer. I like to use fish emulsion or compost tea.
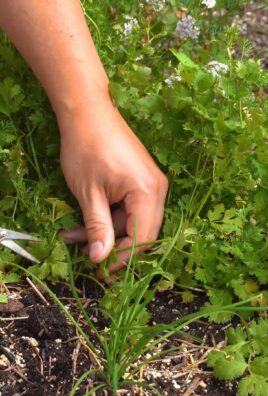
- Weeding: Keep the area around your kale plants free of weeds. Weeds compete with kale for nutrients and water.
- Pest Control: Kale is susceptible to a few common pests, such as aphids, cabbage worms, and flea beetles. Inspect your plants regularly and take action if you see any signs of infestation. I prefer to use organic pest control methods, such as insecticidal soap or neem oil.
Dealing with Common Kale Pests and Problems
Let’s face it, gardening isn’t always smooth sailing. Here’s how I tackle some common kale problems:
- Aphids: These tiny pests can suck the sap from your kale leaves. Blast them off with a strong stream of water from your hose. You can also use insecticidal soap.
- Cabbage Worms: These green caterpillars can quickly devour your kale leaves. Handpick them off the plants or use Bacillus thuringiensis (Bt), a natural bacteria that kills caterpillars.
- Flea Beetles: These tiny beetles can create small holes in your kale leaves. Cover your plants with row covers to prevent flea beetles from reaching them. You can also use diatomaceous earth.
- Yellowing Leaves: Yellowing leaves can be a sign of nutrient deficiency. Fertilize your kale plants with a balanced organic fertilizer.
Harvesting Your Kale: The Reward for Your Hard Work!
You’ve put in the effort, now it’s time to reap the rewards!
When to Harvest:
You can start harvesting kale leaves as soon as they are large enough to eat. I usually start harvesting when the leaves are about 6-8 inches long.
How to Harvest:
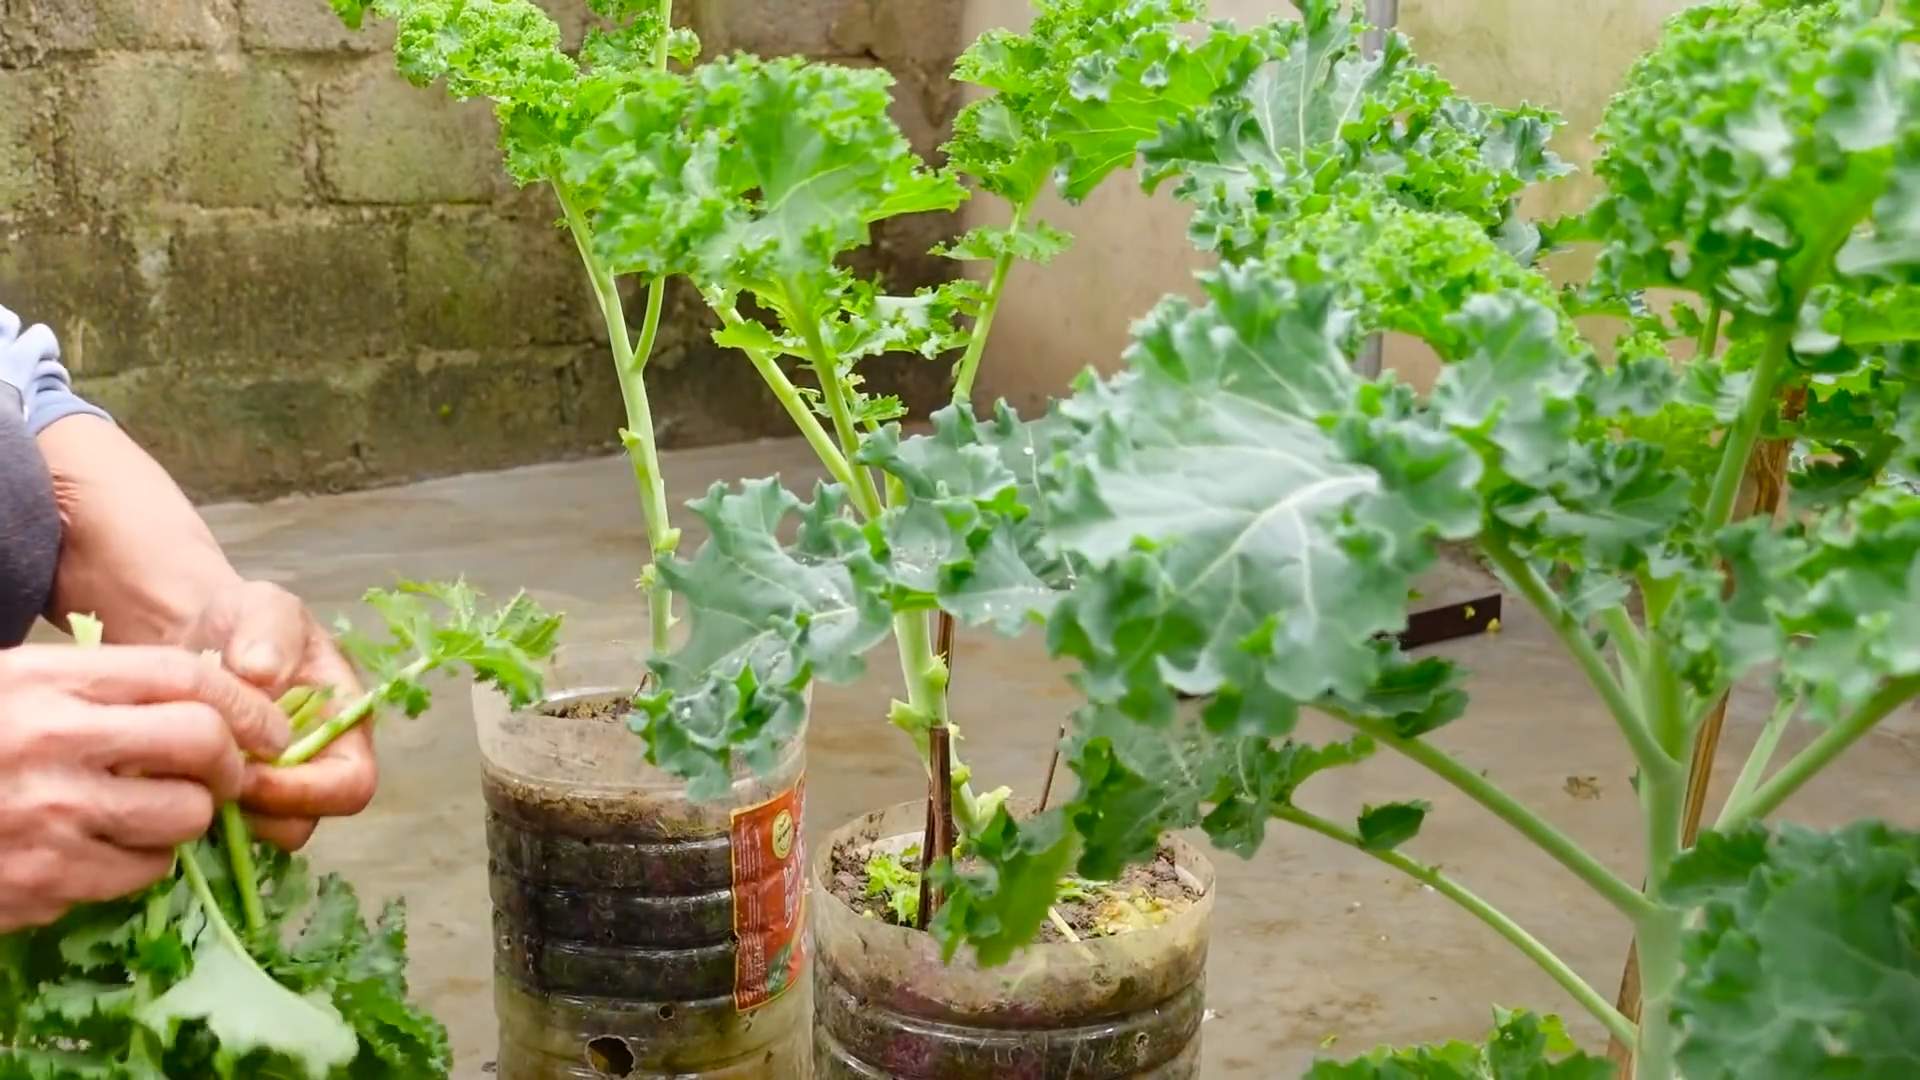
Harvest the outer leaves first, leaving the inner leaves to continue growing. This will allow you to harvest kale from the same plant for several weeks or even months. Simply snap or cut the leaves off near the base of the plant.
Storing Your Kale:
Freshly harvested kale can be stored in the refrigerator for up to a week. Wrap the leaves in a damp paper towel and place them in a plastic bag. You can also freeze kale for longer storage. Blanch the leaves for 2-3 minutes, then cool them in ice water. Drain the leaves and freeze them in freezer bags.
Enjoying Your Kale: Delicious and Nutritious!
Now that you have a bountiful harvest of kale, it’s time to enjoy it! Kale is incredibly versatile and can be used in a variety of dishes.
Here are a few of my favorite ways to eat kale:
- Kale Salad: Massage kale leaves with olive oil, lemon juice, and salt. Add your favorite toppings, such as nuts, seeds, dried cranberries, and cheese.
- Kale Chips: Toss kale leaves with olive oil and salt. Bake at 350°F (175°C) for 10-15 minutes, or
Conclusion
So, there you have it! This simple, yet incredibly effective, DIY trick for planting kale is a total game changer. Forget struggling with weak seedlings, inconsistent growth, and frustratingly low yields. This method, focusing on creating the optimal environment for germination and early development, sets your kale plants up for success from the very beginning. It’s not just about planting seeds; it’s about giving them the best possible start in life, ensuring a bountiful harvest of delicious, nutritious kale.
Why is this a must-try? Because it’s efficient, cost-effective, and dramatically improves your chances of a thriving kale garden. You’ll spend less time worrying about whether your seeds will sprout and more time planning all the delicious ways you’ll use your homegrown kale – from vibrant salads and hearty soups to crispy kale chips and nutritious smoothies. Plus, it’s incredibly satisfying to watch those tiny seeds transform into robust, healthy plants, knowing you played a crucial role in their success.
But don’t just take our word for it! We encourage you to experiment and adapt this method to suit your specific needs and growing conditions. For example, if you live in a particularly hot climate, you might want to use a slightly heavier shade cloth or move your seedlings to a cooler location during the hottest part of the day. Alternatively, if you’re in a colder region, consider using a heat mat to speed up germination. You can also experiment with different types of seed starting mixes to find the one that works best for your kale varieties.
Consider these variations to further enhance your kale-growing experience:
* Succession Planting: Plant a new batch of seeds every few weeks to ensure a continuous harvest throughout the growing season.
* Companion Planting: Plant your kale alongside beneficial companion plants like marigolds (to deter pests) or dill (to attract beneficial insects).
* Vertical Gardening: If you’re short on space, try growing your kale in vertical planters or hanging baskets.The key is to observe your plants closely and adjust your approach as needed. Gardening is a learning process, and every season brings new opportunities to refine your skills and techniques.
We are confident that this DIY trick will revolutionize your kale-growing experience. It’s a simple change that yields significant results. So, grab your seeds, gather your supplies, and get ready to witness the power of this planting kale garden game changer firsthand.
We’re eager to hear about your experiences! Share your photos, tips, and questions in the comments below. Let’s create a community of thriving kale gardeners, all benefiting from this amazing DIY trick. Happy gardening!
Frequently Asked Questions
What type of kale is best suited for this DIY planting method?
This DIY planting method is suitable for virtually all types of kale! Whether you’re growing curly kale, Lacinato kale (also known as dinosaur kale), Red Russian kale, or any other variety, the principles remain the same. The key is to provide the seeds with the optimal conditions for germination and early growth, regardless of the specific type of kale you’re planting. However, keep in mind that some kale varieties may have slightly different germination times or temperature preferences, so it’s always a good idea to consult the seed packet for specific recommendations. For example, some heirloom varieties might benefit from a slightly longer soaking period before planting.
How often should I water the seedlings after they germinate?
Watering is crucial, but overwatering can be just as detrimental as underwatering. The goal is to keep the soil consistently moist, but not soggy. Check the soil moisture level daily by sticking your finger about an inch into the soil. If it feels dry to the touch, it’s time to water. When watering, use a gentle spray or watering can to avoid disturbing the delicate seedlings. Water slowly and deeply, allowing the water to soak into the soil. Avoid watering the leaves directly, as this can increase the risk of fungal diseases. As the seedlings grow larger, they will require more water, but always err on the side of caution and avoid overwatering.
What kind of soil should I use for planting kale seeds?
The ideal soil for planting kale seeds is a well-draining, nutrient-rich seed starting mix. Avoid using garden soil, as it can be too heavy and may contain weed seeds or pathogens. A good seed starting mix will be light and airy, allowing for good drainage and aeration. You can purchase pre-made seed starting mixes at most garden centers, or you can make your own by combining equal parts peat moss, vermiculite, and perlite. Adding a small amount of compost to the mix can also provide additional nutrients. Before planting, moisten the seed starting mix thoroughly.
How long does it take for kale seeds to germinate?
Kale seeds typically germinate within 5-10 days, depending on the temperature and moisture levels. Warmer temperatures (around 70-75°F) will generally result in faster germination. Keeping the soil consistently moist is also essential for successful germination. If you’re using a humidity dome or plastic wrap to maintain moisture, be sure to remove it once the seedlings emerge to prevent fungal diseases. If your seeds haven’t germinated after 10 days, it’s possible that they are old or of poor quality. In this case, it’s best to start with fresh seeds.
When should I transplant the kale seedlings into the garden?
The best time to transplant your kale seedlings into the garden is when they have developed their first set of true leaves (the leaves that appear after the initial seed leaves, or cotyledons). This usually occurs about 2-3 weeks after germination. Before transplanting, it’s important to harden off the seedlings by gradually exposing them to outdoor conditions for a few hours each day over the course of a week. This will help them acclimate to the sun, wind, and temperature fluctuations. Choose a sunny location in your garden with well-drained soil. Dig a hole that is slightly larger than the root ball of the seedling and gently remove the seedling from its container. Place the seedling in the hole and backfill with soil, gently firming it around the base of the plant. Water thoroughly after transplanting.
What are some common pests and diseases that affect kale, and how can I prevent them?
Kale is susceptible to a variety of pests and diseases, including aphids, cabbage worms, flea beetles, and fungal diseases like powdery mildew. To prevent pest and disease problems, it’s important to practice good garden hygiene. This includes removing any dead or diseased leaves, keeping the area around your kale plants free of weeds, and watering from below to avoid wetting the foliage. You can also use row covers to protect your plants from pests. If you do encounter pests or diseases, there are a number of organic control methods you can try, such as insecticidal soap, neem oil, or Bacillus thuringiensis (Bt) for cabbage worms.
Can I grow kale in containers?
Yes, kale grows very well in containers! This is a great option if you have limited space or if you want to grow kale on a balcony or patio. Choose a container that is at least 12 inches in diameter and 12 inches deep. Make sure the container has drainage holes to prevent waterlogging. Use a high-quality potting mix and fertilize regularly with a balanced fertilizer. Container-grown kale may require more frequent watering than kale grown in the ground, so be sure to check the soil moisture level regularly.
How do I harvest kale?
You can begin harvesting kale leaves as soon as they are large enough to eat, typically when they are about 4-6 inches long. Harvest the outer leaves first, leaving the inner leaves to continue growing. You can harvest kale leaves continuously throughout the growing season. To harvest, simply cut or snap off the leaves near the base of the plant. Avoid damaging the central stem, as this will prevent the plant from producing new leaves.
Is kale a cool-season crop?
Yes, kale is a cool-season crop, meaning it grows best in cooler temperatures. It can tolerate light frosts and even snow, which can actually improve its flavor. In warmer climates, kale can be grown in the fall and winter. In colder climates, it can be grown in the spring and fall. Avoid planting kale during the hottest part of the summer, as high temperatures can cause it to bolt (go to seed).
How can I improve the flavor of my kale?
The flavor of kale can vary depending on the variety and growing conditions. Some kale varieties are naturally sweeter than others. To improve the flavor of your kale, try harvesting it after a frost, as this can help to sweeten the leaves. You can also massage the leaves with olive oil and lemon juice before eating them, which can help to break down the tough fibers and make them more tender. Cooking kale can also help to mellow its flavor.


Leave a Comment