

Dusting Hacks for Your Home: Are you tired of battling dust bunnies that seem to multiply overnight? I know I am! It feels like no matter how much I clean, those pesky particles are back within hours, clinging to every surface. But what if I told you there are simple, effective, and even *fun* ways to conquer the dust in your home, using items you probably already have lying around?
Dusting, while seemingly a modern chore, has roots that stretch back centuries. Think about ancient civilizations meticulously cleaning their temples and homes – a practice driven by both hygiene and respect. While they might not have had microfiber cloths, the desire for a clean and healthy living space is timeless. Today, we’re armed with more knowledge and, thankfully, some clever shortcuts!
Let’s face it, nobody *enjoys* dusting. It’s time-consuming, often feels futile, and can even trigger allergies. That’s why I’m so excited to share these dusting hacks for your home. These aren’t just your average cleaning tips; they’re game-changers that will save you time, effort, and maybe even a sneeze or two. From using dryer sheets to repel dust to creating your own DIY dusting spray, these tricks will transform your cleaning routine and leave your home sparkling. Get ready to say goodbye to dust and hello to a cleaner, healthier, and happier home!
Dusting Hacks for Your Home: A DIY Guide to Sparkling Clean Surfaces
Okay, let’s face it, dusting is nobody’s favorite chore. But a dusty home can be a real drag, affecting everything from allergies to overall mood. So, I’m going to share some of my favorite DIY dusting hacks that will make the process quicker, easier, and even a little bit… dare I say… enjoyable? (Okay, maybe not enjoyable, but definitely less painful!).
Gathering Your Arsenal: Essential Dusting Supplies
Before we dive into the nitty-gritty, let’s make sure you have everything you need. Having the right tools makes all the difference!
* Microfiber Cloths: These are my absolute go-to. They trap dust like magnets and are washable, making them super eco-friendly. Get a bunch!
* Feather Duster: A classic for a reason! Great for delicate items and reaching high places.
* Vacuum Cleaner with Attachments: Essential for upholstery, curtains, and those hard-to-reach corners.
* Dusting Spray: Choose a good quality dusting spray that not only removes dust but also protects your surfaces. I prefer natural, non-toxic options.
* Old Socks: Yes, you read that right! Old socks are fantastic for dusting blinds and other tricky areas.
* Paintbrushes (Various Sizes): Perfect for getting into crevices and cleaning intricate details.
* Cotton Swabs: For those super tiny, hard-to-reach spots.
* Spray Bottle with Water: Sometimes, a little moisture is all you need to loosen stubborn dust.
* Dish Soap: For cleaning your dusting tools and tackling greasy dust.
* Essential Oils (Optional): Add a few drops to your dusting spray for a fresh, clean scent. Lavender and lemon are my favorites!
* Ladder or Step Stool: Safety first!
Hack #1: The Ultimate Microfiber Cloth Technique
This is the foundation of all good dusting. The key is to use the microfiber cloth effectively.
Step 1: Dampen the Cloth (Slightly!)
Don’t soak it! Just a light misting with water or your dusting spray is enough. A damp cloth attracts dust better than a dry one.
Step 2: Fold the Cloth into Quarters
This gives you eight clean surfaces to work with. As one section gets dirty, simply unfold to a fresh one.
Step 3: Wipe in a Consistent Direction
Avoid swirling the dust around. Wipe in straight lines, overlapping each pass slightly.
Step 4: Shake Out the Cloth Frequently
This prevents you from just spreading the dust around. Do this outside or over a trash can.
Step 5: Repeat and Rotate
Keep wiping, shaking, and rotating to a clean section of the cloth until the surface is dust-free.
Hack #2: Conquering Blinds with Socks
Blinds can be a real pain to dust, but this sock trick makes it so much easier!
Step 1: Gather Your Supplies
You’ll need two old socks, a bowl of warm water, and a few drops of dish soap.
Step 2: Prepare the Socks
Dampen the socks in the soapy water and wring them out well. They should be damp, not dripping.
Step 3: Slip the Socks Over Your Hands
One sock on each hand.
Step 4: Pinch and Slide
Pinch each slat of the blind between your sock-covered fingers and slide along its length. The socks will grab the dust on both sides at once.
Step 5: Rinse and Repeat
Rinse the socks frequently in the soapy water and wring them out. Repeat until all the blinds are clean.
Step 6: Dry the Blinds
Use a clean, dry microfiber cloth to wipe down the blinds and remove any excess moisture.
Hack #3: Vacuuming Upholstery Like a Pro
Upholstery can harbor a surprising amount of dust and allergens. Regular vacuuming is key.
Step 1: Choose the Right Attachment
Use the upholstery attachment on your vacuum cleaner. This is usually a wide, flat nozzle with a brush.
Step 2: Vacuum in Overlapping Strokes
Work in small sections, overlapping each stroke to ensure you’re picking up all the dust.
Step 3: Pay Attention to Crevices
Use the crevice tool to get into those tight spaces where dust loves to hide.
Step 4: Vacuum Under Cushions
Don’t forget to lift the cushions and vacuum underneath them. This is where crumbs and other debris tend to accumulate.
Step 5: Spot Clean Stains
If you notice any stains, spot clean them with a mild upholstery cleaner. Always test the cleaner in an inconspicuous area first.
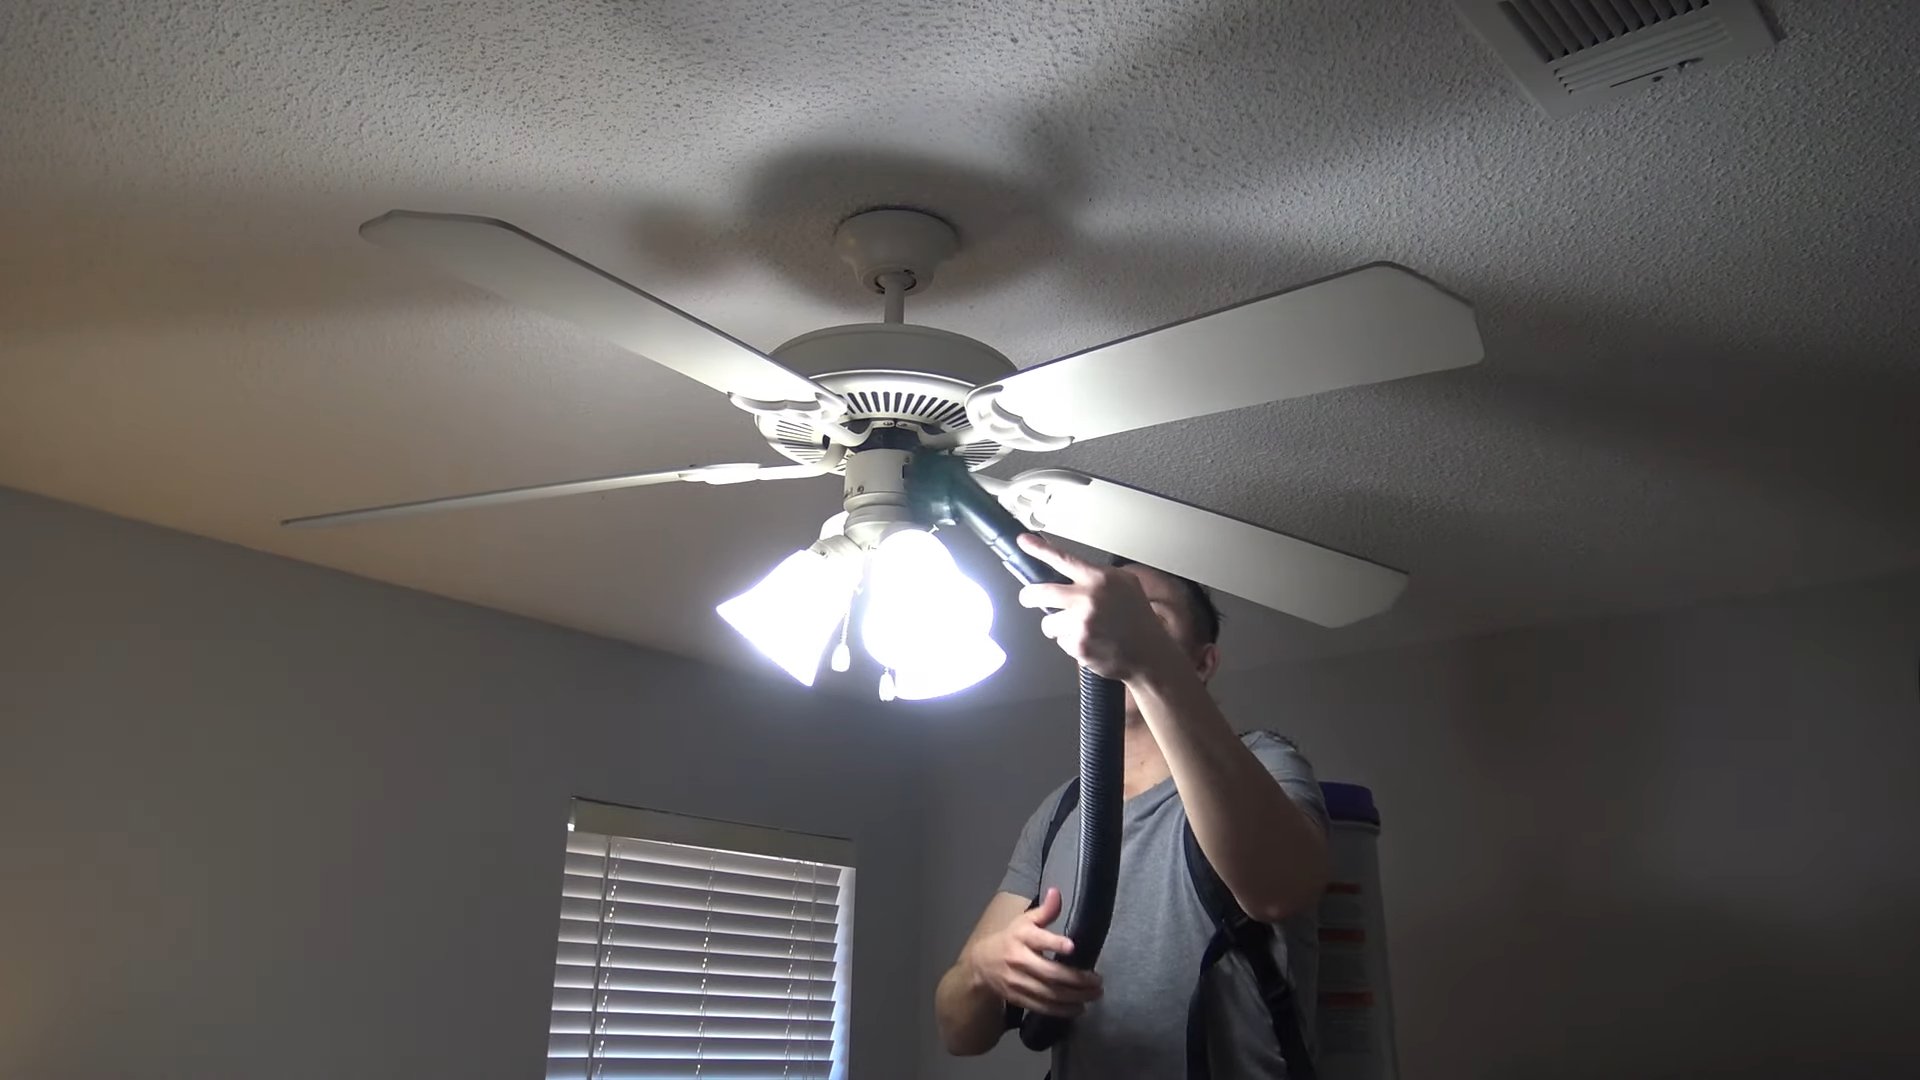
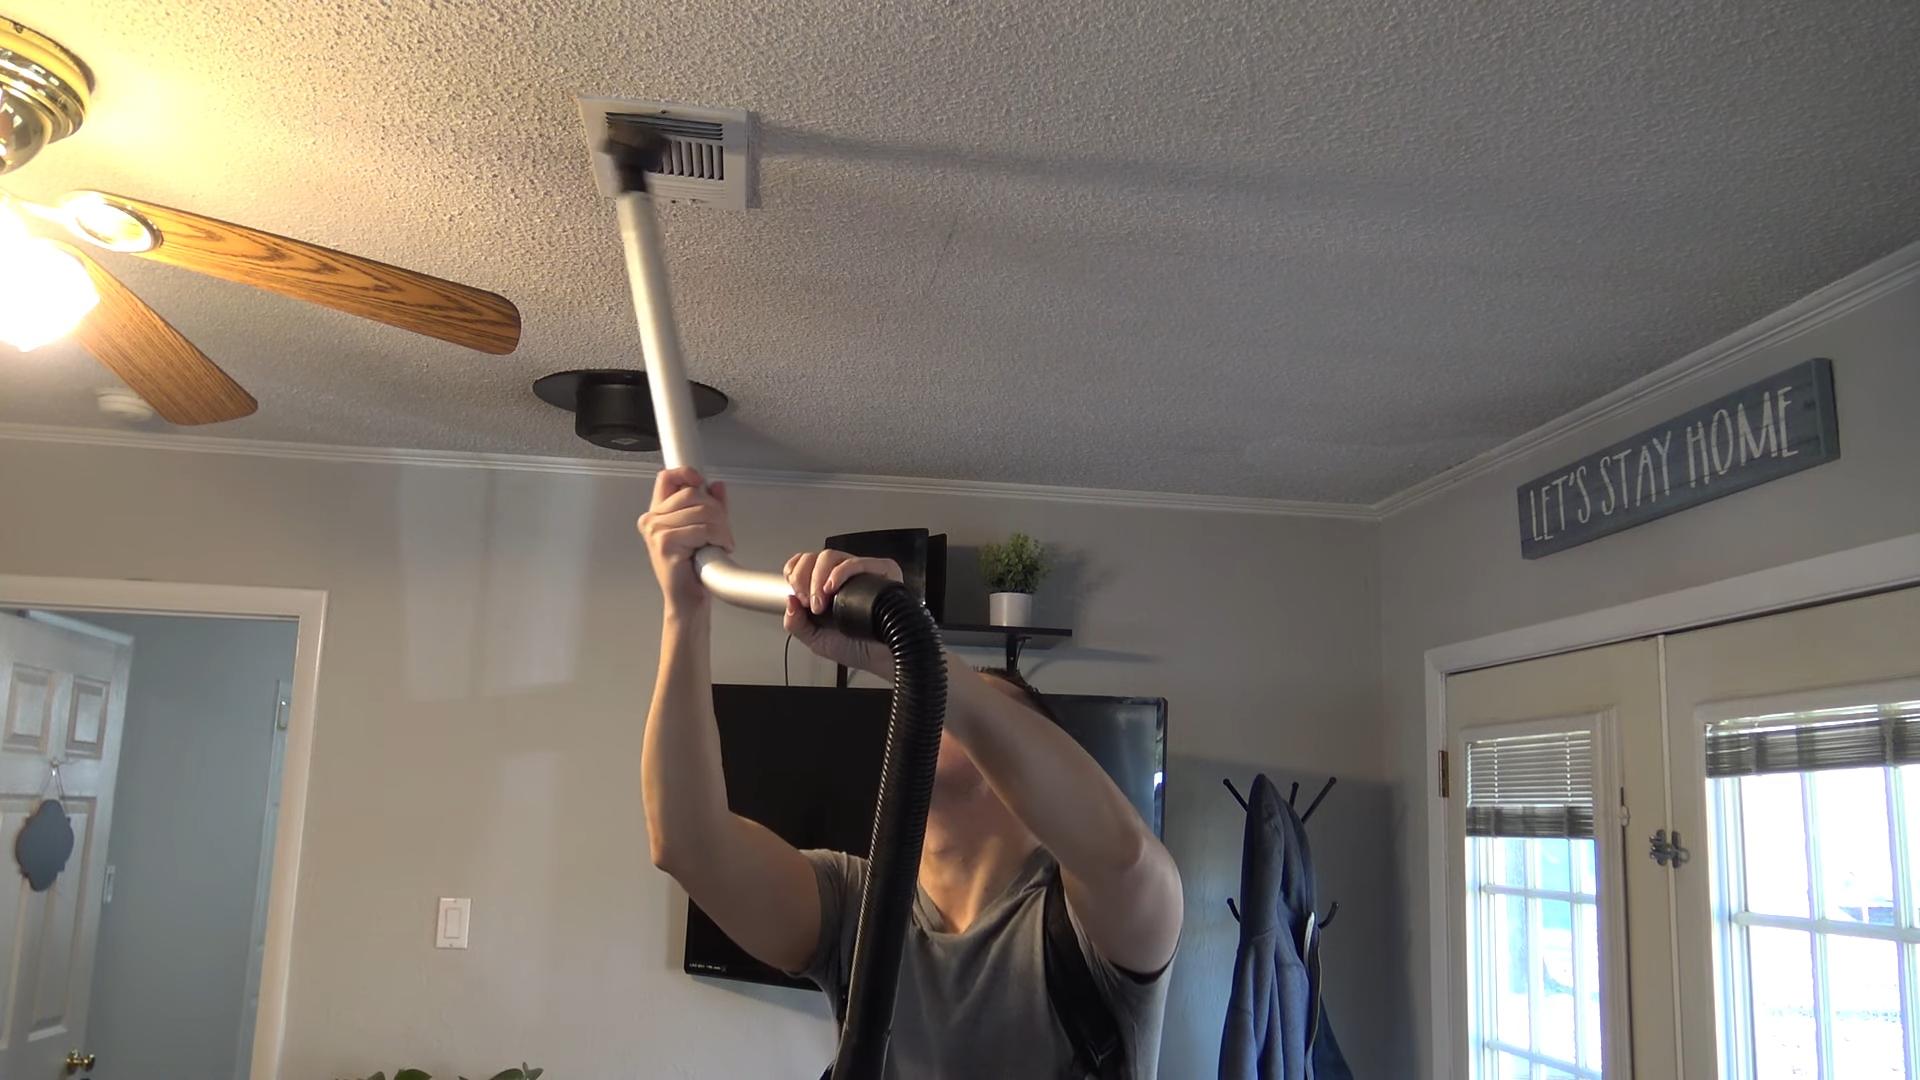
Hack #4: Reaching High Places with Ease
Dusting ceiling fans, light fixtures, and other high places can be tricky, but these tips will help.
Step 1: Safety First!
Always use a sturdy ladder or step stool. Make sure it’s placed on a level surface.
Step 2: Use an Extension Duster
An extension duster is a lifesaver for reaching high places. You can buy one or make your own by attaching a duster to a broom handle.
Step 3: Dust Ceiling Fans Carefully
To prevent dust from raining down on you, use a pillowcase to dust ceiling fan blades. Slip the pillowcase over each blade and wipe, trapping the dust inside.
Step 4: Dust Light Fixtures Gently
Turn off the light fixture before dusting. Use a feather duster or a slightly damp microfiber cloth to gently wipe the fixture.
Step 5: Don’t Forget the Corners
Use the crevice tool on your vacuum cleaner to dust the corners of the ceiling and walls.
Hack #5: Cleaning Electronics Safely
Electronics are dust magnets, but you need to be careful when cleaning them.
Step 1: Power Down
Always turn off and unplug your electronic devices before cleaning them.
Step 2: Use a Dry Microfiber Cloth
A dry microfiber cloth is usually all you need to remove dust from screens and other surfaces.
Step 3: Canned Air for Keyboards
Use canned air to blow dust and debris out of keyboards and other hard-to-reach areas.
Step 4: Avoid Liquids
Never spray liquids directly onto electronic devices. If you need to use a damp cloth, make sure it’s only slightly damp and wring it out well.
Step 5: Clean Ports and Connections
Use a cotton swab to gently clean ports and connections.
Hack #6: The Paintbrush Trick for Intricate Details
Paintbrushes are surprisingly effective for dusting intricate details, like carvings, picture frames, and decorative items.
Step 1: Choose the Right Brush
Use a soft-bristled paintbrush in a size that’s appropriate for the area you’re dusting.
Step 2: Gently Brush Away Dust
Use the paintbrush to gently brush away dust from crevices and other hard-to-reach areas.
Step 3: Vacuum Up Loose Dust
Use the brush attachment on your vacuum cleaner to vacuum up any loose dust that the paintbrush dislodges.
Hack #7: DIY Dusting Spray for a Fresh Scent
Why buy expensive dusting spray when you can make your own? This recipe is simple, effective, and smells amazing!
Step 1: Gather Your Ingredients
You’ll need a spray bottle, water, white vinegar, and a few drops of your favorite essential oil.
Step 2: Mix the Ingredients
In the spray bottle, combine 1 cup of water, 1/4 cup of white vinegar, and 5-10 drops of essential oil.
Step 3: Shake Well
Shake the bottle well to combine the ingredients.
Step 4: Test in an Inconspicuous Area
Before using the spray on a large surface, test it in an inconspicuous area to make sure it doesn’t damage the finish.
Step 5: Spray and Wipe
Lightly spray the surface with the dusting spray and wipe with a clean microfiber cloth.
Hack #8: Preventing Dust Buildup
The best way to deal with dust is to prevent it from building up in the first place. Here are a few tips:
* Change Your Air Filters Regularly: Dirty air filters can circulate dust throughout your home.
* Use Doormats: Place doormats at all entrances to trap dirt and dust before it enters your home.
* Vacuum Regularly: Vacuum your floors and upholstery at least once a week.
* Dust Frequently: Dust your surfaces at least once a week.
* Declutter: The less clutter you have, the less dust will accumulate.
* Control Humidity: High humidity can attract dust mites. Use a dehumidifier if necessary.
* Wash Bedding Regularly: Wash your bedding at least once a
Conclusion
So, there you have it! These simple yet effective dusting hacks are more than just a way to clean; they’re a pathway to a healthier, happier home. We’ve explored how to transform everyday items into powerful dusting tools, saving you money and reducing your reliance on harsh chemicals. From the microfiber sock duster that conquers blinds to the ingenious paintbrush trick for intricate details, these methods are designed to make dusting less of a chore and more of a satisfying accomplishment.
Why is this DIY approach a must-try? Because it’s not just about removing dust; it’s about taking control of your cleaning routine. It’s about using what you have, being resourceful, and creating a cleaner environment without breaking the bank. It’s about understanding that effective cleaning doesn’t always require expensive gadgets or specialized products. These dusting hacks are accessible to everyone, regardless of their budget or cleaning experience.
But the beauty of these hacks lies in their adaptability. Feel free to experiment and find what works best for you. For instance, if you don’t have microfiber socks, try using old t-shirts cut into strips. For furniture polish, consider adding a few drops of essential oils like lemon or lavender to your homemade dusting spray for a refreshing scent. If you have particularly delicate surfaces, opt for a very soft brush or a microfiber cloth dampened with distilled water. Remember, the goal is to customize these techniques to suit your specific needs and preferences.
Don’t be afraid to get creative! Perhaps you’ll discover a new dusting hack of your own. Maybe you’ll find that a specific combination of cleaning solutions works wonders on your antique furniture. The possibilities are endless.
We truly believe that these dusting hacks will revolutionize your cleaning routine. They’re easy, affordable, and effective. But don’t just take our word for it. We encourage you to try these methods for yourself and experience the difference firsthand. See how much time and money you can save. Notice how much cleaner and fresher your home feels.
And most importantly, we want to hear about your experience! Share your successes, your challenges, and your own unique dusting tips in the comments below. Let’s create a community of cleaning enthusiasts who are passionate about making their homes sparkle. Your insights could inspire others and help them discover new and innovative ways to tackle the dreaded task of dusting. Let’s make dusting less of a chore and more of a shared experience. So go ahead, give these dusting hacks a try, and let us know what you think! We can’t wait to hear from you.
Frequently Asked Questions (FAQ)
What if I don’t have microfiber cloths? Can I use something else?
Yes, absolutely! While microfiber cloths are excellent for dusting due to their ability to attract and trap dust particles, you can certainly use alternatives. Old t-shirts, flannel cloths, or even cheesecloth can work in a pinch. Just make sure the fabric is clean and lint-free to avoid leaving residue behind. For delicate surfaces, consider using a very soft cotton cloth. The key is to choose a material that is gentle and absorbent. Avoid using paper towels, as they can sometimes scratch surfaces.
Are these dusting hacks safe for all types of furniture?
While these hacks are generally safe, it’s always a good idea to test them on an inconspicuous area first, especially if you’re dealing with antique or delicate furniture. Different finishes react differently to cleaning solutions. For example, some wood finishes may be sensitive to vinegar, while others may be fine. Always start with a gentle approach and gradually increase the intensity of the cleaning solution if needed. If you’re unsure about the best way to clean a particular piece of furniture, consult a professional furniture restorer.
How often should I dust my home?
The frequency of dusting depends on several factors, including the number of people and pets in your home, the amount of outdoor air pollution, and your personal tolerance for dust. As a general rule, aim to dust at least once a week. High-traffic areas and surfaces that tend to accumulate dust quickly, such as shelves, tables, and electronics, may require more frequent dusting. If you have allergies or asthma, you may need to dust even more often to minimize allergens in your home.
What’s the best way to clean dust from electronics?
Cleaning dust from electronics requires a delicate touch. Always turn off and unplug the device before cleaning. Use a can of compressed air to blow away loose dust from keyboards, vents, and other hard-to-reach areas. For screens, use a microfiber cloth dampened with distilled water or a specialized screen cleaner. Avoid using harsh chemicals or abrasive cleaners, as they can damage the screen. Be gentle and avoid applying too much pressure.
Can I use these dusting hacks on my car’s interior?
Yes, many of these dusting hacks can be adapted for use in your car’s interior. Microfiber cloths are excellent for wiping down dashboards, consoles, and door panels. A small paintbrush can be used to clean dust from vents and crevices. However, be cautious when using cleaning solutions on car interiors, as some materials may be sensitive to certain chemicals. Always test the solution on an inconspicuous area first.
What are some natural alternatives to commercial dusting sprays?
There are many natural alternatives to commercial dusting sprays that are just as effective and much safer for your health and the environment. A simple solution of water and vinegar is a great all-purpose cleaner. You can also add a few drops of essential oils for a pleasant scent. Another option is to mix water with a small amount of castile soap. Avoid using too much soap, as it can leave a residue. Always test the solution on an inconspicuous area first to ensure it doesn’t damage the surface.
How do I prevent dust from accumulating in my home?
While you can’t completely eliminate dust, there are several things you can do to minimize its accumulation. Regularly vacuum or sweep your floors, especially in high-traffic areas. Use doormats to trap dirt and debris before they enter your home. Change your air filters regularly to improve air quality. Dust frequently to prevent dust from building up. Consider using an air purifier to remove dust and allergens from the air. And finally, declutter your home to reduce the number of surfaces where dust can collect.
My blinds are always dusty. What’s the best way to clean them?
Blinds can be a magnet for dust, but cleaning them doesn’t have to be a chore. The microfiber sock trick is a great way to quickly and easily dust blinds. Simply slip a microfiber sock over your hand and use it to wipe down each slat. For stubborn dust or grime, you can dampen the sock with a mild cleaning solution. Alternatively, you can use a vacuum cleaner with a brush attachment to dust the blinds. Be sure to close the blinds in both directions to clean both sides.
How do I clean dust from delicate items like figurines or collectibles?
Cleaning dust from delicate items requires extra care. Use a soft brush, such as a makeup brush or a small paintbrush, to gently dust the item. Avoid using water or cleaning solutions unless absolutely necessary. If you do need to use water, dampen a soft cloth with distilled water and gently wipe the item. Be sure to dry the item thoroughly afterwards. For particularly delicate items, consider using a can of compressed air to blow away loose dust.
What is the best way to store my cleaning supplies to keep them organized and accessible?
Storing your cleaning supplies properly can make cleaning much more efficient. Choose a designated storage area, such as a closet or cabinet, that is easily accessible. Group similar items together, such as dusting supplies, floor cleaning supplies, and bathroom cleaning supplies. Use clear containers or labels to identify the contents of each container. Consider using a caddy or basket to carry your cleaning supplies from room to room. And finally, regularly check your cleaning supplies and discard any expired or unused items.

Leave a Comment