

Easy Deep Cleaning Tips – who doesn’t crave a sparkling clean home without spending hours scrubbing? Let’s be honest, the idea of deep cleaning can feel overwhelming, conjuring images of endless chores and aching muscles. But what if I told you that achieving a truly clean and refreshed home could be easier and more manageable than you think?
Throughout history, cultures around the world have valued cleanliness, not just for aesthetic reasons, but also for its impact on health and well-being. From ancient Roman bathhouses to traditional Japanese cleaning rituals, the act of tidying and purifying our living spaces has always been deeply connected to our physical and mental health.
In today’s busy world, finding the time and energy for a thorough clean can be a real challenge. That’s where these easy deep cleaning tips come in! I’m going to share some of my favorite DIY tricks and hacks that will help you tackle those often-overlooked areas of your home, leaving you with a space that feels fresh, revitalized, and truly clean. These aren’t just about surface-level tidiness; they’re about creating a healthier and more comfortable living environment for you and your family. Get ready to discover how a little bit of effort can go a long way in transforming your home!
Easy Deep Cleaning Tips: Transform Your Home!
Okay, let’s dive into some seriously satisfying deep cleaning hacks that will leave your home sparkling. I’m talking about those nooks and crannies you usually skip over – we’re tackling them all! Get ready to roll up your sleeves and enjoy a cleaner, fresher living space.
Deep Cleaning the Kitchen: The Heart of the Home
The kitchen is often the most used and abused room in the house, so it deserves some extra TLC.
Cleaning the Oven: No More Baked-On Grime!
This is probably the chore everyone dreads, but trust me, it’s worth it.
1. Gather Your Supplies: You’ll need baking soda, white vinegar, water, a spray bottle, a sponge, a scraper (plastic is best to avoid scratching), and some rubber gloves.
2. Empty the Oven: Remove the racks, baking stones, and anything else inside. You can wash the racks separately in the sink with hot, soapy water.
3. Make a Baking Soda Paste: In a bowl, mix ½ cup of baking soda with a few tablespoons of water to form a spreadable paste.
4. Coat the Oven: Spread the baking soda paste all over the inside of the oven, avoiding the heating elements. I usually wear gloves for this part – it can get messy! Make sure to get the back, sides, bottom, and even the inside of the door.
5. Let it Sit Overnight: This is the magic step! Let the baking soda paste sit for at least 12 hours, or even better, overnight. This gives it time to loosen all that baked-on gunk.
6. Wipe Away the Paste: The next day, use a damp sponge to wipe away as much of the baking soda paste as you can. You might need to use a scraper for stubborn spots.
7. Spray with Vinegar: Put some white vinegar in a spray bottle and spray it all over the inside of the oven. The vinegar will react with any remaining baking soda, creating a foamy mixture.
8. Wipe Again: Wipe away the vinegar and baking soda mixture with a clean, damp sponge. Rinse the sponge frequently.
9. Final Rinse: Give the oven one last rinse with a clean, damp sponge to remove any lingering residue.
10. Dry and Replace Racks: Dry the inside of the oven with a clean towel and replace the racks.
Degreasing the Stovetop: Say Goodbye to Sticky Residue
A clean stovetop makes cooking so much more enjoyable!
1. Gather Your Supplies: You’ll need dish soap, baking soda, white vinegar, a spray bottle, a sponge, a microfiber cloth, and a scraper (again, plastic is best).
2. Remove Grates and Burner Caps: Take off the grates and burner caps. Soak them in hot, soapy water in the sink.
3. Sprinkle with Baking Soda: Sprinkle baking soda generously over the entire stovetop surface.
4. Spray with Vinegar: Spray white vinegar over the baking soda. It will fizz – that’s a good thing!
5. Let it Sit: Let the mixture sit for about 15-20 minutes to loosen the grease and grime.
6. Scrub and Wipe: Use a sponge to scrub the stovetop. For stubborn spots, use a plastic scraper.
7. Rinse and Dry: Rinse the stovetop with a clean, damp sponge and dry it with a microfiber cloth.
8. Clean Grates and Burner Caps: Scrub the grates and burner caps with a sponge and dish soap. Rinse them thoroughly and dry them completely before putting them back on the stovetop.
Cleaning the Microwave: Zap Away the Mess
Microwaves can get surprisingly gross. This method makes cleaning them a breeze.
1. Gather Your Supplies: You’ll need a microwave-safe bowl, water, white vinegar or lemon juice, and a sponge.
2. Mix Water and Vinegar (or Lemon Juice): Fill the microwave-safe bowl with 1 cup of water and add 2 tablespoons of white vinegar or lemon juice.
3. Microwave for 5 Minutes: Microwave the mixture on high for 5 minutes. This will create steam that loosens the grime inside the microwave.
4. Let it Sit: Leave the door closed for another 5 minutes to allow the steam to continue working.
5. Wipe Clean: Carefully remove the bowl (it will be hot!) and wipe down the inside of the microwave with a sponge. The grime should come off easily.
Deep Cleaning the Bathroom: Sparkling Clean Sanctuaries
Bathrooms are breeding grounds for bacteria and mildew, so let’s get them squeaky clean.
Cleaning the Shower and Tub: Banishing Soap Scum
Soap scum is the bane of every bathroom cleaner’s existence, but I have a solution!
1. Gather Your Supplies: You’ll need white vinegar, dish soap, a spray bottle, a scrub brush, and a squeegee.
2. Heat the Vinegar: Heat 1 cup of white vinegar in the microwave for about 1-2 minutes, until it’s warm but not boiling.
3. Mix with Dish Soap: Pour the warm vinegar into a spray bottle and add 1 cup of dish soap. Gently swirl to combine (avoid shaking, as it will create too many bubbles).
4. Spray the Shower/Tub: Spray the mixture all over the shower walls, tub, and shower door.
5. Let it Sit: Let the mixture sit for at least 30 minutes to soften the soap scum. For really tough buildup, you can let it sit for a few hours.
6. Scrub and Rinse: Use a scrub brush to scrub the shower walls, tub, and shower door. Rinse thoroughly with water.
7. Squeegee: Use a squeegee to remove excess water from the shower walls and door. This will help prevent future soap scum buildup.
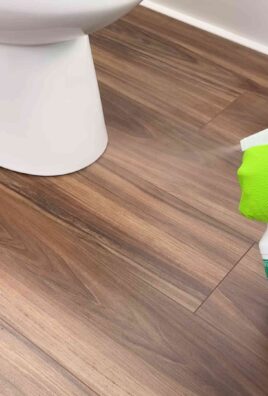
Cleaning the Toilet: A Sparkling Throne
No one likes cleaning the toilet, but it’s a necessary evil.
1. Gather Your Supplies: You’ll need toilet bowl cleaner, a toilet brush, disinfecting wipes, and rubber gloves.
2. Apply Toilet Bowl Cleaner: Squirt toilet bowl cleaner around the rim of the toilet bowl, allowing it to coat the entire bowl.
3. Let it Sit: Let the cleaner sit for at least 10 minutes, or longer for heavily soiled toilets.
4. Scrub the Bowl: Use a toilet brush to scrub the inside of the toilet bowl, paying attention to any stains or buildup.
5. Flush: Flush the toilet to rinse away the cleaner and debris.
6. Clean the Exterior: Use disinfecting wipes to clean the exterior of the toilet, including the seat, lid, tank, and base.
Cleaning Showerheads: Restoring Water Pressure
Mineral buildup can clog showerheads and reduce water pressure. Here’s how to fix it.
1. Gather Your Supplies: You’ll need white vinegar, a plastic bag, a rubber band, and a toothbrush.
2. Fill the Bag with Vinegar: Fill the plastic bag with enough white vinegar to completely submerge the showerhead.
3. Attach the Bag: Secure the bag to the showerhead with a rubber band, making sure the showerhead is fully submerged in the vinegar.
4. Let it Soak: Let the showerhead soak in the vinegar for at least 30 minutes, or even better, overnight.
5. Remove and Rinse: Remove the bag and rinse the showerhead thoroughly with water.
6. Scrub with Toothbrush: Use a toothbrush to scrub away any remaining mineral deposits.
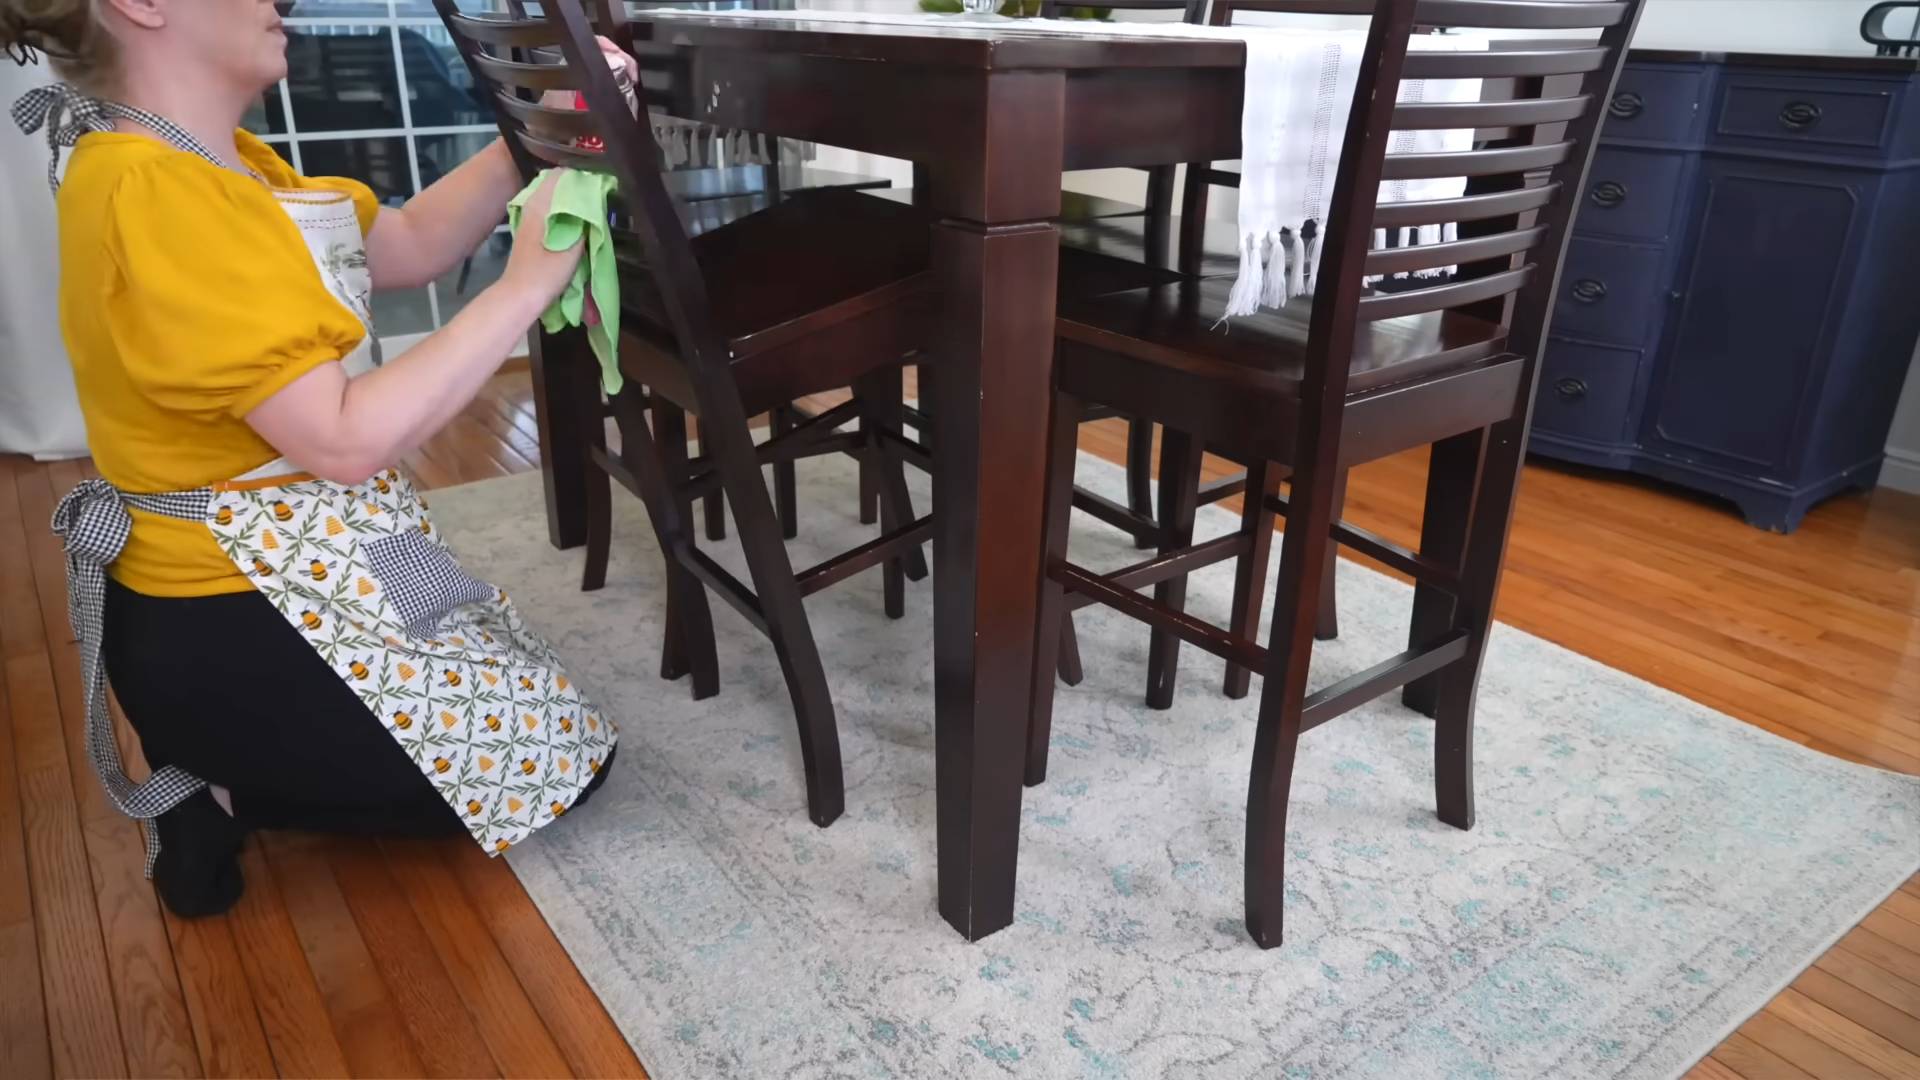
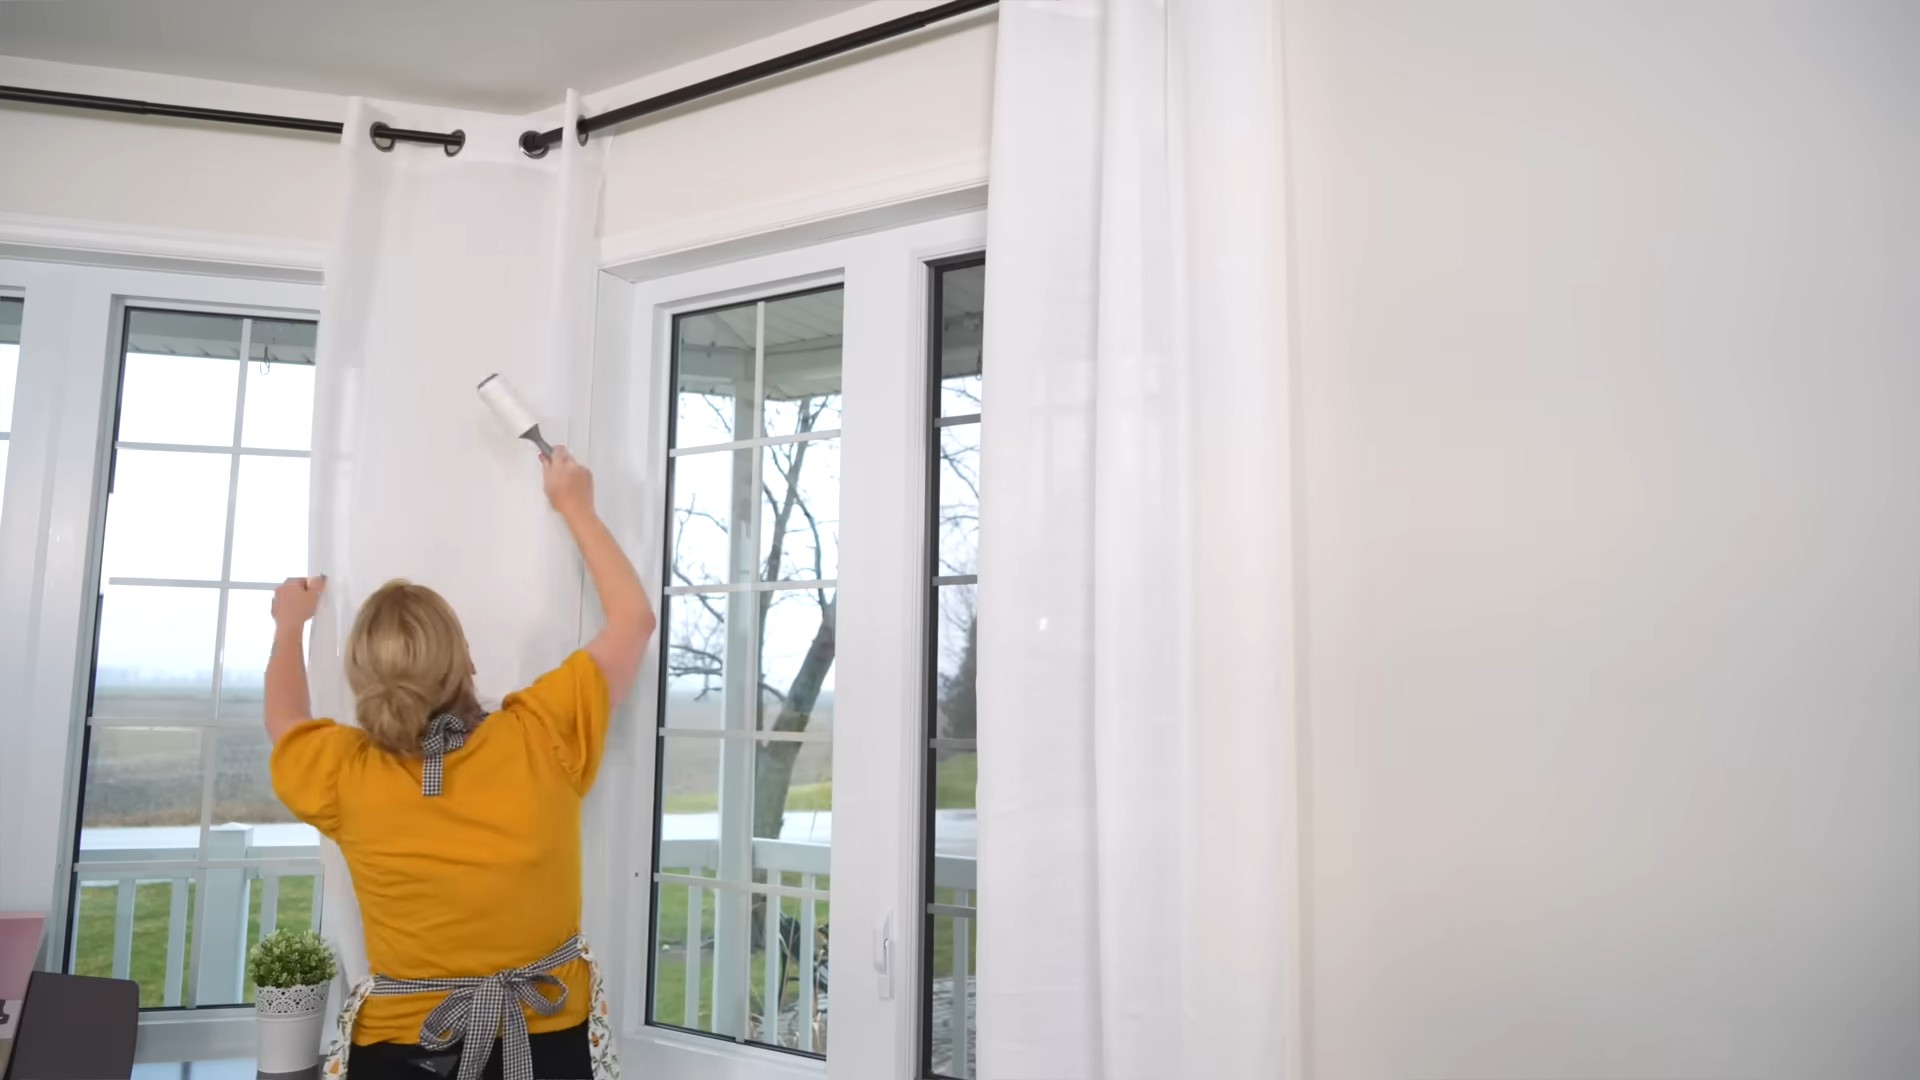
Deep Cleaning the Living Room: A Cozy and Clean Space
The living room is where we relax and entertain, so let’s make it a clean and inviting space.
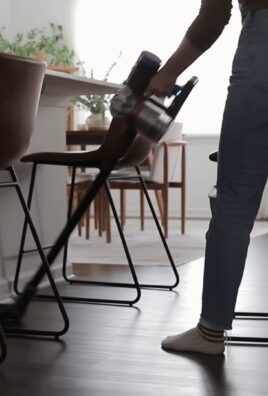
Cleaning Upholstery: Reviving Your Furniture
Upholstery can trap dust, dirt, and odors.
1. Gather Your Supplies: You’ll need a vacuum cleaner with an upholstery attachment, baking soda, a soft brush, and a clean cloth.
2. Vacuum the Upholstery: Use the upholstery attachment to vacuum the entire surface of the furniture, paying attention to crevices and seams.
3. Sprinkle with Baking Soda: Sprinkle baking soda generously over the upholstery.
4. Let it Sit: Let the baking soda sit for at least 30 minutes, or even longer for heavily soiled furniture. The baking soda will absorb odors and loosen dirt.
5. Vacuum Again: Vacuum up the baking soda thoroughly.
6. Spot Clean Stains: For stains, mix a small amount of dish soap with water and gently blot the stain with a clean cloth. Avoid rubbing, as this can spread the stain. Rinse
Conclusion
So, there you have it! These easy deep cleaning tips aren’t just about tidying up; they’re about creating a healthier, happier, and more inviting living space. We’ve covered some simple yet incredibly effective methods to tackle those often-overlooked areas, from banishing grime in your microwave to revitalizing your grout. The beauty of these techniques lies in their accessibility – you likely already have most of the necessary supplies in your pantry or cleaning cabinet.
Why is this a must-try? Because a truly clean home goes beyond surface-level appearances. It’s about eliminating hidden bacteria, allergens, and build-up that can impact your well-being. It’s about creating an environment where you can truly relax and recharge. And let’s be honest, there’s a certain satisfaction that comes from knowing you’ve conquered even the most stubborn cleaning challenges.
Don’t be afraid to experiment and adapt these easy deep cleaning tips to suit your specific needs and preferences. For instance, if you’re sensitive to strong smells, try using essential oils like lemon or lavender in your cleaning solutions for a natural and refreshing scent. You can also adjust the ratios of vinegar and water based on the severity of the grime you’re tackling. For particularly stubborn stains on grout, consider using a paste of baking soda and hydrogen peroxide, letting it sit for a few minutes before scrubbing. Another variation is to use a steam cleaner for deep cleaning carpets and upholstery, which can be a highly effective and eco-friendly option.
Ready to transform your home into a sparkling sanctuary? We urge you to give these easy deep cleaning tips a try. Start with one area, like your bathroom or kitchen, and experience the difference for yourself. We’re confident that you’ll be amazed by the results.
But don’t just take our word for it! We’re eager to hear about your experiences. Share your before-and-after photos, your favorite cleaning hacks, and any variations you’ve discovered in the comments below. Let’s create a community where we can all learn from each other and inspire each other to achieve a cleaner, healthier, and happier home. Your insights could be invaluable to someone else who’s just starting their deep cleaning journey. So, grab your supplies, roll up your sleeves, and get ready to experience the joy of a truly clean home! We can’t wait to hear your success stories!
Frequently Asked Questions (FAQ)
What are the most important areas to focus on when deep cleaning?
While every area of your home deserves attention, some areas tend to accumulate more grime and bacteria than others. Prioritize the kitchen and bathrooms, as these are high-traffic areas prone to spills, moisture, and mold growth. Pay special attention to surfaces like countertops, sinks, toilets, showers, and floors. Don’t forget about appliances like the microwave, oven, and refrigerator, which can harbor food residue and odors. Also, consider areas that are often overlooked, such as light fixtures, baseboards, and door handles, as these can accumulate dust and germs.
How often should I deep clean my home?
The frequency of deep cleaning depends on your lifestyle, the size of your home, and the number of people living there. As a general guideline, aim to deep clean your home at least twice a year, typically in the spring and fall. However, if you have pets, children, or allergies, you may need to deep clean more frequently, perhaps every three to four months. Regular maintenance cleaning, such as wiping down surfaces and vacuuming floors, should be done weekly to prevent dirt and grime from building up.
What are some eco-friendly cleaning alternatives I can use?
Many conventional cleaning products contain harsh chemicals that can be harmful to your health and the environment. Fortunately, there are plenty of eco-friendly alternatives you can use for deep cleaning. Vinegar is a versatile cleaner that can be used to disinfect surfaces, remove hard water stains, and deodorize. Baking soda is a natural abrasive that can be used to scrub away grime and remove odors. Lemon juice is a natural disinfectant and degreaser. Essential oils, such as tea tree oil and eucalyptus oil, have antibacterial and antifungal properties. You can also find a wide range of eco-friendly cleaning products at most grocery stores and online retailers.
How can I prevent mold growth in my bathroom?
Mold thrives in damp, humid environments, making bathrooms a prime breeding ground. To prevent mold growth, ensure proper ventilation by opening windows or using a ventilation fan after showering or bathing. Wipe down wet surfaces, such as shower walls and doors, after each use. Regularly clean your shower curtain or door with a mold-killing cleaner. Fix any leaks promptly to prevent water damage. Consider using a dehumidifier to reduce moisture levels in your bathroom.
What’s the best way to clean grout?
Grout can be notoriously difficult to clean, as it’s porous and easily absorbs dirt and grime. For light cleaning, try scrubbing grout with a mixture of baking soda and water using an old toothbrush. For more stubborn stains, create a paste of baking soda and hydrogen peroxide, apply it to the grout, let it sit for a few minutes, and then scrub with a brush. You can also use a commercial grout cleaner, but be sure to follow the instructions carefully. For heavily stained grout, consider using a steam cleaner or hiring a professional grout cleaning service.
How can I remove stubborn stains from carpets?
Carpet stains can be frustrating, but with the right approach, you can often remove them successfully. Act quickly to blot up spills before they set in. Use a clean cloth or paper towel to blot the stain from the outside in, avoiding rubbing, which can spread the stain. For most stains, a mixture of water and mild dish soap can be effective. For tougher stains, try using a commercial carpet cleaner or a solution of vinegar and water. Always test the cleaner in an inconspicuous area first to ensure it doesn’t damage the carpet. After cleaning, blot the area dry and vacuum thoroughly.
How do I clean my microwave effectively?
Cleaning your microwave regularly is essential to prevent food residue and odors from building up. A simple and effective method is to place a microwave-safe bowl filled with water and a few slices of lemon or a tablespoon of vinegar in the microwave. Heat the mixture on high for a few minutes until the water boils and the microwave is filled with steam. Let the steam sit for a few minutes to loosen the grime, then carefully remove the bowl and wipe down the interior of the microwave with a clean cloth or sponge.
What are some tips for decluttering before deep cleaning?
Decluttering is an essential first step before deep cleaning, as it allows you to focus on cleaning the surfaces and areas that truly need attention. Start by going through each room and removing any items you no longer need, use, or love. Donate, sell, or discard unwanted items. Organize your belongings and put everything in its place. This will not only make the deep cleaning process easier but also create a more organized and clutter-free living space.
How can I make deep cleaning less overwhelming?
Deep cleaning can seem like a daunting task, but you can make it less overwhelming by breaking it down into smaller, more manageable steps. Create a cleaning schedule and focus on one room or area at a time. Set realistic goals and don’t try to do everything at once. Enlist the help of family members or friends. Put on some music or a podcast to make the process more enjoyable. Remember to take breaks and reward yourself for your efforts.
What safety precautions should I take when deep cleaning?
When deep cleaning, it’s important to take certain safety precautions to protect yourself from injury and exposure to harsh chemicals. Wear gloves to protect your hands from cleaning solutions. Open windows or use a ventilation fan to ensure proper ventilation. Avoid mixing different cleaning products, as this can create dangerous fumes. Store cleaning products out of reach of children and pets. If you’re using a ladder, make sure it’s stable and secure. If you have any allergies or sensitivities, wear a mask to protect yourself from dust and allergens. Always read and follow the instructions on cleaning product labels.

Leave a Comment