

Senior home cleaning tips are more than just a set of instructions; they’re a pathway to maintaining independence, comfort, and a sense of well-being in your cherished home. Let’s face it, as we gracefully age, some tasks become a little more challenging. Bending, stretching, and scrubbing might not be as easy as they once were, but that doesn’t mean you have to sacrifice a clean and inviting living space!
Historically, cleanliness has always been linked to health and happiness. From ancient rituals to modern practices, a tidy home has been seen as a reflection of a clear mind and a healthy body. Today, that connection is even more important for seniors. A clean home reduces the risk of falls, minimizes allergens, and creates a more positive and uplifting environment.
That’s why I’ve put together this collection of DIY cleaning tricks and hacks specifically designed with seniors in mind. We’ll explore simple, effective strategies that minimize strain, maximize results, and allow you to maintain a sparkling home without overexerting yourself. These senior home cleaning tips will empower you to keep your home looking its best, so you can focus on enjoying the things you love most. Let’s get started!
DIY Senior-Friendly Home Cleaning: Making Life Easier and Safer
Hey everyone! As we or our loved ones get older, keeping a home clean and safe can become a bigger challenge. But don’t worry, I’m here to share some awesome DIY cleaning hacks that are specifically designed to make life easier and safer for seniors. These tips focus on minimizing strain, preventing falls, and using readily available, often budget-friendly, supplies. Let’s get started!
Choosing the Right Cleaning Supplies
Before we dive into the cleaning itself, let’s talk about supplies. The right tools can make a huge difference in how easy and effective cleaning is.
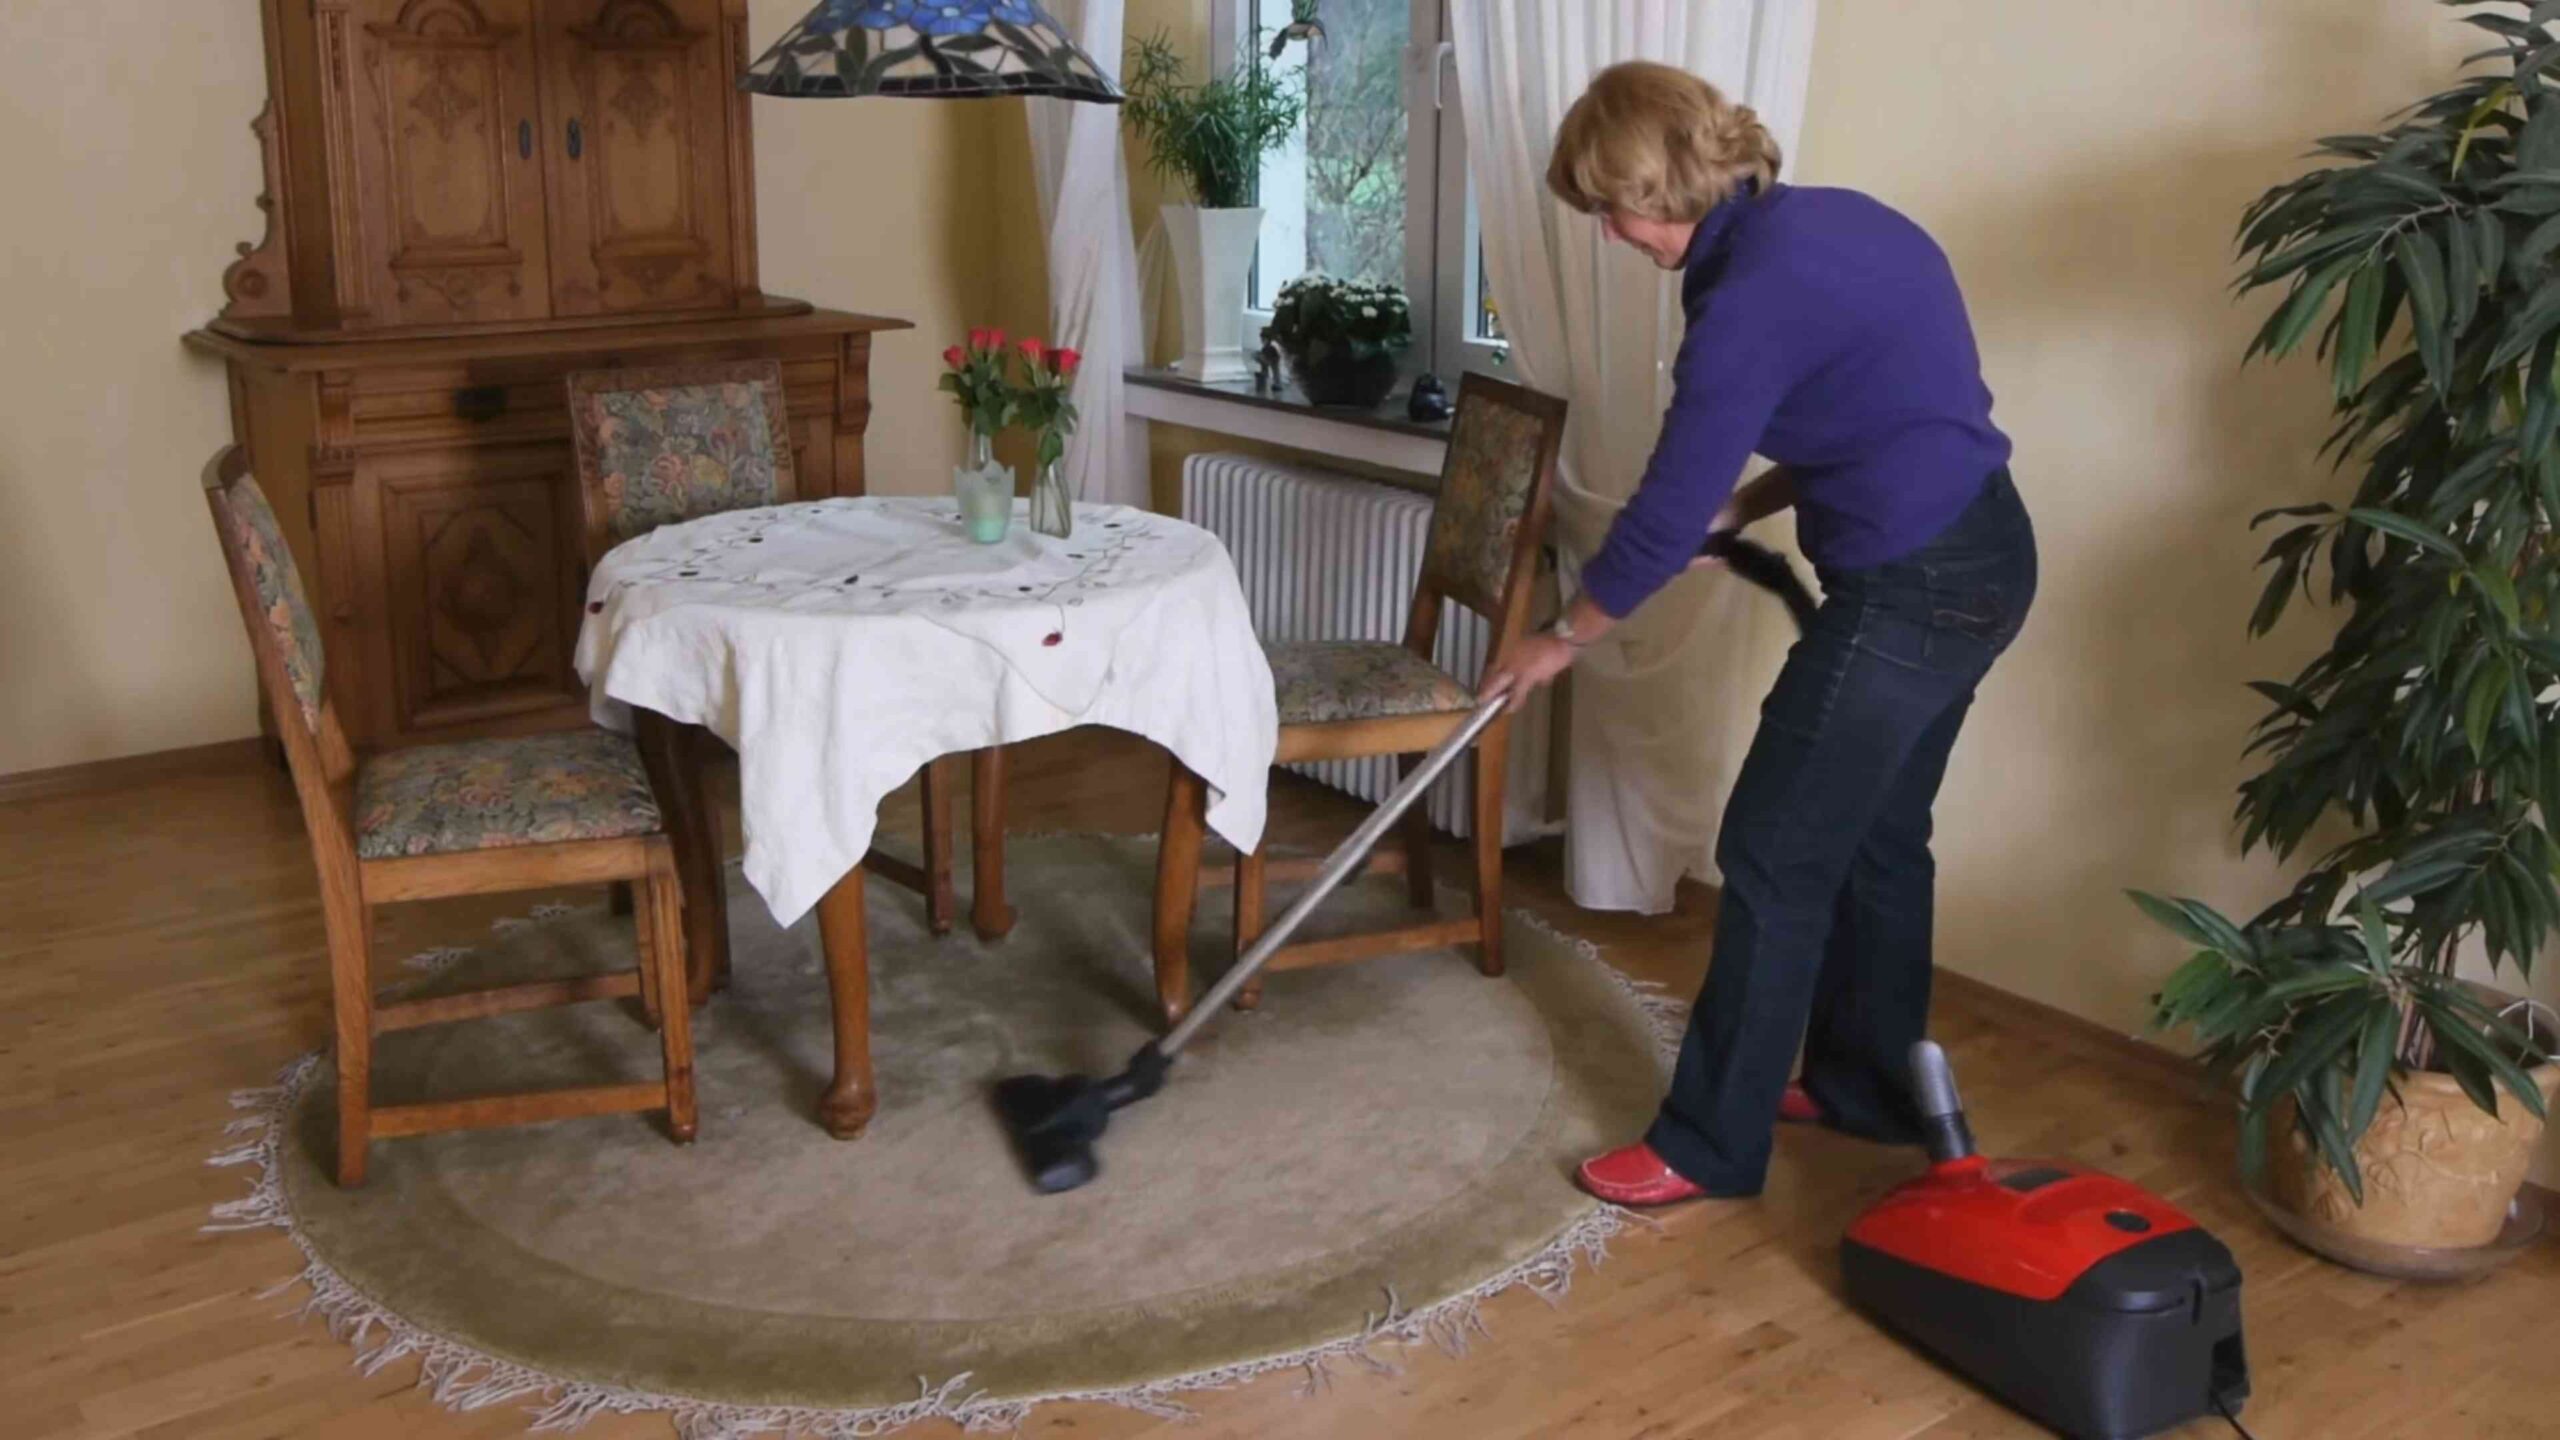
* Lightweight Tools: Opt for lightweight vacuum cleaners, mops, and dusters. Heavy equipment can be difficult to maneuver and can lead to fatigue.
* Ergonomic Handles: Look for tools with ergonomic handles that are easy to grip and won’t strain the wrists or hands.
* Long Handles: Extendable handles on dusters, mops, and scrub brushes can help reach high or low areas without bending or stretching excessively.
* Microfiber Cloths: These are fantastic for cleaning almost any surface. They’re lightweight, absorbent, and can be washed and reused. Plus, they’re great at trapping dust and dirt.
* Gentle Cleaning Solutions: Harsh chemicals can be irritating to sensitive skin and respiratory systems. Choose gentle, non-toxic cleaning solutions whenever possible. Vinegar, baking soda, and lemon juice are excellent natural alternatives.
* Spray Bottles: Pre-mixed cleaning solutions in spray bottles are convenient and easy to use. Make sure the spray nozzle is easy to operate.
* Caddies or Rolling Carts: Keep cleaning supplies organized and easily accessible by using a caddy or rolling cart. This eliminates the need to carry heavy buckets or bags around the house.
Bathroom Cleaning: Preventing Slips and Falls
The bathroom can be a high-risk area for falls, so it’s crucial to keep it clean and safe.
1. Cleaning the Shower/Tub:
* Step 1: Prepare Your Cleaning Solution. I like to use a mixture of equal parts white vinegar and water in a spray bottle. You can also add a few drops of tea tree oil for its antibacterial properties.
* Step 2: Spray the Surfaces. Generously spray the shower walls, floor, and any glass doors with the vinegar solution. Let it sit for about 15-20 minutes to loosen soap scum and grime.
* Step 3: Scrub Gently. Use a long-handled scrub brush or a microfiber cloth to gently scrub the surfaces. Pay special attention to areas with stubborn stains or mildew.
* Step 4: Rinse Thoroughly. Rinse the shower/tub with warm water until all the cleaning solution is gone.
* Step 5: Dry the Surfaces. Use a clean microfiber cloth to dry the surfaces. This will help prevent water spots and mildew growth.
* Step 6: Clean the Showerhead. Mineral buildup can reduce water pressure. To clean it, fill a plastic bag with white vinegar and secure it around the showerhead with a rubber band. Let it soak overnight, then remove the bag and run the shower to flush out any remaining vinegar.
2. Cleaning the Toilet:
* Step 1: Flush the Toilet.
* Step 2: Apply Toilet Bowl Cleaner. Squirt a toilet bowl cleaner under the rim of the bowl. Let it sit for the recommended time on the product label.
* Step 3: Scrub the Bowl. Use a toilet brush to scrub the inside of the bowl, paying attention to any stains or buildup.
* Step 4: Flush Again. Flush the toilet to rinse away the cleaner and debris.
* Step 5: Clean the Exterior. Wipe down the exterior of the toilet, including the seat, lid, and base, with a disinfectant wipe or a microfiber cloth dampened with a cleaning solution.
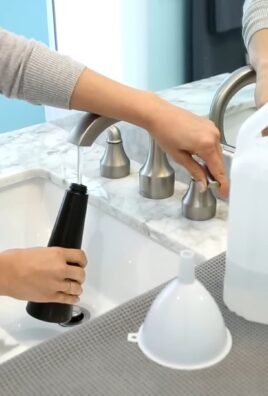
3. Cleaning the Sink and Countertop:
* Step 1: Clear the Area. Remove any items from the sink and countertop.
* Step 2: Spray with Cleaning Solution. Spray the sink and countertop with a gentle cleaning solution.
* Step 3: Wipe Clean. Use a microfiber cloth to wipe down the surfaces, paying attention to any spills or stains.
* Step 4: Rinse (if necessary). If you used a cleaning solution that leaves a residue, rinse the surfaces with water.
* Step 5: Dry the Surfaces. Use a clean microfiber cloth to dry the surfaces.
4. Preventing Slips and Falls:
* Install Grab Bars: Install grab bars in the shower/tub and near the toilet to provide extra support.
* Use Non-Slip Mats: Place non-slip mats in the shower/tub and on the bathroom floor to prevent slips and falls.
* Keep the Floor Dry: Wipe up any spills immediately to prevent accidents.
* Ensure Adequate Lighting: Make sure the bathroom is well-lit to improve visibility.
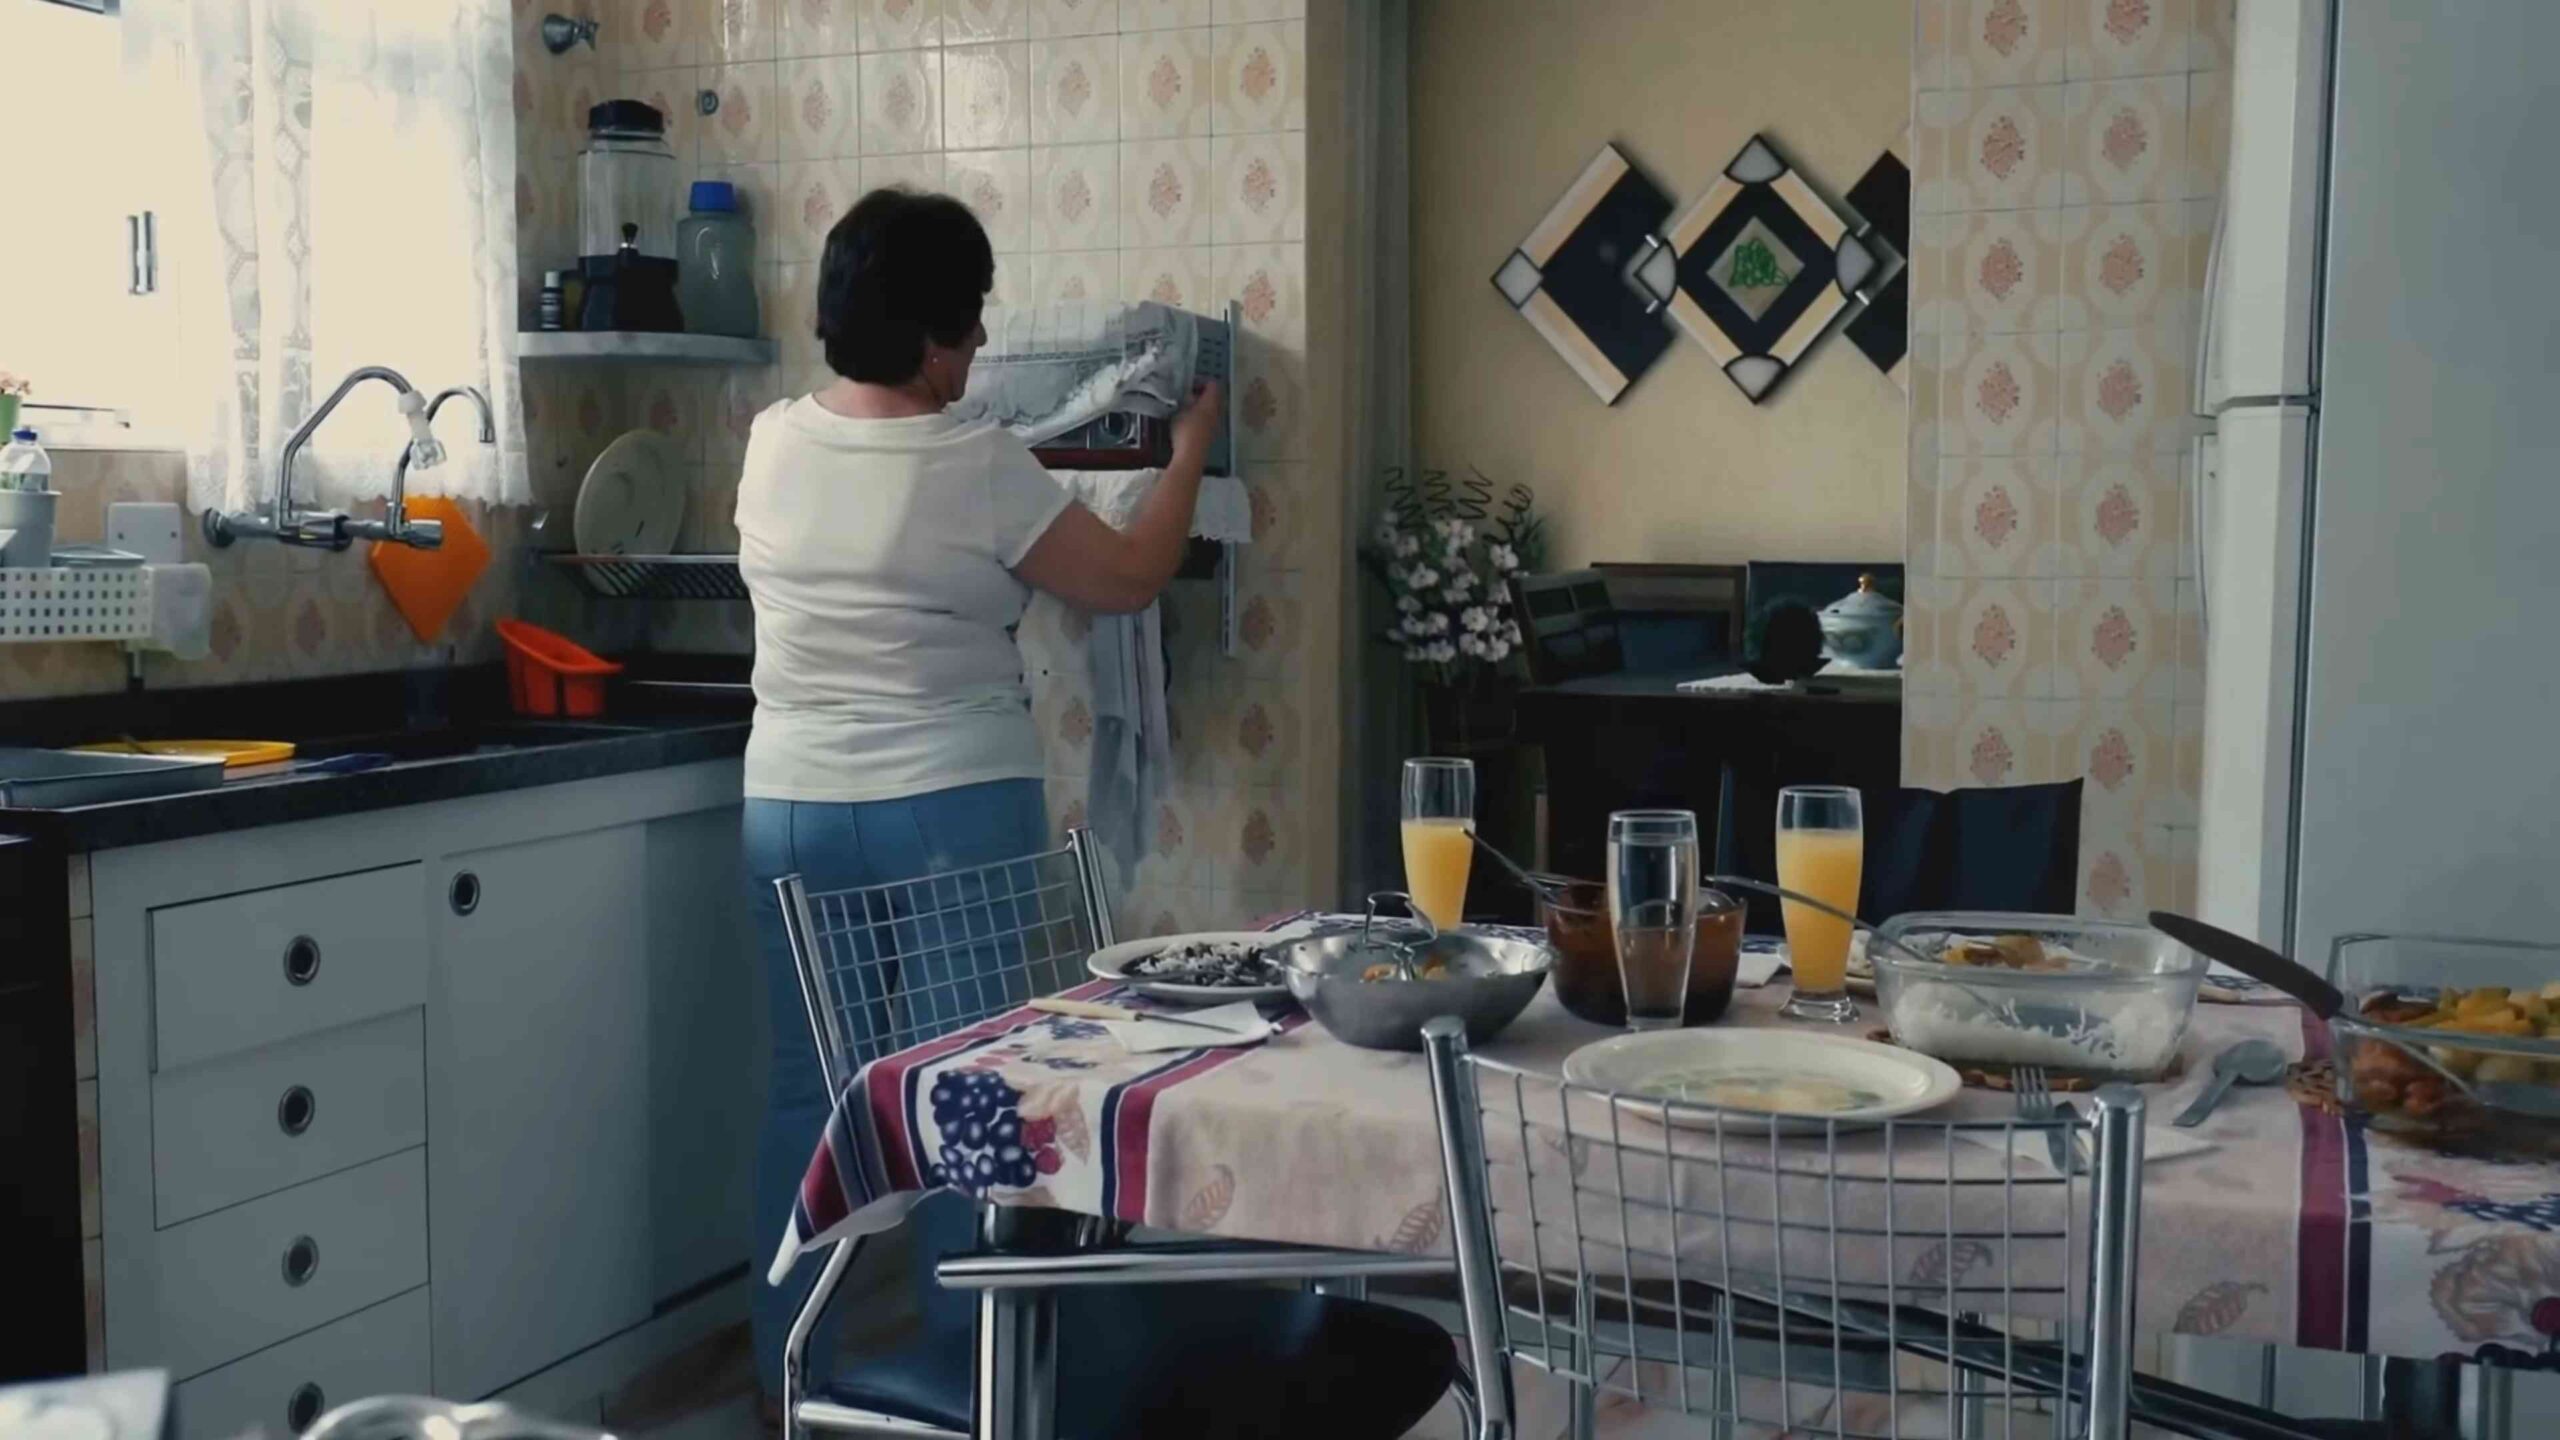
Kitchen Cleaning: Keeping it Safe and Sanitary
The kitchen is another area that requires special attention, especially when it comes to food safety.
1. Cleaning the Countertops:
* Step 1: Clear the Countertops. Remove any items from the countertops.
* Step 2: Spray with Cleaning Solution. Spray the countertops with a gentle cleaning solution. For granite or marble countertops, use a pH-neutral cleaner specifically designed for those surfaces.
* Step 3: Wipe Clean. Use a microfiber cloth to wipe down the surfaces, paying attention to any spills or stains.
* Step 4: Disinfect (if necessary). If you’ve been preparing raw meat or poultry on the countertops, disinfect them with a bleach solution (1 tablespoon of bleach per gallon of water). Let the solution sit for 10 minutes, then rinse with water and dry with a clean cloth.
* Step 5: Dry the Surfaces. Use a clean microfiber cloth to dry the surfaces.
2. Cleaning the Sink:
* Step 1: Remove Food Debris. Remove any food debris from the sink and drain.
* Step 2: Sprinkle with Baking Soda. Sprinkle baking soda over the entire sink surface.
* Step 3: Scrub with a Sponge. Use a damp sponge to scrub the sink, paying attention to any stains or buildup.
* Step 4: Rinse with Water. Rinse the sink with water until all the baking soda is gone.
* Step 5: Disinfect (optional). If you want to disinfect the sink, spray it with a bleach solution (1 tablespoon of bleach per gallon of water). Let the solution sit for 10 minutes, then rinse with water.
3. Cleaning the Stove Top:
* Step 1: Let it Cool Down. Make sure the stovetop is completely cool before cleaning it.
* Step 2: Remove Burner Grates. Remove the burner grates and soak them in warm, soapy water.
* Step 3: Wipe the Stovetop. Wipe the stovetop with a damp cloth to remove any loose debris.
* Step 4: Apply Cleaning Solution. Apply a stovetop cleaner or a mixture of baking soda and water to the stovetop. Let it sit for 15-20 minutes.
* Step 5: Scrub Gently. Use a non-abrasive scrub pad or sponge to gently scrub the stovetop.
* Step 6: Rinse with Water. Rinse the stovetop with water until all the cleaning solution is gone.
* Step 7: Dry the Surfaces. Use a clean microfiber cloth to dry the surfaces.
* Step 8: Clean Burner Grates. Scrub the burner grates with a scrub brush to remove any remaining grease or grime. Rinse them with water and dry them thoroughly before replacing them on the stovetop.
4. Cleaning the Microwave:
* Step 1: Prepare a Cleaning Solution. Fill a microwave-safe bowl with 1 cup of water and 2 tablespoons of white vinegar.
* Step 2: Microwave the Solution. Microwave the solution on high for 5 minutes.
* Step 3: Let it Sit. Leave the microwave door closed for another 5 minutes to allow the steam to loosen any food splatters.
* Step 4: Wipe Clean. Carefully remove the bowl and wipe down the inside of the microwave with a clean cloth.
* Step 5: Clean the Turntable. Remove the turntable and wash it with warm, soapy water. Rinse it thoroughly and dry it before replacing it in the microwave.
5. Cleaning the Refrigerator:
Conclusion
So, there you have it! These senior home cleaning tips aren’t just about tidying up; they’re about creating a safer, more comfortable, and more enjoyable living space for our loved ones. We’ve covered everything from decluttering strategies that minimize tripping hazards to choosing cleaning products that are gentle on sensitive skin and respiratory systems. We’ve emphasized the importance of adapting cleaning routines to individual abilities and preferences, and highlighted the value of involving seniors in the process whenever possible.
But why is this approach to senior home cleaning a must-try? Because it goes beyond surface-level cleaning. It addresses the unique challenges and needs of seniors, promoting their independence, well-being, and overall quality of life. A clean and organized home can significantly reduce the risk of falls, improve air quality, and boost mental health. It’s an investment in their happiness and security.
Consider these variations and suggestions to further personalize your approach:
* **Focus on High-Touch Surfaces:** Pay extra attention to disinfecting frequently touched surfaces like doorknobs, light switches, and handrails to minimize the spread of germs.
* **Incorporate Aromatherapy:** Use essential oil diffusers with calming scents like lavender or chamomile to create a relaxing and inviting atmosphere. Be mindful of any allergies or sensitivities.
* **Utilize Adaptive Cleaning Tools:** Explore tools like long-handled dusters, lightweight vacuums, and ergonomic cleaning brushes to make cleaning easier and more accessible.
* **Create a Cleaning Schedule:** Develop a simple, manageable cleaning schedule that breaks down tasks into smaller, more achievable steps. This can prevent overwhelm and ensure that cleaning is done consistently.
* **Personalize Cleaning Products:** Consider making your own cleaning solutions using natural ingredients like vinegar, baking soda, and lemon juice. These are often gentler and less irritating than commercial products. Always test a small, inconspicuous area first.
* **Don’t Underestimate the Power of Music:** Put on some upbeat music while cleaning to make the task more enjoyable and motivating.
* Prioritize Safety Above All Else: Ensure adequate lighting, remove clutter, and use non-slip mats in bathrooms and kitchens to prevent accidents.
Ultimately, the goal is to create a home environment that supports seniors in living their best lives. It’s about fostering a sense of dignity, independence, and well-being.
We strongly encourage you to try these senior home cleaning tips and adapt them to your specific situation. Every senior is unique, and what works for one may not work for another. Experiment, be patient, and most importantly, listen to the needs and preferences of the senior you are caring for.
We’d love to hear about your experiences! Share your successes, challenges, and any additional tips you’ve discovered in the comments below. Let’s create a community of support and share our knowledge to help seniors live comfortably and safely in their homes. Your insights could make a real difference in someone’s life.
Frequently Asked Questions (FAQ)
**Q: How often should I clean a senior’s home?**
A: The frequency of cleaning depends on the senior’s health, mobility, and personal preferences. A light cleaning, including dusting, vacuuming, and wiping down surfaces, should ideally be done weekly. Deeper cleaning, such as cleaning bathrooms and kitchens thoroughly, can be done bi-weekly or monthly. It’s crucial to observe the senior’s living habits and adjust the schedule accordingly. If they have pets or allergies, more frequent cleaning may be necessary. Also, consider their ability to participate in cleaning; if they can help with light tasks, it can contribute to their sense of independence and well-being.
**Q: What are the safest cleaning products to use in a senior’s home?**
A: Opt for natural and non-toxic cleaning products whenever possible. Harsh chemicals can irritate sensitive skin and respiratory systems. Look for products labeled “fragrance-free,” “hypoallergenic,” and “non-toxic.” Consider making your own cleaning solutions using ingredients like vinegar, baking soda, lemon juice, and essential oils. These are often gentler and more environmentally friendly. Always test any new cleaning product in a small, inconspicuous area first to ensure it doesn’t cause any adverse reactions. When using any cleaning product, ensure proper ventilation by opening windows or using a fan.
**Q: How can I declutter a senior’s home without causing distress?**
A: Decluttering can be a sensitive process, as seniors may have emotional attachments to their belongings. Approach it with empathy and respect. Involve the senior in the decision-making process and explain the benefits of decluttering, such as reducing tripping hazards and making cleaning easier. Start with small, manageable areas and focus on removing items that are no longer needed or used. Avoid throwing anything away without the senior’s permission. Consider donating unwanted items to charity or giving them to family members. Take breaks as needed and be patient. It’s often helpful to reminisce about the memories associated with certain items, even if they are ultimately discarded.
**Q: How can I make cleaning easier for seniors with limited mobility?**
A: Adapt the cleaning process to the senior’s abilities and limitations. Use adaptive cleaning tools such as long-handled dusters, lightweight vacuums, and ergonomic cleaning brushes. Break down cleaning tasks into smaller, more manageable steps. Encourage the senior to participate in tasks they are comfortable with, such as dusting or wiping down surfaces. Provide assistance with tasks that are more difficult or strenuous. Ensure adequate lighting and remove clutter to prevent accidents. Consider hiring a professional cleaning service for tasks that are beyond the senior’s capabilities.
**Q: What are some common safety hazards to look for when cleaning a senior’s home?**
A: Be aware of potential tripping hazards such as loose rugs, electrical cords, and clutter. Ensure that walkways are clear and well-lit. Check for slippery surfaces in bathrooms and kitchens and use non-slip mats. Inspect smoke detectors and carbon monoxide detectors to ensure they are working properly. Store cleaning products safely out of reach of children and pets. Be mindful of potential fire hazards such as overloaded electrical outlets and unattended candles. Regularly check for signs of pests such as rodents or insects.
**Q: How can I encourage a senior to participate in cleaning?**
A: Frame cleaning as a way to maintain their independence and well-being. Focus on tasks they enjoy and are capable of doing. Provide positive reinforcement and praise their efforts. Make cleaning a social activity by cleaning together and listening to music or chatting. Offer choices and allow them to personalize their cleaning routine. Be patient and understanding, and avoid being critical. Remember that the goal is to empower them and make them feel valued.
**Q: What if a senior refuses help with cleaning?**
A: Respect their autonomy and avoid forcing them to accept help they don’t want. Try to understand their reasons for refusing help. They may be concerned about losing their independence or feeling like a burden. Offer gentle encouragement and explain the benefits of a clean and safe home. Suggest alternative solutions such as hiring a professional cleaning service or asking a trusted friend or family member for assistance. Focus on building trust and rapport. Ultimately, the decision of whether or not to accept help is theirs.
**Q: How do I deal with hoarding tendencies in a senior’s home?**
A: Hoarding can be a complex issue with underlying emotional causes. Approach the situation with sensitivity and understanding. Avoid being judgmental or confrontational. Encourage the senior to seek professional help from a therapist or counselor specializing in hoarding disorders. Start with small, manageable steps and focus on creating a safe and functional living space. Work with the senior to identify items that can be discarded or donated. Be patient and supportive throughout the process. Remember that hoarding is often a symptom of a deeper issue and requires professional intervention.
**Q: Where can I find resources for senior home care and cleaning assistance?**
A: There are many resources available to help seniors maintain their homes. Contact your local Area Agency on Aging for information on senior services in your area. Explore online resources such as the National Council on Aging and the AARP. Consider hiring a professional home care agency that specializes in senior care. Look for local volunteer organizations that provide assistance to seniors in need. Talk to your doctor or other healthcare providers for recommendations. Remember that there are many people and organizations dedicated to helping seniors live comfortably and safely in their homes.
Leave a Comment