

Quick Cleaning Hacks That Work are a lifesaver, aren’t they? I mean, who has hours to spend scrubbing and scouring these days? We’re all juggling work, family, hobbies, and trying to squeeze in a little “me time” – the last thing we need is to be chained to the cleaning supplies!
For centuries, people have been devising clever ways to keep their homes tidy. Think about it: even before the age of fancy cleaning products, our ancestors relied on natural ingredients and ingenious techniques to maintain a clean and healthy living space. From using vinegar and baking soda to employing simple tools, the quest for a spotless home is a timeless pursuit.
That’s why I’m so excited to share these quick cleaning hacks that work! Let’s face it, a clean home isn’t just about appearances; it’s about creating a comfortable and healthy environment for ourselves and our loved ones. A cluttered and dirty space can impact our mood, productivity, and even our health. But with these simple and effective tricks, you can reclaim your weekends and enjoy a sparkling clean home without sacrificing all your precious free time. Get ready to discover some game-changing tips that will make cleaning less of a chore and more of a breeze!
Quick Cleaning Hacks That Work: My Secret Weapons for a Sparkling Home
Okay, let’s be honest, cleaning isn’t exactly anyone’s favorite pastime. But a clean home? That’s something we can all get behind! Over the years, I’ve stumbled upon (and sometimes invented!) some seriously effective cleaning hacks that cut down on time and effort. I’m spilling all my secrets today, so get ready to transform your cleaning routine!
Cleaning the Microwave Like a Pro (Without Scrubbing!)
This is one of my absolute favorite hacks because it’s so ridiculously easy. Say goodbye to scrubbing baked-on food splatters!
* The Goal: To loosen up grime in your microwave so you can wipe it clean with minimal effort.
* The Weapon of Choice: Vinegar and water (or lemon juice and water).
* Time Saver: This hack takes about 10 minutes, most of which is hands-off.
Step-by-Step Instructions:
1. Mix Your Solution: In a microwave-safe bowl, combine 1 cup of water with 1/4 cup of white vinegar (or the juice of one lemon). The vinegar (or lemon) helps to break down the grease and grime.
2. Microwave Magic: Place the bowl in your microwave and heat on high for 5-7 minutes. You want the solution to boil and create steam.
3. Let it Sit: Once the timer goes off, don’t open the microwave door! Let the steam work its magic for another 3-5 minutes. This is crucial for loosening the stubborn gunk.
4. Wipe Away the Mess: Carefully remove the bowl (it will be hot!). Use a clean cloth or sponge to easily wipe away the loosened food particles. You’ll be amazed at how effortlessly everything comes off.
5. Final Touches: For any particularly stubborn spots, you might need a little extra elbow grease, but it should be significantly easier than before. Wipe down the turntable and the inside of the door.
De-Gunking Your Showerhead for Better Water Pressure
Hard water can wreak havoc on your showerhead, leading to mineral buildup and reduced water pressure. This hack will have you singing in the shower again in no time!
* The Goal: To dissolve mineral deposits and restore optimal water flow.
* The Weapon of Choice: White vinegar and a plastic bag.
* Time Saver: This requires soaking overnight, but the active cleaning time is minimal.
Step-by-Step Instructions:
1. Vinegar Bath: Fill a plastic bag (a sandwich bag works well for smaller showerheads, a gallon bag for larger ones) with white vinegar. You need enough vinegar to completely submerge the showerhead.
2. Secure the Bag: Carefully position the bag over the showerhead, ensuring the showerhead is fully immersed in the vinegar. Use a rubber band or twist tie to secure the bag tightly around the showerhead neck.
3. Overnight Soak: Let the showerhead soak in the vinegar overnight (or for at least 8 hours). This allows the vinegar to dissolve the mineral deposits effectively.
4. Remove and Rinse: Remove the bag and discard the vinegar. Turn on the shower and let the water run for a few minutes to flush out any remaining vinegar and loosened debris.
5. Scrub Stubborn Spots (If Needed): If you still see some mineral buildup, use an old toothbrush to gently scrub the affected areas.
6. Enjoy the Pressure: Prepare to be amazed by the improved water pressure!
Cleaning Blinds Like a Pro
Cleaning blinds can be a tedious task, but this hack makes it much more manageable.
* The Goal: To quickly and efficiently remove dust and grime from blinds.
* The Weapon of Choice: An old sock and a vinegar solution.
* Time Saver: This method is much faster than wiping each slat individually.
Step-by-Step Instructions:
1. Prepare Your Weapon: Mix equal parts white vinegar and warm water in a bowl.
2. Sock It To ‘Em: Put an old sock on your hand. Dip the sock-covered hand into the vinegar solution and wring out any excess liquid. You want the sock to be damp, not soaking wet.
3. Blind Cleaning Time: Pinch each slat of the blind between your thumb and forefinger (still covered by the sock) and slide along the length of the slat. The sock will pick up the dust and grime.
4. Rinse and Repeat: Rinse the sock in the vinegar solution as needed and wring it out again. Continue cleaning each slat until all the blinds are clean.
5. Dry Time: Allow the blinds to air dry completely before closing them. You can also use a clean, dry sock to wipe them down for faster drying.
Reviving Grout with Baking Soda and Vinegar
Dirty grout can make even the cleanest tiles look dingy. This simple hack will brighten your grout lines and make your bathroom or kitchen sparkle.
* The Goal: To remove stains and discoloration from grout lines.
* The Weapon of Choice: Baking soda, white vinegar, and an old toothbrush.
* Time Saver: This requires a little scrubbing, but the results are worth it!
Step-by-Step Instructions:
1. Baking Soda Paste: Make a paste by mixing baking soda with a little water. The consistency should be thick enough to stick to the grout lines.
2. Apply the Paste: Apply the baking soda paste to the grout lines using your fingers or a small spatula.
3. Vinegar Fizz: Pour or spray white vinegar onto the baking soda paste. It will fizz and bubble – this is the chemical reaction that helps to loosen the dirt and grime.
4. Scrub-a-Dub-Dub: Let the mixture sit for a few minutes, then use an old toothbrush to scrub the grout lines. Apply some elbow grease for best results.
5. Rinse and Repeat (If Needed): Rinse the area with clean water. If the grout is still stained, repeat the process.
6. Dry and Admire: Dry the area with a clean cloth and admire your sparkling clean grout!
Cleaning Your Dishwasher Like a Boss
Your dishwasher works hard to clean your dishes, but it needs cleaning too! This hack will keep your dishwasher running efficiently and smelling fresh.
* The Goal: To remove food debris, mineral buildup, and odors from your dishwasher.
* The Weapon of Choice: White vinegar and baking soda.
* Time Saver: This is a mostly hands-off cleaning process.
Step-by-Step Instructions:
1. Vinegar Power Wash: Place a dishwasher-safe cup filled with 1 cup of white vinegar on the top rack of your empty dishwasher.
2. Run a Hot Cycle: Run the dishwasher on a hot cycle. The vinegar will help to dissolve grease, grime, and mineral deposits.
3. Baking Soda Freshener: Once the cycle is complete, sprinkle 1 cup of baking soda on the bottom of the dishwasher.
4. Short Cycle Refresh: Run a short, hot cycle. The baking soda will help to absorb any lingering odors and further clean the dishwasher.
5. Wipe Down: After the cycle is finished, wipe down the interior of the dishwasher with a clean cloth. Pay attention to the door seals and spray arms.
Making Your Stainless Steel Shine
Stainless steel appliances can be beautiful, but they’re also magnets for fingerprints and smudges. This hack will keep your stainless steel looking its best.
* The Goal: To remove fingerprints, smudges, and water spots from stainless steel surfaces.
* The Weapon of Choice: White vinegar and olive oil.
* Time Saver: This is a quick and easy way to maintain your stainless steel appliances.
Step-by-Step Instructions:
1. Vinegar Cleanse: Spray white vinegar onto a clean microfiber cloth. Wipe down the stainless steel surface, following the grain of the metal. The vinegar will help to remove fingerprints and smudges.
2. Olive Oil Polish: Put a few drops of olive oil onto a clean, dry microfiber cloth. Buff the stainless steel surface, again following the grain of the metal. The olive oil will create a protective layer and give your appliances a beautiful shine.
3. Buff to Perfection: Use a clean section of the microfiber cloth to buff away any excess olive oil.
Unclogging Drains with Ease
A clogged drain is a major inconvenience. This natural solution can often clear minor clogs without the need for harsh chemicals.
* The Goal: To dissolve minor clogs in drains.
* The Weapon of Choice: Baking soda and white vinegar.
* Time Saver: This is a quick and effective way to try and clear a clogged drain before
Conclusion
So, there you have it! These quick cleaning hacks aren’t just about saving time; they’re about reclaiming your life. Imagine spending less time scrubbing and more time doing the things you truly enjoy. From effortlessly removing stubborn stains to banishing grime from those hard-to-reach places, these DIY solutions are game-changers.
The beauty of these hacks lies in their simplicity and accessibility. You likely already have most, if not all, of the ingredients needed right in your pantry or bathroom cabinet. No need for expensive, harsh chemicals when you can achieve sparkling results with natural, everyday items. Think of the money you’ll save and the peace of mind knowing you’re using safer alternatives for your family and the environment.
But the real magic happens when you start experimenting and adapting these hacks to your specific needs. For instance, if you’re dealing with particularly tough grease stains in the kitchen, try adding a bit of dish soap to your baking soda paste for extra cleaning power. Or, if you’re sensitive to the smell of vinegar, infuse it with citrus peels for a more pleasant aroma. You can even create your own signature cleaning solutions by combining different ingredients and essential oils to create a personalized cleaning experience.
Consider these variations:
* **Lemon Power:** For a refreshing and disinfecting boost, add lemon juice to your cleaning solutions. Lemon’s acidity helps cut through grease and grime, leaving behind a bright, clean scent.
* **Essential Oil Infusion:** Add a few drops of your favorite essential oils, like lavender, tea tree, or eucalyptus, to your cleaning solutions for added aromatherapy benefits and antibacterial properties.
* **Spice it Up:** For stubborn odors, try simmering cinnamon sticks or cloves in water on the stovetop to naturally freshen the air.
* **DIY Cleaning Wipes:** Create your own reusable cleaning wipes by soaking microfiber cloths in a mixture of water, vinegar, and a few drops of essential oil. Store them in an airtight container for quick and easy cleanups.
These **quick cleaning hacks** are more than just tips and tricks; they’re a pathway to a cleaner, healthier, and more enjoyable home. They empower you to take control of your cleaning routine and create a space that truly reflects your values.
We wholeheartedly encourage you to try these DIY cleaning hacks and see the difference they can make in your home. Don’t be afraid to experiment, adapt, and discover what works best for you. And most importantly, we want to hear about your experiences! Share your before-and-after photos, your favorite variations, and any other tips you’ve discovered in the comments below. Let’s create a community of cleaning enthusiasts who are passionate about making their homes sparkle without breaking the bank or harming the environment. Your insights could inspire others to embrace these simple yet effective cleaning solutions and transform their own homes. So, go ahead, give these hacks a try, and let us know what you think! We can’t wait to hear from you.
Frequently Asked Questions (FAQs)
Q: Are these cleaning hacks safe for all surfaces?
A: While most of these hacks are generally safe for a variety of surfaces, it’s always a good idea to test them in an inconspicuous area first, especially on delicate or sensitive materials like wood, marble, or painted surfaces. For example, vinegar, while a powerful cleaner, can etch marble, so it’s best to avoid using it on that surface. Similarly, abrasive cleaners like baking soda should be used with caution on easily scratched surfaces. Always read the labels of any commercial cleaning products you’re using in conjunction with these hacks to ensure compatibility. When in doubt, consult the manufacturer’s instructions or a professional cleaner.
Q: Can I use these cleaning hacks if I have allergies or sensitivities?
A: If you have allergies or sensitivities, it’s crucial to be mindful of the ingredients used in these cleaning hacks. For example, if you’re allergic to citrus, avoid using lemon juice or citrus-based essential oils. Similarly, if you’re sensitive to strong smells, opt for milder essential oils or skip them altogether. Always wear gloves when handling cleaning solutions to protect your skin. If you experience any adverse reactions, such as skin irritation or respiratory problems, discontinue use immediately and consult a doctor. Consider using hypoallergenic cleaning products or creating your own solutions with ingredients you know are safe for you.
Q: How often should I use these cleaning hacks?
A: The frequency of using these cleaning hacks depends on your individual needs and lifestyle. For general cleaning, you can incorporate them into your regular cleaning routine, such as weekly or bi-weekly. For tackling specific stains or messes, you can use them as needed. However, it’s important to avoid over-cleaning, as this can damage surfaces or lead to unnecessary wear and tear. Pay attention to the condition of your home and adjust your cleaning schedule accordingly. Remember, consistency is key to maintaining a clean and healthy home.
Q: Can I mix different cleaning ingredients together?
A: It’s generally not recommended to mix different cleaning ingredients together, as this can create dangerous chemical reactions. For example, mixing bleach with ammonia can produce toxic fumes that can be harmful to your health. Similarly, mixing vinegar with bleach can create chlorine gas, which is also highly dangerous. Always use cleaning ingredients separately and follow the instructions on the labels carefully. If you’re unsure about the compatibility of two ingredients, it’s best to err on the side of caution and avoid mixing them.
Q: Are these cleaning hacks environmentally friendly?
A: Many of these cleaning hacks utilize natural ingredients like vinegar, baking soda, and lemon juice, which are generally considered to be more environmentally friendly than harsh chemicals. However, it’s important to be mindful of the sourcing and production of these ingredients. Opt for organic or sustainably sourced ingredients whenever possible. Additionally, consider using reusable cleaning cloths and containers to reduce waste. By making conscious choices about the products you use and the way you clean, you can minimize your environmental impact and create a more sustainable home.
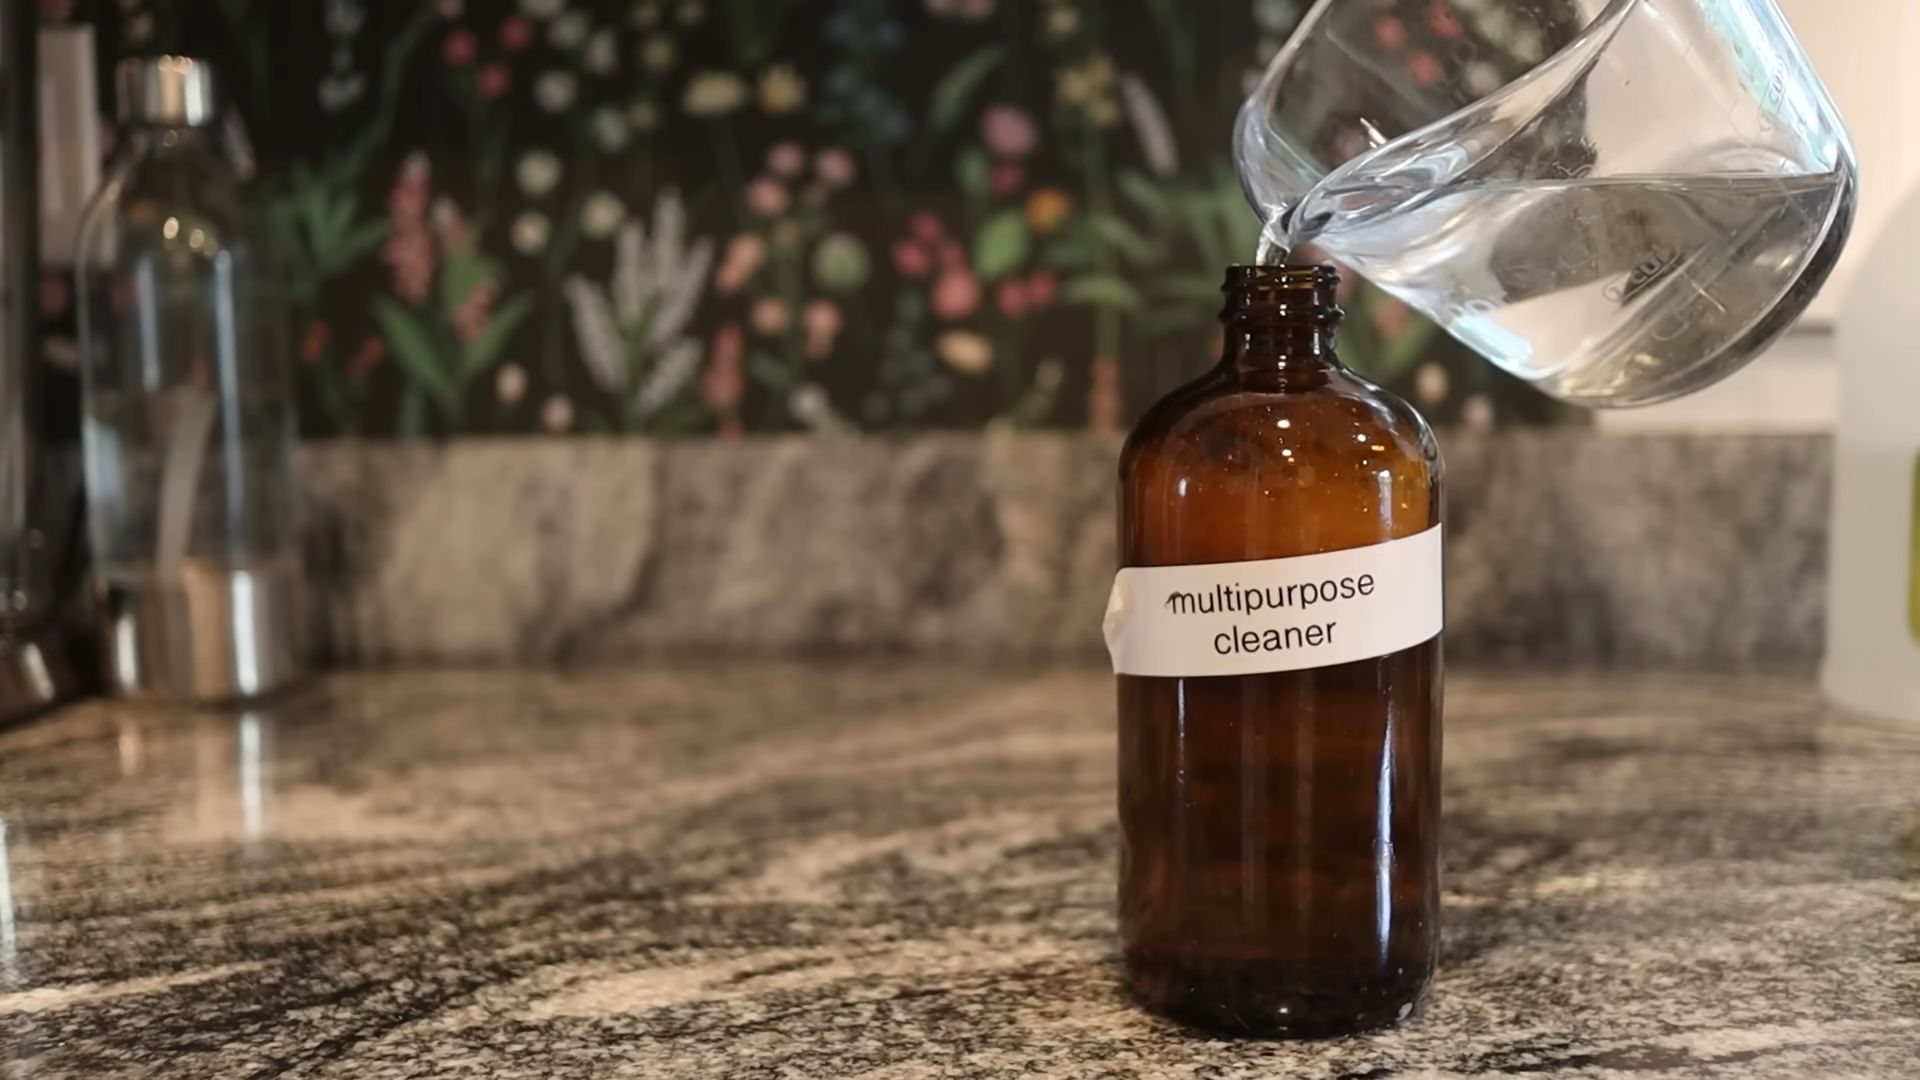
Q: How do I store homemade cleaning solutions?
A: Store homemade cleaning solutions in clean, airtight containers labeled with the contents and date. Keep them out of reach of children and pets. Avoid storing them in direct sunlight or extreme temperatures, as this can affect their effectiveness. Most homemade cleaning solutions have a limited shelf life, so it’s best to use them within a few weeks or months. If you notice any changes in color, odor, or consistency, discard the solution.
Q: What are some other quick cleaning hacks I can try?
A: Beyond the hacks mentioned in the article, here are a few more quick cleaning hacks to try:
* **Microwave Cleaning:** Place a bowl of water with lemon slices in the microwave and heat for a few minutes. The steam will loosen grime, making it easy to wipe clean.
* **Shower Head Cleaning:** Soak your shower head in a bag filled with vinegar overnight to remove mineral buildup.
* **Blender Cleaning:** Fill your blender with water and a drop of dish soap, then blend for a few seconds to clean it quickly.
* **Mattress Refreshing:** Sprinkle baking soda on your mattress, let it sit for a few hours, then vacuum it up to remove odors and moisture.
These are just a few examples, and there are countless other quick cleaning hacks you can discover with a little research and experimentation.
Q: What if these quick cleaning hacks don’t work for me?
A: While these quick cleaning hacks are effective for many people, they may not work for everyone or every situation. Factors such as the type of stain, the surface being cleaned, and the concentration of the cleaning solution can all affect the results. If you’re not seeing the desired results, try adjusting the recipe or technique. You may also need to use a stronger cleaning solution or seek professional help for particularly stubborn stains or messes. Remember, cleaning is often a process of trial and error, so don’t be discouraged if you don’t get it right the first time.

Leave a Comment