

Grow Thyme at Home, and unlock a world of culinary possibilities right outside your door! Imagine stepping into your garden, the sun warming your face, and snipping fresh, fragrant thyme to elevate your next meal. No more bland dishes – just vibrant, herbaceous flavor at your fingertips. But let’s be honest, sometimes gardening feels like a daunting task, right? That’s where these simple DIY tricks come in!
Thyme, with its rich history dating back to ancient Egypt, where it was used for embalming, and ancient Greece, where it symbolized courage, has always been valued for its medicinal and aromatic properties. It’s a herb steeped in tradition, and now, you can easily cultivate this piece of history in your own backyard.
Why do you need these DIY thyme-growing hacks? Because let’s face it, not everyone has a green thumb! Maybe you’ve tried growing herbs before with less-than-stellar results. Or perhaps you’re a complete beginner, intimidated by the thought of starting a garden. Don’t worry, I’ve been there! These easy-to-follow tips will demystify the process and empower you to successfully grow thyme at home, regardless of your experience level. We’ll cover everything from choosing the right location to propagating new plants, ensuring you have a thriving thyme patch for years to come. Get ready to transform your garden and your cooking!
Growing Thyme at Home: A Beginner’s Guide
Hey there, fellow plant enthusiasts! I’m so excited to share my experience with growing thyme at home. It’s surprisingly easy, incredibly rewarding, and having fresh thyme on hand for cooking is a total game-changer. Trust me, once you start, you’ll wonder why you didn’t do it sooner!
Why Grow Thyme?
Before we dive into the how-to, let’s talk about why thyme is such a fantastic herb to grow yourself:
* Flavor Powerhouse: Fresh thyme has a much more vibrant and complex flavor than dried thyme. It elevates everything from roasted vegetables to soups and stews.
* Low Maintenance: Thyme is a pretty hardy plant that doesn’t require a ton of attention. Perfect for beginner gardeners!
* Versatile: There are so many different varieties of thyme, each with its own unique flavor and aroma. Lemon thyme, creeping thyme, English thyme – the possibilities are endless!
* Beautiful: Thyme adds a lovely touch to any garden or windowsill. Some varieties even produce delicate flowers.
* Health Benefits: Thyme is known for its antiseptic and antioxidant properties.
Choosing Your Thyme Variety
Okay, so you’re convinced you want to grow thyme. Awesome! The first step is choosing which variety to grow. Here are a few popular options:
* English Thyme (Thymus vulgaris): This is the most common type of thyme and has a classic, earthy flavor. It’s great for general cooking purposes.
* Lemon Thyme (Thymus citriodorus): As the name suggests, this variety has a distinct lemon scent and flavor. It’s delicious in teas, salads, and with fish.
* Creeping Thyme (Thymus serpyllum): This low-growing thyme is often used as a ground cover. It has a slightly milder flavor than English thyme.
* Woolly Thyme (Thymus pseudolanuginosus): This variety is known for its soft, fuzzy leaves. It’s more ornamental than culinary, but still has a pleasant aroma.
I personally love growing both English thyme and lemon thyme. They complement each other beautifully in recipes.
Getting Started: Seeds vs. Cuttings vs. Starter Plants
You have a few options for starting your thyme journey:
* Seeds: Starting from seed is the most economical option, but it can be a bit more challenging. Thyme seeds are tiny and can be slow to germinate.
* Cuttings: Propagating thyme from cuttings is a great way to clone your favorite varieties. It’s relatively easy and faster than starting from seed.
* Starter Plants: Buying starter plants from a nursery is the easiest and fastest way to get started. You’ll have a thriving thyme plant in no time!
For beginners, I usually recommend starting with starter plants. It’s the most foolproof method. But if you’re feeling adventurous, give seeds or cuttings a try!
Growing Thyme from Starter Plants: Step-by-Step
This is the method I use most often, and it’s super simple.
What You’ll Need:
* Thyme starter plant(s)
* Potting mix (well-draining)
* Pot(s) with drainage holes (at least 6 inches in diameter)
* Watering can or spray bottle
* Sunny location
Step-by-Step Instructions:
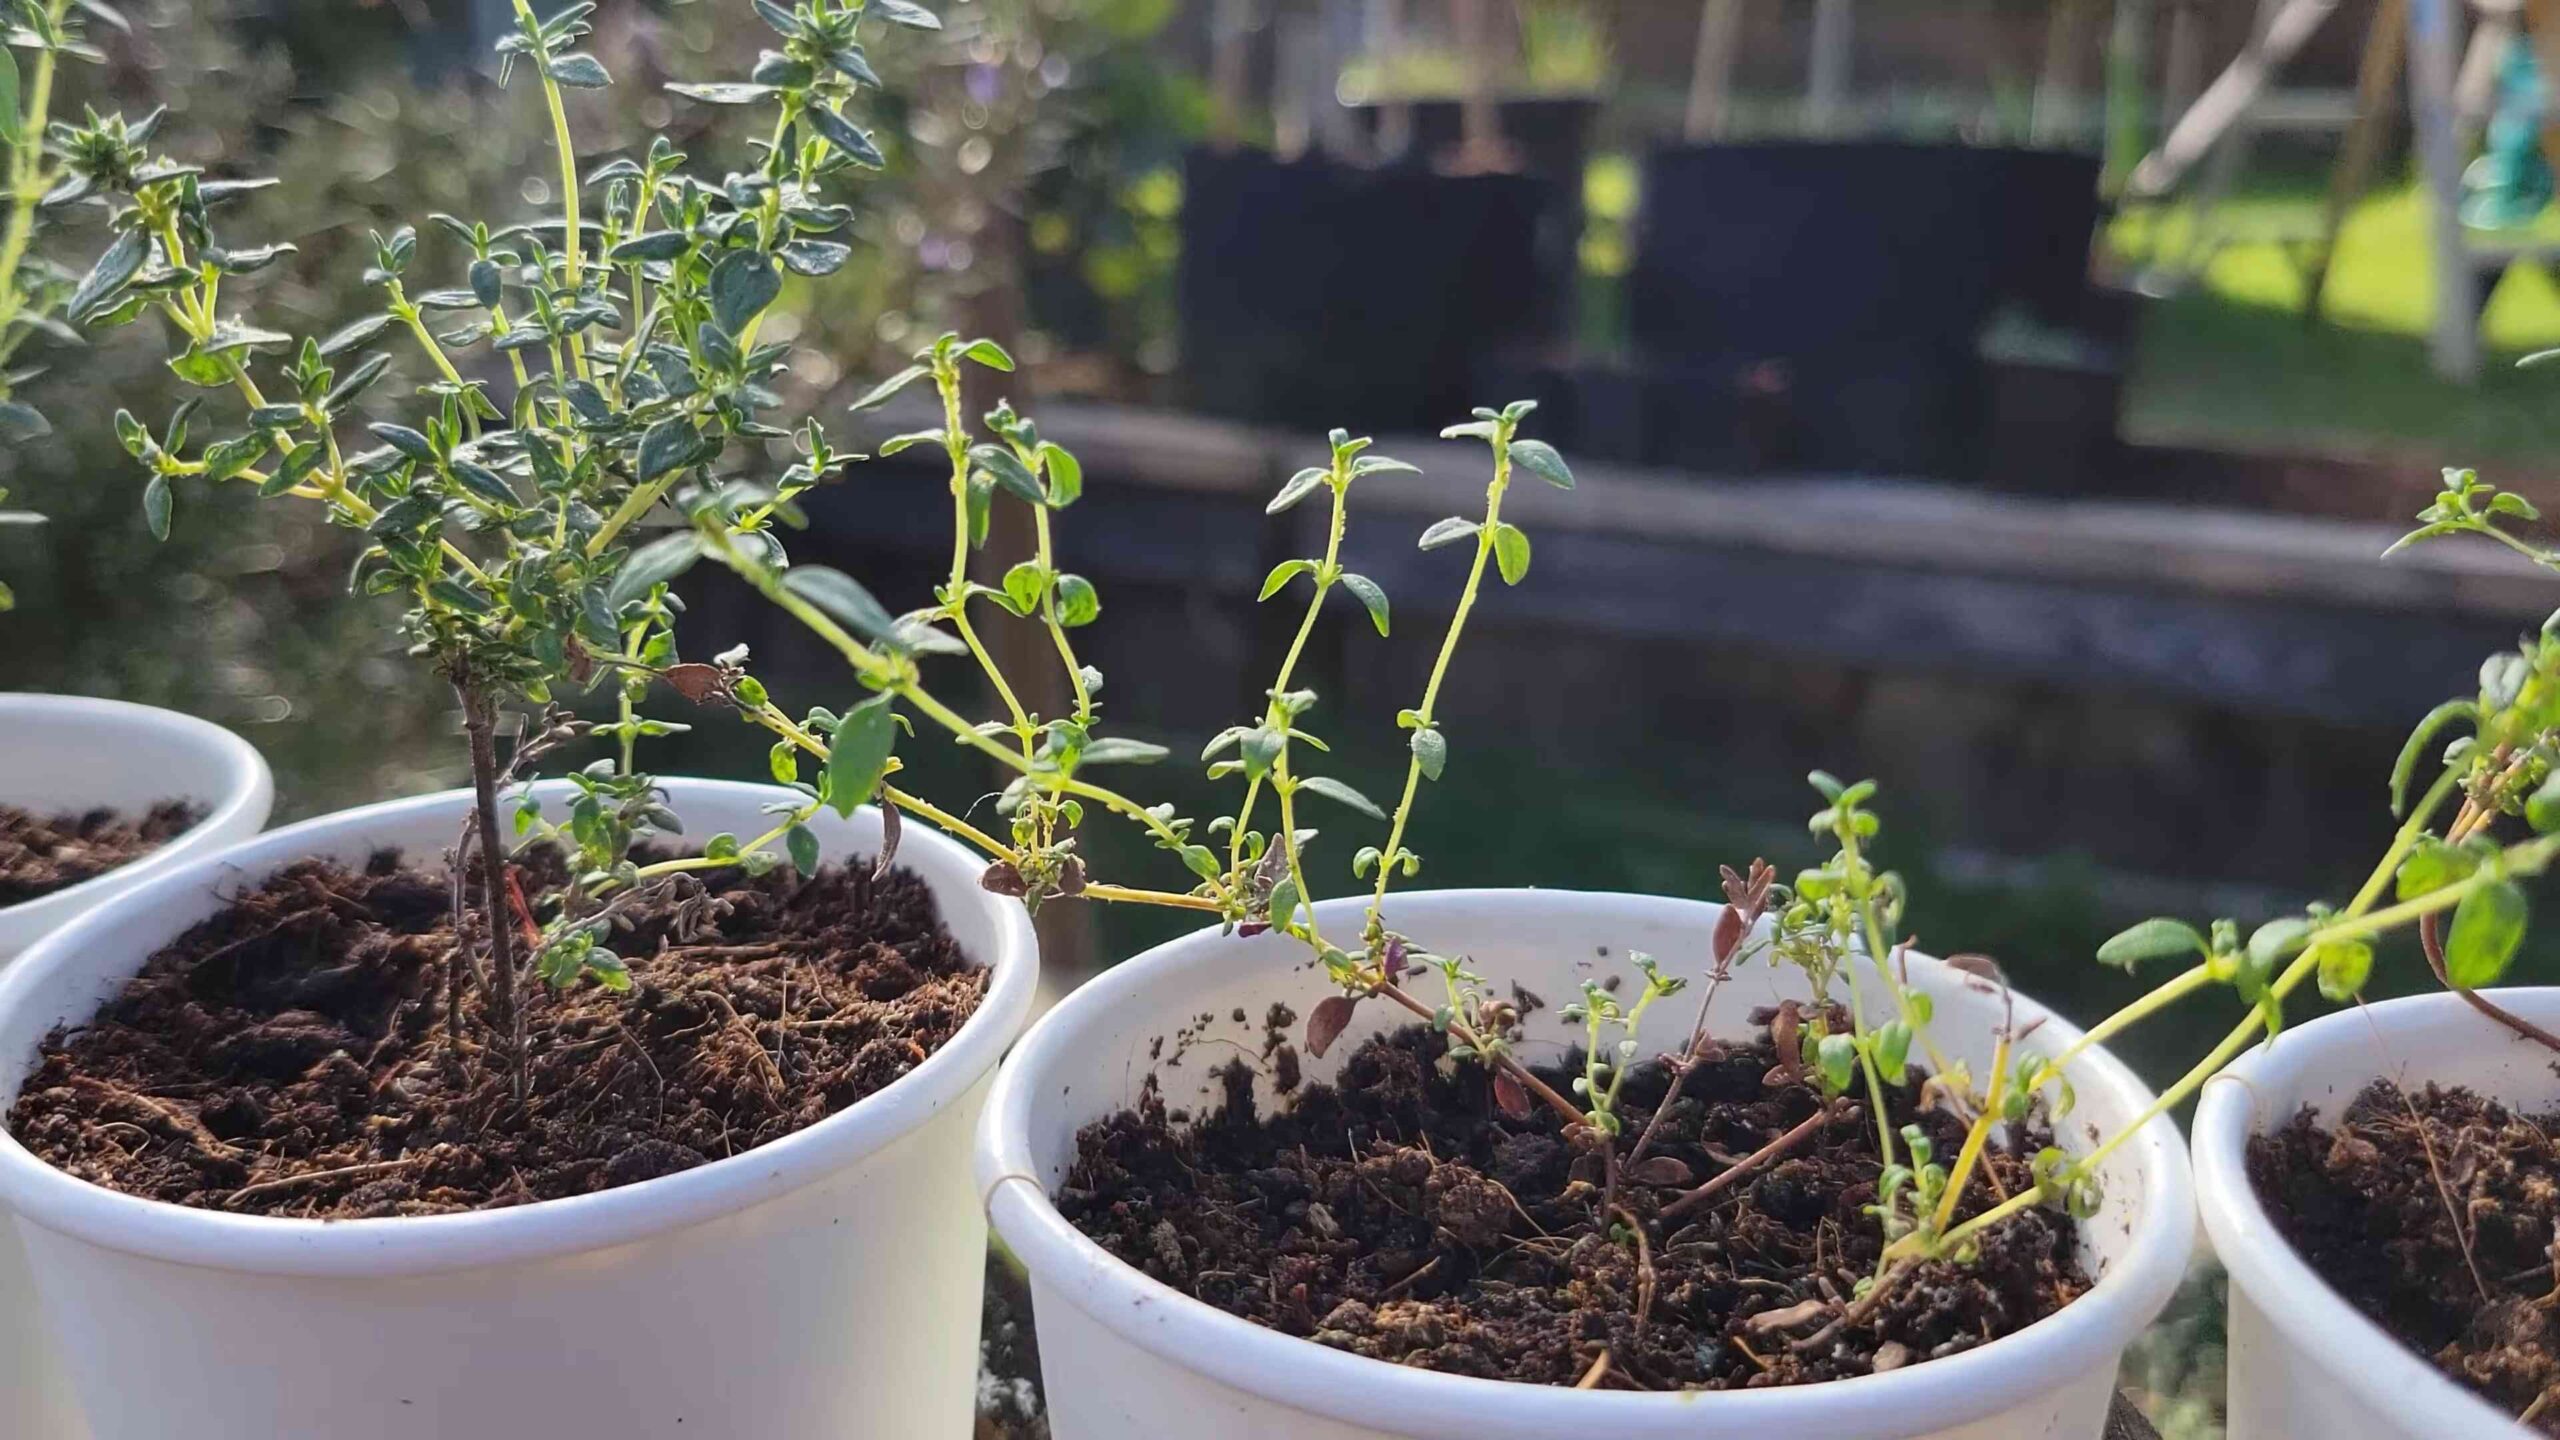
1. Choose the Right Pot: Make sure your pot has drainage holes! Thyme doesn’t like to sit in soggy soil. A terracotta pot is a great choice because it allows the soil to breathe. I usually go for a pot that’s at least 6 inches in diameter to give the thyme plant plenty of room to grow.
2. Prepare the Potting Mix: Thyme needs well-draining soil. I like to use a mix of potting soil, perlite, and sand. This helps to prevent the roots from rotting. You can also buy a pre-made herb potting mix.
3. Plant Your Thyme: Gently remove the thyme plant from its nursery container. Loosen the roots a bit with your fingers. Place the plant in the center of the pot and fill in around it with potting mix. Make sure the top of the root ball is level with the soil surface.
4. Water Thoroughly: Water the thyme plant thoroughly after planting. Allow the excess water to drain out of the bottom of the pot.
5. Find a Sunny Spot: Thyme needs at least 6 hours of sunlight per day. Place your pot in a sunny window or on a balcony or patio.
6. Water Regularly (But Not Too Much!): Thyme is drought-tolerant, so you don’t need to water it too often. Allow the soil to dry out slightly between waterings. Overwatering can lead to root rot. I usually water my thyme plants about once a week, or when the top inch of soil feels dry.
7. Fertilize Sparingly: Thyme doesn’t need a lot of fertilizer. In fact, too much fertilizer can make it leggy and less flavorful. I usually fertilize my thyme plants once or twice a year with a balanced organic fertilizer.
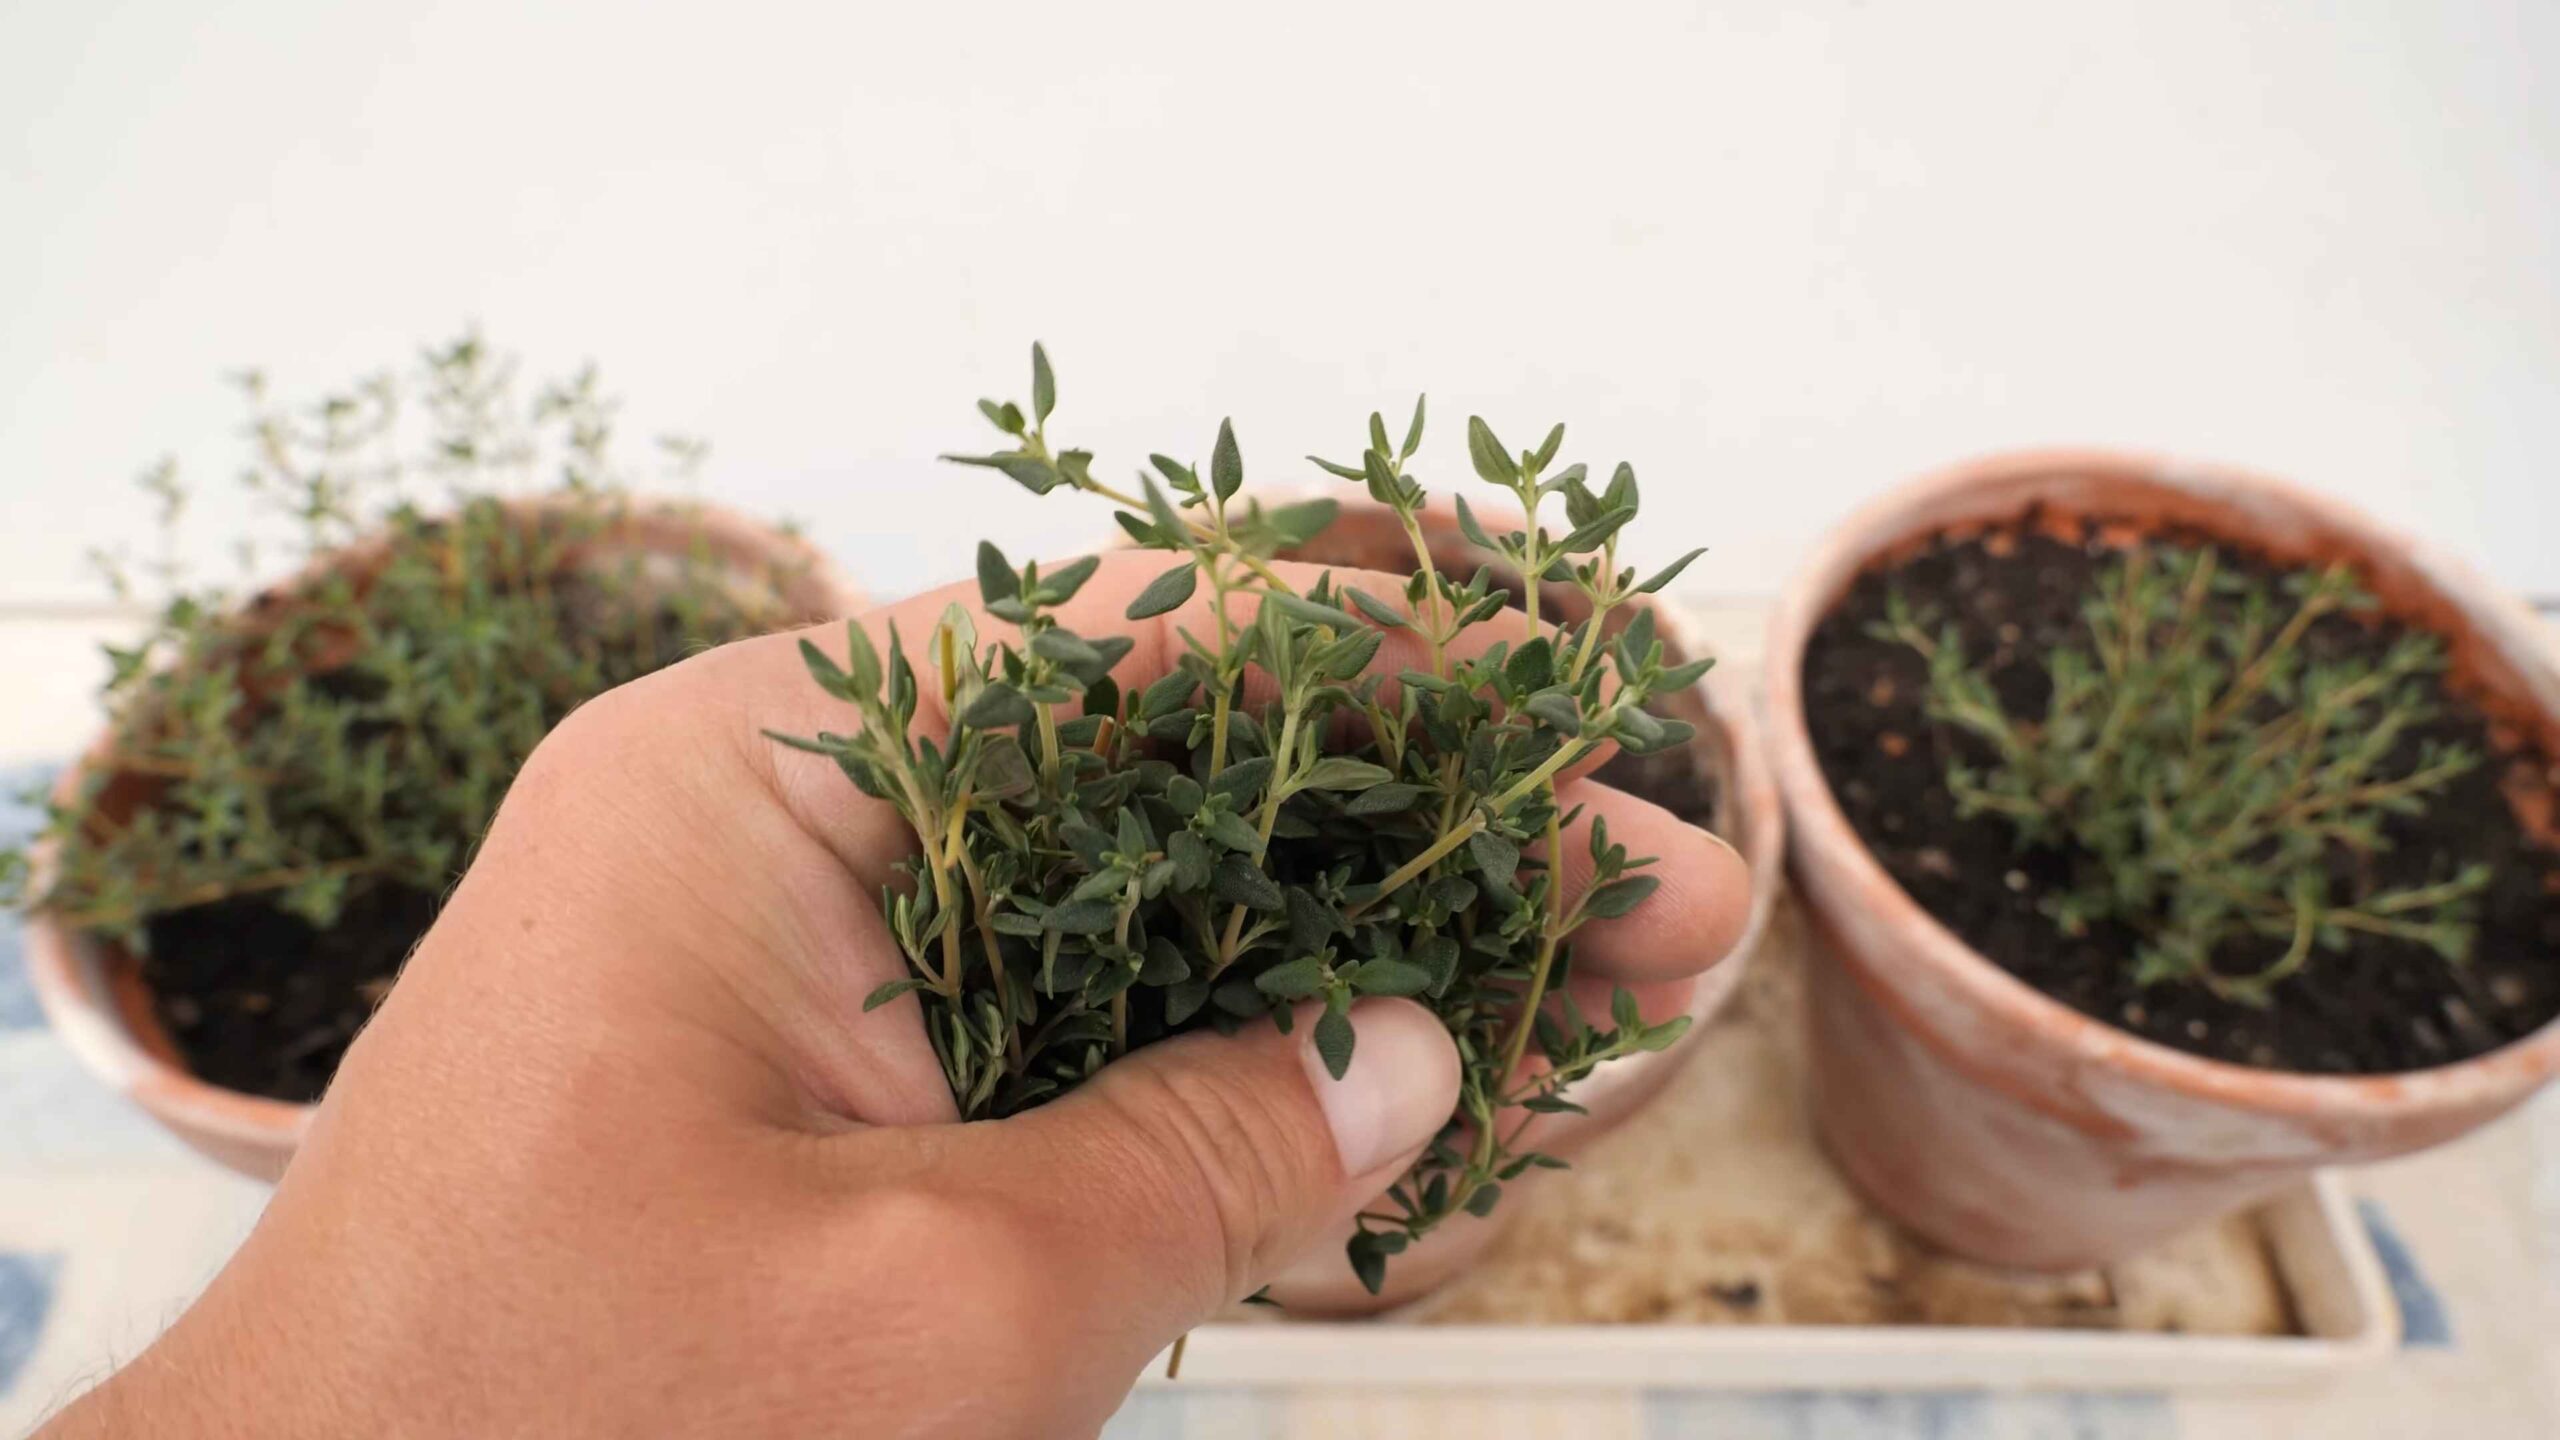
8. Prune Regularly: Pruning helps to keep your thyme plant bushy and encourages new growth. I usually prune my thyme plants in the spring and summer. Simply snip off the tips of the stems with scissors or pruning shears. Don’t be afraid to harvest thyme for cooking – that’s a form of pruning too!
Growing Thyme from Cuttings: Step-by-Step
This method is a little more involved, but it’s a great way to propagate your favorite thyme varieties.
What You’ll Need:
* Healthy thyme plant
* Sharp scissors or pruning shears
* Rooting hormone (optional)
* Small pots or seedling trays
* Potting mix (well-draining)
* Plastic bag or humidity dome
* Spray bottle
Step-by-Step Instructions:
1. Take Cuttings: Choose healthy stems that are about 4-6 inches long. Cut the stems just below a leaf node (the point where the leaves grow out of the stem).
2. Remove Lower Leaves: Remove the leaves from the bottom inch or two of the stem. This will prevent them from rotting when you plant the cutting.
3. Apply Rooting Hormone (Optional): Dip the cut end of the stem in rooting hormone. This will help to stimulate root growth.
4. Plant the Cuttings: Fill small pots or seedling trays with well-draining potting mix. Make a small hole in the soil with your finger or a pencil. Insert the cutting into the hole and gently firm the soil around it.
5. Water Thoroughly: Water the cuttings thoroughly after planting.
6. Create a Humid Environment: Cover the pots or trays with a plastic bag or humidity dome. This will help to keep the cuttings moist and prevent them from drying out.
7. Place in a Bright, Indirect Light: Place the cuttings in a bright location, but out of direct sunlight.
8. Mist Regularly: Mist the cuttings with water every day to keep them moist.
9. Wait for Roots to Develop: It will take several weeks for the cuttings to develop roots. You can check for roots by gently tugging on the stem. If it resists, it has probably rooted.
10. Transplant: Once the cuttings have developed roots, you can transplant them into larger pots or into the garden.
Growing Thyme from Seeds: Step-by-Step
This method requires a bit more patience, but it’s very rewarding.
What You’ll Need:
* Thyme seeds
* Seed starting trays or small pots
* Seed starting mix
* Spray bottle
* Plastic wrap or humidity dome
* Grow lights (optional)
Step-by-Step Instructions:
1. Sow the Seeds: Fill seed starting trays or small pots with seed starting mix. Moisten the mix with a spray bottle. Sprinkle the thyme seeds evenly over the surface of the soil. Gently press the seeds into the soil, but don’t cover them completely. Thyme seeds need light to germinate.
2. Create a Humid Environment: Cover the trays or pots with plastic wrap or a humidity dome. This will help to keep the seeds moist and prevent them from drying out.
3. Place in a Warm Location: Place the trays or pots in a warm location, such as on top of a refrigerator or near a heat vent. The ideal temperature for germination is around 70-75°F (21-24°C).
4. Provide Light: Thyme seeds need light to germinate. If you don’t have a sunny window, you can use grow lights.
5.
Conclusion
So, there you have it! Growing thyme at home is not only achievable but also incredibly rewarding. Forget those wilted, overpriced sprigs from the grocery store. Imagine stepping into your kitchen and snipping fresh, fragrant thyme whenever you need it. The difference in flavor between store-bought dried thyme and freshly harvested thyme is truly remarkable. It elevates your cooking from ordinary to extraordinary.
This DIY trick is a must-try for several reasons. First, it’s cost-effective. A single packet of thyme seeds or a small starter plant can provide you with a continuous supply of this versatile herb for months, even years, to come. Second, it’s convenient. No more last-minute trips to the store when you realize you’re out of thyme. Third, it’s incredibly satisfying. There’s something deeply fulfilling about nurturing a plant and harvesting its bounty.
But the benefits don’t stop there. Growing your own thyme allows you to control the quality of your herbs. You can ensure they’re grown organically, free from pesticides and herbicides. Plus, the act of gardening itself is therapeutic, providing a welcome escape from the stresses of daily life.
Looking for variations? Absolutely! Try growing different varieties of thyme, such as lemon thyme, creeping thyme, or woolly thyme. Each variety offers a unique flavor profile and texture, adding depth and complexity to your culinary creations. You can also experiment with different growing methods. While we’ve focused on container gardening, thyme can also thrive in raised beds or directly in the ground, provided you have well-drained soil and plenty of sunlight. Consider companion planting thyme with other herbs like rosemary or lavender, or vegetables like cabbage and tomatoes. These pairings can enhance growth and deter pests.
Don’t be intimidated if you’ve never grown herbs before. Thyme is a relatively low-maintenance plant, making it perfect for beginners. The key is to provide it with the right conditions: plenty of sunlight, well-drained soil, and occasional watering. With a little care and attention, you’ll be rewarded with a thriving thyme plant that will enhance your cooking and bring a touch of nature to your home.
We wholeheartedly encourage you to give this DIY trick a try. Start small, perhaps with a single pot of thyme on your windowsill. Once you experience the joy of harvesting your own fresh herbs, you’ll be hooked! And most importantly, we want to hear about your experience. Share your photos, tips, and stories in the comments below. Let’s create a community of thyme-growing enthusiasts and inspire others to embrace the joys of homegrown herbs. Let us know what dishes you’ve enhanced with your homegrown thyme, or any unique challenges you faced and how you overcame them. Your insights can help others succeed in their own thyme-growing adventures. So, grab your seeds, pots, and soil, and get ready to experience the magic of growing thyme at home!
Frequently Asked Questions (FAQ)
What kind of soil is best for growing thyme?
Thyme thrives in well-drained soil that is slightly sandy or gravelly. Avoid heavy clay soils that retain too much moisture, as this can lead to root rot. A good potting mix for thyme would be a blend of equal parts potting soil, perlite, and coarse sand. This combination provides excellent drainage and aeration, which are essential for healthy thyme growth. You can also amend your existing garden soil with compost and sand to improve its drainage and fertility. Remember, thyme prefers lean soil, so avoid over-fertilizing.
How much sunlight does thyme need?
Thyme needs at least six hours of direct sunlight per day to thrive. If you’re growing thyme indoors, place it near a sunny window that receives plenty of natural light. If you don’t have enough natural light, you can supplement with a grow light. Insufficient sunlight can lead to leggy growth and reduced flavor. When growing thyme outdoors, choose a location that receives full sun throughout the day.
How often should I water my thyme plant?
Thyme is drought-tolerant and prefers to be watered sparingly. Allow the soil to dry out completely between waterings. Overwatering is a common mistake that can lead to root rot. When you do water, water deeply, ensuring that the entire root ball is moistened. Avoid getting the foliage wet, as this can encourage fungal diseases. In general, water your thyme plant once every one to two weeks, depending on the weather and the humidity levels.
How do I harvest thyme?
You can start harvesting thyme once the plant is established and has grown to a reasonable size, typically around 4-6 inches tall. To harvest, simply snip off stems with scissors or pruning shears. Avoid cutting more than one-third of the plant at a time, as this can stress the plant. The best time to harvest thyme is in the morning, after the dew has dried. This is when the essential oils are most concentrated, resulting in the best flavor. You can use fresh thyme immediately or dry it for later use.
How do I dry thyme?
There are several ways to dry thyme. One method is to tie the stems together in small bundles and hang them upside down in a cool, dry, and well-ventilated place. Another method is to spread the stems out on a baking sheet and dry them in a low oven (around 170°F) for a few hours. You can also use a dehydrator to dry thyme. Once the thyme is completely dry, crumble the leaves and store them in an airtight container in a cool, dark place. Dried thyme can last for up to a year.
Can I grow thyme indoors?
Yes, you can absolutely grow thyme indoors. Choose a pot with good drainage and use a well-draining potting mix. Place the pot near a sunny window that receives at least six hours of direct sunlight per day. Water sparingly, allowing the soil to dry out completely between waterings. You may need to supplement with a grow light if you don’t have enough natural light. Indoor thyme plants may not grow as vigorously as outdoor plants, but they can still provide you with a continuous supply of fresh herbs.
How do I propagate thyme?
Thyme can be propagated from seeds, cuttings, or by division. Propagating from seeds can be a bit challenging, as thyme seeds can be slow to germinate. A more reliable method is to propagate from cuttings. Take a 4-6 inch cutting from a healthy thyme plant and remove the lower leaves. Dip the cut end in rooting hormone and plant it in a pot filled with well-draining potting mix. Keep the soil moist but not soggy, and place the pot in a warm, bright location. Roots should develop within a few weeks. You can also propagate thyme by division. Simply dig up a mature thyme plant and carefully divide the root ball into smaller sections. Replant each section in its own pot or in the garden.
What are some common problems when growing thyme?
Some common problems when growing thyme include root rot, fungal diseases, and pests. Root rot is caused by overwatering and poor drainage. To prevent root rot, ensure that your thyme plant is planted in well-draining soil and water sparingly. Fungal diseases can be caused by excessive humidity and poor air circulation. To prevent fungal diseases, provide good air circulation around your thyme plant and avoid getting the foliage wet when watering. Pests that can affect thyme include aphids, spider mites, and whiteflies. These pests can be controlled with insecticidal soap or neem oil.
Is thyme a perennial?
Yes, thyme is a perennial herb, meaning that it will live for more than two years. In mild climates, thyme can remain evergreen throughout the year. In colder climates, the foliage may die back in the winter, but the plant will regrow in the spring. To ensure that your thyme plant survives the winter, mulch around the base of the plant to protect the roots from freezing temperatures.
What are some culinary uses for thyme?
Thyme is a versatile herb that can be used in a wide variety of dishes. It pairs well with meats, poultry, fish, vegetables, and eggs. Thyme is also a key ingredient in many classic sauces and soups. You can use fresh or dried thyme in your cooking. Fresh thyme has a more delicate flavor than dried thyme. To use fresh thyme, simply strip the leaves from the stems and chop them finely. Dried thyme can be added directly to your dishes. Some popular dishes that feature thyme include roasted chicken, lamb stew, potato gratin, and tomato sauce.


Leave a Comment