

Baking Soda Oven Cleaning: Are you tired of spending hours scrubbing your oven, only to be met with stubborn grease and burnt-on food? I know I am! It’s a chore we all dread, but what if I told you there’s a simple, effective, and surprisingly affordable solution hiding in your pantry?
For generations, baking soda has been a trusted household staple, not just for baking delicious treats, but also for its incredible cleaning power. In fact, its use as a cleaning agent dates back centuries, with historical records showing its application in various cleaning tasks long before the advent of modern chemical cleaners. Think of your grandmother’s cleaning secrets – baking soda was likely a key ingredient!
Let’s face it, a clean oven isn’t just about aesthetics; it’s about efficiency and safety. A greasy oven can affect the taste of your food and even pose a fire hazard. But who wants to spend a fortune on harsh chemicals and endless scrubbing? That’s where this DIY baking soda oven cleaning trick comes in. I’m going to show you a step-by-step guide to effortlessly transform your grimy oven into a sparkling clean appliance using just baking soda, water, and a little bit of elbow grease (okay, maybe not *too* much elbow grease!). Get ready to say goodbye to harsh chemicals and hello to a naturally clean oven!

DIY Oven Cleaning with Baking Soda: A Sparkling Clean Oven the Natural Way!
Okay, let’s face it, cleaning the oven is probably on everyone’s list of least favorite chores. But a clean oven is a happy oven (and makes for better-tasting food!), so we can’t avoid it forever. The good news is, you don’t need harsh chemicals to get your oven sparkling again. This DIY method using baking soda and vinegar is not only effective but also much gentler on your lungs and the environment. I’ve been using this method for years, and I swear by it!
What You’ll Need:
Before we dive in, let’s gather our supplies. Here’s what you’ll need for this oven-cleaning adventure:
* Baking soda (the star of the show!)
* White vinegar (our trusty sidekick)
* Water
* Spray bottle
* Spatula or scraper (plastic is best to avoid scratching)
* Rubber gloves (protect those hands!)
* Sponge or cloth
* Old towel or newspaper (for protecting your floor)
* Small bowl
Prepping Your Oven: The Foundation for Success
Before we get messy, let’s prep the oven. This will make the whole process smoother.
1. Remove the Oven Racks: Take out all the oven racks, pizza stones, or anything else that’s inside. We’ll clean the racks separately later.
2. Protect Your Floor: Lay down an old towel or newspaper around the base of your oven. This will catch any drips and spills, saving you from extra cleanup later.
3. A Quick Wipe Down (Optional): If there are any loose crumbs or debris, give the oven a quick wipe down with a damp cloth. This isn’t essential, but it helps to get rid of the big stuff.
Making the Baking Soda Paste: The Magic Mixture
Now for the fun part – creating our cleaning paste!
1. Mix the Paste: In your small bowl, combine about ½ cup of baking soda with enough water to form a spreadable paste. You want it to be thick enough to stick to the oven walls but not so thick that it’s difficult to apply. I usually start with a few tablespoons of water and add more gradually until I get the right consistency.
2. Adjust as Needed: If your paste is too runny, add a little more baking soda. If it’s too thick, add a little more water. The goal is a smooth, easily spreadable paste.
Applying the Baking Soda Paste: Getting Down and Dirty
Time to get our hands dirty! (Don’t forget those gloves!)
1. Coat the Oven: Using your hands (with gloves on, of course!), spread the baking soda paste all over the inside surfaces of your oven. This includes the walls, the floor, the door (inside), and the ceiling. Avoid the heating elements!
2. Be Generous: Don’t be shy with the paste! The thicker the layer, the better it will work. Pay special attention to areas with baked-on grease and grime.
3. Let it Sit: Once you’ve coated the entire oven, let the baking soda paste sit for at least 12 hours, or even better, overnight. This gives the baking soda time to really penetrate and loosen the grime. I usually do this before I go to bed so it can work its magic while I sleep.
Cleaning the Oven Racks: While We Wait
While the baking soda is doing its thing inside the oven, let’s tackle those racks.
1. Soaking Method (My Preferred Method): Find a large tub or your bathtub (make sure it’s clean!). Line it with an old towel to protect the surface. Fill the tub with hot water and add about ½ cup of dish soap and ½ cup of baking soda. Submerge the oven racks in the water and let them soak for several hours or overnight. The hot water and baking soda will help to loosen the baked-on grease and grime.
2. Scrubbing Method (If Soaking Isn’t Possible): If you don’t have a tub large enough to soak the racks, you can scrub them directly. Lay them on an old towel or newspaper and sprinkle them with baking soda. Spray them with white vinegar and let the mixture fizz for a few minutes. Then, scrub them with a sponge or scrub brush. You may need to use some elbow grease to remove stubborn spots.
3. Rinse and Dry: After soaking or scrubbing, rinse the oven racks thoroughly with clean water. Dry them with a clean towel before putting them back in the oven.
Removing the Baking Soda Paste: The Grand Finale
Okay, it’s been at least 12 hours (hopefully!), and the baking soda has done its job. Time to remove it!
1. Scrape Away the Paste: Using your spatula or scraper, scrape away as much of the baking soda paste as possible. This will make the next step much easier.
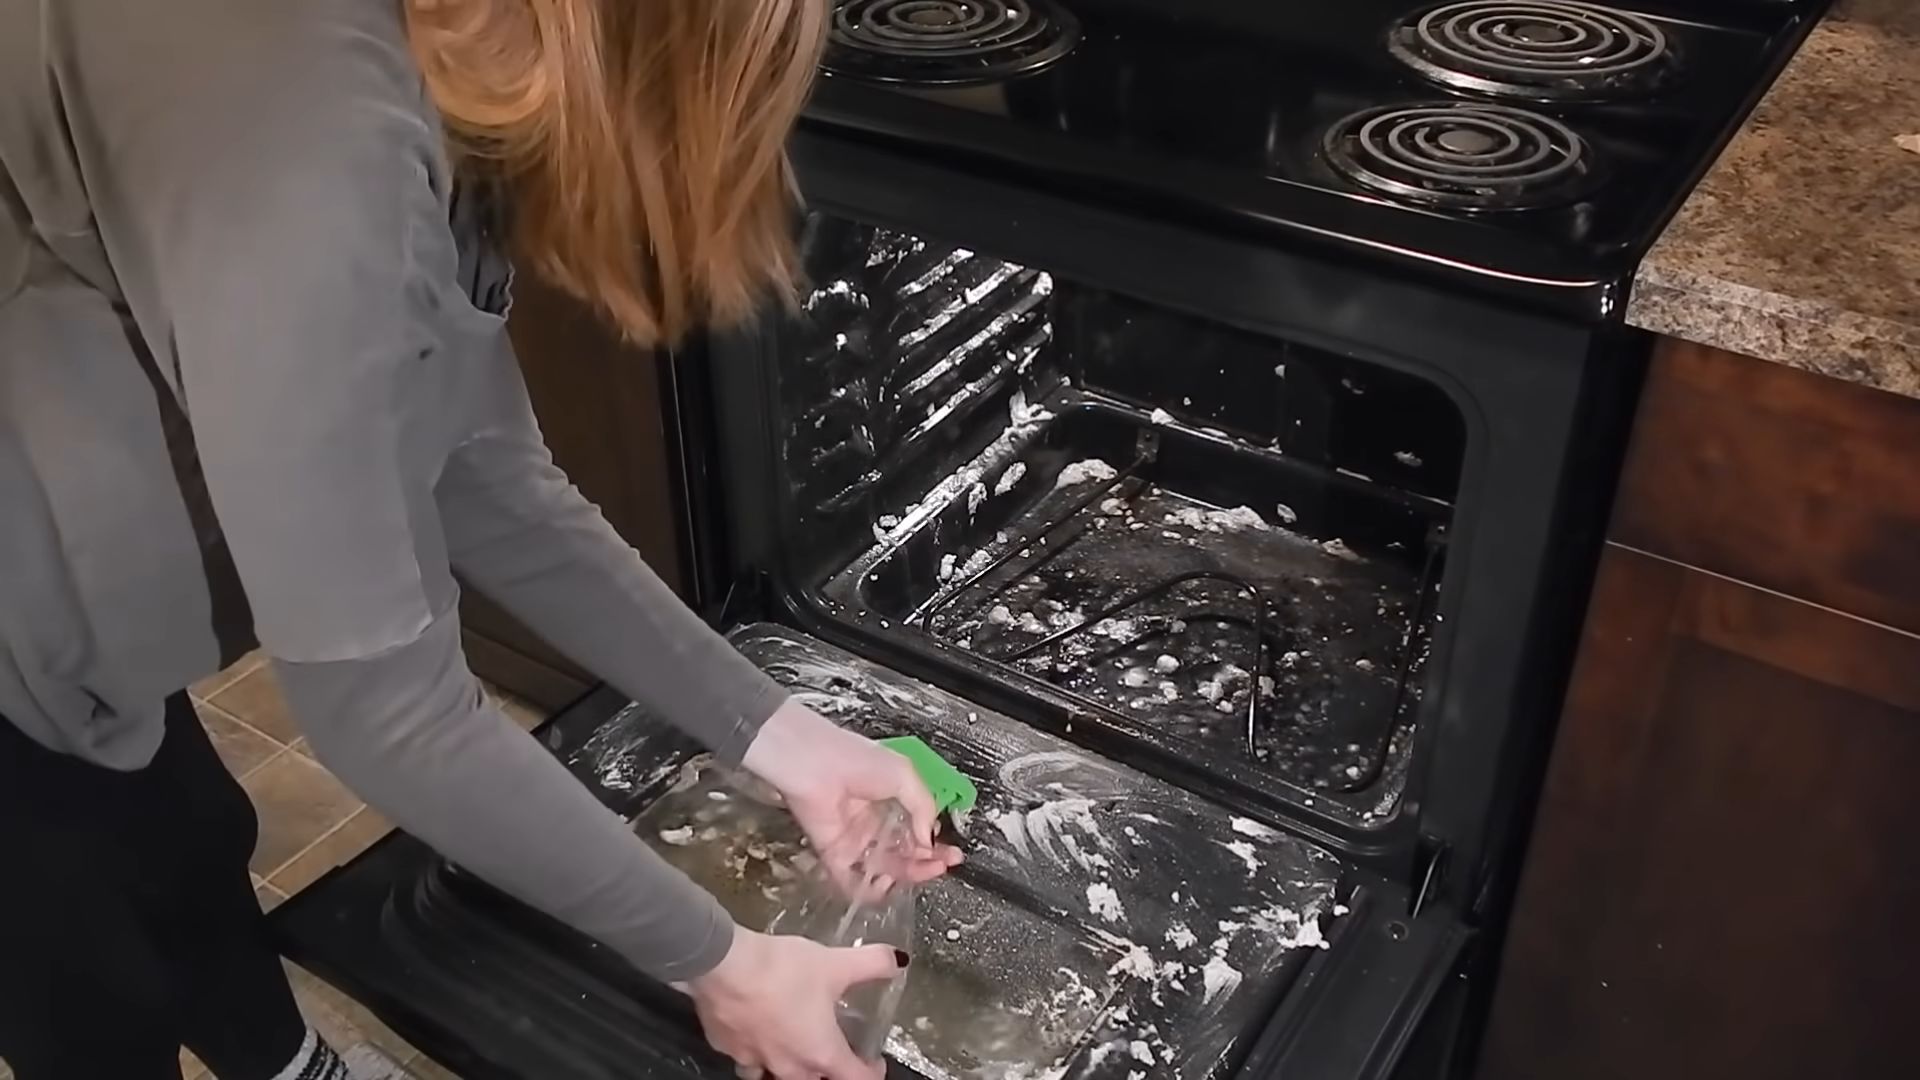
2. Vinegar Power: Fill your spray bottle with white vinegar. Spray the inside of the oven generously with vinegar. The vinegar will react with the remaining baking soda, creating a fizzing action that helps to loosen any remaining grime.
3. Wipe it Down: Using a damp sponge or cloth, wipe down the entire inside of the oven. You may need to rinse your sponge or cloth frequently as you go.
4. Stubborn Spots: For any stubborn spots that remain, make a fresh paste of baking soda and water and apply it directly to the spot. Let it sit for a few minutes, then scrub with a sponge or scrub brush.
5. Final Rinse: Once you’ve removed all the baking soda and grime, give the oven a final rinse with a clean, damp cloth.
6. Dry it Out: Leave the oven door open for a few hours to allow it to air dry completely.
Putting it All Back Together: The Finishing Touches
Almost there! Just a few more steps.
1. Replace the Racks: Once the oven is completely dry, put the clean oven racks back inside.
2. Run a Low-Temperature Cycle (Optional): To ensure that the oven is completely dry and to eliminate any lingering odors, you can run it on a low-temperature cycle (around 200 degrees Fahrenheit) for about 15-20 minutes.
3. Admire Your Work: Step back and admire your sparkling clean oven! You did it!
Tips and Tricks for a Super Clean Oven:
Here are a few extra tips to help you get the best results:
* Don’t Skip the Overnight Soak: Letting the baking soda paste sit overnight is crucial for loosening the grime. The longer it sits, the easier it will be to remove.
* Use a Plastic Scraper: A plastic scraper is less likely to scratch the oven’s surface than a metal one.
* Be Patient: Cleaning the oven with baking soda and vinegar takes time and effort. Don’t get discouraged if you don’t see results immediately. Keep scrubbing, and you’ll get there!
* Preventative Measures: To keep your oven cleaner for longer, try to wipe up spills as soon as they happen. You can also place a baking sheet on the bottom rack to catch drips and splatters.
* Repeat as Needed: Depending on how often you use your oven, you may need to repeat this cleaning process every few months.
Why This Method Works: The Science Behind the Sparkle
You might be wondering why baking soda and vinegar are so effective at cleaning ovens. Here’s a little science lesson:
* Baking Soda (Sodium Bicarbonate): Baking soda is a mild alkali, which means it can dissolve grease, dirt, and other grime. It’s also a gentle abrasive, which helps to scrub away stubborn stains without scratching the surface.
* Vinegar (Acetic Acid): Vinegar is a mild acid that reacts with baking soda to create carbon dioxide gas. This fizzing action helps to lift dirt and grime from the oven’s surface. Vinegar also has antibacterial properties, which can help to kill germs and bacteria.
The combination of baking soda and vinegar creates a powerful cleaning duo that is both effective and safe for your oven and your health.
Troubleshooting: Common Issues and Solutions
Sometimes, even with the best intentions, things don’t go exactly as planned. Here are a few common issues you might encounter and how to solve them:
* The Baking Soda Paste is Too Hard to Remove: If the baking soda paste has dried too hard and is difficult to remove, try spraying it with more vinegar and letting it sit for a few minutes. This will help to soften the paste and make it easier to scrape away.
* There are Still Stubborn Spots: For stubborn spots that just won’t budge, make a fresh paste of baking soda and water and apply it directly to the spot. Let it sit for a longer period of time (even overnight), then scrub with a sponge or scrub brush.
Conclusion
So, there you have it! Ditching those harsh chemicals and embracing the power of baking soda for oven cleaning is not just a trend; it’s a game-changer for your kitchen and your well-being. We’ve walked you through the simple steps, highlighting how this readily available, inexpensive ingredient can effectively tackle even the most stubborn baked-on grime.
Why is this DIY trick a must-try? Because it’s safe, effective, and environmentally friendly. You’re avoiding the fumes and potential health hazards associated with commercial oven cleaners, while still achieving a sparkling clean oven. Plus, think of the money you’ll save! No more expensive sprays or foams – just good old baking soda and a little elbow grease.
But the benefits extend beyond just the practical. There’s a certain satisfaction in knowing you’re using a natural solution, contributing to a healthier home environment. And let’s be honest, the process itself can be quite therapeutic!
Now, for a few suggestions and variations to personalize your baking soda oven cleaning experience:
* For extra stubborn stains: Create a paste with baking soda, salt, and a little bit of white vinegar. The abrasive nature of the salt can help to scrub away tough residue.
* Adding essential oils: A few drops of lemon, orange, or lavender essential oil can add a pleasant scent to your oven after cleaning. Just be sure to wipe away any excess oil before turning the oven on.
* Preventative measures: To avoid future build-up, consider placing a baking sheet on the bottom rack of your oven to catch drips and spills. Also, wipe down your oven after each use to prevent grime from hardening.
* Cleaning the oven door glass: Use the same baking soda paste on the oven door glass. Let it sit for a bit, then scrub with a non-abrasive sponge. For really tough spots, try using a razor blade scraper carefully.
We wholeheartedly encourage you to give this baking soda oven cleaning method a try. It’s a simple, effective, and eco-friendly way to keep your oven sparkling clean. You’ll be amazed at the results!
Don’t just take our word for it. We want to hear about your experience! Share your before-and-after photos, tips, and variations in the comments below. Let’s build a community of baking soda oven cleaning enthusiasts! We are confident that you will find this method to be a superior alternative to harsh chemical cleaners.
Frequently Asked Questions (FAQs)
Q: Is baking soda oven cleaning really effective?
A: Absolutely! Baking soda is a mild alkali, which means it can dissolve grease and grime. When combined with water, it forms a paste that can penetrate and loosen baked-on food particles. While it might require a bit more elbow grease than harsh chemical cleaners, it’s a safe and effective alternative, especially for regular oven maintenance. For extremely stubborn stains, you might need to repeat the process or use one of the variations suggested above, such as adding salt or vinegar to the paste.
Q: How long should I leave the baking soda paste in the oven?
A: We recommend leaving the baking soda paste in the oven for at least 12 hours, or even overnight, for the best results. This allows the baking soda to fully penetrate and loosen the grime. If you’re short on time, you can try leaving it for a minimum of 4 hours, but the longer, the better.
Q: Can I use this method on a self-cleaning oven?
A: While you *can* use this method on a self-cleaning oven, it’s generally recommended to avoid using the self-cleaning cycle if you’re already using baking soda. The high heat of the self-cleaning cycle can bake the baking soda residue onto the oven surfaces, making it even harder to remove. Instead, rely on the baking soda paste and manual scrubbing.
Q: What if I have a particularly stubborn stain that won’t come off?
A: For particularly stubborn stains, try these tips:
* Reapply the paste: Apply a fresh layer of baking soda paste to the stain and let it sit for a longer period, perhaps 24 hours.
* Use a scraper: Gently use a plastic scraper or a non-abrasive scouring pad to loosen the stain. Be careful not to scratch the oven surface.
* Vinegar boost: After scraping, spray the area with white vinegar. The vinegar will react with the baking soda, creating a fizzing action that can help lift the stain.
* Repeat the process: Sometimes, it takes multiple applications and scrubbing sessions to completely remove a stubborn stain.
Q: Is it safe to use baking soda oven cleaning around pets and children?
A: Yes, baking soda is generally considered safe for use around pets and children. It’s non-toxic and doesn’t emit harmful fumes like many commercial oven cleaners. However, it’s always a good idea to keep pets and children away from the oven while you’re cleaning it, just to prevent them from accidentally ingesting the baking soda paste.
Q: How often should I clean my oven with baking soda?
A: The frequency of cleaning depends on how often you use your oven and how much it tends to get dirty. As a general guideline, cleaning your oven with baking soda every 1-3 months is a good practice. However, if you notice spills or splatters, it’s best to clean them up immediately to prevent them from hardening and becoming more difficult to remove later. Regular maintenance will make the cleaning process much easier in the long run.
Q: What type of sponge or scrubber should I use?
A: Avoid using abrasive scrubbers or steel wool, as they can scratch the oven surface. Instead, opt for a non-abrasive sponge, a microfiber cloth, or a plastic scraper. For tougher stains, you can use a nylon scrubbing pad, but test it in an inconspicuous area first to ensure it doesn’t scratch the surface.
Q: How do I get rid of the baking soda residue after cleaning?
A: After scrubbing the oven, use a damp cloth or sponge to wipe away the baking soda residue. Rinse the cloth frequently with clean water. You may need to wipe the oven several times to remove all traces of the baking soda. A final wipe with a clean, dry cloth will help to prevent water spots.
Q: Can I use this method on other appliances, like my microwave?
A: Yes, baking soda is a versatile cleaning agent that can be used on other appliances, including your microwave. Simply mix baking soda with water to create a paste and apply it to the inside of the microwave. Let it sit for a few minutes, then wipe clean with a damp cloth. Baking soda can also help to deodorize your microwave.


Leave a Comment