

Bathroom cleaning hacks – who doesn’t need them? Let’s be honest, tackling the bathroom is nobody’s favorite chore. But what if I told you that keeping your bathroom sparkling clean could be easier, faster, and even…dare I say…fun? For centuries, people have been searching for the ultimate shortcuts to a spotless bathroom. From ancient Romans using pumice stones to scrub their bathhouses to modern-day innovations in cleaning products, the quest for cleanliness is a timeless pursuit.
But in today’s busy world, who has hours to spend scrubbing grout? That’s where these DIY bathroom cleaning hacks come in! I’m going to share some of my favorite tried-and-true methods that will transform your bathroom cleaning routine. These aren’t just random tips; they’re clever solutions that use everyday items you probably already have in your home. Think vinegar, baking soda, and even lemons – nature’s own cleaning powerhouses!
Why do you need these bathroom cleaning hacks? Because life is too short to spend all day scrubbing toilets! These hacks will save you time, money, and energy, leaving you with a sparkling clean bathroom and more time to enjoy the things you love. So, grab your rubber gloves and let’s get started – you’ll be amazed at how easy it is to achieve a bathroom that shines!
DIY Bathroom Cleaning Hacks: Sparkling Clean Without Breaking a Sweat!
Okay, let’s be honest, cleaning the bathroom is nobody’s favorite chore. But, a sparkling clean bathroom is a happy bathroom, and I’m here to share some of my favorite DIY cleaning hacks that will make the process faster, cheaper, and maybe even a little bit fun! We’re talking about using everyday items you probably already have in your pantry to tackle grime, soap scum, and hard water stains. Get ready to transform your bathroom into a pristine oasis!
Tackling the Showerhead: Vinegar Power!
Hard water deposits can really clog up your showerhead, reducing water pressure and making your shower less enjoyable. This hack is super simple and incredibly effective.
- What you’ll need: White vinegar, a plastic bag (a Ziploc bag works great), a rubber band or twist tie.
- Why it works: Vinegar is a natural acid that dissolves mineral deposits like calcium and lime.
Step-by-Step Instructions:
1. Fill the bag: Pour enough white vinegar into the plastic bag to completely submerge your showerhead.
2. Secure the bag: Carefully position the bag over the showerhead, ensuring the showerhead is fully immersed in the vinegar. Use the rubber band or twist tie to secure the bag tightly around the showerhead neck.
3. Soak overnight: Let the showerhead soak in the vinegar overnight (at least 8 hours). This gives the vinegar ample time to break down the mineral deposits.
4. Remove and rinse: The next morning, remove the bag and discard the vinegar. Turn on the shower and let the water run for a few minutes to flush out any remaining vinegar and loosened debris.
5. Wipe clean: Use a clean cloth or sponge to wipe away any remaining residue. If you still see some stubborn deposits, you can use an old toothbrush to gently scrub them away.
Conquering Soap Scum on Shower Doors and Walls
Soap scum is that annoying, cloudy film that builds up on shower doors and walls. It’s a combination of soap, hard water minerals, and body oils, and it can be a real pain to remove. But fear not, I have a couple of tricks up my sleeve!
- Hack 1: Vinegar and Dish Soap
- What you’ll need: White vinegar, dish soap, a spray bottle, a sponge or scrub brush.
- Why it works: The vinegar dissolves the mineral deposits, while the dish soap helps to cut through the greasy residue.
- Hack 2: Baking Soda Paste
- What you’ll need: Baking soda, water, a sponge or scrub brush.
- Why it works: Baking soda is a mild abrasive that helps to scrub away the soap scum without scratching the surface.
Vinegar and Dish Soap Method:
1. Heat the vinegar: Heat the white vinegar in the microwave for about 1-2 minutes, until it’s warm but not boiling. Be careful when handling hot vinegar!
2. Mix the solution: In a spray bottle, combine equal parts warm vinegar and dish soap. Gently swirl to mix (avoid shaking, as this can create excessive suds).
3. Spray and let sit: Spray the solution liberally onto the shower doors and walls, focusing on areas with heavy soap scum buildup. Let the solution sit for 10-15 minutes to allow it to penetrate the grime.
4. Scrub and rinse: Use a sponge or scrub brush to scrub the surfaces, paying attention to corners and edges. Rinse thoroughly with warm water.
5. Dry: Use a clean towel or squeegee to dry the surfaces, preventing water spots and further soap scum buildup.
Baking Soda Paste Method:
1. Make the paste: In a small bowl, mix baking soda with enough water to form a thick paste.
2. Apply the paste: Apply the paste to the shower doors and walls, focusing on areas with heavy soap scum buildup.
3. Scrub: Use a sponge or scrub brush to scrub the surfaces in a circular motion.
4. Rinse: Rinse thoroughly with warm water.
5. Dry: Use a clean towel or squeegee to dry the surfaces.
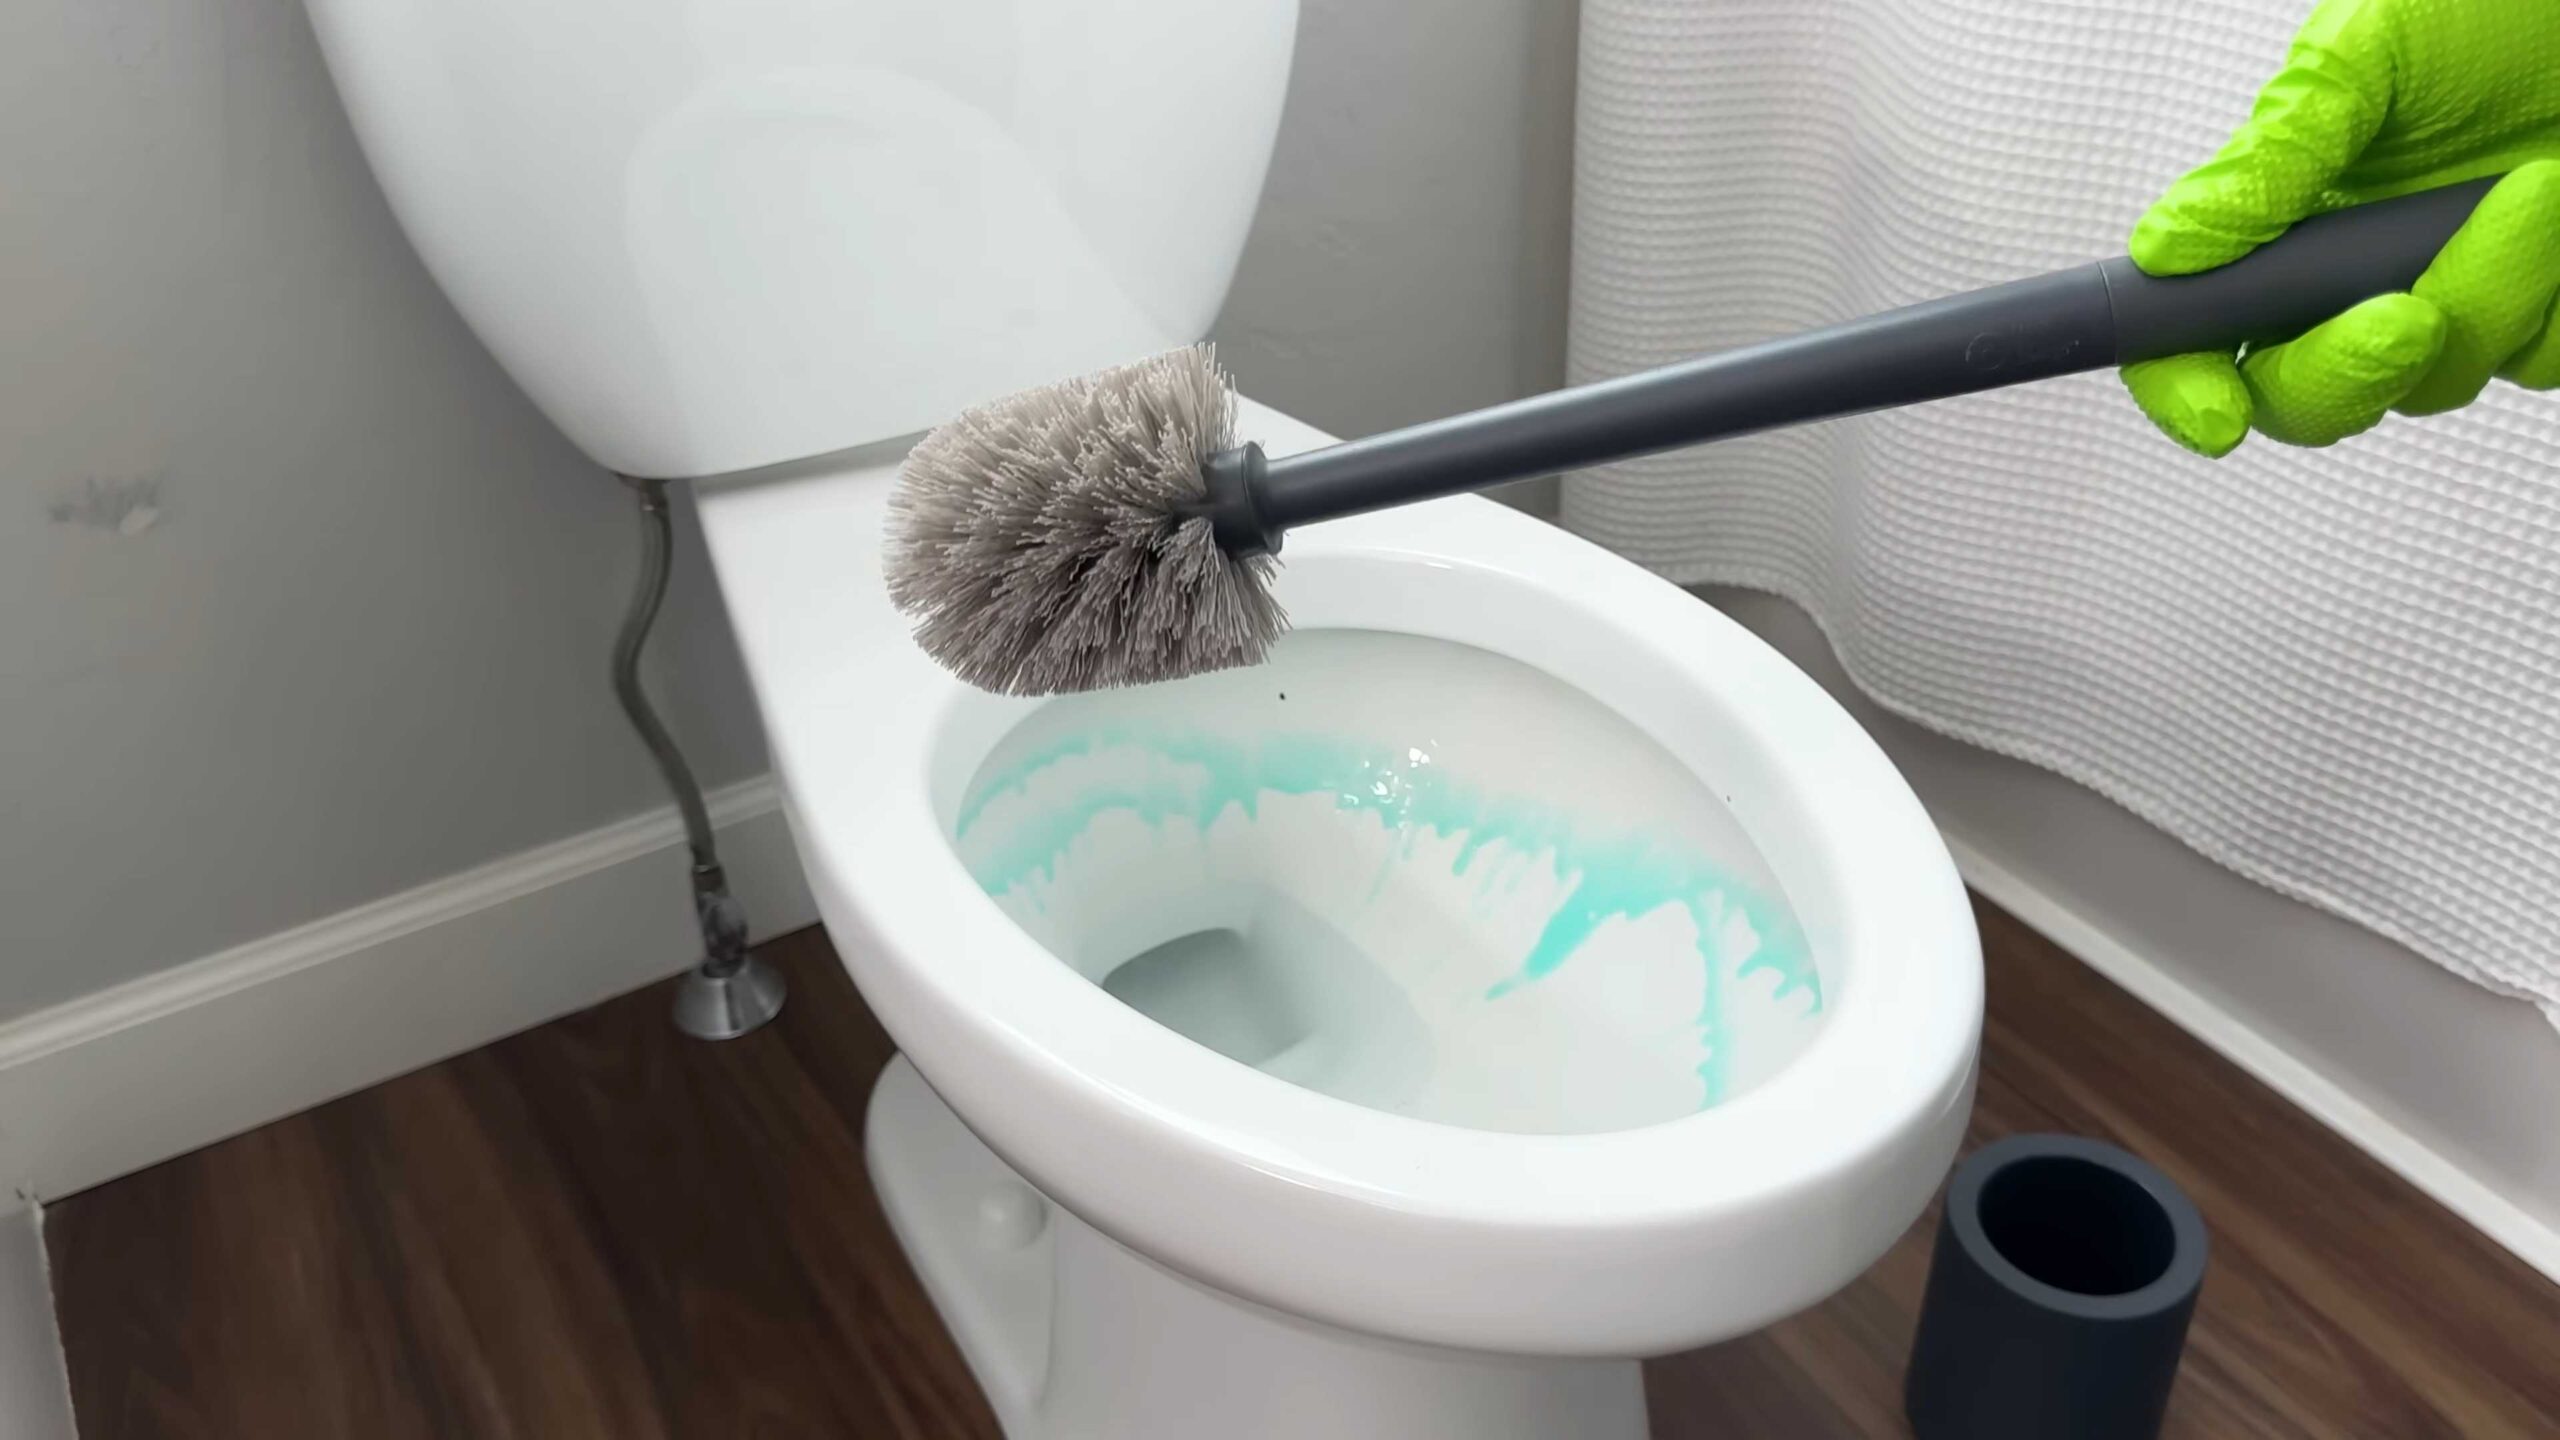
Cleaning the Toilet: Fizzing Freshness!
The toilet is another area that needs regular cleaning. These hacks will help you keep it sparkling clean and fresh smelling.
- Hack 1: Baking Soda and Vinegar Toilet Bombs
- What you’ll need: 1 cup baking soda, 1/4 cup citric acid (optional, but it adds extra fizzing power!), a few drops of essential oil (optional, for fragrance), water, a spray bottle, silicone molds (ice cube trays work well).
- Why it works: The baking soda and citric acid react with water to create a fizzing action that helps to loosen dirt and grime. The essential oils add a pleasant scent.
- Hack 2: Cola Cleaning Power
- What you’ll need: A can of cola (any brand will do).
- Why it works: The phosphoric acid in cola helps to dissolve stains and mineral deposits.
Baking Soda and Vinegar Toilet Bombs:
1. Combine dry ingredients: In a bowl, combine the baking soda and citric acid (if using). Mix well.
2. Add essential oils (optional): Add a few drops of your favorite essential oil for fragrance. I like using lemon, tea tree, or eucalyptus oil for their antibacterial properties.
3. Moisten the mixture: Using a spray bottle, lightly spritz the mixture with water, a little at a time, while mixing with your hands. The mixture should be damp enough to hold its shape when squeezed, but not too wet.
4. Mold the bombs: Press the mixture firmly into silicone molds.
5. Let them dry: Let the toilet bombs dry completely for at least 24 hours, or until they are hard and solid.
6. Use: To use, simply drop a toilet bomb into the toilet bowl and let it fizz. After the fizzing stops (about 20-30 minutes), scrub the bowl with a toilet brush and flush.
Cola Cleaning Power:
1. Pour the cola: Pour the entire can of cola into the toilet bowl, making sure to coat the sides of the bowl.
2. Let it sit: Let the cola sit in the toilet bowl for at least an hour, or even overnight for stubborn stains.
3. Scrub and flush: After the soaking time, scrub the bowl with a toilet brush and flush.
Shining the Sink and Faucet: Lemon Fresh!
The sink and faucet can quickly become grimy with toothpaste, soap, and water spots. This hack uses the power of lemons to clean and shine.
- What you’ll need: A lemon (cut in half), salt (optional, for extra scrubbing power).
- Why it works: The citric acid in lemons helps to dissolve hard water stains and soap scum, while the lemon peel provides a gentle abrasive action.
Step-by-Step Instructions:
1. Sprinkle with salt (optional): If you want extra scrubbing power, sprinkle a little salt onto the cut side of the lemon.
2. Scrub the sink and faucet: Use the lemon half to scrub the sink and faucet, paying attention to areas with stains or buildup. Squeeze the lemon gently as you scrub to release the juice.
3. Rinse: Rinse thoroughly with warm water.
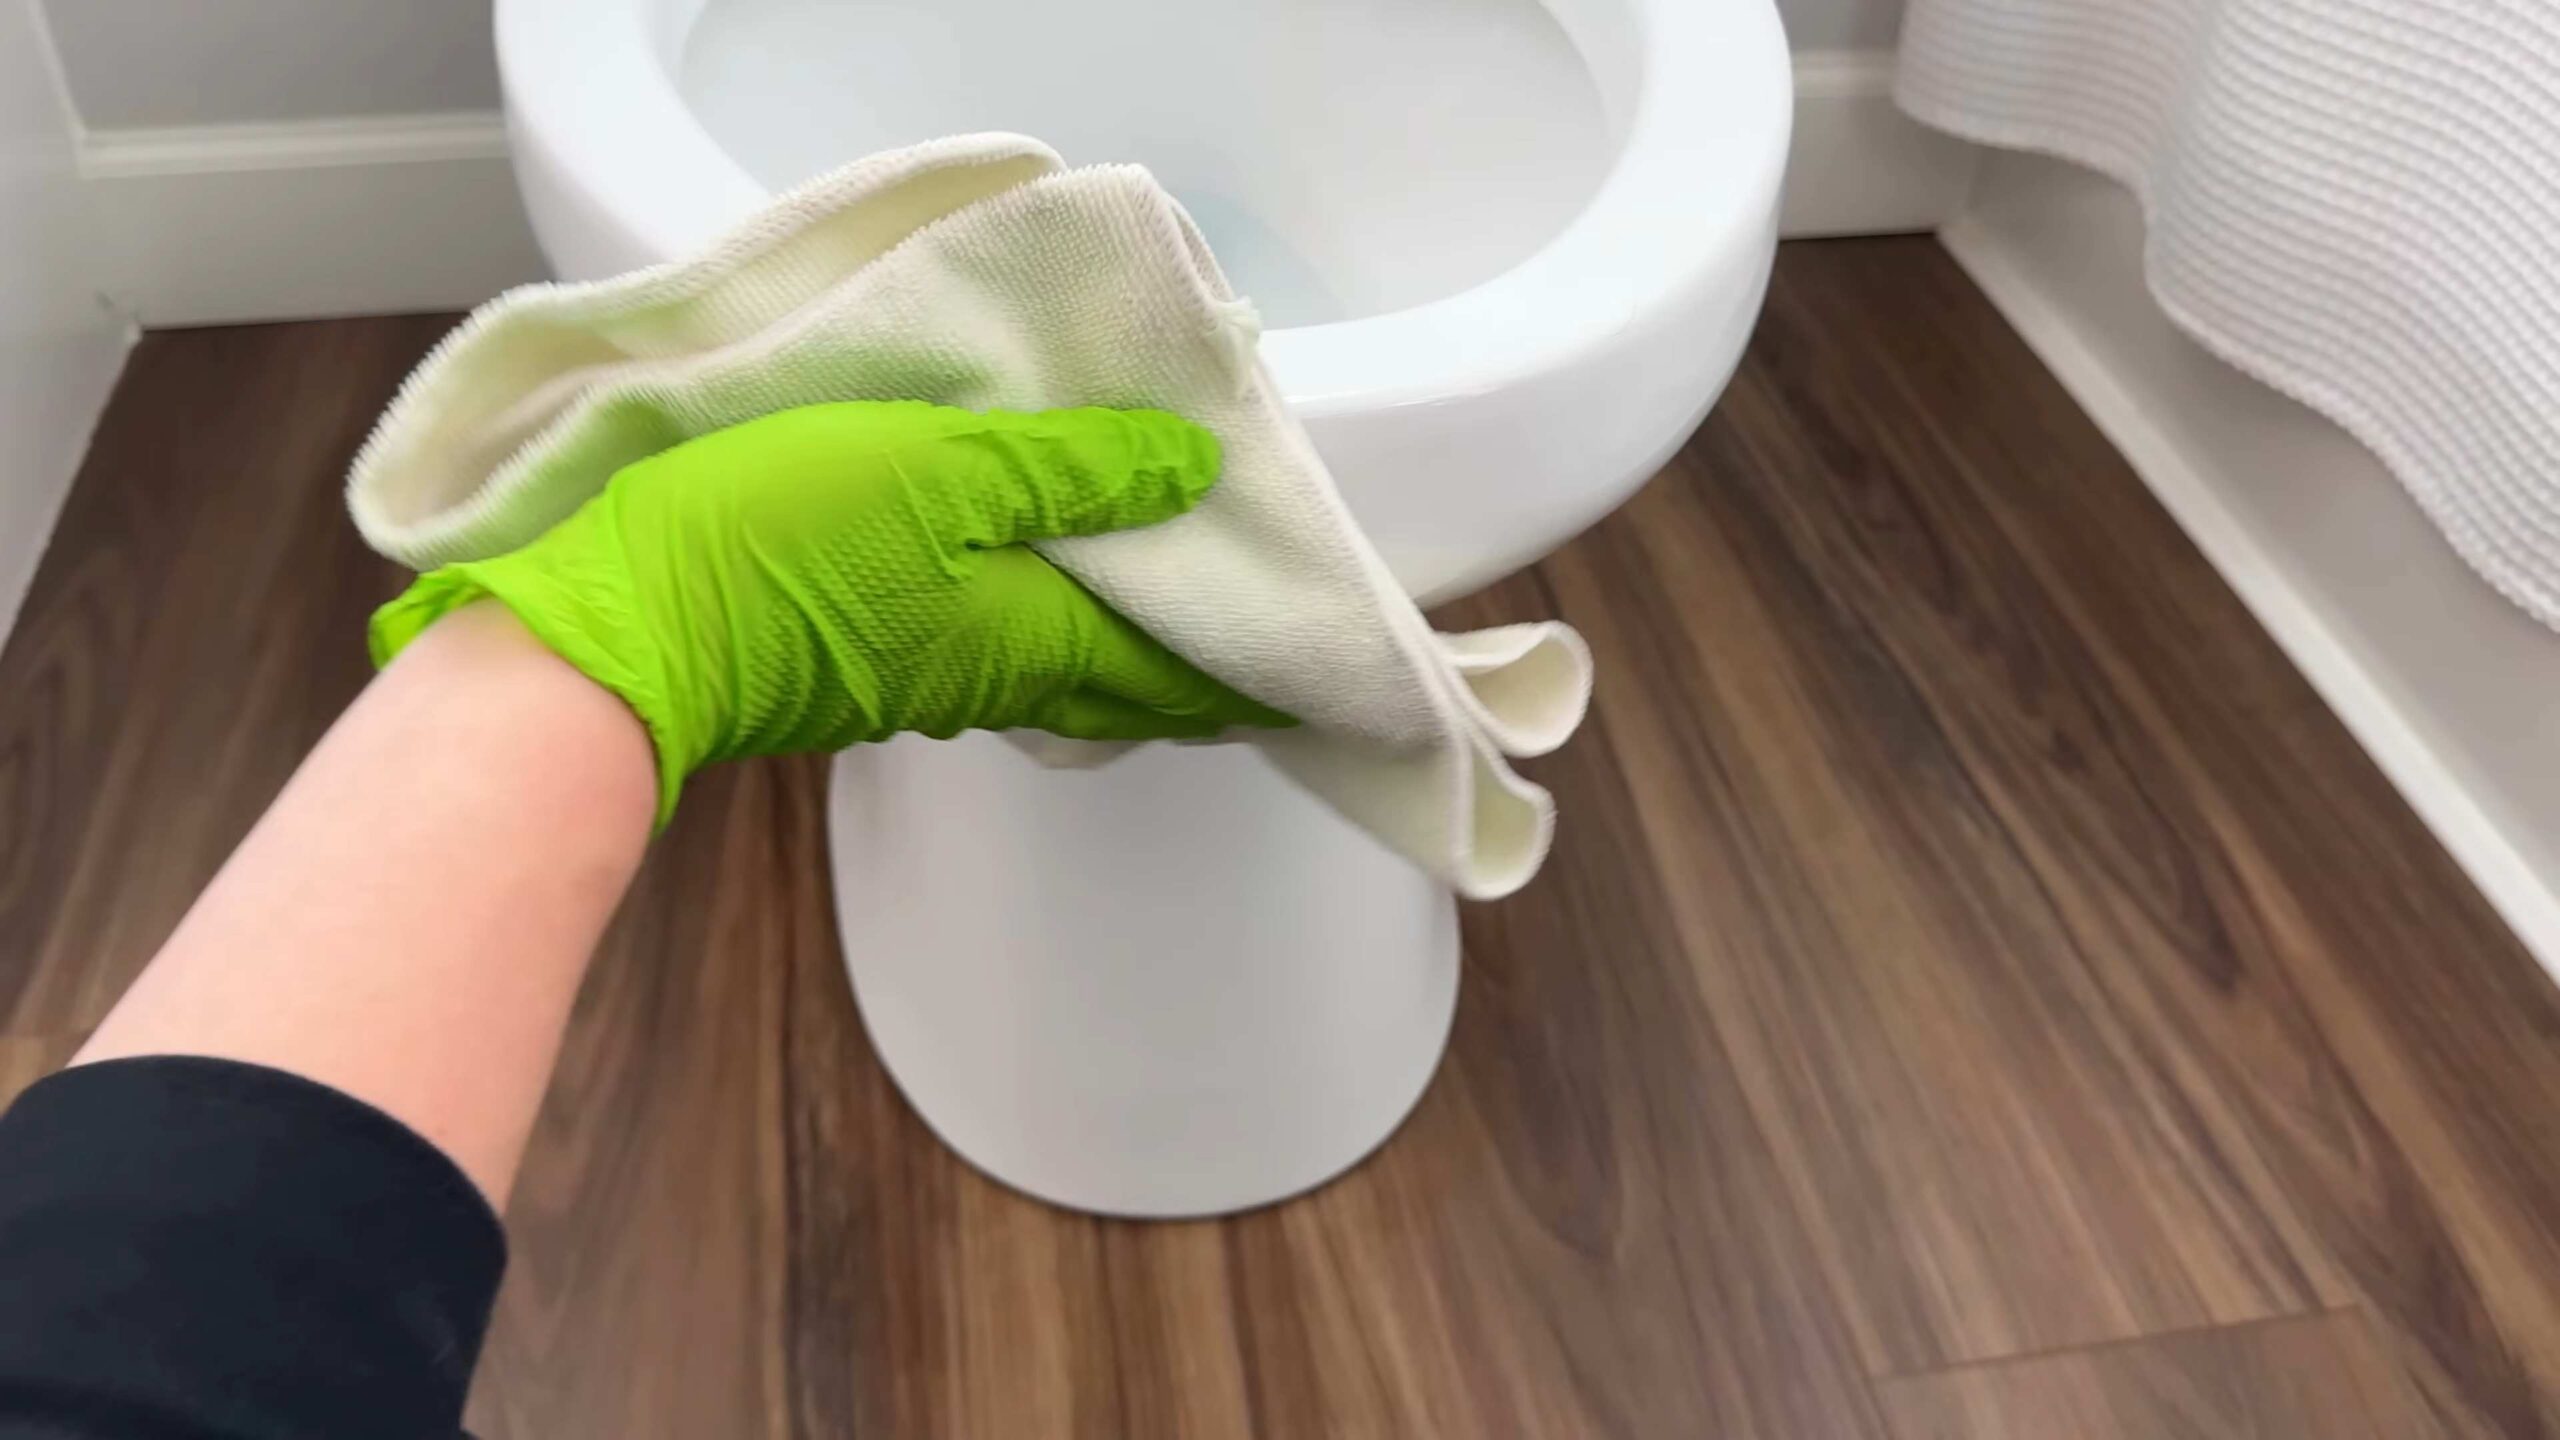
4. Dry: Use a clean towel to dry the sink and faucet, leaving them sparkling clean and smelling fresh.
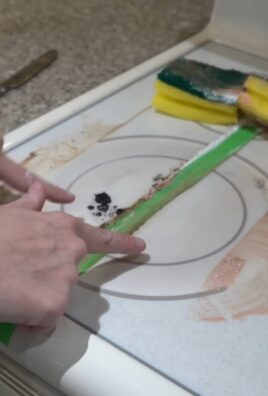
Cleaning Grout: Baking Soda and Hydrogen Peroxide Magic!
Grout can be a breeding ground for mold and mildew, and it can quickly become discolored. This hack uses a simple paste to brighten and clean grout lines.
- What you’ll need: Baking soda, hydrogen peroxide, an old toothbrush or grout brush.
- Why it works: Baking soda is a mild abrasive that helps to scrub away dirt and grime, while hydrogen peroxide is a natural disinfectant and bleaching agent.
Step-by-Step Instructions:
1. Make the paste: In a small bowl, mix baking soda with enough hydrogen peroxide to form a thick paste.
2. Apply the paste: Apply the paste to the grout lines, covering them completely.
3. Let it sit: Let the paste sit on the grout lines for 5-10 minutes.
4. Scrub: Use an old toothbrush or grout brush to scrub the grout lines,
Conclusion
So, there you have it! These DIY bathroom cleaning hacks are not just about saving money; they’re about reclaiming your time and creating a healthier, more pleasant environment in your home. We’ve explored simple, effective solutions using ingredients you likely already have in your pantry. From banishing stubborn soap scum with the power of vinegar and baking soda to effortlessly shining your showerhead with a bag of vinegar, these tricks are designed to make your cleaning routine less of a chore and more of a breeze.
Why is this a must-try? Because a sparkling clean bathroom doesn’t have to involve harsh chemicals or hours of scrubbing. These methods are gentler on your surfaces, better for the environment, and, frankly, much more satisfying. Imagine the feeling of accomplishment as you watch grime dissolve away with minimal effort, revealing the gleaming surfaces beneath.
But don’t stop there! Feel free to experiment and adapt these hacks to suit your specific needs and preferences. For instance, if you’re not a fan of the vinegar smell, add a few drops of your favorite essential oil, like lemon or lavender, to the cleaning solution. For tougher stains, let the cleaning solution sit for a longer period before scrubbing. You can also try using a microfiber cloth instead of a sponge for even better cleaning power. Consider using an old toothbrush to get into those hard-to-reach crevices around faucets and tile grout.
Remember, the key to success with these DIY bathroom cleaning hacks is consistency. Incorporate these simple routines into your regular cleaning schedule, and you’ll find that maintaining a sparkling clean bathroom becomes much easier over time. A quick wipe-down after each shower can prevent soap scum buildup, while a weekly vinegar soak for your showerhead will keep it functioning optimally.
We’re confident that these bathroom cleaning hacks will revolutionize your cleaning routine. They’re easy, effective, and eco-friendly. Now it’s your turn to put them to the test! We encourage you to try these DIY tricks and share your experiences with us. Let us know which hacks worked best for you, any variations you tried, and any other tips you’ve discovered along the way. Your feedback will not only help us improve these methods but also inspire others to embrace the power of DIY cleaning. Share your before-and-after photos, your favorite cleaning combinations, and your overall thoughts in the comments below. Let’s create a community of clean bathroom enthusiasts!
Ready to transform your bathroom cleaning routine?
Don’t wait any longer! Grab your vinegar, baking soda, and a few simple tools, and get ready to experience the joy of a sparkling clean bathroom without the harsh chemicals or endless scrubbing. We can’t wait to hear about your success stories!
Frequently Asked Questions (FAQ)
1. Are these DIY bathroom cleaning hacks safe for all bathroom surfaces?
Generally, yes, these hacks are safe for most common bathroom surfaces like tile, porcelain, glass, and stainless steel. However, it’s always a good idea to test any cleaning solution in an inconspicuous area first, especially on more delicate surfaces like natural stone (marble, granite) or painted surfaces. Vinegar, in particular, can be acidic and may etch or dull certain materials if left on for too long. For natural stone, consider using a pH-neutral cleaner specifically designed for those surfaces. When in doubt, consult the manufacturer’s recommendations for cleaning your specific bathroom fixtures and surfaces.
2. How often should I use these DIY bathroom cleaning hacks?
The frequency depends on how often you use your bathroom and how quickly it gets dirty. For general cleaning, aim to use these hacks once a week. For areas prone to soap scum or mildew buildup, like the shower or tub, you may need to clean them more frequently, perhaps every few days. A quick wipe-down after each shower can significantly reduce the need for deep cleaning later on. For showerheads, soaking them in vinegar once a month is usually sufficient to prevent mineral buildup.
3. Can I use these DIY bathroom cleaning hacks if I have allergies or sensitivities?
One of the great advantages of these DIY hacks is that you control the ingredients. If you have allergies or sensitivities to certain chemicals found in commercial cleaners, these natural alternatives can be a much safer option. However, it’s still important to be cautious. If you’re sensitive to vinegar, for example, wear gloves and ensure proper ventilation while cleaning. You can also try diluting the vinegar solution further or using a different cleaning agent altogether, such as baking soda paste. If you have severe allergies or sensitivities, consult with your doctor or allergist before trying any new cleaning products, even natural ones.
4. What if these DIY bathroom cleaning hacks don’t work on a particularly stubborn stain?
Sometimes, stubborn stains require a little extra effort. If the initial cleaning solution doesn’t do the trick, try these tips:
* **Increase the concentration:** For example, use undiluted vinegar or a thicker paste of baking soda and water.
* **Extend the soaking time:** Allow the cleaning solution to sit on the stain for a longer period, even overnight, before scrubbing.
* **Use a more abrasive scrubbing tool:** Try a scrub brush with stiffer bristles or a scouring pad (but be careful not to scratch delicate surfaces).
* **Combine cleaning agents:** For example, try a combination of baking soda and hydrogen peroxide for tough stains.
* **Consider professional help:** If all else fails, you may need to consult with a professional cleaning service.
5. How do I get rid of mold and mildew in my bathroom using DIY methods?
Mold and mildew thrive in damp environments like bathrooms. To combat them naturally:
* **Vinegar:** Spray undiluted white vinegar onto the affected areas and let it sit for at least an hour before scrubbing and rinsing.
* **Baking Soda:** Make a paste of baking soda and water and apply it to the moldy areas. Let it dry completely before scrubbing and rinsing.
* **Tea Tree Oil:** Mix a few drops of tea tree oil with water in a spray bottle and spray it onto the moldy areas. Tea tree oil is a natural antifungal agent. Do not rinse.
* **Hydrogen Peroxide:** Spray 3% hydrogen peroxide onto the moldy areas and let it sit for 10-15 minutes before scrubbing and rinsing.
Remember to always wear gloves and a mask when dealing with mold and mildew, and ensure proper ventilation in the bathroom.
6. Can I use these DIY bathroom cleaning hacks on my toilet?
Yes, many of these hacks are effective for cleaning toilets. Vinegar and baking soda can be used to clean the toilet bowl and remove stains. For example, you can pour a cup of vinegar into the toilet bowl and let it sit overnight before scrubbing and flushing. You can also sprinkle baking soda into the bowl and then add vinegar for a fizzing action that helps to loosen grime. For the exterior of the toilet, you can use a diluted vinegar solution or a baking soda paste to clean and disinfect the surfaces.
7. How can I prevent my bathroom from getting dirty so quickly?
Prevention is key to maintaining a clean bathroom. Here are some tips:
* **Ventilate:** Always run the exhaust fan during and after showers to reduce humidity.
* **Wipe Down:** Wipe down shower walls and doors after each use to prevent soap scum buildup.
* **Squeegee:** Use a squeegee to remove water from shower surfaces.
* **Regular Cleaning:** Establish a regular cleaning schedule to prevent dirt and grime from accumulating.
* **Declutter:** Keep bathroom surfaces clear of clutter to make cleaning easier.
* **Use a Shower Curtain Liner:** Replace or clean your shower curtain liner regularly to prevent mildew growth.
8. Are there any DIY air fresheners I can use in my bathroom?
Yes, there are several natural ways to freshen the air in your bathroom:
* **Essential Oil Diffuser:** Use an essential oil diffuser with your favorite scents.
* **Baking Soda:** Place an open box of baking soda in the bathroom to absorb odors.
* **Potpourri:** Create a potpourri blend with dried flowers and essential oils.
* **Citrus Peels:** Simmer citrus peels (lemon, orange, grapefruit) in water on the stovetop to release a fresh, clean scent.
* **Eucalyptus Branches:** Hang eucalyptus branches in the shower; the steam will release their refreshing scent.
9. Can I use these hacks to clean my bathroom mirror?
Absolutely! A simple solution of equal parts water and white vinegar works wonders on bathroom mirrors. Spray the solution onto the mirror and wipe it clean with a microfiber cloth. For extra shine, you can buff the mirror with a clean, dry cloth. Avoid using paper towels, as they can leave streaks.
10. What are some eco-friendly alternatives to disposable cleaning supplies?
To reduce waste and be more environmentally friendly, consider these alternatives:
* **Microfiber Cloths:** Use reusable microfiber cloths instead of paper towels.
* **Reusable Spray Bottles:** Refill reusable spray bottles with your DIY cleaning solutions.
* **Wooden Scrub Brushes:** Opt for wooden scrub brushes with natural bristles instead of plastic ones.
* **Natural Sponges:** Use natural sea sponges or biodegradable sponges.
* **Concentrated Cleaners:** Purchase concentrated cleaning solutions that you can dilute with water, reducing packaging waste.
Leave a Comment