

Bathroom cleaning hacks – who doesn’t need them? Let’s be honest, tackling the bathroom is nobody’s favorite chore. It’s the one space we all dread, filled with grime, soap scum, and that persistent mildew smell that just won’t quit. But what if I told you that conquering your bathroom chaos could be easier, faster, and even…dare I say…a little bit fun?
For generations, keeping a clean home, including the bathroom, has been a sign of good health and well-being. Think back to ancient Roman bathhouses, meticulously maintained for public hygiene, or the traditional Japanese ofuro, where cleanliness is deeply intertwined with spiritual practice. While our modern bathrooms may look different, the need for effective cleaning remains constant.
That’s where these bathroom cleaning hacks come in! We’re not just talking about a quick wipe-down; we’re diving deep into clever DIY solutions that use everyday items you probably already have in your pantry. Imagine banishing stubborn stains with vinegar and baking soda, or effortlessly shining your showerhead with a simple lemon trick. This isn’t just about aesthetics; it’s about creating a healthier, more pleasant environment for you and your family. So, ditch the harsh chemicals and expensive cleaners, and let’s unlock the secrets to a sparkling clean bathroom with these simple, yet incredibly effective, DIY tricks!
DIY Bathroom Cleaning Hacks: Sparkling Clean Without Breaking a Sweat!
Okay, let’s face it, cleaning the bathroom is nobody’s favorite chore. But, with a few clever DIY hacks, you can transform your bathroom from a grimy mess to a sparkling sanctuary without spending hours scrubbing. I’m going to share some of my favorite and most effective bathroom cleaning secrets with you. Get ready to be amazed!
Tackling Soap Scum and Grime
Soap scum is the bane of every bathroom cleaner’s existence. It’s stubborn, unsightly, and seems to multiply overnight. But fear not! These hacks will help you conquer it.
Hack 1: Vinegar Powerhouse
Vinegar is my go-to for so many cleaning tasks, and it works wonders on soap scum.
* What you’ll need: White vinegar, spray bottle, sponge or microfiber cloth, optional: essential oils (for scent).
* Why it works: The acidity in vinegar breaks down the alkaline soap scum.
Step-by-step instructions:
1. Heat the vinegar: Pour white vinegar into a microwave-safe container and heat it for about 2-3 minutes, or until it’s warm (not boiling!). Heating the vinegar makes it even more effective at dissolving soap scum.
2. Pour into spray bottle: Carefully pour the warm vinegar into a spray bottle. Be cautious, as the bottle might be hot.
3. Spray generously: Spray the vinegar liberally onto the affected areas, like shower walls, glass doors, and faucets. Make sure to saturate the soap scum.
4. Let it sit: Allow the vinegar to sit for at least 15-30 minutes. For really stubborn soap scum, you can let it sit for even longer, up to an hour.
5. Scrub and rinse: After the soaking time, use a sponge or microfiber cloth to scrub away the loosened soap scum. You might need to apply a little elbow grease, but the vinegar should have done most of the work. Rinse thoroughly with clean water.
6. Optional: Add essential oils: If you don’t love the smell of vinegar, add a few drops of your favorite essential oil (like lavender, lemon, or eucalyptus) to the spray bottle. This will help mask the vinegar scent and leave your bathroom smelling fresh.
Hack 2: Baking Soda Paste
Baking soda is another fantastic natural cleaner that’s perfect for tackling tough stains and grime.
* What you’ll need: Baking soda, water, sponge or scrub brush.
* Why it works: Baking soda is a mild abrasive that helps to scrub away grime without scratching surfaces.
Step-by-step instructions:
1. Make a paste: In a small bowl, mix baking soda with enough water to form a thick paste. The consistency should be similar to toothpaste.
2. Apply the paste: Apply the baking soda paste to the areas with soap scum or grime. You can use your fingers, a sponge, or a scrub brush to apply it.
3. Let it sit: Allow the paste to sit for about 15-20 minutes. This gives the baking soda time to loosen the grime.
4. Scrub and rinse: Use a sponge or scrub brush to scrub away the loosened grime. Rinse thoroughly with clean water.
5. For extra tough stains: For really stubborn stains, you can mix baking soda with a little bit of vinegar to create a fizzing action that helps to break down the grime even further. Be careful when mixing baking soda and vinegar, as it can create a lot of foam.
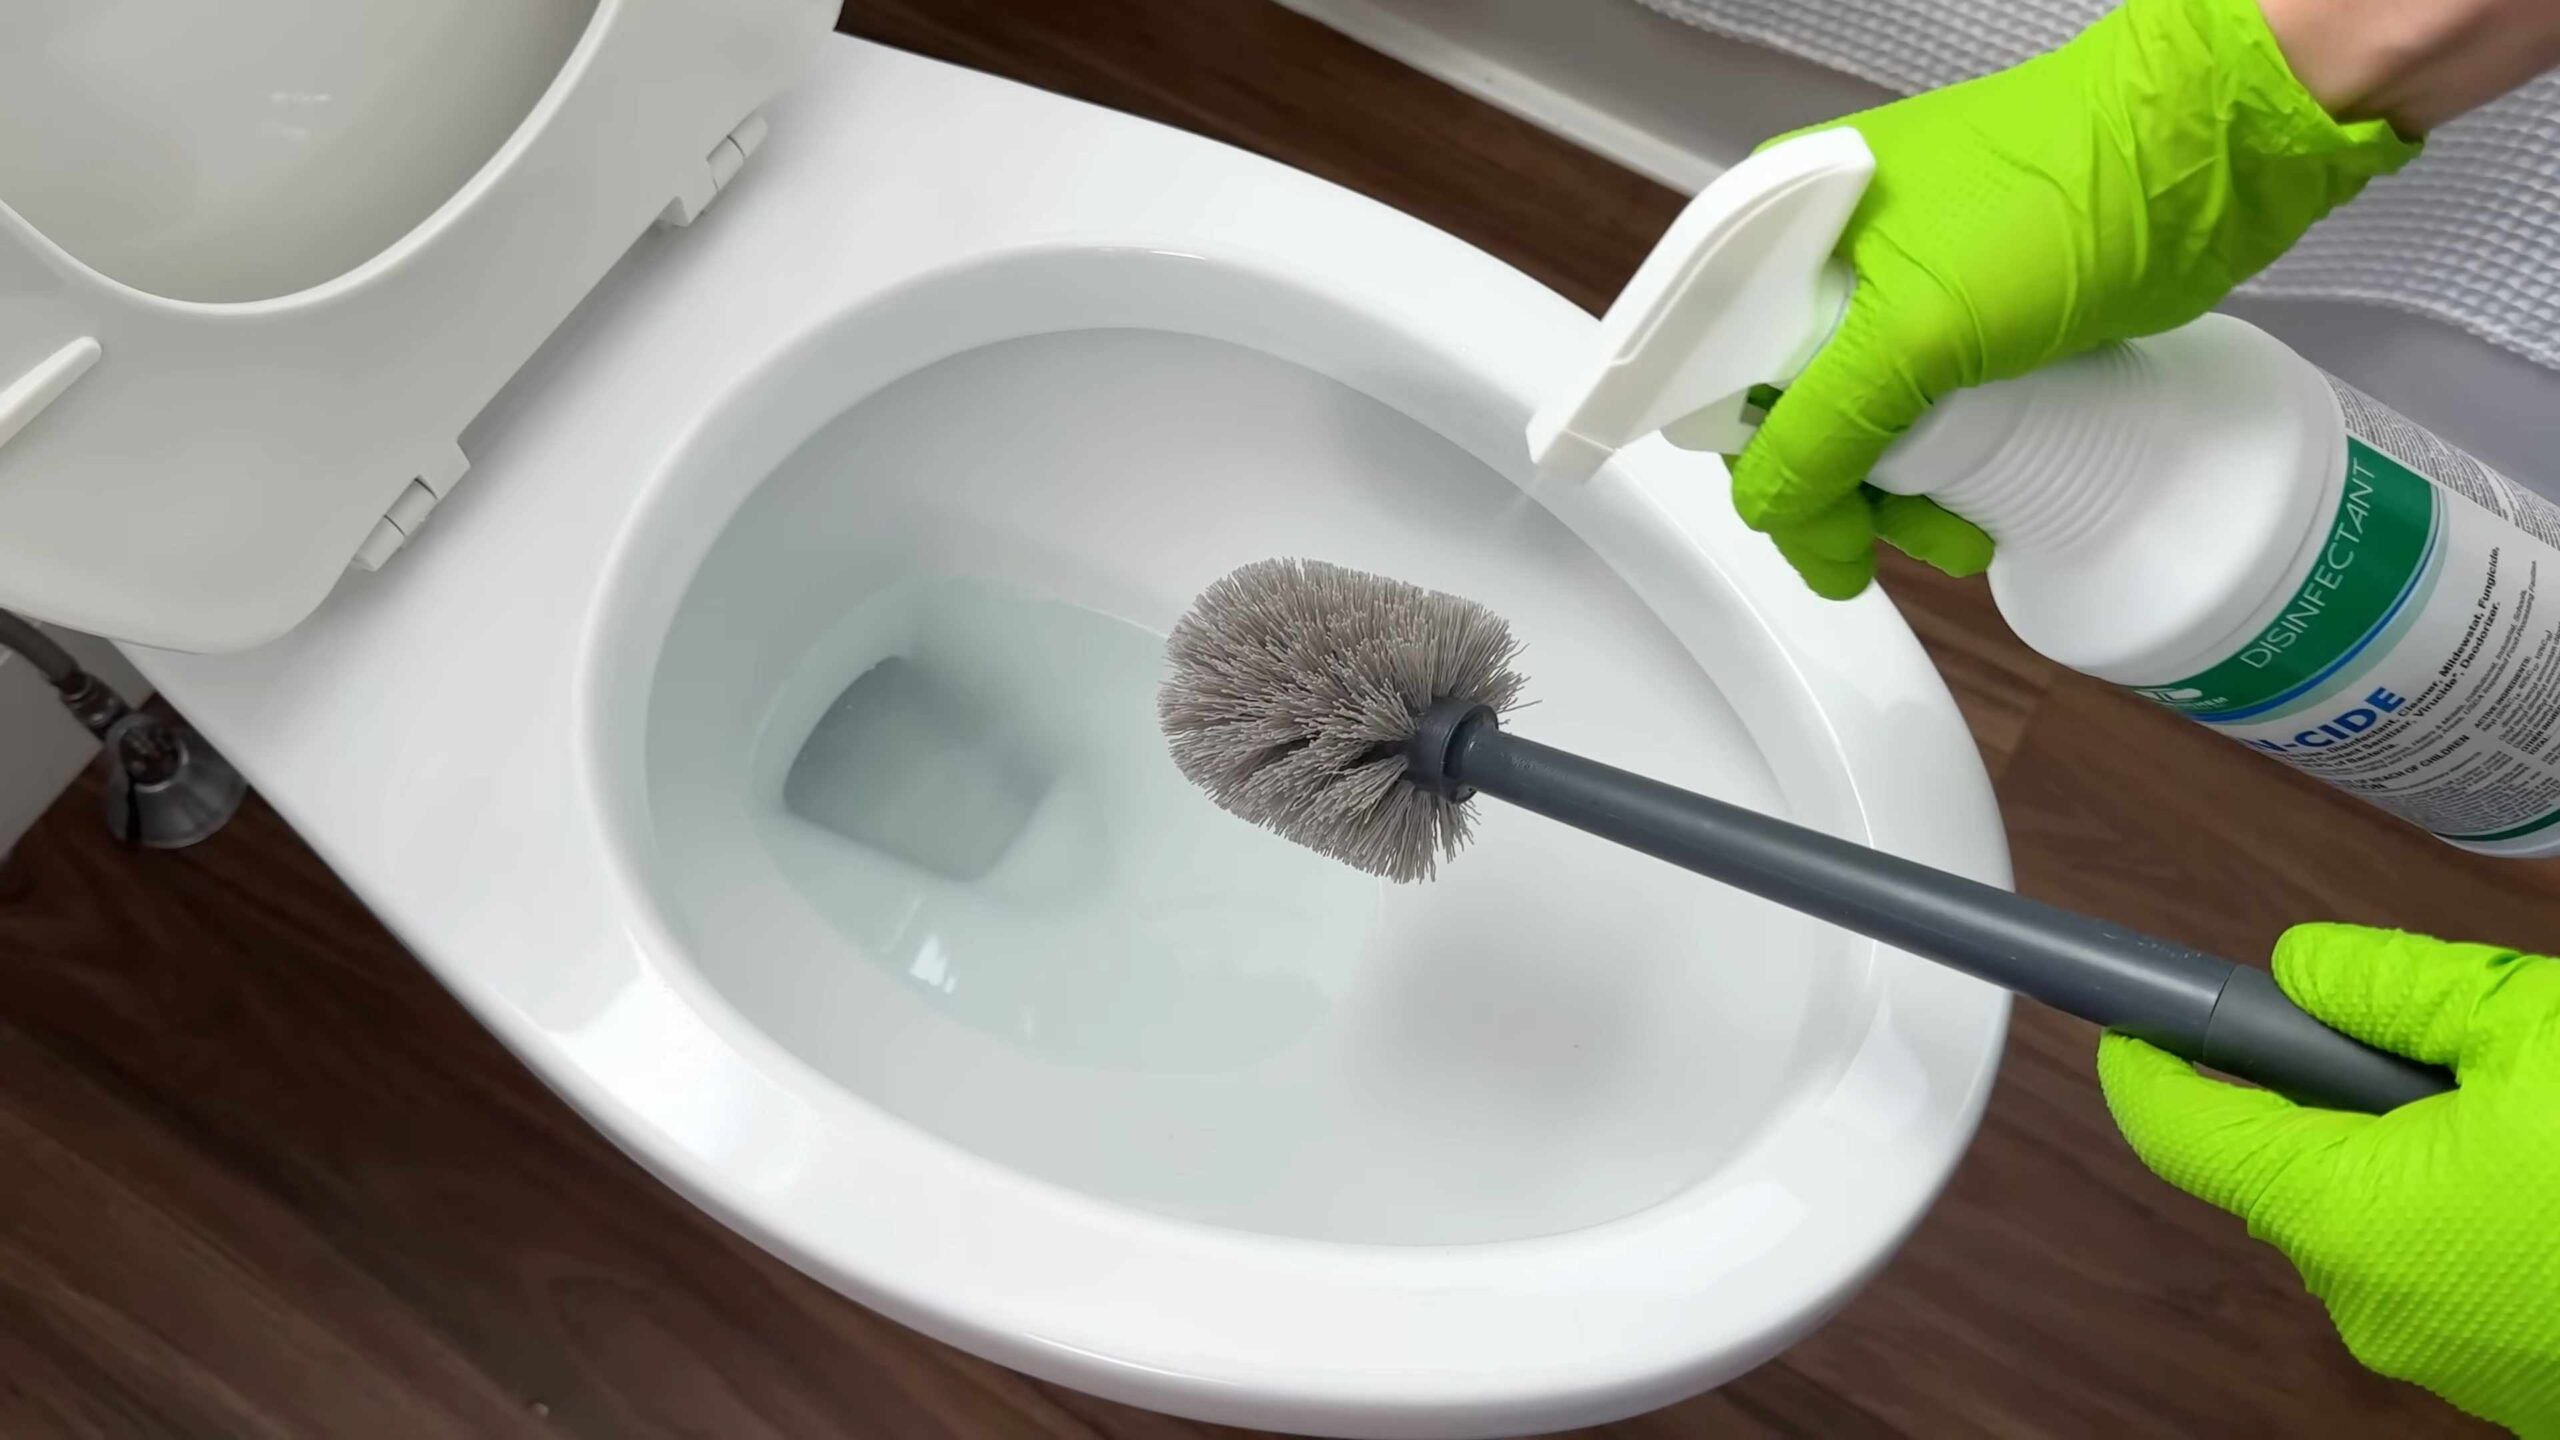
Cleaning the Toilet Like a Pro
The toilet is probably the least appealing part of the bathroom to clean, but it’s essential for maintaining a hygienic space. Here are a couple of hacks to make the job easier.
Hack 3: Fizzing Toilet Bombs
These DIY toilet bombs are not only effective at cleaning your toilet, but they’re also fun to make!
* What you’ll need: 1 cup baking soda, 1/2 cup citric acid, 1/2 cup cornstarch, a few tablespoons of water, essential oils (optional), spray bottle, ice cube tray or silicone molds.
* Why it works: The combination of baking soda and citric acid creates a fizzing action that helps to loosen stains and deodorize the toilet.
Step-by-step instructions:
1. Combine dry ingredients: In a large bowl, combine the baking soda, citric acid, and cornstarch. Mix well.
2. Add essential oils (optional): If you want to add a scent to your toilet bombs, add a few drops of your favorite essential oil to the dry ingredients. Lavender, tea tree, and lemon are all great choices.
3. Add water gradually: Using a spray bottle, lightly spritz the dry ingredients with water, mixing as you go. Be careful not to add too much water at once, as this will cause the mixture to fizz prematurely. You want the mixture to be damp enough to hold its shape when you squeeze it in your hand.
4. Mold the toilet bombs: Press the mixture firmly into ice cube trays or silicone molds.
5. Let them dry: Allow the toilet bombs to dry completely, which can take anywhere from 24 to 48 hours.
6. Store and use: Once the toilet bombs are dry, store them in an airtight container. To use, simply drop one into the toilet bowl and let it fizz. After the fizzing stops, scrub the toilet bowl with a toilet brush and flush.
Hack 4: Vinegar and Baking Soda Toilet Cleaner
This is a simple but effective way to clean and deodorize your toilet.
* What you’ll need: 1 cup white vinegar, 1/2 cup baking soda.
* Why it works: The vinegar helps to disinfect and deodorize the toilet, while the baking soda helps to scrub away stains.
Step-by-step instructions:
1. Pour in the vinegar: Pour 1 cup of white vinegar into the toilet bowl.
2. Add the baking soda: Immediately add 1/2 cup of baking soda to the toilet bowl. The mixture will fizz.
3. Let it sit: Allow the mixture to sit for about 30 minutes.
4. Scrub and flush: After the soaking time, scrub the toilet bowl with a toilet brush and flush.
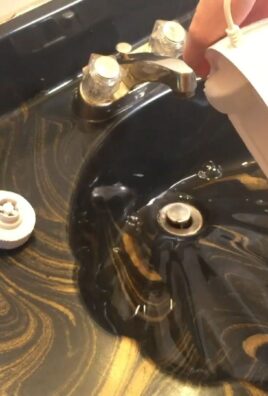
Shining Up Chrome Fixtures
Dull, water-spotted chrome fixtures can make your entire bathroom look dingy. Here’s how to bring back the shine.
Hack 5: Lemon Power
Lemon juice is a natural cleaner and polisher that works wonders on chrome.
* What you’ll need: Lemon, soft cloth.
* Why it works: The citric acid in lemon juice helps to dissolve water spots and mineral deposits, leaving chrome fixtures sparkling.
Step-by-step instructions:
1. Cut the lemon: Cut a lemon in half.
2. Rub the lemon: Rub the cut side of the lemon directly onto the chrome fixtures, focusing on areas with water spots or mineral deposits.
3. Let it sit: Allow the lemon juice to sit on the fixtures for about 5-10 minutes.
4. Wipe and rinse: Wipe the fixtures with a soft cloth to remove the lemon juice and any loosened deposits. Rinse thoroughly with clean water.
5. Dry and polish: Dry the fixtures with a clean, dry cloth to prevent water spots from forming. Buff the fixtures to a shine.
Hack 6: Baby Oil Shine
This might sound surprising, but baby oil is a fantastic way to polish chrome fixtures and prevent water spots.
* What you’ll need: Baby oil, soft cloth.
* Why it works: Baby oil creates a protective barrier on the chrome, preventing water spots from forming and leaving a beautiful shine.
Step-by-step instructions:
1. Apply baby oil: Put a small amount of baby oil onto a soft cloth.
2. Wipe the fixtures: Wipe the chrome fixtures with the cloth, spreading the baby oil evenly.
3. Buff to a shine: Use a clean, dry part of the cloth to buff the fixtures to a shine. Be careful not to use too much baby oil, as this can leave the fixtures feeling greasy.
Cleaning Showerheads and Faucets
Over time, showerheads and faucets can become clogged with mineral deposits, reducing water pressure and making them look unsightly.
Hack 7: Vinegar Soak
This is a simple and effective way to remove mineral deposits from showerheads and faucets.
* What you’ll need: White vinegar, plastic bag, rubber band or twist tie.
* Why it works: The acidity in vinegar dissolves mineral deposits, restoring water flow and leaving fixtures looking clean.
Step-by-step

Conclusion
So, there you have it! These simple yet incredibly effective DIY bathroom cleaning hacks are a game-changer for anyone looking to maintain a sparkling clean bathroom without resorting to harsh chemicals or spending a fortune on commercial cleaners. We’ve shown you how to tackle common bathroom grime using ingredients you likely already have in your pantry. From dissolving stubborn soap scum with the power of vinegar and baking soda to banishing mildew with the natural disinfectant properties of tea tree oil, these methods are not only budget-friendly but also environmentally conscious.
But why are these DIY tricks a must-try? The answer is simple: they work! They are safer for your family, better for the environment, and often more effective than store-bought alternatives. Plus, there’s a certain satisfaction that comes from creating your own cleaning solutions and knowing exactly what’s going into them. You’re in control of the ingredients and can customize them to suit your specific needs and preferences.
Consider these suggestions and variations to further personalize your bathroom cleaning routine:
* Scent Sensations: Add a few drops of your favorite essential oils to your cleaning solutions for a refreshing and aromatic experience. Lavender, lemon, and eucalyptus are excellent choices for a clean and invigorating scent.
* Tough Stain Treatment: For particularly stubborn stains, create a paste of baking soda and water and apply it directly to the affected area. Let it sit for a few minutes before scrubbing gently.
* Shower Head Deep Clean: To remove mineral buildup from your shower head, soak it in a bag filled with vinegar overnight. This will dissolve the deposits and restore optimal water flow.
* Grout Whitening Power: Use an old toothbrush to scrub grout lines with a mixture of baking soda and hydrogen peroxide. This will help to brighten and whiten dingy grout.
* Mirror Magic: Clean your mirrors with a solution of equal parts vinegar and water for a streak-free shine. Use a microfiber cloth for best results.
These bathroom cleaning hacks are not just about cleaning; they’re about creating a healthier and more pleasant environment for you and your family. They’re about taking control of the products you use in your home and making informed choices that benefit both your well-being and the planet.
We are confident that once you try these DIY bathroom cleaning hacks, you’ll be amazed by the results. They are easy to implement, cost-effective, and incredibly effective. So, ditch the harsh chemicals and embrace the power of natural cleaning solutions.
We encourage you to try these DIY tricks and share your experience with us! Let us know which hacks worked best for you, any variations you tried, and any tips you have to share. Your feedback is invaluable and will help us continue to refine and improve these methods. Share your before-and-after photos on social media using #DIYBathroomClean and inspire others to join the natural cleaning revolution. Let’s create a community of clean, healthy, and happy homes, one bathroom at a time.
FAQ
What are the benefits of using DIY bathroom cleaning hacks compared to commercial cleaners?
DIY bathroom cleaning hacks offer a multitude of benefits over commercial cleaners. Firstly, they are significantly more cost-effective. Ingredients like vinegar, baking soda, and lemon juice are readily available and much cheaper than specialized cleaning products. Secondly, they are safer for your health and the environment. Commercial cleaners often contain harsh chemicals that can irritate your skin, eyes, and respiratory system. They can also release harmful fumes into the air and pollute waterways. DIY solutions, on the other hand, are made with natural ingredients that are biodegradable and less likely to cause adverse reactions. Finally, DIY cleaning allows you to customize your solutions to suit your specific needs and preferences. You can adjust the strength of the solution, add essential oils for fragrance, and avoid ingredients that you are sensitive to.
Are these DIY cleaning hacks effective against tough bathroom stains and grime?
Yes, absolutely! While they may seem simple, these DIY cleaning hacks are surprisingly effective against tough bathroom stains and grime. Vinegar, for example, is a natural acid that can dissolve soap scum, hard water stains, and mildew. Baking soda is a mild abrasive that can scrub away dirt and grime without scratching surfaces. Lemon juice has antibacterial properties and can help to brighten and deodorize. The key is to use the right combination of ingredients and to allow the solutions to sit on the stains for a few minutes before scrubbing. For particularly stubborn stains, you may need to repeat the process or use a stronger concentration of the cleaning solution.
Can I use these DIY cleaning hacks on all bathroom surfaces?
While most of these DIY cleaning hacks are safe for use on a variety of bathroom surfaces, it’s always a good idea to test them in an inconspicuous area first. Avoid using acidic solutions like vinegar or lemon juice on natural stone surfaces like marble or granite, as they can etch the stone. Baking soda can be abrasive, so use it gently on delicate surfaces like fiberglass or acrylic. Always rinse surfaces thoroughly with water after cleaning to remove any residue. If you are unsure about whether a particular cleaning solution is safe for a specific surface, consult the manufacturer’s instructions or contact a professional cleaner.
How often should I use these DIY cleaning hacks to maintain a clean bathroom?
The frequency of cleaning depends on how often your bathroom is used and how quickly it gets dirty. As a general guideline, aim to clean your bathroom at least once a week. This will help to prevent the buildup of soap scum, mildew, and other grime. For high-traffic bathrooms, you may need to clean more frequently. You can also incorporate some of these DIY cleaning hacks into your daily routine. For example, you can wipe down your shower walls with a vinegar solution after each shower to prevent mildew growth. Or, you can sprinkle baking soda in your toilet bowl and let it sit overnight to deodorize and clean.
What essential oils are best to use in DIY bathroom cleaning solutions?
Essential oils can add a pleasant fragrance and antibacterial properties to your DIY bathroom cleaning solutions. Some of the best essential oils to use include:
* Lavender: Has a calming and relaxing scent and is known for its antibacterial and antifungal properties.
* Lemon: Has a bright and refreshing scent and is a natural disinfectant.
* Tea Tree: Has strong antibacterial and antifungal properties and is effective against mildew and mold.
* Eucalyptus: Has a refreshing and invigorating scent and can help to clear congestion.
* Peppermint: Has a cooling and refreshing scent and can help to deter pests.
When using essential oils, be sure to dilute them properly with water or another carrier oil. A general guideline is to use 10-15 drops of essential oil per cup of water. Always test the solution in an inconspicuous area before using it on a larger surface.
Are there any precautions I should take when using these DIY cleaning hacks?
While these DIY cleaning hacks are generally safe, it’s important to take a few precautions:
* Wear gloves: Protect your hands from irritation by wearing gloves when cleaning.
* Ventilate the area: Open windows or turn on a fan to ensure proper ventilation.
* Avoid mixing chemicals: Never mix vinegar with bleach, as this can create toxic fumes.
* Keep out of reach of children and pets: Store cleaning solutions in a safe place where children and pets cannot access them.
* Test in an inconspicuous area: Before using a cleaning solution on a large surface, test it in an inconspicuous area to ensure that it doesn’t damage the surface.
By following these precautions, you can safely and effectively use these DIY bathroom cleaning hacks to maintain a clean and healthy bathroom.
Leave a Comment