

Bathroom cleaning shortcuts – who doesn’t crave them? Let’s be honest, tackling the bathroom is nobody’s favorite chore. We all dream of sparkling clean surfaces without spending hours scrubbing away grime. But what if I told you that achieving a pristine bathroom could be faster, easier, and even a little bit fun?
For generations, keeping bathrooms clean has been a constant battle. From ancient Roman bathhouses meticulously maintained by slaves to modern homes equipped with powerful cleaning agents, the quest for a hygienic and pleasant bathroom environment has always been a priority. But in today’s busy world, time is precious. We need efficient solutions that deliver results without sacrificing our weekends.
That’s where these DIY bathroom cleaning shortcuts come in! I’m going to share some of my favorite hacks that will transform your cleaning routine. These aren’t just quick fixes; they’re clever strategies that address common bathroom cleaning challenges head-on. From tackling stubborn soap scum to banishing mildew, these tips will save you time, money, and a whole lot of elbow grease. Get ready to discover the secrets to a sparkling bathroom you’ll actually enjoy showing off!
Bathroom Cleaning Shortcuts: A DIY Guide to Sparkling Clean!
Okay, let’s be honest, cleaning the bathroom is nobody’s favorite chore. But it doesn’t have to be a marathon cleaning session every single time. I’ve gathered some of my favorite DIY bathroom cleaning shortcuts that will save you time and effort, leaving you with a sparkling clean space you can actually enjoy.
DIY Cleaning Solutions: The Secret Weapon
Forget those expensive, chemical-laden cleaners! You probably have everything you need right in your pantry to create powerful and effective cleaning solutions.
* Vinegar Power: White vinegar is a cleaning superstar. It’s a natural disinfectant, deodorizer, and descaler.
* Baking Soda Magic: Baking soda is a gentle abrasive that’s perfect for scrubbing away grime and stains.
* Lemon Freshness: Lemon juice is a natural degreaser and adds a lovely fresh scent.
* Borax Boost: Borax is a natural mineral that acts as a disinfectant, deodorizer, and cleaner. (Use with caution and keep away from children and pets).
* Essential Oil Enhancement: Add a few drops of your favorite essential oils (like tea tree, eucalyptus, or lavender) for extra cleaning power and a pleasant aroma.
Shower and Tub Sparkle: No More Scrubbing!
Tackling the shower and tub can feel like a monumental task. But with these shortcuts, you’ll be amazed at how easy it can be.
Daily Shower Spray: Prevent Grime Buildup
This is my absolute favorite trick! A daily shower spray prevents soap scum and mildew from building up in the first place, so you barely have to scrub.
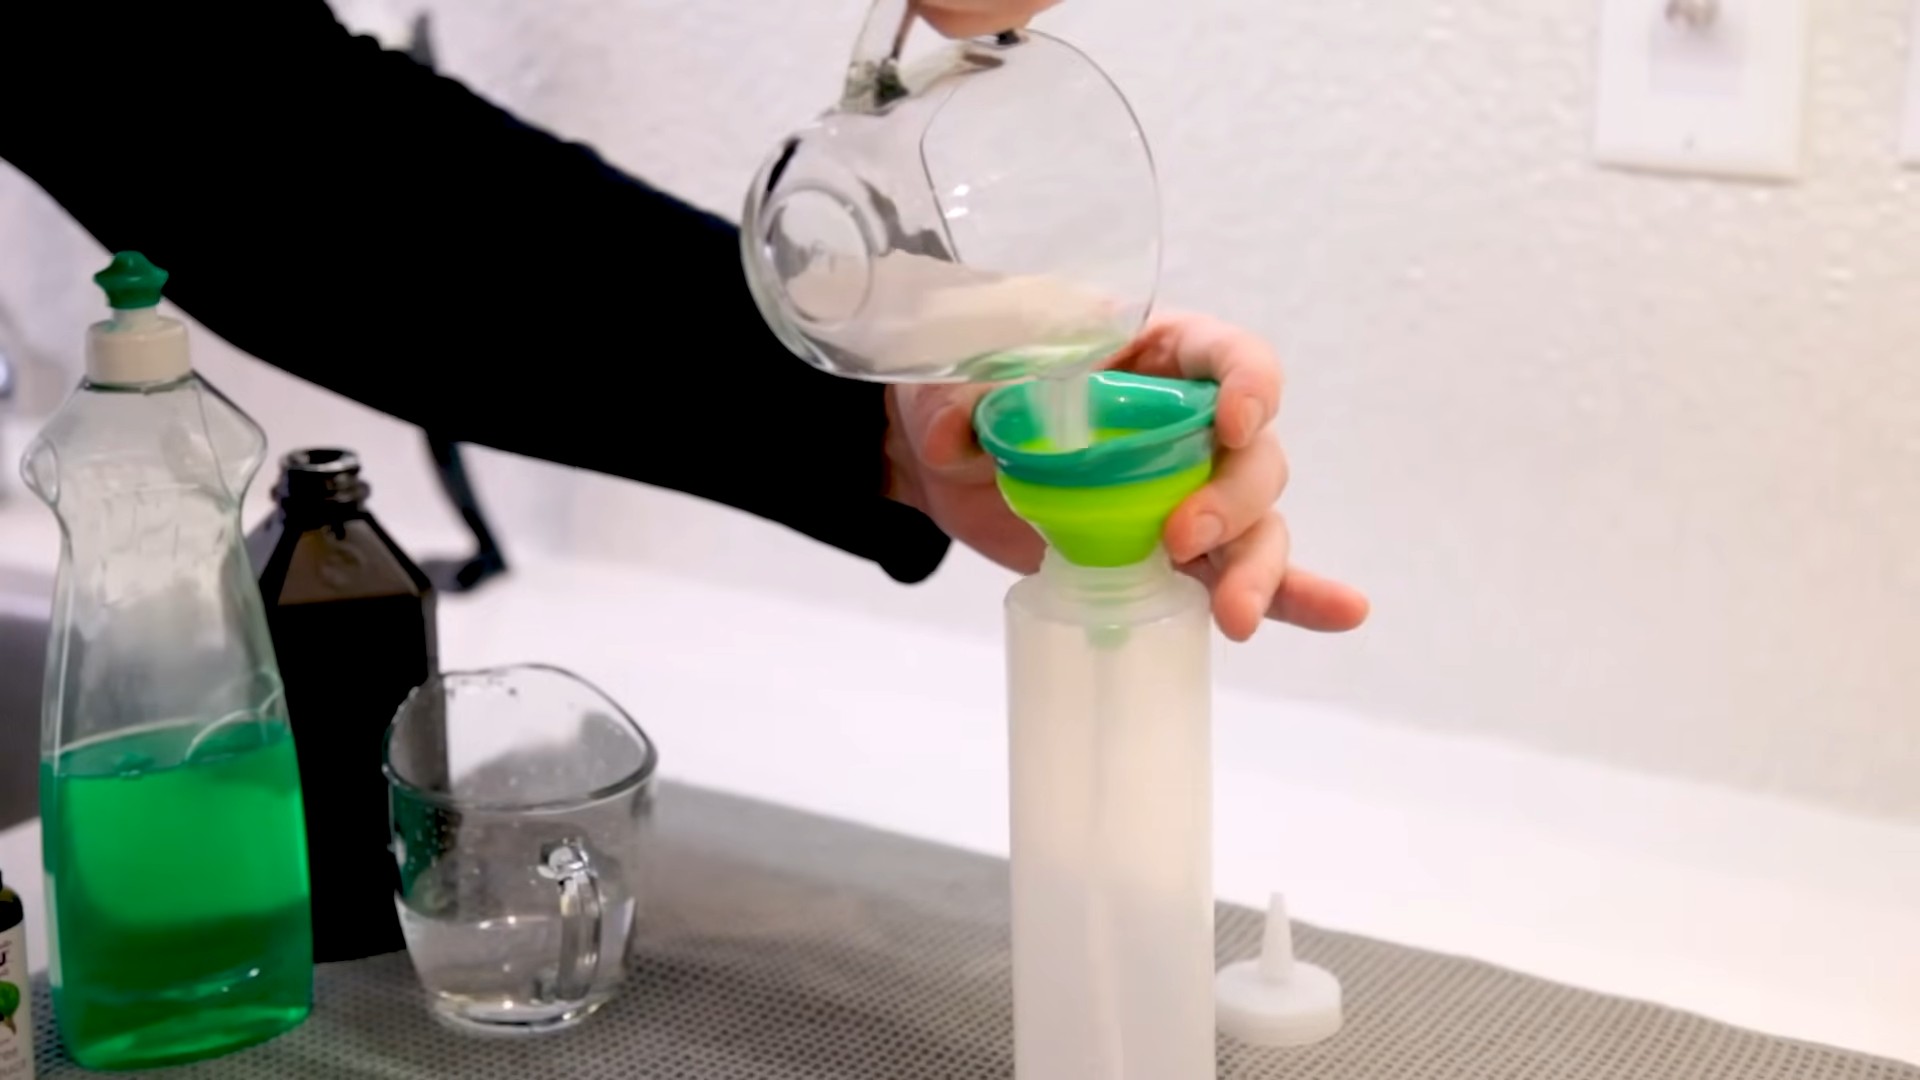
1. Gather Your Supplies: You’ll need an empty spray bottle, white vinegar, water, and a few drops of your favorite essential oil (optional).
2. Mix the Solution: In the spray bottle, combine equal parts white vinegar and water. Add 5-10 drops of essential oil if desired.
3. Spray After Each Shower: After each shower, simply spray the solution all over the shower walls, door, and fixtures.
4. No Rinsing Needed: That’s it! No need to rinse or wipe down. The vinegar smell will dissipate quickly.
Deep Cleaning the Shower: Vinegar and Baking Soda Power
When it’s time for a more thorough cleaning, this method is incredibly effective.
1. Prepare the Area: Remove any items from the shower or tub.
2. Vinegar Spray: Spray the shower walls, door, and fixtures with undiluted white vinegar. Let it sit for at least 30 minutes (or even longer for stubborn stains).
3. Baking Soda Paste: Make a paste of baking soda and water (about 1/2 cup baking soda and enough water to form a thick paste).
4. Apply the Paste: Apply the baking soda paste to any areas with stubborn stains, soap scum, or mildew.
5. Scrub Gently: Use a non-abrasive sponge or scrub brush to gently scrub the affected areas.
6. Rinse Thoroughly: Rinse everything thoroughly with warm water.
7. Dry and Admire: Dry the shower or tub with a clean towel.
Cleaning Showerheads: Vinegar Soak
A clogged showerhead can reduce water pressure and make your shower less enjoyable. This simple trick will restore your showerhead to its former glory.
1. Gather Your Supplies: You’ll need a plastic bag (a sandwich bag works well), white vinegar, and a rubber band or twist tie.
2. Fill the Bag with Vinegar: Fill the plastic bag with enough white vinegar to completely submerge the showerhead.
3. Secure the Bag: Attach the bag to the showerhead using a rubber band or twist tie, ensuring that the showerhead is fully immersed in the vinegar.
4. Soak Overnight: Let the showerhead soak overnight.
5. Remove and Rinse: Remove the bag and run the shower for a few minutes to flush out any remaining vinegar and debris.
6. Wipe Clean: Wipe the showerhead clean with a damp cloth.
Toilet Bowl Transformation: Fizz and Clean!
Cleaning the toilet bowl is another task most people dread. But with these shortcuts, it can be quick and easy.
Toilet Bowl Bombs: DIY Cleaning Power
These DIY toilet bowl bombs are a fun and effective way to keep your toilet clean and fresh.
1. Gather Your Supplies: You’ll need 1 cup baking soda, 1/4 cup citric acid (available online or at health food stores), 1/4 cup cornstarch, a few tablespoons of water, and 15-20 drops of essential oil (optional).
2. Mix Dry Ingredients: In a bowl, combine the baking soda, citric acid, and cornstarch.
3. Add Essential Oils: Add the essential oils, if using.
4. Slowly Add Water: Slowly add water, one tablespoon at a time, mixing well after each addition. Be careful not to add too much water, or the mixture will fizz prematurely. The mixture should be slightly damp and hold its shape when squeezed.
5. Mold the Bombs: Press the mixture into silicone molds (ice cube trays or candy molds work well).
6. Let Dry: Let the bombs dry completely for at least 24 hours.
7. Store in an Airtight Container: Once dry, store the bombs in an airtight container.
8. Use as Needed: To use, simply drop a bomb into the toilet bowl and let it fizz. After the fizzing stops, scrub the bowl with a toilet brush and flush.
Vinegar and Baking Soda Toilet Bowl Cleaner: A Classic Combination
This simple method is a great way to clean and deodorize your toilet bowl.
1. Pour in Baking Soda: Pour 1 cup of baking soda into the toilet bowl.
2. Add Vinegar: Slowly pour 2 cups of white vinegar into the bowl. The mixture will fizz.
3. Let it Sit: Let the mixture sit for at least 30 minutes (or longer for stubborn stains).
4. Scrub and Flush: Scrub the bowl with a toilet brush and flush.
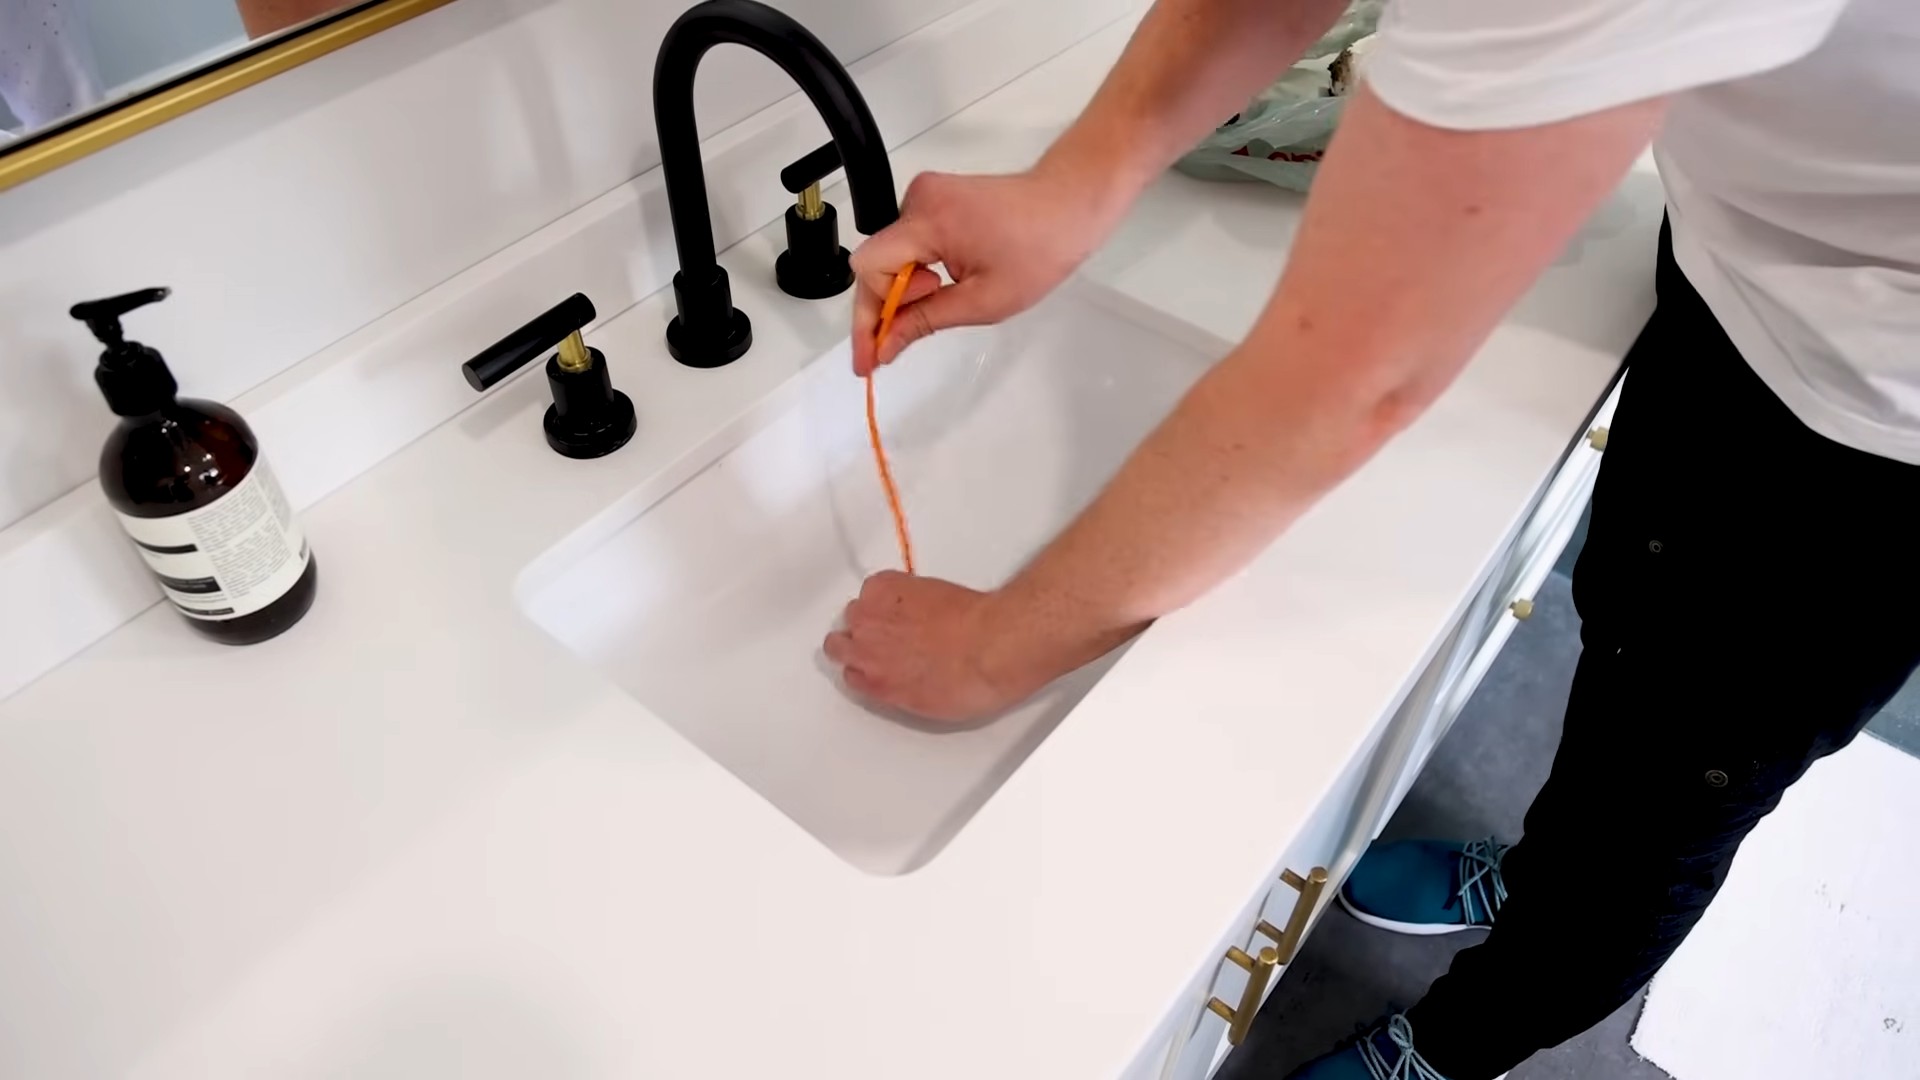
Sink and Countertop Shine: Quick and Easy Cleaning
Keeping your sink and countertops clean is essential for a hygienic bathroom. These shortcuts will help you maintain a sparkling clean surface.
All-Purpose Cleaning Spray: Vinegar and Water
This simple spray is perfect for cleaning sinks, countertops, and other bathroom surfaces.
1. Gather Your Supplies: You’ll need an empty spray bottle, white vinegar, water, and a few drops of your favorite essential oil (optional).
2. Mix the Solution: In the spray bottle, combine equal parts white vinegar and water. Add 5-10 drops of essential oil if desired.
3. Spray and Wipe: Spray the solution onto the surface and wipe clean with a damp cloth.
Baking Soda Scrub: For Stubborn Stains
For stubborn stains on your sink or countertop, baking soda is your best friend.
1. Sprinkle Baking Soda: Sprinkle baking soda onto the stain.
2. Add a Little Water: Add a little water to form a paste.
3. Scrub Gently: Gently scrub the stain with a non-abrasive sponge or cloth.
4. Rinse Thoroughly: Rinse thoroughly with water.
Mirror and Glass Gleam: Streak-Free Shine
Streaky mirrors and glass can make your bathroom look dirty, even if it’s clean. These shortcuts will help you achieve a streak-free shine.
Vinegar and Water Glass Cleaner: A Simple Solution
This is my go-to glass cleaner. It’s cheap, effective, and doesn’t leave streaks.
1. Gather Your Supplies: You’ll need an empty spray bottle, white vinegar, water, and a microfiber cloth.
2. Mix the Solution: In the spray bottle, combine equal parts white vinegar and water.
3. Spray and Wipe: Spray the solution onto the mirror or glass and wipe clean with a microfiber cloth.
Newspaper Trick: For Extra Shine
For an extra shiny finish, try using crumpled newspaper to wipe down your mirrors and glass after cleaning with the vinegar and water solution. The newspaper will absorb any remaining moisture and leave a streak-free shine.
Floor Freshening: Quick and Easy Cleaning
Keeping your bathroom floor clean is important for hygiene. These shortcuts will help you maintain a clean and fresh floor.
Vinegar and Water Floor Cleaner: A Simple Solution
This is a great all-purpose floor cleaner that’s safe for most types of flooring.
1. Gather Your Supplies: You’ll need a bucket, white vinegar, water, and a mop.
2. Mix the Solution: In the bucket, combine 1/
Conclusion
So, there you have it! These bathroom cleaning shortcuts aren’t just about saving time; they’re about reclaiming your weekends and enjoying a sparkling clean bathroom without the elbow grease. We’ve explored simple yet effective methods, from harnessing the power of vinegar and baking soda to prevent stubborn stains to employing clever strategies for tackling soap scum and hard water buildup.
Why is this a must-try? Because a clean bathroom contributes significantly to a sense of well-being. It’s a space we use daily, and a tidy, fresh-smelling bathroom can positively impact our mood and overall home environment. These shortcuts aren’t about perfection; they’re about making the process manageable and sustainable. No more dreading bathroom cleaning day!
Ready to take it a step further? Consider these variations and suggestions:
* **Essential Oil Infusion:** Add a few drops of your favorite essential oil (like tea tree, eucalyptus, or lavender) to your cleaning solutions for an extra boost of freshness and antibacterial properties. Just be sure to research the safety of the oil for your surfaces and ventilation.
* **Citrus Power:** Instead of discarding citrus peels (lemon, orange, grapefruit), infuse them in vinegar for a few weeks. This creates a potent, citrus-scented cleaning solution that’s perfect for tackling grime and leaving a refreshing aroma.
* **Microfiber Magic:** Invest in high-quality microfiber cloths. They’re incredibly effective at lifting dirt and grime without scratching surfaces, and they’re reusable, making them an eco-friendly choice.
* Preventative Measures: After each shower, quickly squeegee the walls and glass door to prevent water spots and soap scum buildup. This simple habit can drastically reduce the frequency of deep cleaning.
* DIY Cleaning Paste for Stubborn Stains: Mix baking soda with a small amount of hydrogen peroxide to form a paste. Apply it to stubborn stains, let it sit for a few minutes, and then scrub gently. This is particularly effective on grout and tile.
We’re confident that incorporating these bathroom cleaning shortcuts into your routine will transform your cleaning experience. It’s about working smarter, not harder, and achieving a consistently clean and inviting bathroom with minimal effort.
Now, it’s your turn! We encourage you to try these DIY tricks and see the difference they make. Don’t be afraid to experiment and find what works best for you and your bathroom.
Most importantly, share your experience! Let us know in the comments below which shortcuts you tried, what variations you discovered, and any tips or tricks you’ve learned along the way. Your feedback is invaluable and helps us all learn and improve our cleaning routines. Let’s create a community of sparkling clean bathrooms, one shortcut at a time! We are eager to hear how these bathroom cleaning shortcuts have helped you.
FAQ
Q: Are these bathroom cleaning shortcuts safe for all bathroom surfaces?
A: Generally, yes, but it’s always best to test any cleaning solution on an inconspicuous area first, especially on delicate surfaces like natural stone or antique fixtures. Vinegar, while a powerful cleaner, can etch some surfaces if left on for too long. Baking soda is mildly abrasive, so avoid using it on easily scratched surfaces. Always read the labels of any commercial cleaning products you use in conjunction with these shortcuts and ensure they are compatible. If you are unsure, consult the manufacturer’s recommendations for your specific bathroom fixtures and surfaces.
Q: How often should I use these bathroom cleaning shortcuts?
A: The frequency depends on your bathroom usage and personal preferences. For general maintenance, incorporating these shortcuts into your weekly cleaning routine is a good starting point. For high-traffic bathrooms or those prone to soap scum and hard water buildup, you might need to clean more frequently. The preventative measures, like squeegeeing after each shower, should be done daily to minimize the need for deep cleaning. Listen to your bathroom and adjust your cleaning schedule accordingly.
Q: Can I use these bathroom cleaning shortcuts if I have sensitive skin or allergies?
A: If you have sensitive skin or allergies, it’s crucial to take precautions. Wear gloves when handling cleaning solutions, and ensure proper ventilation in the bathroom. Consider using milder cleaning agents or diluting the solutions further. If you’re allergic to certain ingredients, like citrus, avoid using those variations. Always read the ingredient lists of any commercial cleaning products you use. If you experience any skin irritation or allergic reactions, discontinue use immediately and consult a doctor. You might also consider using natural alternatives like castile soap or enzyme-based cleaners, which are generally gentler on the skin.
Q: What’s the best way to tackle stubborn hard water stains in the bathroom?
A: Hard water stains can be a challenge, but vinegar is your best friend here. Soak a cloth or paper towel in vinegar and apply it directly to the stain. Let it sit for several minutes (or even longer for particularly stubborn stains) to allow the vinegar to dissolve the mineral deposits. Then, scrub gently with a non-abrasive sponge or brush. For vertical surfaces, you can use a spray bottle to apply the vinegar. You can also try using a commercial hard water stain remover, but be sure to follow the manufacturer’s instructions carefully. Preventative measures, like drying surfaces after each use, are also crucial in minimizing hard water buildup.
Q: How can I prevent mold and mildew from growing in my bathroom?
A: Mold and mildew thrive in damp, poorly ventilated environments. To prevent their growth, ensure proper ventilation in your bathroom by opening a window or using an exhaust fan during and after showers. Regularly clean and disinfect areas prone to mold and mildew, such as grout, shower curtains, and showerheads. You can use a solution of bleach and water (always use caution and wear gloves) or a commercial mold and mildew cleaner. Dry surfaces after each use to remove excess moisture. Consider using a dehumidifier in your bathroom if it’s particularly prone to dampness.
Q: Are these bathroom cleaning shortcuts environmentally friendly?
A: Many of these shortcuts utilize natural ingredients like vinegar and baking soda, which are generally considered environmentally friendly. However, it’s important to be mindful of the environmental impact of any commercial cleaning products you use in conjunction with these shortcuts. Look for eco-friendly options that are biodegradable and free of harsh chemicals. Reduce your use of disposable cleaning supplies by opting for reusable microfiber cloths. Properly dispose of any cleaning solutions and containers according to local regulations. By making conscious choices, you can minimize the environmental footprint of your bathroom cleaning routine.

Leave a Comment