

Bathroom cleaning tricks – let’s be honest, nobody *loves* cleaning the bathroom, right? It’s the one chore we all tend to put off, but a sparkling clean bathroom can make a huge difference in how we feel about our homes. Think about it: a gleaming sink, a spotless shower, and a fresh-smelling toilet can instantly elevate your mood and create a more relaxing and inviting space.
For centuries, people have been searching for the best ways to keep their bathrooms clean. From ancient Roman bathhouses to modern-day homes, the quest for hygiene and cleanliness has always been a priority. But let’s face it, many commercial cleaning products are harsh, expensive, and full of chemicals we’d rather avoid. That’s where these DIY bathroom cleaning tricks come in!
I’m going to share some of my favorite, tried-and-true methods for tackling bathroom grime using simple ingredients you probably already have in your pantry. These aren’t just quick fixes; they’re effective, eco-friendly, and budget-friendly solutions that will transform your cleaning routine. So, ditch the harsh chemicals and get ready to discover some amazing bathroom cleaning tricks that will leave your bathroom sparkling and smelling fresh!

DIY Bathroom Cleaning Hacks: Sparkling Clean with Minimal Effort!
Okay, let’s face it, cleaning the bathroom is nobody’s favorite chore. But a sparkling clean bathroom is a happy bathroom! I’m going to share some of my favorite DIY cleaning hacks that will make your bathroom shine without breaking the bank or spending hours scrubbing. These tips use common household ingredients and are super effective. Get ready to transform your bathroom cleaning routine!
Hack 1: The Power of Baking Soda and Vinegar for Grout
Grout can be a real pain. It gets stained and grimy so easily. But don’t worry, this baking soda and vinegar combo is a game-changer!
What you’ll need:
* Baking soda
* White vinegar
* Spray bottle
* Old toothbrush or grout brush
* Water
* Sponge or cloth
Step-by-step instructions:
1. Prepare the Baking Soda Paste: In a small bowl, mix baking soda with a little water to form a thick paste. The consistency should be similar to toothpaste. This paste will act as a gentle abrasive to lift the grime.
2. Apply the Paste to the Grout: Using your finger or a small spatula, apply the baking soda paste generously to the grout lines you want to clean. Make sure to cover the entire area.
3. Spray with Vinegar: Fill a spray bottle with white vinegar. Now, spray the vinegar directly onto the baking soda paste-covered grout. You’ll see it fizz – that’s the magic happening! The chemical reaction between the baking soda and vinegar helps to loosen the dirt and grime.
4. Let it Sit: Allow the mixture to sit for at least 15-20 minutes. For really stubborn stains, you can let it sit for up to an hour. The longer it sits, the better it will work.
5. Scrub, Scrub, Scrub: Grab your old toothbrush or grout brush and start scrubbing the grout lines. Apply some pressure and work in small sections. You’ll see the grime starting to lift away.
6. Rinse Thoroughly: Once you’ve scrubbed all the grout lines, rinse the area thoroughly with clean water. You can use a sponge or cloth to wipe away any remaining residue.
7. Dry and Admire: Finally, dry the area with a clean towel. Step back and admire your sparkling clean grout!
Hack 2: Sparkling Showerhead with Vinegar
Hard water deposits can clog your showerhead and reduce water pressure. This vinegar soak will dissolve those deposits and restore your showerhead to its former glory.
What you’ll need:
* White vinegar
* Plastic bag (sandwich bag or larger, depending on your showerhead size)
* Rubber band or twist tie
* Old toothbrush or small brush
Step-by-step instructions:
1. Fill the Bag with Vinegar: Pour enough white vinegar into the plastic bag to completely submerge your showerhead.
2. Attach the Bag to the Showerhead: Carefully position the bag over the showerhead, ensuring that the showerhead is fully immersed in the vinegar. Use a rubber band or twist tie to secure the bag tightly around the showerhead neck. Make sure it’s sealed well to prevent leaks.
3. Soak Overnight: Leave the bag attached to the showerhead overnight (or for at least several hours). This allows the vinegar to work its magic and dissolve the mineral deposits.
4. Remove the Bag and Rinse: In the morning, remove the bag and discard the vinegar. Turn on the shower and let the water run for a few minutes to flush out any remaining vinegar and loosened deposits.
5. Scrub Away Remaining Residue: If you notice any stubborn residue, use an old toothbrush or small brush to gently scrub it away.
6. Enjoy Your Improved Shower: Now, enjoy your shower with improved water pressure and a sparkling clean showerhead!
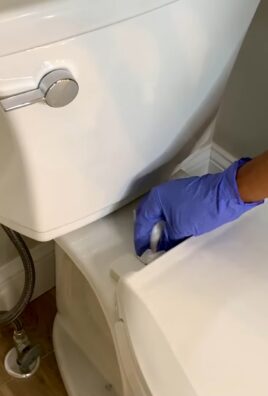
Hack 3: Toilet Bowl Cleaning with Baking Soda and Vinegar (Again!)
Yes, baking soda and vinegar are back! They’re a powerhouse cleaning duo. This method is great for removing stains and freshening up your toilet bowl.
What you’ll need:
* 1 cup baking soda
* 2 cups white vinegar
* Toilet brush
Step-by-step instructions:
1. Pour in the Baking Soda: Pour one cup of baking soda into the toilet bowl. Make sure it coats the sides of the bowl as much as possible.
2. Add the Vinegar: Slowly pour two cups of white vinegar into the toilet bowl. The mixture will fizz, just like with the grout cleaning hack.
3. Let it Fizz and Sit: Allow the mixture to fizz and sit for about 30 minutes. This gives the baking soda and vinegar time to loosen stains and kill bacteria.
4. Scrub Thoroughly: After 30 minutes, use your toilet brush to scrub the entire bowl, paying attention to any stains or rings.
5. Flush: Flush the toilet to rinse away the baking soda and vinegar.
6. Repeat if Necessary: If there are any stubborn stains remaining, repeat the process.
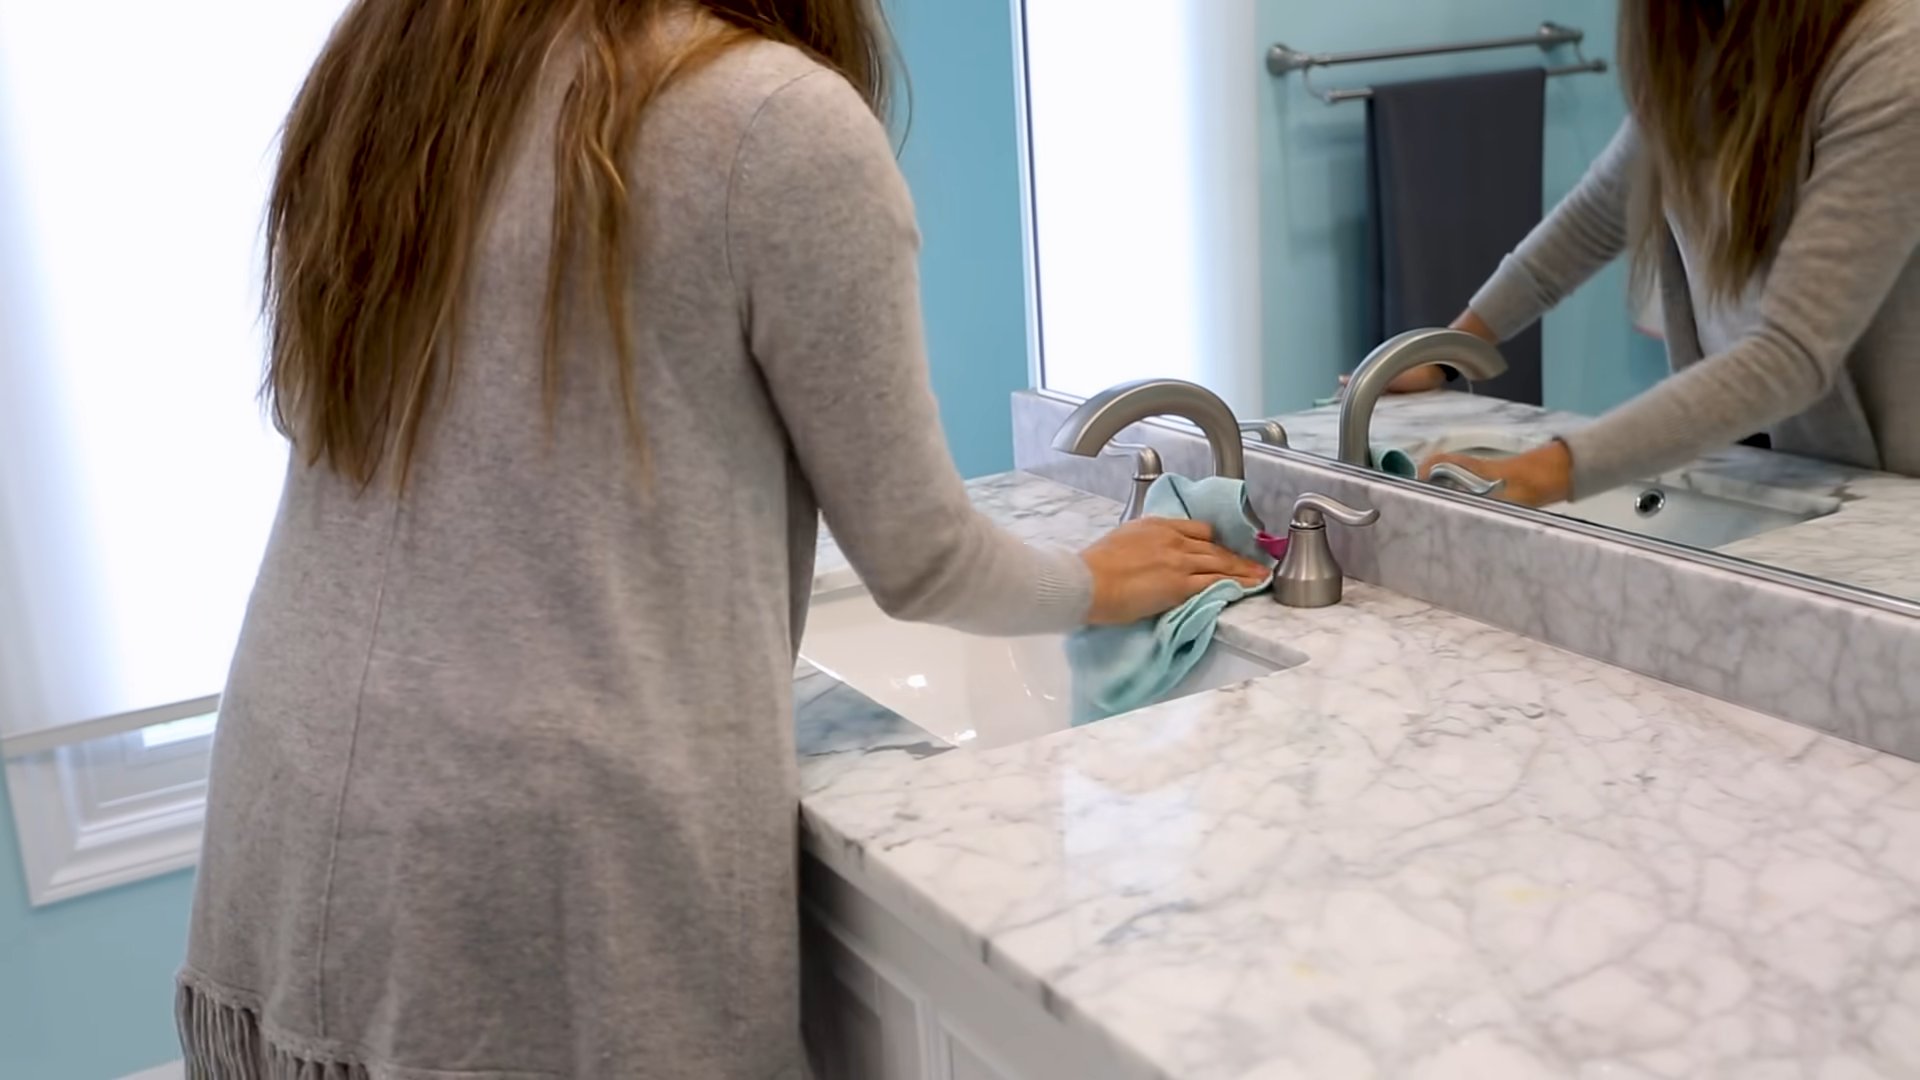
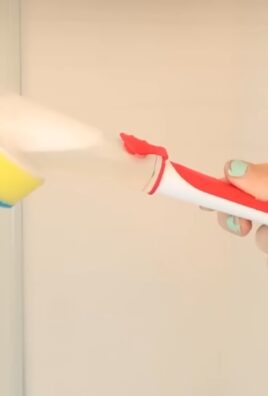
Hack 4: DIY Glass Cleaner for Mirrors and Shower Doors
Commercial glass cleaners can be expensive and often contain harsh chemicals. This DIY glass cleaner is just as effective and uses simple ingredients you probably already have.
What you’ll need:
* Spray bottle
* 1/4 cup white vinegar
* 1/2 teaspoon liquid dish soap (optional, but adds extra cleaning power)
* 2 cups water
* Microfiber cloth
Step-by-step instructions:
1. Combine Ingredients: In the spray bottle, combine the white vinegar, liquid dish soap (if using), and water.
2. Shake Well: Close the spray bottle tightly and shake well to mix the ingredients thoroughly.
3. Spray and Wipe: Spray the glass cleaner onto your mirrors and shower doors. Use a microfiber cloth to wipe the surface clean. Microfiber cloths are great because they don’t leave streaks.
4. Buff to a Shine: For an extra sparkling finish, buff the surface with a clean, dry microfiber cloth.
Hack 5: Freshen Up Your Bathroom with Essential Oils
Now that your bathroom is clean, let’s make it smell amazing! Essential oils are a natural and effective way to freshen up the air.
What you’ll need:
* Essential oil(s) of your choice (lavender, eucalyptus, tea tree, lemon, and peppermint are all great options for the bathroom)
* Cotton balls
* Small dish or jar
Step-by-step instructions:
1. Saturate Cotton Balls: Place a few cotton balls in a small dish or jar.
2. Add Essential Oils: Add several drops of your chosen essential oil(s) to the cotton balls.
3. Place in Bathroom: Place the dish or jar in a discreet location in your bathroom, such as on a shelf or behind the toilet.
4. Refresh as Needed: Refresh the cotton balls with more essential oils every few days, or as needed, to maintain the fragrance.
Alternative Method: DIY Reed Diffuser
You can also create a simple reed diffuser for a longer-lasting fragrance.
What you’ll need:
* Small glass bottle or jar with a narrow opening
* 1/4 cup carrier oil (such as fractionated coconut oil, sweet almond oil, or safflower oil)
* 15-20 drops essential oil(s) of your choice
* Reed diffuser sticks
Step-by-step instructions:
1. Combine Oils: In the glass bottle or jar, combine the carrier oil and essential oil(s).
2. Insert Reed Sticks: Insert the reed diffuser sticks into the bottle, making sure they are submerged in the oil mixture.
3. Flip the Sticks: After a few hours, flip the reed sticks so that the saturated ends are facing up. This will help to release the fragrance into the air.
4. Refresh as Needed: Flip the reed sticks every few days to refresh the fragrance. You may also need to add more oil to the bottle as it evaporates.
Hack 6: Cleaning Stubborn Toilet Stains with Pumice Stone
For those really tough toilet bowl stains that just won’t budge with regular cleaning, a pumice stone can be a lifesaver. But be careful!
What you’ll need:
* Pumice stone (specifically designed for cleaning)
* Water
* Gloves
Important Considerations:
* Wet the Pumice Stone: Always wet the pumice stone thoroughly before using it. A dry pumice stone can scratch the porcelain.
* Test in an Inconspicuous Area: Before cleaning the entire bowl, test the pumice stone in a small, inconspicuous area to make sure it doesn’t
Conclusion
So, there you have it! These simple yet incredibly effective DIY bathroom cleaning tricks are a game-changer for anyone looking to maintain a sparkling clean bathroom without resorting to harsh chemicals or spending a fortune on commercial cleaners. We’ve explored how readily available ingredients like vinegar, baking soda, and lemon can tackle everything from stubborn soap scum to grimy grout, leaving your bathroom fresh and inviting.
Why is this a must-try? Because it’s not just about cleaning; it’s about creating a healthier home environment. By ditching the harsh chemicals, you’re reducing your exposure to potentially harmful substances and contributing to a more sustainable lifestyle. Plus, let’s be honest, the satisfaction of transforming a grimy bathroom into a pristine oasis using simple, natural ingredients is incredibly rewarding.
But the best part? These DIY bathroom cleaning tricks are incredibly versatile. Feel free to experiment with variations to suit your specific needs and preferences. For instance, if you’re not a fan of the vinegar smell, add a few drops of your favorite essential oil, like lavender or eucalyptus, to the cleaning solution. For extra tough stains, create a paste of baking soda and hydrogen peroxide and let it sit on the affected area for a longer period before scrubbing. You can also use an old toothbrush to get into those hard-to-reach corners and crevices.
Don’t be afraid to get creative and customize these methods to fit your unique bathroom and cleaning style.
We’ve covered a range of solutions, from tackling hard water stains on showerheads with a vinegar soak to brightening dingy grout with a baking soda paste. Remember the power of prevention too! Regularly wiping down surfaces after each shower can significantly reduce the buildup of grime and make your cleaning routine much easier in the long run.
Ultimately, the goal is to make bathroom cleaning less of a chore and more of a manageable task. These DIY bathroom cleaning tricks empower you to take control of your cleaning routine and achieve professional-level results without breaking the bank or compromising your health.
Now, it’s your turn! We wholeheartedly encourage you to try these DIY bathroom cleaning tricks and experience the difference for yourself. We’re confident that you’ll be amazed by the results. And most importantly, we want to hear about your experiences! Share your before-and-after photos, your favorite variations, and any tips or tricks you’ve discovered along the way in the comments section below. Let’s create a community of clean-bathroom enthusiasts and inspire each other to maintain sparkling, healthy homes. Your feedback is invaluable and helps us continue to provide the best possible cleaning solutions. So go ahead, give these tricks a try, and let us know what you think!
Frequently Asked Questions (FAQs)
Q: Are these DIY bathroom cleaning tricks safe for all bathroom surfaces?
A: Generally, yes, these DIY bathroom cleaning tricks are safe for most common bathroom surfaces like tile, porcelain, glass, and stainless steel. However, it’s always a good idea to test any cleaning solution in an inconspicuous area first, especially on more delicate surfaces like natural stone (marble, granite) or certain types of painted surfaces. Vinegar, in particular, can be acidic and may etch or dull some surfaces if left on for too long. For natural stone, a gentler cleaner like a mild dish soap and water solution is often recommended. Always check the manufacturer’s recommendations for your specific surfaces before using any cleaning product, DIY or commercial.
Q: How often should I use these DIY bathroom cleaning tricks?
A: The frequency of cleaning depends on how often your bathroom is used and how quickly grime and buildup accumulate. For general cleaning, a weekly routine using these DIY bathroom cleaning tricks is usually sufficient to maintain a clean and fresh bathroom. However, areas prone to more frequent messes, like the shower or sink, may require more frequent attention. Regularly wiping down surfaces after each use can also help prevent buildup and reduce the need for more intensive cleaning sessions.
Q: Can I use these DIY bathroom cleaning tricks to remove mold and mildew?
A: While some of these DIY bathroom cleaning tricks can help to remove surface mold and mildew, they may not be effective for deep-seated or extensive infestations. Vinegar and baking soda can inhibit mold growth and remove surface stains, but for more serious mold problems, a stronger solution like bleach or a commercial mold remover may be necessary. Always wear appropriate safety gear, such as gloves and a mask, when dealing with mold, and ensure proper ventilation in the area. If you have a large or persistent mold problem, it’s best to consult with a professional mold remediation service.
Q: What essential oils are best to use in these DIY bathroom cleaning tricks?
A: The best essential oils to use in your DIY bathroom cleaning tricks are those with antibacterial, antifungal, and antiviral properties, as well as pleasant scents. Popular choices include:
* **Tea Tree Oil:** Known for its powerful antibacterial and antifungal properties, tea tree oil is excellent for fighting mold and mildew.
* **Lavender Oil:** Lavender oil has a calming scent and also possesses antibacterial and antiseptic properties.
* **Eucalyptus Oil:** Eucalyptus oil has a refreshing scent and is known for its antiseptic and decongestant properties.
* **Lemon Oil:** Lemon oil has a bright, citrusy scent and is a natural degreaser and disinfectant.
* **Peppermint Oil:** Peppermint oil has a refreshing scent and is known for its antibacterial and antifungal properties.
When using essential oils, always dilute them properly with water or another carrier oil, and avoid direct contact with skin. A few drops are usually sufficient to add fragrance and enhance the cleaning power of your DIY solutions.
Q: How do I clean a showerhead with vinegar?
A: Cleaning a showerhead with vinegar is a simple and effective way to remove mineral deposits and restore water flow. Here’s how:
1. **Remove the Showerhead (Optional):** If possible, remove the showerhead from the shower arm. This will make the soaking process easier.
2. **Fill a Bag with Vinegar:** Pour white vinegar into a plastic bag, enough to fully submerge the showerhead.
3. **Submerge the Showerhead:** Secure the bag around the showerhead with a rubber band or twist tie, ensuring that the showerhead is completely submerged in the vinegar. If you can’t remove the showerhead, you can still fill a bag with vinegar and secure it around the showerhead, making sure it’s fully immersed.
4. **Soak for Several Hours or Overnight:** Let the showerhead soak in the vinegar for several hours, or preferably overnight. This will allow the vinegar to dissolve the mineral deposits.
5. **Remove and Rinse:** Remove the bag and take out the showerhead. Rinse the showerhead thoroughly with water to remove any remaining vinegar and loosened deposits.
6. **Scrub (If Necessary):** If there are still some stubborn deposits, use an old toothbrush or a small brush to scrub them away.
7. **Reattach (If Removed):** Reattach the showerhead to the shower arm.
8. **Run Water:** Run the water for a few minutes to flush out any remaining vinegar and debris.
Your showerhead should now be clean and free of mineral deposits, resulting in improved water flow.
Q: What’s the best way to clean grout with baking soda?
A: Cleaning grout with baking soda is a natural and effective way to brighten dingy grout lines. Here’s a simple method:
1. **Make a Baking Soda Paste:** Mix baking soda with a small amount of water to create a thick paste. You can also add a few drops of hydrogen peroxide for extra cleaning power.
2. **Apply the Paste to the Grout:** Use an old toothbrush or a grout brush to apply the baking soda paste to the grout lines.
3. **Let it Sit:** Allow the paste to sit on the grout for 10-15 minutes. This will give the baking soda time to loosen the dirt and grime.
4. **Scrub the Grout:** Use the toothbrush or grout brush to scrub the grout lines thoroughly. Apply firm pressure and work in small sections.
5. **Rinse with Water:** Rinse the grout with clean water to remove the baking soda paste and loosened dirt. You can use a sponge or a damp cloth to wipe away the residue.
6. **Dry the Grout:** Dry the grout with a clean towel or cloth.
For particularly stubborn stains, you can repeat the process or let the baking soda paste sit on the grout for a longer period before scrubbing. You can also try using a mixture of baking soda and vinegar for a more powerful cleaning action. However, be aware that this mixture will fizz, so use it in a well-ventilated area.
Leave a Comment