

Bathroom Smelling Fresh and Clean – isn’t that the dream? Let’s be honest, our bathrooms, while essential, aren’t always the most fragrant spaces. We’ve all been there, battling lingering odors and searching for that elusive, fresh scent. But what if I told you that achieving a consistently clean and inviting bathroom aroma is easier than you think, and you can do it yourself with simple, affordable ingredients?
For centuries, cultures around the world have used natural remedies to freshen their homes. From ancient Egyptians burning incense to Romans using aromatic herbs in their bathhouses, the desire for a pleasant-smelling living space is deeply ingrained in human history. Today, we’re bombarded with chemical-laden air fresheners, but these often mask odors rather than eliminate them, and can even be harmful to our health. That’s where our DIY tricks come in!
This article is packed with simple, effective, and budget-friendly DIY solutions to keep your bathroom smelling fresh and clean, naturally. We’ll explore easy-to-make air fresheners, odor-absorbing solutions, and clever cleaning hacks that will transform your bathroom into a fragrant oasis. Say goodbye to embarrassing bathroom smells and hello to a space that’s always welcoming and refreshing. I’m excited to share these secrets with you, so let’s dive in and create a bathroom you’ll truly love!
DIY Bathroom Air Freshener: Naturally Fresh Scents!
Okay, let’s be honest, nobody wants a bathroom that smells, well, like a bathroom. We all crave that spa-like, fresh-and-clean aroma. And while store-bought air fresheners can do the trick, they’re often packed with chemicals and can be surprisingly expensive. So, I’m going to show you how to create your own natural bathroom air fresheners using simple ingredients you probably already have! These DIY solutions are not only budget-friendly but also allow you to customize the scent to your liking. Get ready to say goodbye to unpleasant odors and hello to a bathroom that smells amazing!
DIY Gel Air Freshener
This is a classic for a reason! Gel air fresheners are long-lasting and release a subtle, consistent fragrance. Plus, they’re super easy to make.
What you’ll need:
* 1 cup water (divided)
* 1 packet (1 ounce) unflavored gelatin
* 1/2 cup salt
* 15-20 drops essential oil (your favorite scent – lavender, lemon, eucalyptus, and peppermint are great choices for the bathroom)
* Food coloring (optional, for a pop of color)
* Small jars or containers (mason jars, recycled glass containers, or even small bowls work well)
Step-by-step instructions:
1. Prepare the gelatin: In a small saucepan, combine 1/2 cup of cold water and the gelatin. Let it sit for a few minutes to soften. This is important to prevent clumps!
2. Heat the mixture: Place the saucepan over low heat and stir constantly until the gelatin is completely dissolved. Don’t let it boil!
3. Add salt and water: Remove the saucepan from the heat and stir in the salt and the remaining 1/2 cup of hot water. The salt helps to prevent mold growth and extends the life of your air freshener.
4. Add essential oils and food coloring (optional): Now for the fun part! Add your chosen essential oils to the mixture. Start with 15 drops and add more if you want a stronger scent. If you’re using food coloring, add a few drops until you achieve your desired shade.
5. Pour into containers: Carefully pour the mixture into your chosen jars or containers.
6. Let it set: Allow the gel air fresheners to set completely at room temperature. This usually takes a few hours, or overnight for best results.
7. Enjoy the freshness! Once the gel is firm, place your air fresheners in your bathroom and enjoy the lovely scent. These should last for several weeks.
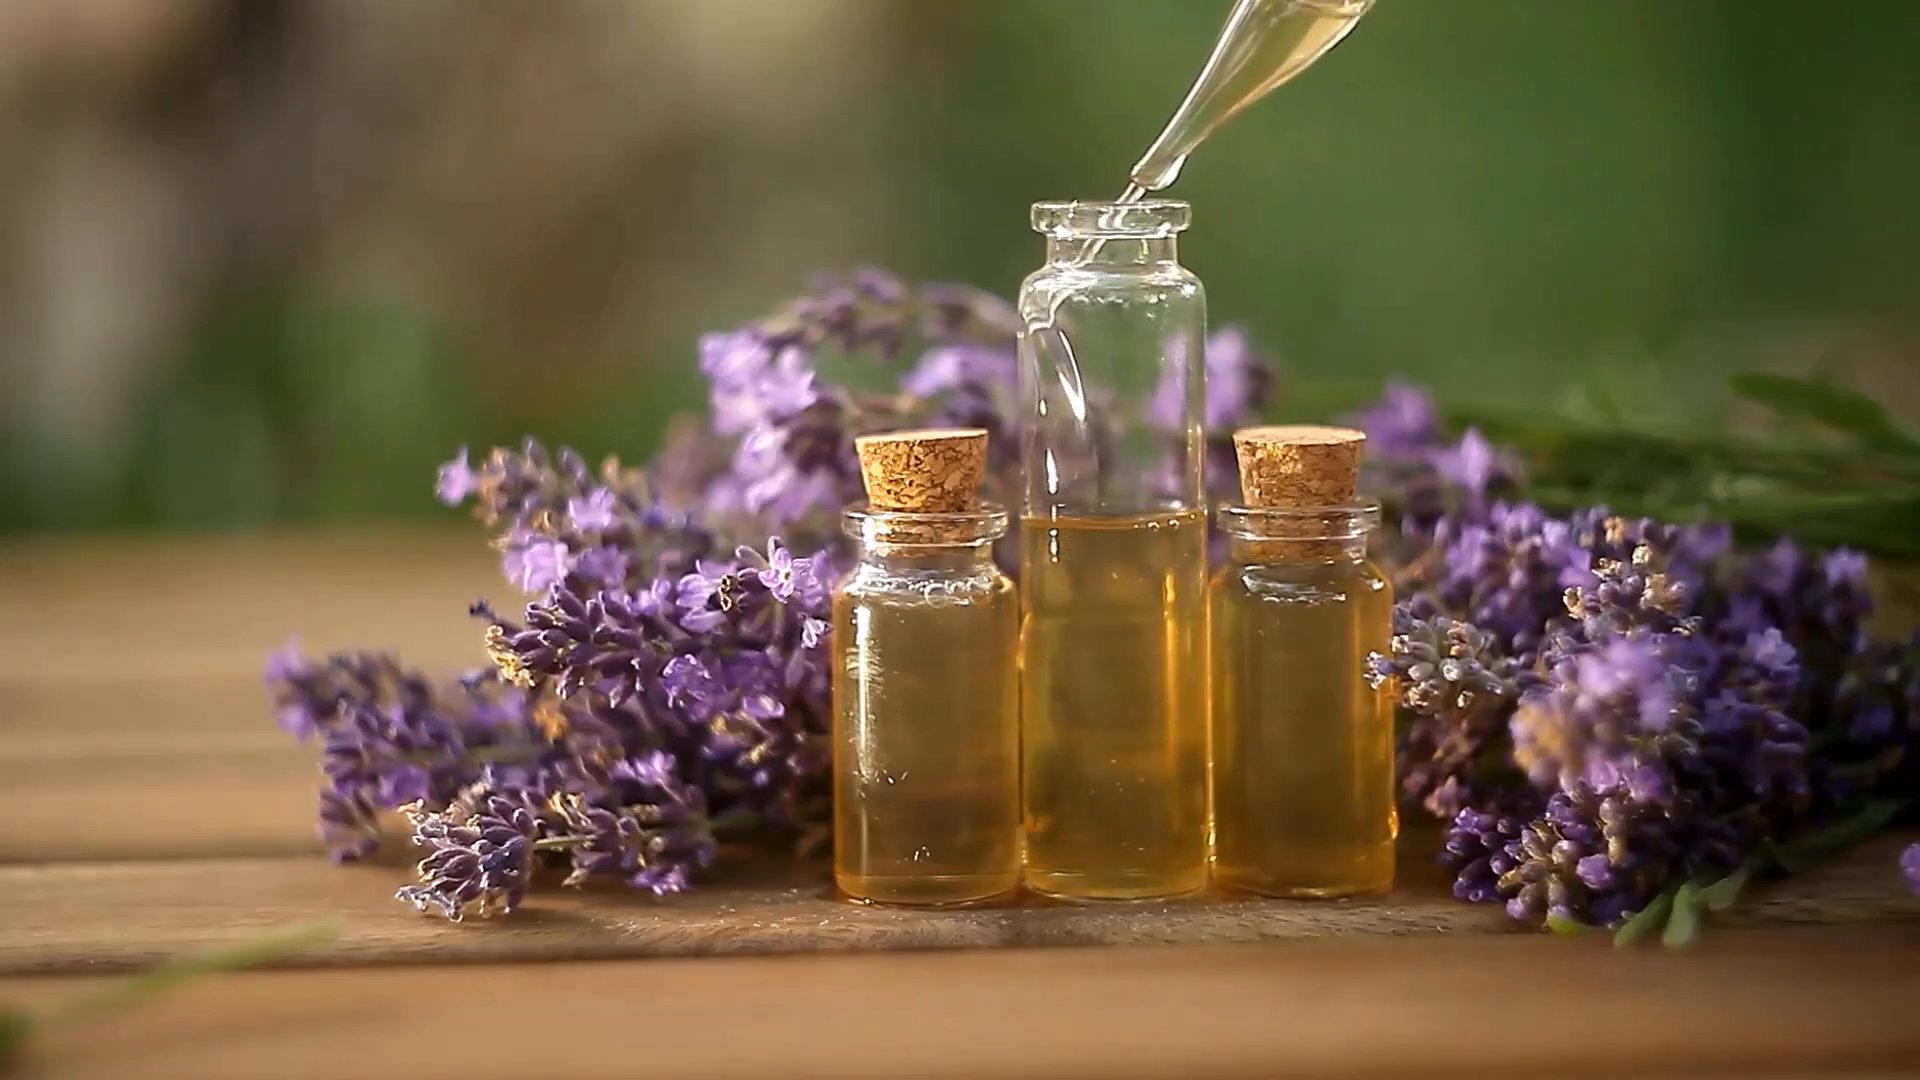
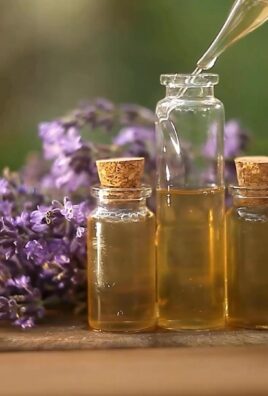
DIY Reed Diffuser
Reed diffusers are another fantastic option for continuous fragrance. They’re elegant, subtle, and require minimal effort.
What you’ll need:
* 1/4 cup carrier oil (such as fractionated coconut oil, sweet almond oil, or safflower oil)
* 15-20 drops essential oil (again, choose your favorite bathroom-friendly scents)
* A small glass bottle or vase with a narrow opening
* Reed diffuser sticks (rattan reeds are best)
Step-by-step instructions:
1. Combine the oils: In a small bowl or measuring cup, mix together the carrier oil and essential oils. The carrier oil helps to dilute the essential oils and allows them to travel up the reeds.
2. Pour into the bottle: Carefully pour the oil mixture into your glass bottle or vase.
3. Insert the reeds: Place the reed diffuser sticks into the bottle, making sure they are submerged in the oil.
4. Flip the reeds: After a few hours, flip the reeds so that the saturated ends are facing up. This will help to kickstart the diffusion process.
5. Maintain the fragrance: Flip the reeds every few days to refresh the scent. You may also need to add more oil mixture as it evaporates over time.
6. Placement is key: Place your reed diffuser in a well-ventilated area of your bathroom for optimal fragrance distribution.
DIY Baking Soda Air Freshener
Baking soda is a natural odor absorber, making it a perfect base for a simple and effective air freshener. This method is great for tackling lingering smells.
What you’ll need:
* 1/2 cup baking soda
* 10-15 drops essential oil (tea tree oil is a great option for its antibacterial properties)
* A small jar or container with a lid
* A piece of fabric or paper towel
* A rubber band or string
Step-by-step instructions:
1. Combine baking soda and essential oils: In a small bowl, mix together the baking soda and essential oils. Stir well to ensure the oils are evenly distributed.
2. Pour into the container: Pour the scented baking soda into your jar or container.
3. Cover the container: Cut a piece of fabric or paper towel slightly larger than the opening of the jar. Place it over the opening and secure it with a rubber band or string. This will allow the scent to escape while preventing the baking soda from spilling.
4. Place in the bathroom: Place your baking soda air freshener in a discreet location in your bathroom.
5. Refresh as needed: Shake the jar occasionally to refresh the scent. Replace the baking soda every month or two, or when you notice the scent fading.
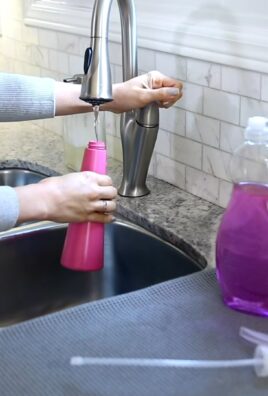
DIY Essential Oil Spray
This is my go-to for a quick burst of freshness! It’s perfect for spraying after cleaning or whenever you need a little pick-me-up.
What you’ll need:
* 2 ounces distilled water
* 10-15 drops essential oil (lemon, grapefruit, and bergamot are invigorating choices)
* A small spray bottle
Step-by-step instructions:
1. Combine water and essential oils: In a small spray bottle, combine the distilled water and essential oils.
2. Shake well: Shake the bottle vigorously to ensure the oils are properly dispersed in the water.
3. Spray into the air: Spray the mixture into the air in your bathroom, avoiding direct contact with surfaces.
4. Shake before each use: Since essential oils and water don’t naturally mix, you’ll need to shake the bottle well before each use to ensure the scent is evenly distributed.
Important Note: Always test the spray in an inconspicuous area first to ensure it doesn’t stain any surfaces.
DIY Simmer Pot
For a warm and inviting aroma, a simmer pot is a fantastic option, especially during colder months. It fills the entire bathroom with a comforting scent.
What you’ll need:
* A small saucepan or pot
* Water
* Your choice of aromatic ingredients (some suggestions: citrus peels, cinnamon sticks, cloves, rosemary sprigs, vanilla extract)
Step-by-step instructions:
1. Fill the pot with water: Fill the saucepan or pot with water, about halfway full.
2. Add your aromatic ingredients: Add your chosen aromatic ingredients to the water. For example, you could use orange peels, cinnamon sticks, and cloves for a festive scent, or lemon slices and rosemary sprigs for a refreshing aroma.
3. Simmer on low heat: Place the pot on the stove over low heat and let it simmer gently. Keep an eye on the water level and add more as needed to prevent the pot from drying out.
4. Enjoy the aroma: Allow the simmering pot to fill your bathroom with its delightful fragrance.
Safety First: Never leave a simmering pot unattended.
DIY Toilet Paper Roll Diffuser
This is a clever and discreet way to add a subtle scent to your bathroom. It’s hidden and works continuously.
What you’ll need:
* Empty toilet paper roll
* Essential oil (tea tree, eucalyptus, or lavender are good choices)
Step-by-step instructions:
1. Apply essential oil: Place a few drops (5-10) of your chosen essential oil directly onto the inside of the empty toilet paper roll.
2. Replace the roll: Place the scented toilet paper roll on the holder as usual.
3. Enjoy the subtle scent: As the toilet paper roll is used, the movement will release the essential oil scent into the air. Reapply essential oil as needed to maintain the fragrance.
DIY Scented Cotton Balls
This is a super simple and inexpensive way to freshen up small spaces in your bathroom, like drawers or cabinets.
What you’ll need:
* Cotton balls
* Essential oil (any scent you like)
* Small container or dish
Step-by-step instructions:
1. Saturate the cotton balls: Place the cotton balls in a small container or dish. Add several drops of your chosen essential oil to the cotton balls, allowing them to

Conclusion
Transforming your bathroom into a fragrant oasis doesn’t require expensive air fresheners or harsh chemicals. This simple, yet incredibly effective, DIY trick for keeping your bathroom smelling fresh and clean is a game-changer for any home. We’ve shown you how to create a natural, long-lasting scent solution using readily available ingredients, saving you money and reducing your exposure to potentially harmful synthetic fragrances.
The beauty of this DIY approach lies in its adaptability. Feel free to experiment with different essential oil combinations to create a signature scent that perfectly matches your preferences and the overall ambiance of your home. Love the calming aroma of lavender? Add a few extra drops. Prefer a more invigorating citrus burst? Lemon, grapefruit, or orange essential oils are excellent choices. You can even tailor the scent to the season – think warm cinnamon and clove for winter, or refreshing peppermint and eucalyptus for summer.
Beyond essential oils, consider incorporating other natural elements to enhance the visual appeal and aromatic complexity of your DIY air freshener. Dried flowers, such as rose petals or lavender buds, not only add a touch of elegance but also subtly contribute to the overall fragrance. Small pebbles or decorative stones can provide a visually pleasing base for your reed diffuser or gel air freshener.
This DIY method isn’t just about masking odors; it’s about creating a truly inviting and refreshing atmosphere in your bathroom. The natural ingredients work to neutralize unpleasant smells, leaving behind a clean and subtle fragrance that will uplift your mood and impress your guests.
We understand that trying something new can sometimes feel daunting, but we assure you that this DIY project is incredibly easy and rewarding. The steps are straightforward, the ingredients are accessible, and the results are undeniably impressive.
So, ditch the store-bought air fresheners and embrace the power of natural ingredients. Give this DIY trick a try and experience the joy of a consistently fresh and clean bathroom. We are confident that you’ll be amazed by the difference it makes.
But don’t just take our word for it! We encourage you to try this DIY method and share your experience with us. What essential oil combinations did you use? Did you add any decorative elements? What kind of container did you choose? We’d love to hear your tips, tricks, and variations in the comments below. Your feedback will not only inspire others but also help us refine and improve this DIY guide. Let’s create a community of fragrance enthusiasts who are passionate about natural, sustainable, and effective ways to keep their bathrooms smelling fresh and clean!
Frequently Asked Questions (FAQ)
What are the best essential oils to use for a bathroom air freshener?
The best essential oils for a bathroom air freshener depend on your personal preferences and the desired effect. Some popular choices include:
* **Lavender:** Known for its calming and relaxing properties, lavender is a great option for creating a spa-like atmosphere.
* **Lemon:** A bright and uplifting scent that helps to neutralize odors and create a feeling of cleanliness.
* **Eucalyptus:** Has a refreshing and invigorating aroma that can help to clear sinuses and boost energy.
* **Tea Tree:** Possesses antibacterial and antifungal properties, making it a good choice for combating mold and mildew.
* **Peppermint:** A stimulating and refreshing scent that can help to wake you up in the morning.
* **Grapefruit:** A citrusy and energizing scent that helps to eliminate odors.
* **Rosemary:** A herbaceous scent that can help to improve focus and concentration.
* **Cedarwood:** A woody and grounding scent that can create a sense of calm and stability.
You can also create custom blends by combining different essential oils. For example, a blend of lavender and lemon can be both calming and refreshing. Experiment to find your favorite combinations.
How long will the DIY air freshener last?
The lifespan of your DIY air freshener will depend on several factors, including the type of air freshener you make (reed diffuser, gel air freshener, spray), the concentration of essential oils used, and the size of your bathroom.
* **Reed Diffusers:** Typically last for 1-3 months, depending on the quality of the reeds and the amount of fragrance oil used.
* **Gel Air Fresheners:** Can last for 2-4 weeks, depending on the size of the container and the humidity levels in your bathroom.
* **Sprays:** The longevity of a spray depends on how often you use it. A small bottle can last for several weeks with regular use.
To extend the lifespan of your air freshener, keep it away from direct sunlight and heat, which can cause the essential oils to evaporate more quickly. You can also refresh the scent by adding a few more drops of essential oil as needed.
Is it safe to use essential oils around pets and children?
While essential oils are generally safe, it’s important to exercise caution when using them around pets and children. Some essential oils can be toxic to animals, and children may be more sensitive to their effects.
* **Pets:** Avoid using essential oils that are known to be toxic to pets, such as tea tree oil, pennyroyal, wintergreen, and pine. Always dilute essential oils properly and ensure that your pet has access to fresh air. If you notice any signs of distress in your pet, such as drooling, vomiting, or difficulty breathing, discontinue use and consult a veterinarian.
* **Children:** Use essential oils sparingly around children and avoid applying them directly to their skin. Opt for milder essential oils, such as lavender or chamomile, and always dilute them properly. Keep essential oils out of reach of children to prevent accidental ingestion.
If you have any concerns about using essential oils around pets or children, consult with a veterinarian or healthcare professional.
Can I use fragrance oils instead of essential oils?
While fragrance oils can be used in DIY air fresheners, they are not the same as essential oils. Essential oils are natural extracts derived from plants, while fragrance oils are synthetic compounds created in a lab.
* **Essential Oils:** Offer therapeutic benefits in addition to fragrance. They are generally considered to be safer and more environmentally friendly than fragrance oils.
* **Fragrance Oils:** Can be more affordable and offer a wider range of scents. However, they may contain synthetic chemicals that can be irritating to some people.
If you choose to use fragrance oils, be sure to select high-quality oils that are free of phthalates and other harmful chemicals.
What if I don’t have all the ingredients listed in the recipe?
Don’t worry if you don’t have all the ingredients listed in the recipe. The beauty of DIY is that you can adapt it to your own needs and preferences.
* **Substitutions:** If you don’t have a specific essential oil, you can substitute it with another oil that has a similar scent profile. For example, if you don’t have lemon essential oil, you can use grapefruit or orange essential oil instead.
* **Simplifications:** If you don’t have all the decorative elements, such as dried flowers or pebbles, you can simply omit them. The air freshener will still be effective without them.
* **Improvisations:** Get creative and use what you have on hand. For example, you can use a mason jar instead of a fancy diffuser bottle, or you can use bamboo skewers instead of reed diffuser sticks.
The most important thing is to have fun and experiment until you find a DIY air freshener that works for you.
My bathroom is very small. Will this DIY air freshener be too strong?
If your bathroom is very small, you may want to use a smaller amount of essential oils in your DIY air freshener. You can also dilute the essential oils with more water or carrier oil to reduce the intensity of the scent. Start with a small amount and add more as needed until you achieve the desired fragrance level. You can also opt for a less potent essential oil, like chamomile or sweet orange.
How do I clean up spills of essential oils?
Essential oils can be difficult to clean up because they are not water-soluble. If you spill essential oils, blot up as much of the oil as possible with a clean cloth or paper towel. Then, sprinkle baking soda over the spill and let it sit for 15-20 minutes to absorb the remaining oil. Vacuum up the baking soda and wipe the area with a damp cloth. You may need to repeat this process several times to completely remove the oil. For stubborn stains, you can try using a mixture of vinegar and water.
Leave a Comment