

Carpet Stain Removal DIY: Is your beautiful carpet now sporting an unsightly stain, a testament to a spilled glass of wine or a muddy paw print? Don’t despair! Before you resign yourself to replacing it or calling in expensive professionals, I’m here to tell you that you can tackle those blemishes yourself with some clever DIY tricks.
For generations, resourceful homeowners have relied on homemade remedies to keep their carpets looking their best. Think about it – before the advent of specialized cleaning products, our grandmothers were using simple ingredients like vinegar and baking soda to banish stains. This tradition of ingenuity lives on, and I’m excited to share some of these time-tested techniques with you.
Let’s face it, life happens! Accidents are inevitable, and carpets, being magnets for spills and dirt, often bear the brunt of it. But with the right knowledge and a few common household items, you can effectively perform carpet stain removal DIY and restore your carpet’s pristine appearance. Not only will you save money, but you’ll also gain the satisfaction of knowing you tackled the problem yourself. So, let’s dive into some easy-to-follow methods that will have your carpet looking fresh and clean in no time!
“`html
DIY Carpet Stain Removal: A Comprehensive Guide
Hey there! Spilled something on your carpet again? Don’t panic! We’ve all been there. Before you call in the professionals (and spend a fortune!), let’s try some DIY magic. I’m going to walk you through a few tried-and-true methods for tackling those pesky carpet stains. Remember, acting fast is key! The sooner you address the stain, the better your chances of removing it completely.
Understanding the Enemy: Identifying the Stain
Before you grab the first cleaning product you see, take a moment to identify what caused the stain. Different stains require different approaches. Here’s a quick rundown:
* **Water-based stains (coffee, tea, juice, soda):** These are generally easier to remove.
* **Oil-based stains (grease, oil, butter):** These require a solvent to break down the oil.
* **Protein-based stains (blood, milk, vomit):** Cold water is crucial to prevent the protein from setting.
* **Tannin-based stains (wine, berries):** These can be tricky and may require multiple treatments.
* **Pet stains (urine, feces):** These require enzymatic cleaners to neutralize odors and prevent re-soiling.
Gathering Your Arsenal: Essential Supplies
Okay, now that we know what we’re dealing with, let’s gather our supplies. You’ll likely have many of these items already:
* Clean white cloths or paper towels: Avoid colored cloths, as the dye could transfer to your carpet.
* Spray bottle: For applying cleaning solutions.
* Vacuum cleaner: For removing loose debris and drying the carpet.
* Baking soda: A natural deodorizer and absorbent.
* White vinegar: A mild acid that can help break down stains.
* Dish soap (mild, clear): For grease and oil-based stains.
* Hydrogen peroxide (3% solution): A mild bleaching agent (use with caution on dark carpets).
* Enzymatic cleaner: Specifically for pet stains.
* Carpet brush (soft-bristled): For gently agitating the stain.
* Iron (optional): For stubborn stains (use with caution).
* Dry cleaning solvent (optional): For tough oil-based stains (use in a well-ventilated area).
* Gloves: To protect your hands.
The Golden Rule: Test in an Inconspicuous Area
Before applying any cleaning solution to the stain, always test it in a hidden area of your carpet, like inside a closet or under a piece of furniture. This will ensure that the solution doesn’t discolor or damage your carpet. Apply a small amount of the solution, let it sit for a few minutes, and then blot it with a clean white cloth. If there’s no adverse reaction, you’re good to go!
Method 1: The Baking Soda Powerhouse
This method is great for general stains and odors.
1. Blot the stain: Use a clean white cloth or paper towel to blot up as much of the stain as possible. Work from the outside of the stain inward to prevent it from spreading. Don’t rub! Rubbing can damage the carpet fibers and make the stain worse.
2. Apply baking soda: Generously cover the stain with baking soda. Make sure it’s a thick layer.
3. Let it sit: Allow the baking soda to sit on the stain for at least 30 minutes, or even overnight for stubborn stains. The baking soda will absorb the stain and any lingering odors.
4. Vacuum: Thoroughly vacuum up the baking soda. You may need to go over the area several times to remove all the residue.
5. Inspect: Check the area for any remaining stain. If the stain is still visible, repeat the process or try another method.
Method 2: Vinegar and Water Solution
This method is effective for many common stains, especially water-based ones.
1. Blot the stain: As with the previous method, start by blotting up as much of the stain as possible.
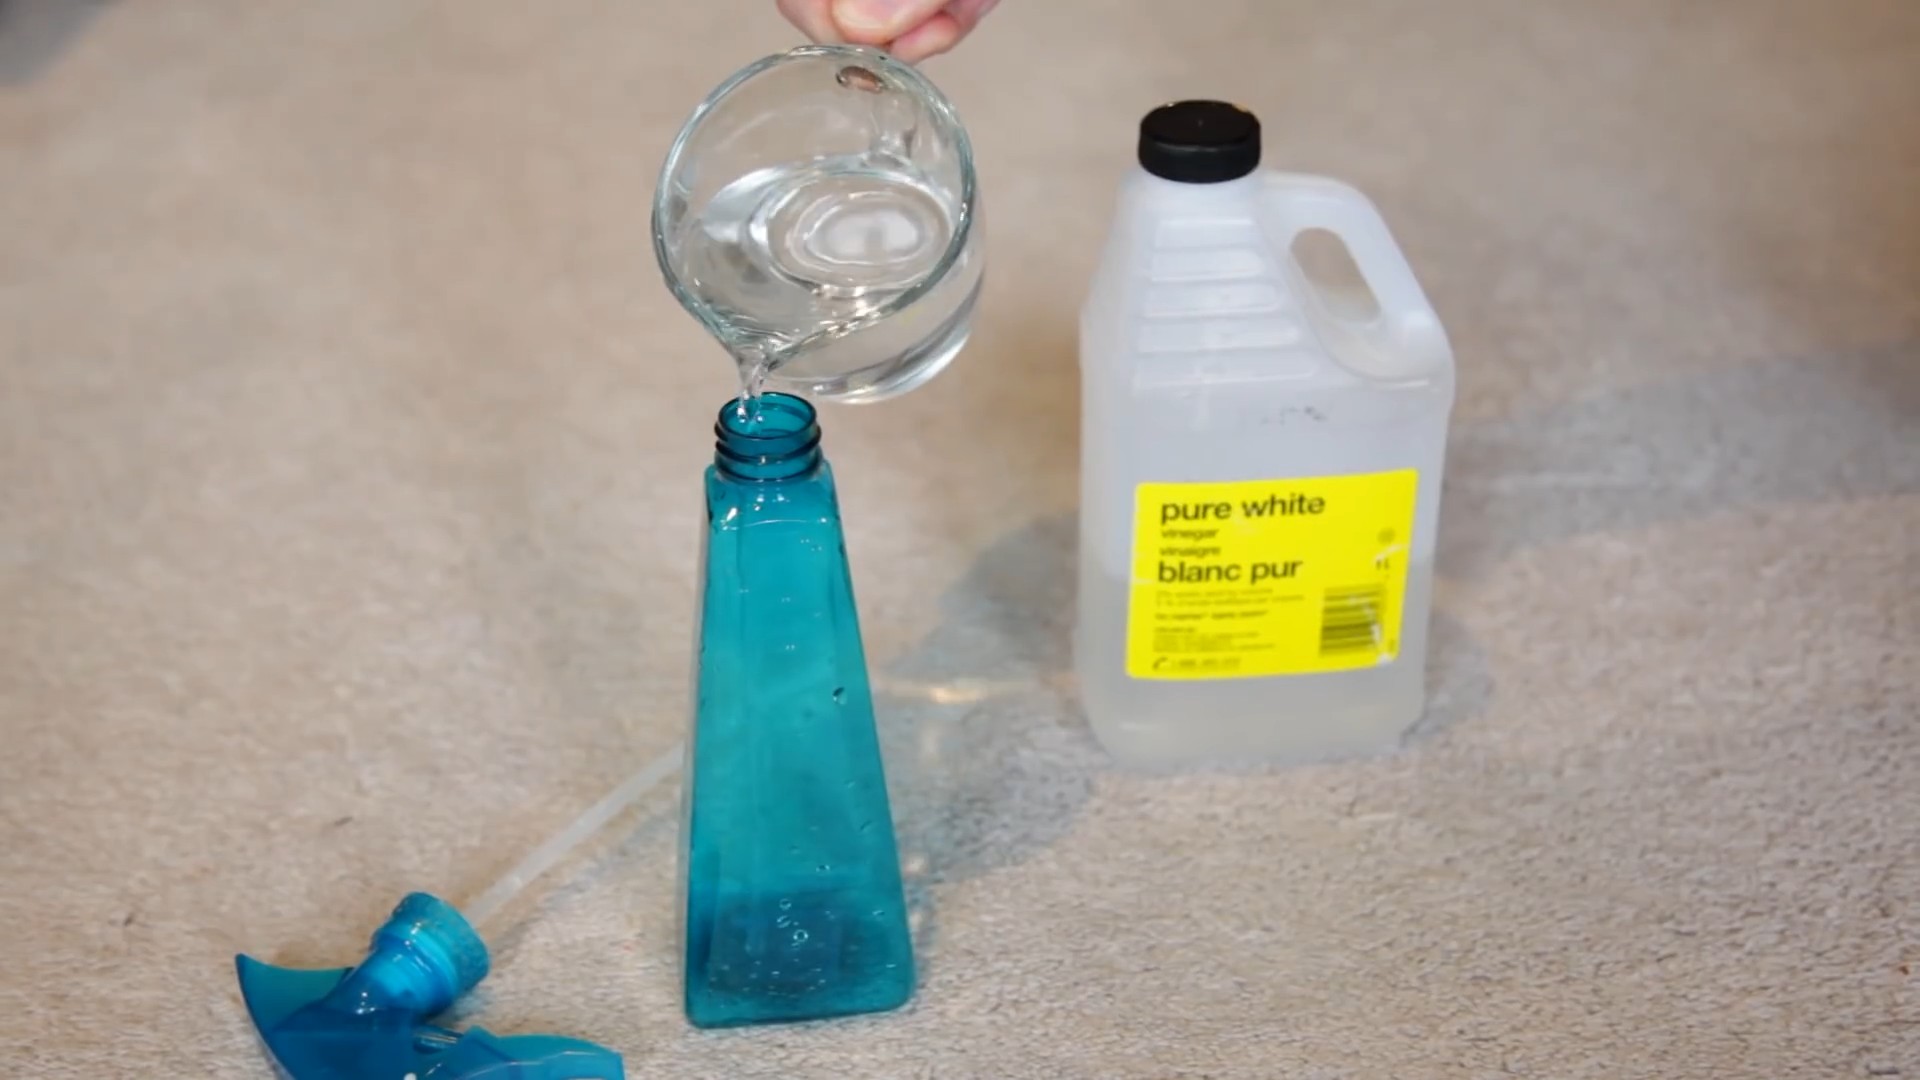
2. Mix the solution: In a spray bottle, mix equal parts white vinegar and water.
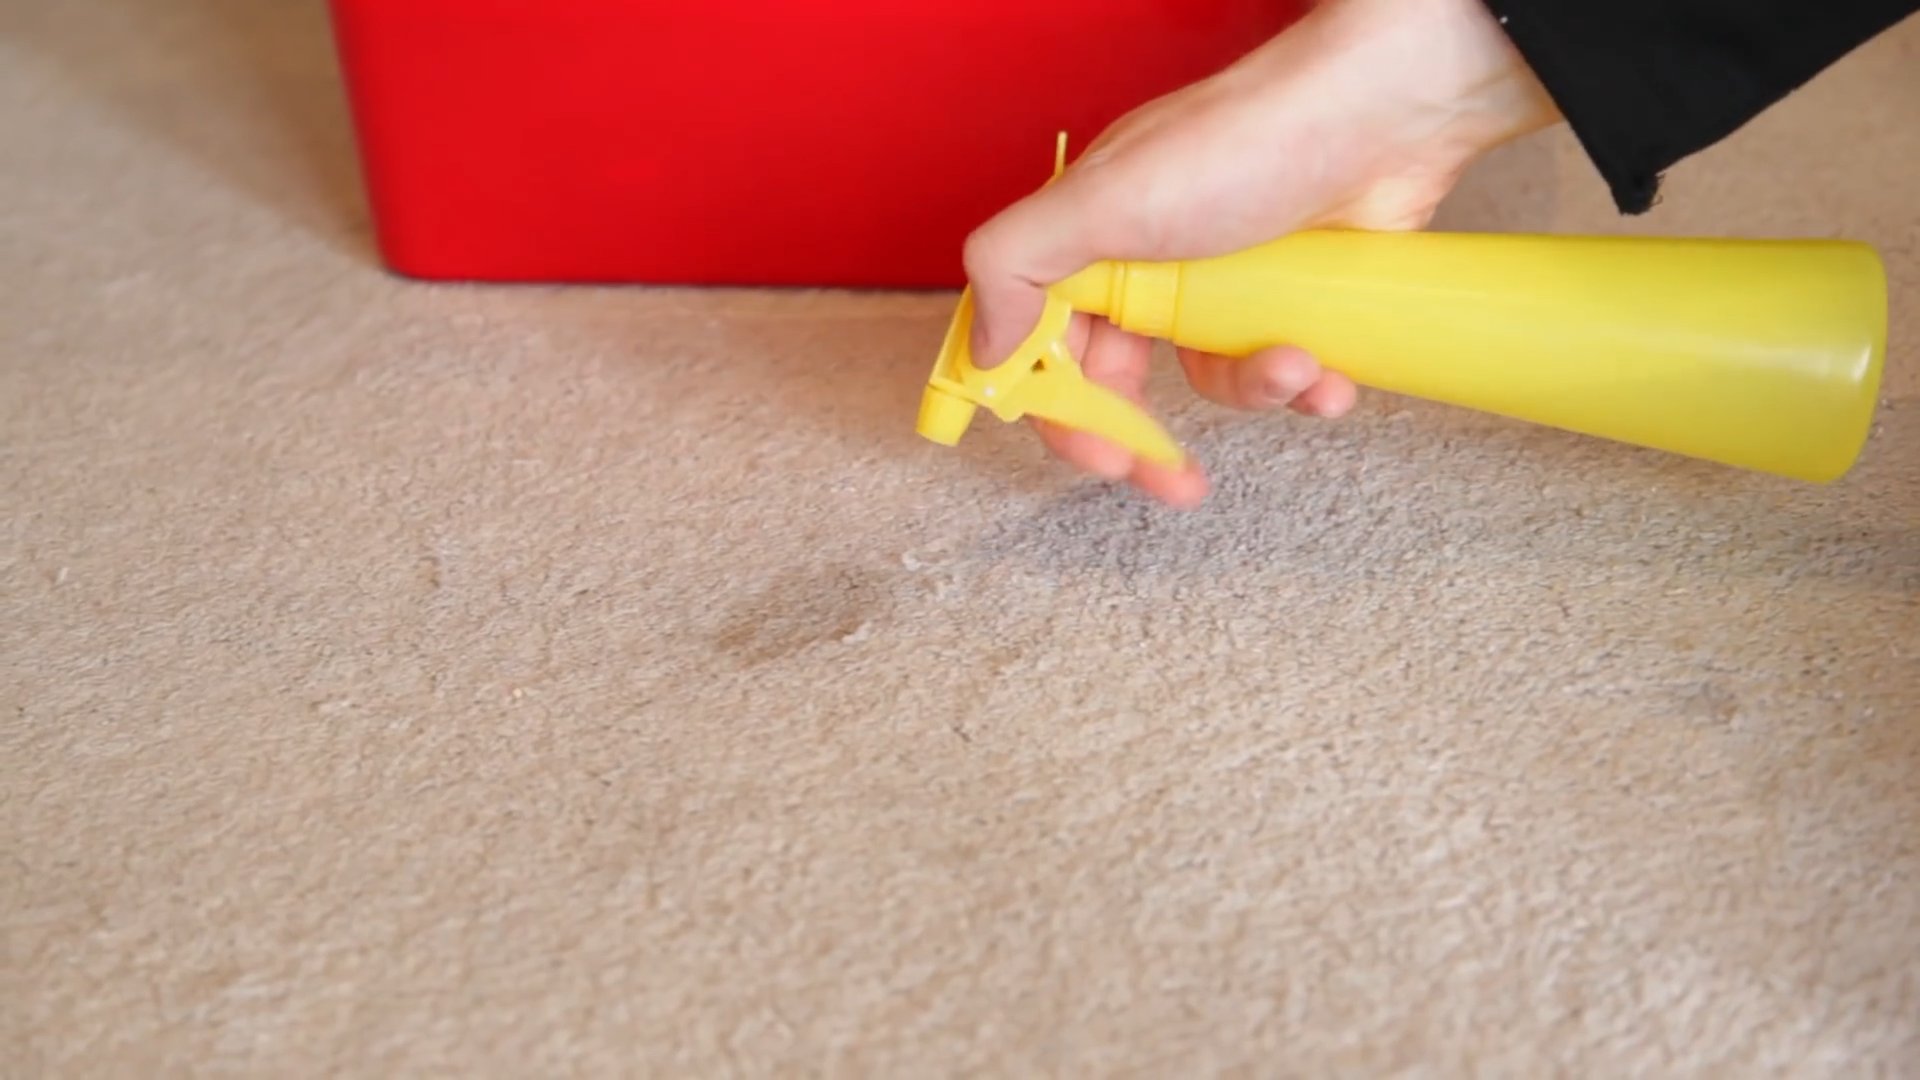
3. Spray the stain: Lightly spray the stain with the vinegar and water solution. Don’t saturate the carpet.
4. Blot again: Blot the area with a clean white cloth.
5. Repeat: Repeat steps 3 and 4 until the stain is gone or no longer transferring to the cloth.
6. Rinse (optional): If you’re concerned about the vinegar smell, you can rinse the area with clean water. Lightly spray the area with water and then blot it dry.
7. Dry: Allow the carpet to air dry completely. You can speed up the drying process by using a fan or opening a window.
Method 3: Dish Soap for Grease and Oil
This method is your go-to for greasy messes.
1. Blot the stain: Remove as much excess grease or oil as possible with a clean white cloth or paper towel.
2. Mix the solution: In a small bowl, mix a few drops of mild, clear dish soap with warm water.
3. Apply the solution: Dip a clean white cloth into the soapy water and gently blot the stain.
4. Blot and repeat: Continue blotting, working from the outside of the stain inward, until the stain is gone or no longer transferring to the cloth.
5. Rinse: Rinse the area with clean water to remove any soap residue.
6. Dry: Blot the area dry with a clean white cloth and allow it to air dry completely.
Method 4: Hydrogen Peroxide for Light Stains (Use with Caution!)
Hydrogen peroxide is a mild bleaching agent, so use it with extreme caution, especially on dark carpets. Always test it in an inconspicuous area first!
1. Blot the stain: Remove as much of the stain as possible.
2. Apply hydrogen peroxide: Pour a small amount of 3% hydrogen peroxide directly onto the stain.
3. Let it sit: Allow the hydrogen peroxide to sit for a few minutes (no more than 5-10 minutes).
4. Blot: Blot the area with a clean white cloth.
5. Rinse: Rinse the area with clean water.
6. Dry: Blot the area dry and allow it to air dry completely.
Method 5: Enzymatic Cleaner for Pet Stains
Pet stains require a special approach because they contain enzymes that can cause lingering odors and encourage re-soiling.
1. Blot the stain: Remove as much of the urine or feces as possible.
2. Apply enzymatic cleaner: Follow the instructions on the enzymatic cleaner bottle. Generally, you’ll need to saturate the stain with the cleaner.
3. Let it sit: Allow the cleaner to sit for the recommended amount of time. This is crucial for the enzymes to break down the stain and odor.
4. Blot: Blot the area with a clean white cloth.
5. Dry: Allow the carpet to air dry completely. Avoid using heat, as this can set the stain.
Method 6: The Iron Trick (For Stubborn Stains)
This method uses heat to lift the stain. Use with caution and always test in an inconspicuous area first!
1. Vacuum: Thoroughly vacuum the stained area.
2. Apply cleaning solution: Choose the appropriate cleaning solution based on the type of stain (vinegar and water, dish soap and water, etc.). Lightly spray the stain.
3. Cover with a cloth: Place a clean, damp white cloth over the stained area.
4. Iron: Set your iron to a low setting (no steam) and gently iron over the damp cloth. The heat will help to transfer the stain from the carpet to the cloth.
5. Check the cloth: Lift the cloth periodically to check if the stain is transferring.
6. Repeat: Repeat the process until the stain is gone or no longer transferring to the cloth.
7. Dry: Allow the carpet to air dry completely.
Dealing with Dried Stains
Dried stains can be more challenging to remove, but don’t give up hope! Here’s how to tackle them:
1. Rehydrate the stain: Dampen the stain with warm water.
2. Apply cleaning solution: Choose the appropriate cleaning solution based on the type of stain.
3. Let it sit: Allow the cleaning solution to sit on the stain for a longer period of time (e.g., 30 minutes to an hour).
4. Scrub gently: Use a soft-brist
Conclusion
So, there you have it! This simple yet incredibly effective Carpet Stain Removal DIY method is a game-changer for anyone who’s ever battled unsightly spots on their carpets. Forget expensive professional cleaning services or harsh chemicals that can damage your fibers and leave lingering odors. This approach is not only budget-friendly but also utilizes ingredients you likely already have in your pantry.
Why is this a must-try? Because it works! We’ve seen it tackle everything from coffee spills and pet accidents to muddy footprints and even stubborn grease stains. The combination of readily available ingredients creates a powerful cleaning solution that lifts stains without damaging your carpet’s integrity. Plus, it’s a safer alternative for households with children and pets, minimizing exposure to potentially harmful chemicals.
But don’t just take our word for it. The beauty of this Carpet Stain Removal DIY lies in its adaptability. For particularly stubborn stains, consider pre-treating the area with a paste of baking soda and water before applying the solution. Let it sit for a few hours or even overnight to draw out the stain before proceeding with the vinegar and water mixture. Another variation involves adding a few drops of your favorite essential oil, like lavender or lemon, to the solution for a fresh, clean scent. Just be sure to test the essential oil on an inconspicuous area of your carpet first to ensure it doesn’t cause any discoloration.
For older, set-in stains, you might need to repeat the process a few times. Patience is key! Don’t scrub too vigorously, as this can damage the carpet fibers. Instead, blot gently and allow the solution to work its magic. You can also use a soft-bristled brush to gently agitate the stain, but always test it in an hidden area first.
We are confident that this DIY method will become your go-to solution for all your carpet stain woes. It’s easy, affordable, and effective – what more could you ask for?
Now, it’s your turn! We encourage you to try this Carpet Stain Removal DIY method and see the amazing results for yourself. Don’t let those pesky stains ruin the beauty of your carpets any longer. Give it a try, and then come back and share your experience in the comments below. We’d love to hear your success stories, any variations you tried, and any tips you have to share with the community. Let’s conquer those carpet stains together! Your feedback will help others discover the power of this simple yet effective cleaning solution. Happy cleaning!
Frequently Asked Questions (FAQ)
What types of stains does this DIY carpet stain remover work best on?
This DIY carpet stain remover is effective on a wide range of common household stains, including coffee, tea, juice, pet accidents (urine, vomit), mud, dirt, food spills, and even some grease stains. However, the effectiveness can vary depending on the age and severity of the stain, as well as the type of carpet fiber. For particularly stubborn or old stains, multiple applications or pre-treatment may be necessary. It’s always a good idea to test the solution on an inconspicuous area of the carpet first to ensure it doesn’t cause any discoloration.
Is this DIY carpet stain remover safe for all types of carpets?
While this DIY solution is generally safe for most carpets, it’s crucial to test it on an inconspicuous area first, especially if you have delicate or natural fiber carpets like wool or silk. These types of carpets may be more sensitive to the acidity of vinegar. If you notice any discoloration or damage after testing, discontinue use. For wool carpets, consider diluting the vinegar solution further or using a specialized wool carpet cleaner. Always blot gently instead of scrubbing vigorously, as scrubbing can damage the carpet fibers.
How much vinegar and water should I use in the solution?
The recommended ratio is typically a 1:1 mixture of white vinegar and water. However, you can adjust the ratio depending on the severity of the stain. For lighter stains, you can use a more diluted solution (e.g., 1 part vinegar to 2 parts water). For tougher stains, you can try a slightly stronger solution (e.g., 2 parts vinegar to 1 part water), but always test it in an inconspicuous area first. It’s better to start with a weaker solution and gradually increase the concentration if needed.
How long should I let the solution sit on the stain before blotting?
Allow the solution to sit on the stain for at least 5-10 minutes before blotting. This allows the vinegar to penetrate the stain and break it down. For older or more stubborn stains, you can let it sit for up to 30 minutes, but be sure to keep an eye on the area to ensure the carpet doesn’t become overly saturated. After the allotted time, blot the area gently with a clean, dry cloth. Avoid scrubbing, as this can damage the carpet fibers and spread the stain.
Can I use this DIY carpet stain remover on upholstery?
Yes, you can use this DIY carpet stain remover on upholstery, but with caution. As with carpets, it’s essential to test the solution on an inconspicuous area of the upholstery first to ensure it doesn’t cause any discoloration or damage. The same principles apply: use a 1:1 mixture of white vinegar and water, apply the solution to the stain, let it sit for a few minutes, and then blot gently with a clean, dry cloth. Avoid over-saturating the upholstery, as this can lead to mildew growth.
What if the stain is still visible after using the DIY carpet stain remover?
If the stain is still visible after the first application, repeat the process. You may need to apply the solution multiple times, especially for older or more stubborn stains. Consider pre-treating the area with a paste of baking soda and water before applying the vinegar solution. Let the baking soda paste sit on the stain for a few hours or even overnight to draw out the stain before proceeding with the vinegar and water mixture. You can also try using a soft-bristled brush to gently agitate the stain, but always test it in an hidden area first.
How do I get rid of the vinegar smell after using this DIY method?
The vinegar smell will dissipate on its own as the carpet dries. To speed up the process, you can open windows and doors to ventilate the room. You can also use a fan to circulate the air. If you’re particularly sensitive to the smell of vinegar, you can add a few drops of your favorite essential oil (like lavender or lemon) to the solution. Just be sure to test the essential oil on an inconspicuous area of your carpet first to ensure it doesn’t cause any discoloration. Another option is to sprinkle baking soda over the cleaned area after it has dried and then vacuum it up after a few hours. Baking soda is a natural odor absorber and will help to neutralize any lingering vinegar smell.
Can I use this method on a large area of carpet?
While this method is effective for spot cleaning, it’s not recommended for cleaning large areas of carpet. For larger areas, consider using a carpet cleaning machine or hiring a professional carpet cleaner. Using this DIY method on a large area could lead to over-saturation of the carpet, which can cause mildew growth and damage to the carpet fibers.
What are some alternative ingredients I can use if I don’t have vinegar?
While vinegar is the key ingredient in this DIY carpet stain remover, you can try using club soda as an alternative. Club soda is a carbonated water that can help to lift stains from carpet fibers. Simply pour club soda onto the stain, let it sit for a few minutes, and then blot gently with a clean, dry cloth. You can also try using a mixture of dish soap and water, but be sure to use a mild dish soap and rinse the area thoroughly with clean water after cleaning. Always test any alternative ingredient on an inconspicuous area of the carpet first.

Leave a Comment