

Clean bathroom, healthy home: It’s more than just a catchy phrase; it’s a fundamental truth! Let’s face it, the bathroom is often the unsung hero (or villain!) of our homes. It’s where we start and end our days, and keeping it sparkling isn’t just about aesthetics – it’s about maintaining a healthy living environment for you and your family.
For centuries, cultures around the globe have recognized the importance of cleanliness in promoting well-being. From ancient Roman bathhouses to traditional Japanese onsen, the act of cleansing has always been intertwined with physical and spiritual health. But in our busy modern lives, who has time for elaborate rituals? That’s where this DIY guide comes in!
Are you tired of battling stubborn stains, lingering odors, and the never-ending cycle of bathroom grime? I know I am! That’s why I’ve compiled a collection of tried-and-true DIY tricks and hacks that will transform your bathroom cleaning routine from a dreaded chore into a quick and satisfying task. These aren’t just your average cleaning tips; they’re clever, cost-effective solutions that utilize everyday household items to achieve a truly clean bathroom. So, ditch the harsh chemicals and embrace these simple, yet powerful, methods to create a healthier and happier home, one sparkling surface at a time!
DIY Bathroom Cleaning Bombs for a Sparkling Clean and Healthy Home
Hey everyone! I’m so excited to share this super easy and effective DIY project with you: homemade bathroom cleaning bombs! These little fizzers are not only a fun way to clean, but they’re also much healthier for you and the environment than many store-bought cleaners. Plus, you probably already have most of the ingredients in your pantry! Let’s get started!
What You’ll Need
Before we dive in, let’s gather all the necessary ingredients and supplies. This will make the whole process smoother and more enjoyable.
* **Baking Soda:** This is the base of our cleaning bombs. It’s a mild alkali that helps to dissolve dirt and grease. You’ll need about 1 cup.
* **Citric Acid:** This is what causes the fizzing action when the bomb comes into contact with water. It also helps to remove hard water stains and soap scum. You’ll need about 1/2 cup.
* **Cornstarch:** This helps to bind the ingredients together and makes the bombs harder and longer-lasting. You’ll need about 1/2 cup.
* **Essential Oils:** These add a lovely scent and can also provide antibacterial and antifungal properties. I love using tea tree, lavender, eucalyptus, or lemon essential oils. You’ll need about 20-30 drops total.
* **Water:** Just a little bit to moisten the mixture. Use a spray bottle for best results.
* **Spray Bottle:** For spritzing water.
* **Mixing Bowl:** A large bowl to combine all the dry ingredients.
* **Measuring Cups and Spoons:** For accurate measurements.
* **Molds:** You can use silicone molds (like muffin tins or ice cube trays), bath bomb molds, or even just a spoon to shape the bombs.
* **Gloves (Optional):** To protect your hands from the essential oils and citric acid.
* **Dust Mask (Optional):** To avoid inhaling the fine powder of the ingredients.
Mixing and Molding Your Cleaning Bombs
Now for the fun part! This is where we combine all the ingredients and create our fizzy cleaning powerhouses.
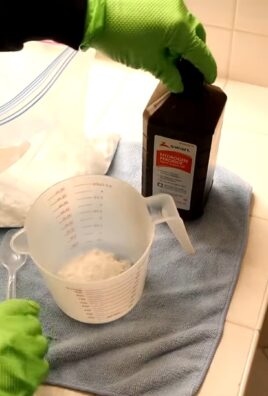
1. **Combine Dry Ingredients:** In your large mixing bowl, thoroughly combine the baking soda, citric acid, and cornstarch. Make sure there are no clumps. I like to use a whisk to ensure everything is evenly distributed.
2. **Add Essential Oils:** Add your chosen essential oils to the dry mixture. I usually start with 20 drops and then add more if I want a stronger scent. Remember, a little goes a long way!
3. **Moisten the Mixture:** This is the trickiest part. You need to add just enough water to moisten the mixture so it holds its shape, but not so much that it starts to fizz prematurely. Use your spray bottle to spritz the mixture with water, a little at a time, while mixing continuously with your hands or a spoon. The mixture should feel like damp sand. If it starts to fizz, you’ve added too much water. Add a little more baking soda to counteract the fizzing.
4. **Test the Consistency:** To test if the consistency is right, squeeze a handful of the mixture in your hand. If it holds its shape and doesn’t crumble, you’re good to go! If it crumbles, add a tiny bit more water and mix again.
5. **Pack the Molds:** Now it’s time to pack the mixture into your molds. Press the mixture firmly into each mold, making sure to fill it completely. If you’re using a two-part bath bomb mold, overfill each half slightly and then press them together firmly.
6. **Let Them Dry:** Once you’ve filled all the molds, let the cleaning bombs dry completely. This can take anywhere from 4-24 hours, depending on the humidity in your area. I usually leave mine overnight.
7. **Remove from Molds:** Once the cleaning bombs are completely dry and hard, carefully remove them from the molds. If they’re sticking, you can gently tap the mold on a hard surface or use a butter knife to loosen the edges.
Using Your Cleaning Bombs
Okay, so you’ve made your cleaning bombs, now what? Here’s how to use them to get your bathroom sparkling clean!
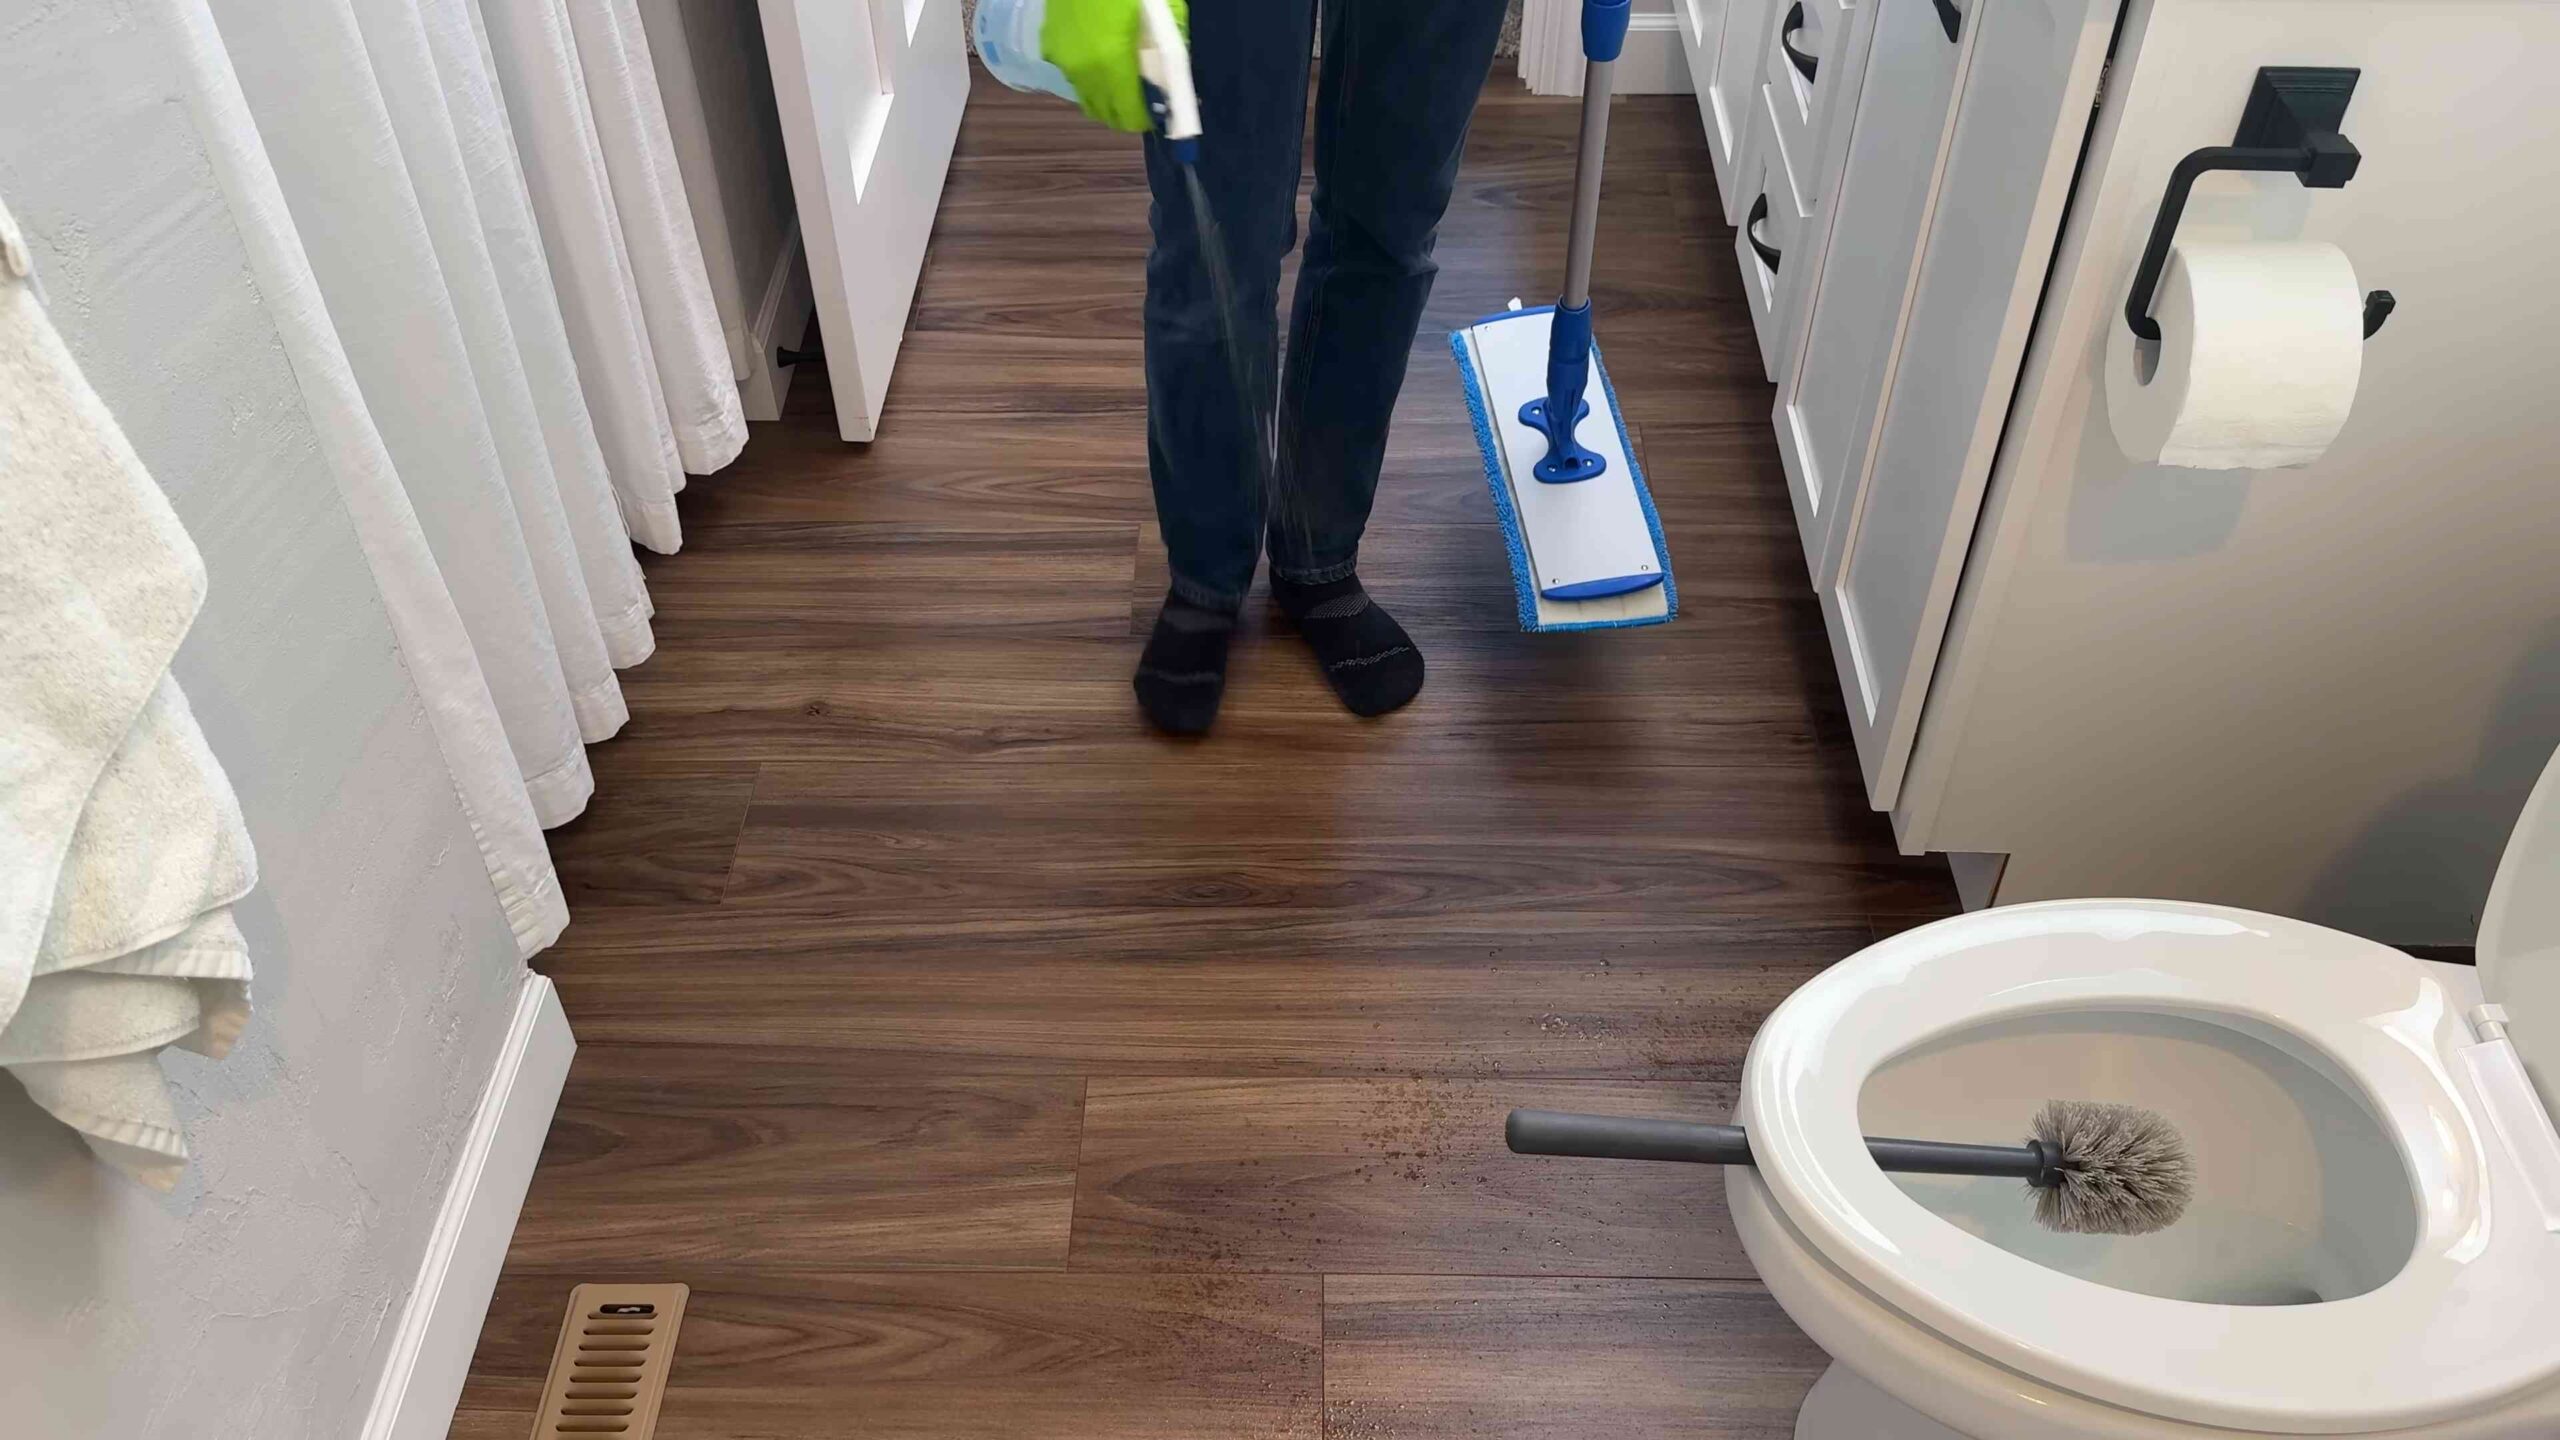
1. **Drop in Toilet:** For toilet cleaning, simply drop one cleaning bomb into the toilet bowl. Let it fizz and dissolve for a few minutes.
2. **Scrub and Flush:** After the fizzing has subsided, use a toilet brush to scrub the bowl and then flush. The citric acid will help to remove stains and the essential oils will leave a fresh scent.
3. **For Sinks and Showers:** For sinks and showers, wet the surface you want to clean. Then, drop a cleaning bomb onto the wet surface.
4. **Let it Fizz:** Let the bomb fizz for a few minutes, allowing the citric acid and essential oils to work their magic.
5. **Scrub and Rinse:** Use a sponge or cloth to scrub the surface and then rinse thoroughly with water.
Tips and Tricks for Perfect Cleaning Bombs
Here are a few extra tips and tricks I’ve learned along the way to help you make the best cleaning bombs possible:
* **Humidity is Your Enemy:** High humidity can cause the cleaning bombs to fizz prematurely or crumble. Try to make them on a dry day or in a well-ventilated area.
* **Don’t Over-Wet the Mixture:** Adding too much water is the most common mistake. Remember to spritz the mixture with water a little at a time and mix continuously.
* **Experiment with Essential Oils:** Don’t be afraid to experiment with different essential oil combinations to find your favorite scent. Some other great options include peppermint, rosemary, and grapefruit.
* **Add Color (Optional):** If you want to add color to your cleaning bombs, you can use natural food coloring or mica powder. Add a few drops of food coloring to the water before spritzing the mixture, or mix a small amount of mica powder into the dry ingredients.
* **Storage:** Store your cleaning bombs in an airtight container in a cool, dry place. This will help to prevent them from absorbing moisture and fizzing prematurely.
* Safety First: While these cleaning bombs are made with natural ingredients, it’s still important to keep them out of reach of children and pets. Avoid direct contact with eyes. If irritation occurs, rinse thoroughly with water.
* Adjust the Recipe: Feel free to adjust the recipe to suit your needs. If you want a stronger cleaning action, you can add more citric acid. If you want a longer-lasting bomb, you can add more cornstarch.
* Troubleshooting Crumbling Bombs: If your bombs are crumbling after drying, it usually means they didn’t have enough moisture. Next time, add a *tiny* bit more water. You can also try adding a tablespoon of oil (like coconut oil or olive oil) to the mixture to help bind it together.
* Troubleshooting Fizzing Too Early: If your mixture starts fizzing as soon as you add the water, you’ve added too much water. Add more baking soda to neutralize the acid. You can also try using colder water, as this will slow down the reaction.
* Make a Big Batch: Once you get the hang of it, you can easily make a big batch of cleaning bombs and store them for later use. This is a great way to save time and money.
* Gift Giving: These cleaning bombs make a thoughtful and practical gift for friends and family. Package them in a cute jar or bag and add a personalized label.
Why I Love This DIY
I absolutely love this DIY project because it’s so simple, affordable, and effective. I know exactly what’s going into my cleaning products, and I can customize the scent to my liking. Plus, it’s a great way to reduce my reliance on harsh chemicals and contribute to a healthier home environment. I hope you enjoy making these cleaning bombs as much as I do! Happy cleaning!
Conclusion
So, there you have it! Transforming your bathroom into a sparkling sanctuary doesn’t require harsh chemicals or a hefty cleaning bill. This DIY cleaning trick, focusing on natural ingredients and simple techniques, is a game-changer for anyone seeking a healthier and more sustainable home. We’ve shown you how to harness the power of readily available ingredients to achieve a truly clean bathroom, free from the lingering odors and stubborn grime that often plague this essential space.
Why is this DIY approach a must-try? Because it’s effective, eco-friendly, and economical. Commercial cleaners often contain harsh chemicals that can irritate your skin, damage surfaces, and contribute to indoor air pollution. This DIY method, on the other hand, utilizes gentle yet powerful ingredients like vinegar, baking soda, and essential oils, which are safe for your family, your pets, and the environment. Plus, you’ll save money by avoiding expensive store-bought products.
But the benefits extend beyond just cleanliness and cost savings. Creating your own cleaning solutions empowers you to take control of your home environment. You know exactly what’s going into your cleaners, eliminating any concerns about hidden toxins or harmful additives. This peace of mind is invaluable, especially for families with young children or individuals with sensitivities.
Looking for variations? Absolutely! For a refreshing scent boost, add a few drops of your favorite essential oil to the cleaning solution. Lavender, tea tree, eucalyptus, and lemon are all excellent choices for their antibacterial and aromatic properties. You can also experiment with different ratios of vinegar and water to find the perfect balance for your specific needs. If you have particularly stubborn stains, try creating a paste of baking soda and water and applying it directly to the affected area. Let it sit for a few minutes before scrubbing gently.
Consider infusing your vinegar with citrus peels for an even more potent and pleasant-smelling cleaner. Simply add orange, lemon, or grapefruit peels to a jar of vinegar and let it steep for a few weeks. The citrus oils will infuse the vinegar, creating a powerful degreaser and deodorizer. Remember to strain the vinegar before using it in your cleaning solution.
This DIY cleaning trick is more than just a recipe; it’s a pathway to a healthier, happier home. It’s about embracing a more conscious and sustainable lifestyle, one that prioritizes the well-being of your family and the planet. It’s about taking pride in creating a clean and inviting space without compromising your values.
We wholeheartedly encourage you to try this DIY cleaning trick and experience the difference for yourself. Say goodbye to harsh chemicals and hello to a sparkling clean bathroom, naturally. Once you’ve given it a try, we’d love to hear about your experience! Share your tips, variations, and success stories in the comments below. Let’s build a community of eco-conscious cleaners and inspire others to embrace a healthier way of living. Your feedback is invaluable and will help us refine and improve this DIY cleaning trick for everyone. Together, we can create a cleaner, healthier, and more sustainable world, one bathroom at a time. Remember, a clean bathroom contributes to a healthy home, and a healthy home contributes to a healthy life.
Frequently Asked Questions (FAQ)
Is vinegar safe to use on all bathroom surfaces?
Vinegar is a fantastic natural cleaner, but it’s essential to exercise caution on certain surfaces. Avoid using vinegar on natural stone surfaces like marble, granite, and travertine, as the acidity can etch and damage them. It’s also best to avoid using vinegar on waxed surfaces, as it can strip the wax. For these surfaces, opt for a pH-neutral cleaner or a specialized stone cleaner. Always test the cleaning solution in an inconspicuous area first to ensure it doesn’t cause any discoloration or damage. When in doubt, consult the manufacturer’s recommendations for cleaning specific surfaces.
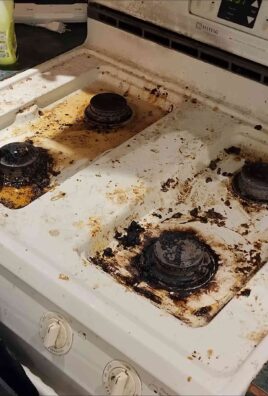
Can I use this DIY cleaner on mold and mildew?
Yes, vinegar is effective at killing mold and mildew. However, for severe mold infestations, it’s best to consult a professional mold remediation service. For minor mold and mildew growth, spray the affected area with undiluted vinegar and let it sit for at least an hour before scrubbing with a brush. Ensure the area is well-ventilated to prevent moisture buildup. Baking soda can also be used as a mild abrasive to help remove stubborn mold stains. Remember to address the underlying cause of the mold growth, such as leaks or poor ventilation, to prevent it from returning.
How often should I use this DIY cleaner?
The frequency of cleaning depends on your household’s usage and habits. For general cleaning, aim to clean your bathroom at least once a week. For high-traffic areas like the toilet and sink, you may need to clean them more frequently. Regular cleaning will prevent the buildup of grime, soap scum, and hard water stains, making it easier to maintain a clean bathroom. You can also use this DIY cleaner for spot cleaning as needed.
What essential oils are best for cleaning the bathroom?
Several essential oils possess antibacterial, antifungal, and antiviral properties, making them ideal for cleaning the bathroom. Tea tree oil is a powerful disinfectant and is effective against mold and mildew. Lavender oil has a calming scent and is known for its antibacterial properties. Lemon oil is a natural degreaser and has a refreshing citrus scent. Eucalyptus oil has a strong, invigorating scent and is effective at killing germs. Peppermint oil has a refreshing scent and can help deter pests. When using essential oils, always dilute them properly and avoid direct contact with skin and eyes.
How do I get rid of hard water stains in my bathroom?
Hard water stains can be a challenge to remove, but vinegar is an effective solution. For stubborn hard water stains, soak a cloth in vinegar and apply it to the affected area. Let it sit for several minutes or even hours, depending on the severity of the stain. Then, scrub with a brush or sponge and rinse thoroughly. You can also create a paste of baking soda and vinegar and apply it to the stains. Let it sit for a few minutes before scrubbing. For faucets and showerheads, you can soak them in a bag filled with vinegar overnight.
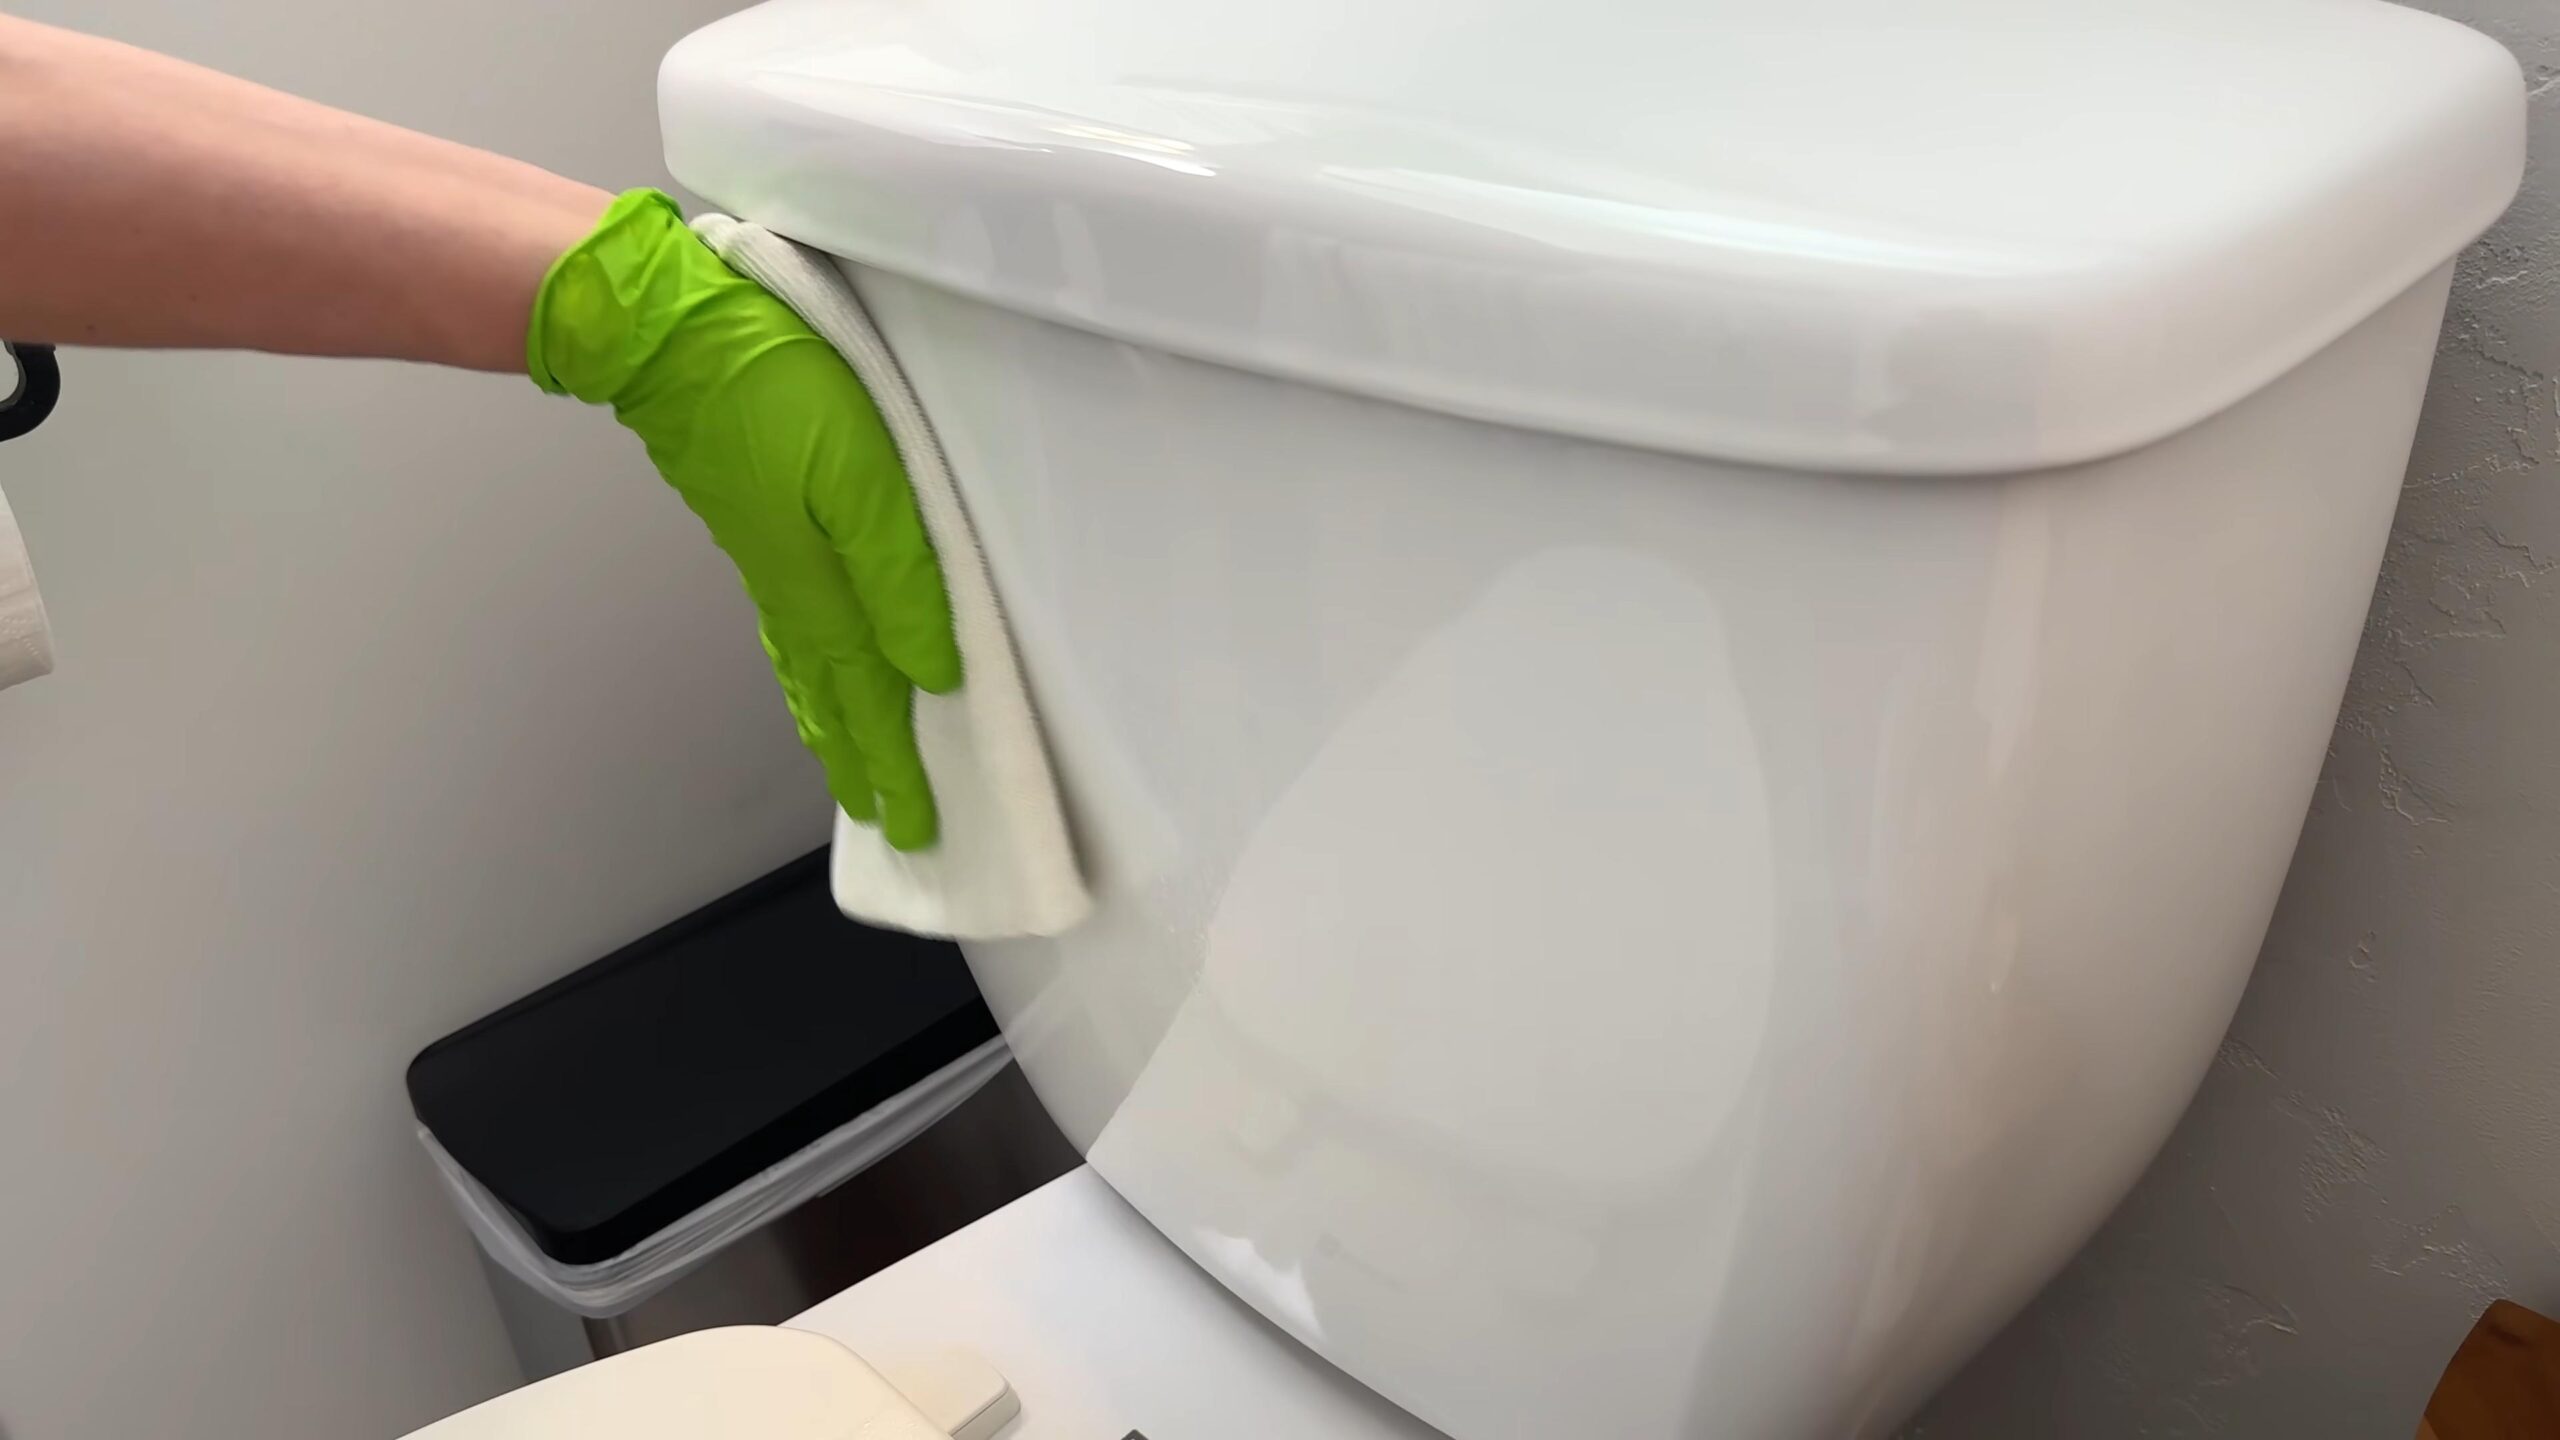
Can I use this DIY cleaner on my toilet bowl?
Yes, this DIY cleaner is safe and effective for cleaning your toilet bowl. Pour a cup of vinegar into the toilet bowl and let it sit for at least 30 minutes. Then, sprinkle baking soda around the bowl and scrub with a toilet brush. The combination of vinegar and baking soda will create a fizzing action that helps to loosen grime and stains. Flush the toilet to rinse. For stubborn stains, you can let the vinegar sit overnight before scrubbing.
How do I store the DIY cleaning solution?
Store the DIY cleaning solution in a clean, labeled spray bottle. It’s best to use a dark-colored bottle to protect the essential oils from light degradation. Keep the bottle out of reach of children and pets. The cleaning solution should last for several months if stored properly. If you notice any changes in color, odor, or consistency, discard the solution and make a fresh batch.
Is this DIY cleaner septic-safe?
Yes, this DIY cleaner is generally considered septic-safe. Vinegar and baking soda are natural ingredients that won’t harm your septic system. However, it’s essential to use them in moderation. Avoid pouring large amounts of vinegar or baking soda down the drain at once, as this can disrupt the balance of bacteria in your septic tank. If you have any concerns about the compatibility of this DIY cleaner with your septic system, consult with a septic system professional.
What if I don’t have vinegar? Can I use something else?
While vinegar is a key ingredient in this DIY cleaner, you can substitute it with lemon juice in a pinch. Lemon juice has similar acidic properties and can help to disinfect and deodorize your bathroom. However, vinegar is generally more effective at removing hard water stains and soap scum. If you don’t have either vinegar or lemon juice, you can try using a mild dish soap diluted in water. However, dish soap may not be as effective at disinfecting and deodorizing as vinegar or lemon juice.
How can I make my bathroom smell fresh naturally?
Besides using essential oils in your cleaning solution, there are several other ways to keep your bathroom smelling fresh naturally. Place a bowl of baking soda in the bathroom to absorb odors. You can also add a few drops of essential oil to the baking soda for a pleasant scent. Keep a small vase of fresh flowers or a potted plant in the bathroom to add a touch of nature and freshness. Ensure proper ventilation by opening a window or using a bathroom fan after showering or bathing. Regularly clean your bathroom to prevent the buildup of odors.
Leave a Comment