

Clean greasy kitchen cabinets – the bane of every homeowner’s existence, right? I know I’ve certainly battled my fair share of sticky, grimy surfaces in my kitchen! But fear not, because I’m about to share some incredible DIY tricks that will transform your cabinets from greasy nightmares to sparkling showpieces.
For generations, keeping a clean and organized kitchen has been a symbol of a well-maintained home. In many cultures, the kitchen is the heart of the home, and its cleanliness reflects the care and attention given to the family. While our ancestors might have relied on simple ingredients like vinegar and baking soda, we can now combine those time-tested methods with a few modern hacks to achieve truly remarkable results.
Why is it so important to clean greasy kitchen cabinets effectively? Beyond the obvious aesthetic benefits, removing grease buildup prevents dust and dirt from sticking, creating a healthier environment for food preparation. Plus, tackling the grease now will save you from more difficult cleaning challenges down the road. These DIY tricks are not only cost-effective, but they also allow you to avoid harsh chemicals, making them a safer option for your family and the environment. So, let’s dive in and discover the secrets to effortlessly sparkling cabinets!
DIY Guide: Banish Grease from Your Kitchen Cabinets!
Hey there! Are your kitchen cabinets looking a little…slick? Don’t worry, you’re not alone! Grease buildup is a common kitchen woe, but thankfully, it’s totally conquerable with a little elbow grease (pun intended!) and this DIY guide. I’m going to walk you through my favorite method for cleaning greasy kitchen cabinets, using simple ingredients you probably already have at home. Let’s get those cabinets sparkling!
What You’ll Need: The Arsenal Against Grease
Before we dive in, let’s gather our supplies. Having everything ready will make the process much smoother.
* Warm Water: The foundation of our cleaning solution.
* Dish Soap: A degreasing powerhouse! I prefer a concentrated formula.
* Baking Soda: This is our secret weapon! It’s a gentle abrasive that helps lift stubborn grease.
* White Vinegar: Another cleaning superstar! Vinegar cuts through grease and grime like a champ.
* Spray Bottle: For easy application of our cleaning solution.
* Microfiber Cloths: These are essential for wiping down surfaces without leaving streaks or lint. Have several on hand!
* Soft-Bristled Brush (Optional): An old toothbrush or a small scrub brush can be helpful for tackling tough spots and crevices.
* Old Towels: To protect your countertops and catch drips.
* Rubber Gloves: To protect your hands from the cleaning solution.
* Screwdriver (Optional): If you want to remove cabinet hardware for a more thorough cleaning.
* Bucket or Bowl: For mixing our cleaning solution.
Step-by-Step: The Grease-Busting Process
Okay, let’s get down to business! Follow these steps to transform your greasy cabinets into sparkling clean surfaces.
1. Prep Your Workspace:
* First, clear the countertops beneath your cabinets. Remove any appliances, decorations, or anything else that might get in the way.
* Lay down old towels to protect your countertops from drips and spills. This will save you from having to clean up a bigger mess later!
2. Mix Your Cleaning Solution:
* In your bucket or bowl, combine warm water, a squirt of dish soap (about a tablespoon), and a tablespoon of baking soda.
* If your cabinets are particularly greasy, add a splash of white vinegar (about 1/4 cup). The vinegar will help cut through the grease, but be careful not to use too much, as it can damage some finishes.
* Stir the mixture well until the baking soda is dissolved.
3. Test in an Inconspicuous Area:
* Before you start cleaning the entire cabinet, it’s crucial to test your cleaning solution in a small, hidden area. This will ensure that it doesn’t damage the finish.
* Apply a small amount of the solution to the inside of a cabinet door or a corner that’s not easily visible.
* Let it sit for a few minutes, then wipe it off with a clean, damp cloth.
* Check for any discoloration, damage, or changes in the finish. If everything looks good, you can proceed with cleaning the rest of the cabinets.
4. Apply the Cleaning Solution:
* Dip a microfiber cloth into the cleaning solution, making sure it’s damp but not dripping wet.
* Wring out any excess liquid to prevent water damage.
* Gently wipe down the greasy areas of your cabinets, working in small sections.
* For stubborn grease spots, let the solution sit for a few minutes before wiping.
5. Scrub Stubborn Spots (Gently!):
* If you encounter any particularly stubborn grease spots, use a soft-bristled brush (like an old toothbrush) to gently scrub the area.
* Be careful not to scrub too hard, as this can damage the finish.
* Work in a circular motion to loosen the grease.
6. Rinse with Clean Water:
* Once you’ve cleaned a section of the cabinets, rinse it with a clean, damp microfiber cloth.
* This will remove any remaining cleaning solution and prevent residue buildup.
* Make sure to wring out the cloth well to avoid getting the cabinets too wet.
7. Dry Thoroughly:
* After rinsing, dry the cabinets thoroughly with a clean, dry microfiber cloth.
* This will prevent water spots and streaks.
* Pay special attention to corners and crevices, where water can easily accumulate.
8. Clean the Hardware (Optional):
* If your cabinet hardware is also greasy, you can remove it and clean it separately.
* Use a screwdriver to remove the knobs, pulls, and hinges.
* Soak the hardware in warm, soapy water for a few minutes.
* Scrub them with a soft-bristled brush to remove any grease or grime.
* Rinse them with clean water and dry them thoroughly before reattaching them to the cabinets.
9. Reassemble (If Necessary):
* If you removed the hardware, reattach it to the cabinets.
* Make sure the screws are tight, but don’t overtighten them, as this can damage the cabinets.
10. Admire Your Sparkling Cabinets!
* Step back and admire your handiwork! Your kitchen cabinets should now be clean, grease-free, and looking their best.
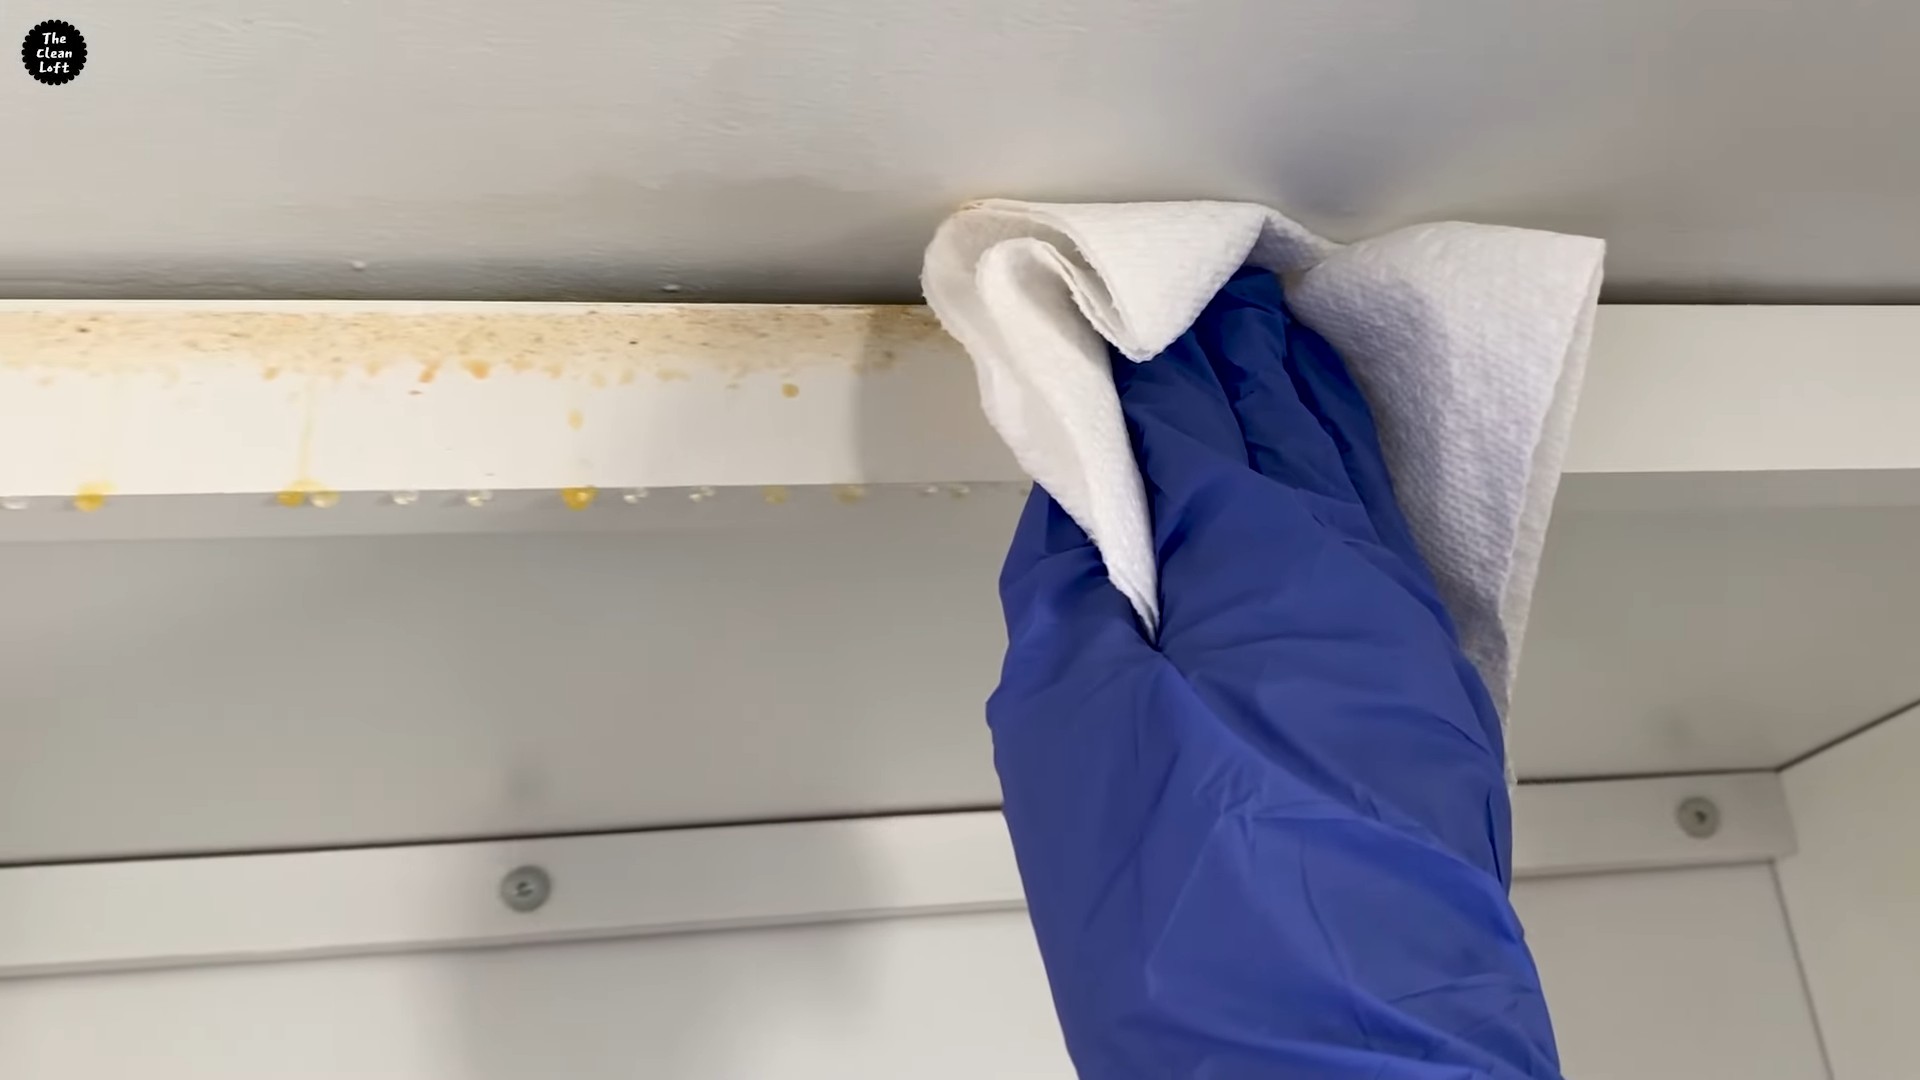
Tackling Extra-Greasy Areas: The Heavy-Duty Approach
Sometimes, you’ll encounter areas that are just *really* greasy. For these tough spots, we need to bring out the big guns! Here are a few extra tips for tackling extra-greasy areas:
* Baking Soda Paste: Mix baking soda with a little water to create a thick paste. Apply the paste to the greasy area and let it sit for 15-20 minutes. Then, gently scrub with a soft-bristled brush and wipe clean.
* Oil Soap: Oil soap is a gentle but effective cleaner that’s great for removing grease and grime. Follow the instructions on the bottle.
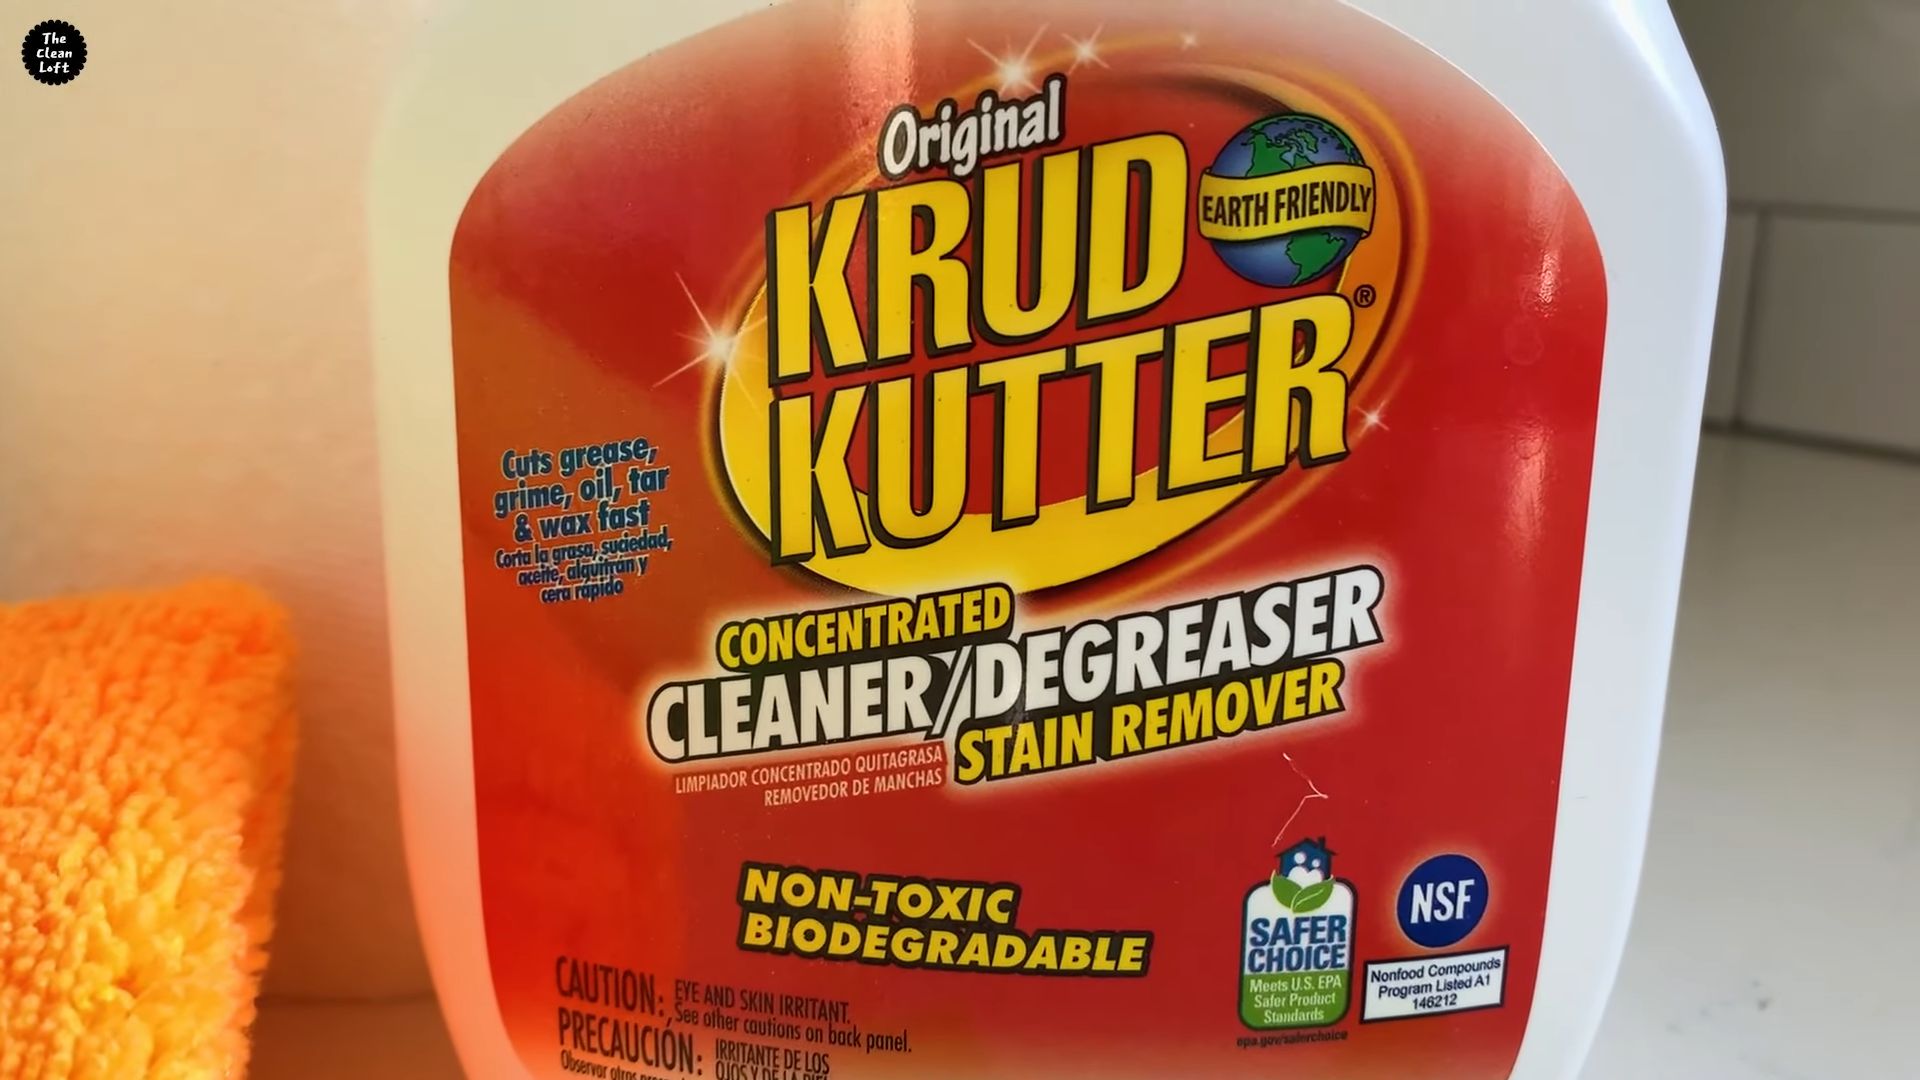
* Commercial Degreaser: If all else fails, you can try a commercial degreaser. Be sure to choose a product that’s specifically designed for kitchen cabinets and follow the instructions carefully. Always test in an inconspicuous area first!
Preventing Future Grease Buildup: Proactive Measures
Now that your cabinets are sparkling clean, let’s talk about how to keep them that way! Here are a few tips for preventing future grease buildup:
* Wipe Up Splatters Immediately: The sooner you wipe up splatters, the easier they’ll be to remove. Keep a damp cloth handy for quick cleanups.
* Use Your Range Hood: Always use your range hood when cooking, especially when frying or sautéing. The range hood will help to vent grease and steam away from your cabinets.
* Regular Cleaning: Make it a habit to clean your kitchen cabinets regularly, even if they don’t look dirty. A quick wipe-down once a week can prevent grease from building up.
* Consider a Backsplash: A backsplash can protect your walls and cabinets from splatters and spills. Choose a material that’s easy to clean, such as tile or glass.
* Proper Ventilation: Ensure your kitchen is well-ventilated to prevent grease and steam from accumulating. Open windows or use a fan when cooking.
Choosing the Right Cleaning Method for Your Cabinet Finish
It’s important to consider the type of finish on your cabinets before choosing a cleaning method. Different finishes require different care.
* Painted Cabinets: Painted cabinets are generally durable, but they can be susceptible to scratches and damage from harsh chemicals. Use a gentle cleaning solution and avoid abrasive cleaners.
* Wood Cabinets: Wood cabinets can be cleaned with a mild soap and water solution. Avoid getting them too wet, as this can damage the wood.
* Laminate Cabinets: Laminate cabinets are easy to clean and maintain. Use a damp cloth and a mild detergent.
* Veneer Cabinets: Veneer cabinets are delicate and require special care. Use a gentle cleaning solution and avoid abrasive cleaners.
Important Note: Always refer to the manufacturer’s instructions for cleaning your specific type of cabinets.
Safety First!
Before you start cleaning, remember these safety tips:
* Wear Rubber Gloves: Protect your hands from the cleaning solution.
* Ventilate the Area: Open windows or use a fan to ensure proper ventilation.
* Avoid Mixing Chemicals: Never mix different cleaning chemicals, as this can create dangerous fumes.
* Keep Out of Reach of Children and Pets: Store cleaning supplies out of reach of children and pets.
Cleaning greasy kitchen cabinets can seem like a daunting task
Conclusion
So, there you have it! A simple, effective, and budget-friendly way to tackle those stubborn grease stains on your kitchen cabinets. We’ve walked you through a method that utilizes readily available household ingredients, saving you money and the potential exposure to harsh chemicals found in many commercial cleaners. But why is this DIY approach a must-try?
Firstly, it’s incredibly effective. The combination of baking soda, dish soap, and warm water creates a powerful cleaning paste that gently lifts grease and grime without damaging the cabinet’s finish. This is crucial, especially for delicate wood or painted surfaces. Secondly, it’s eco-friendly. By using natural ingredients, you’re reducing your environmental footprint and creating a healthier home environment. Thirdly, it’s customizable. You can adjust the consistency of the paste to suit the level of grease buildup and the type of cabinet material you’re working with.
This DIY method for cleaning greasy kitchen cabinets is a game-changer!
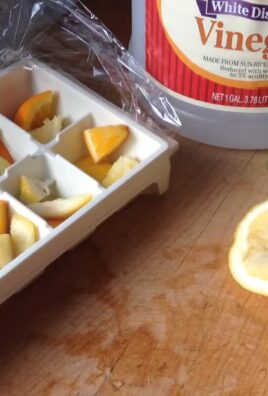
Looking for variations? Consider adding a few drops of essential oils like lemon or orange for an extra boost of cleaning power and a refreshing scent. For particularly stubborn stains, let the paste sit for a longer period before scrubbing. If you have laminate cabinets, be extra cautious and test the paste on an inconspicuous area first to ensure it doesn’t cause any discoloration. Another variation is to use a soft-bristled brush instead of a sponge for more targeted cleaning in textured areas. You can also try adding a splash of vinegar to the mixture for extra degreasing power, but always test it in a hidden area first, especially on painted cabinets, to ensure it doesn’t affect the finish. Remember, patience is key. Don’t expect to remove years of accumulated grease in one swipe. Multiple applications and gentle scrubbing may be necessary.
We’re confident that this DIY trick will leave your kitchen cabinets sparkling clean and looking like new. But don’t just take our word for it! We encourage you to give it a try and see the amazing results for yourself. Once you’ve experienced the satisfaction of effortlessly removing grease and grime with this simple method, you’ll never go back to harsh chemical cleaners again.
We’d love to hear about your experience! Share your before-and-after photos and any variations you tried in the comments below. Let’s build a community of clean cabinet enthusiasts and help each other discover the best ways to keep our kitchens looking their best. Your tips and tricks could be invaluable to others struggling with greasy cabinets. So, grab your baking soda, dish soap, and warm water, and get ready to transform your kitchen! Let us know how this method for cleaning greasy kitchen cabinets worked for you!
Frequently Asked Questions (FAQ)
Q: Can I use this method on all types of kitchen cabinets?
A: While this method is generally safe and effective for most types of kitchen cabinets, it’s always best to test it on an inconspicuous area first, especially if you have painted, laminate, or antique cabinets. Different materials react differently to cleaning agents, and you want to ensure that the paste doesn’t cause any discoloration or damage. For example, high-gloss cabinets might require a gentler approach with less abrasive scrubbing. If you’re unsure about the material of your cabinets, consult the manufacturer’s instructions or a professional cleaner.
Q: How often should I clean my kitchen cabinets?
A: The frequency of cleaning depends on how often you cook and the amount of grease and splatters that accumulate. As a general rule, wiping down your cabinets with a damp cloth after each cooking session can help prevent grease buildup. A more thorough cleaning with the baking soda paste is recommended every one to three months, or more frequently if you notice significant grease accumulation. Regular maintenance will make the cleaning process easier and prevent the grease from becoming too stubborn to remove.
Q: What if the grease is really stubborn and has been there for years?
A: For extremely stubborn grease, you may need to repeat the cleaning process several times. Allow the baking soda paste to sit on the grease for a longer period, perhaps 30 minutes to an hour, before scrubbing. You can also try using a slightly more abrasive scrubbing tool, such as a non-scratch scouring pad, but be careful not to damage the cabinet’s finish. Another option is to use a degreasing spray specifically designed for kitchen cabinets, but always test it in an inconspicuous area first. In some cases, professional cleaning may be necessary for heavily soiled cabinets.
Q: Can I use vinegar instead of dish soap?
A: Vinegar is a natural degreaser and can be used in combination with baking soda and water. However, vinegar is acidic and can potentially damage certain cabinet finishes, especially painted or varnished surfaces. If you choose to use vinegar, dilute it with water (a 1:1 ratio is a good starting point) and test it in an inconspicuous area first. Avoid using vinegar on natural stone countertops, as it can etch the surface. Dish soap is generally a safer and more gentle option for most types of kitchen cabinets.
Q: What’s the best way to prevent grease buildup on my kitchen cabinets?
A: Prevention is key to keeping your kitchen cabinets clean and grease-free. Use your range hood or exhaust fan whenever you’re cooking to vent steam and grease particles out of the kitchen. Wipe down your cabinets regularly with a damp cloth to remove any splatters or spills. Consider using a backsplash behind your stovetop to protect the wall and cabinets from grease. You can also apply a protective coating to your cabinets, such as a wax or sealant, to make them easier to clean.
Q: The baking soda paste is leaving a white residue on my cabinets. How do I remove it?
A: A white residue is a common occurrence when using baking soda. Simply wipe down the cabinets with a clean, damp cloth to remove any remaining residue. You can also use a solution of water and a small amount of vinegar to help dissolve the baking soda. Be sure to dry the cabinets thoroughly after wiping them down to prevent water spots.
Q: Can I use this method on my stainless steel appliances?
A: While the baking soda paste can be used on stainless steel, it’s important to use it sparingly and with caution. Baking soda is mildly abrasive and can potentially scratch stainless steel if used too aggressively. Always test the paste in an inconspicuous area first and use a soft cloth to gently scrub the surface. Rinse thoroughly with water and dry with a clean cloth. For stainless steel appliances, it’s generally best to use a cleaner specifically designed for stainless steel.
Q: What type of dish soap should I use?
A: Any mild dish soap will work for this method. Avoid using dish soaps that contain harsh chemicals or abrasives, as they can damage the cabinet’s finish. A grease-cutting dish soap is ideal for removing stubborn grease stains.
Q: Is there a specific type of sponge or cloth I should use?
A: A soft, non-abrasive sponge or microfiber cloth is recommended for cleaning kitchen cabinets. Avoid using abrasive scouring pads or steel wool, as they can scratch the surface. You can also use a soft-bristled brush for cleaning textured areas or crevices.


Leave a Comment