

Clean Keyboard Safely – it’s something we all need to do, but often put off! Let’s be honest, our keyboards are breeding grounds for dust, crumbs, and who-knows-what-else. Think about it: we use them every single day, often while snacking, and rarely give them a second thought until they start sticking or looking truly disgusting. I know I’m guilty of this!
From the earliest typewriters to the sleek, modern keyboards we use today, these input devices have been essential tools for communication and creation. But unlike a well-maintained pen or a regularly cleaned paintbrush, keyboards often suffer from neglect. This isn’t just an aesthetic issue; a dirty keyboard can actually impact its performance and even harbor harmful bacteria.
That’s why I’m so excited to share these simple, effective DIY tricks for how to clean keyboard safely. You don’t need fancy equipment or harsh chemicals. With just a few household items and a little bit of elbow grease, you can transform your keyboard from a germ-infested mess to a sparkling clean, efficient tool. Not only will your keyboard look and feel better, but you’ll also be protecting your health and extending its lifespan. So, let’s dive in and get cleaning!
DIY: Revive Your Grimy Keyboard – A Deep Clean Guide!
Okay, let’s face it, our keyboards are germ magnets. Crumbs, dust, and who-knows-what-else accumulate between the keys, turning our trusty typing tools into a breeding ground for nasties. But don’t worry, you don’t need to buy a new one! I’m going to walk you through a safe and effective way to deep clean your keyboard and bring it back to its former glory.
What You’ll Need: The Arsenal of Clean
Before we dive in, let’s gather our cleaning supplies. Trust me, having everything ready will make the process much smoother.
* Compressed Air: This is your best friend for blasting out loose debris.
* Small Screwdriver Set (Phillips and Flathead): Only needed if you plan on removing keycaps.
* Keycap Puller (Optional, but Recommended): Makes removing keycaps much easier and prevents damage. You can find these online for a few bucks.
* Microfiber Cloths: These are gentle and won’t scratch your keyboard.
* Cotton Swabs (Q-tips): Perfect for getting into those tight corners.
* Isopropyl Alcohol (70% or Higher): This is a disinfectant and cleaning agent. Make sure it’s at least 70% to be effective.
* Small Bowl or Container: For soaking keycaps.
* Dish Soap (Mild): Just a tiny bit for cleaning the keycaps.
* Soft-Bristled Brush (Old Toothbrush Works Great!): For scrubbing stubborn grime.
* Vacuum Cleaner with Brush Attachment (Optional): For sucking up larger debris.
* Camera or Phone: Trust me, you’ll want to take a picture of your keyboard layout before removing the keycaps!
Safety First!
Before we even think about cleaning, let’s prioritize safety:
* Unplug Your Keyboard: This is absolutely crucial! You don’t want to risk electric shock or damage to your keyboard.
* Work in a Well-Ventilated Area: Isopropyl alcohol can have strong fumes, so make sure you have good airflow.
* Avoid Getting Liquid Inside the Keyboard: We’re cleaning *around* the electronics, not *inside* them. Be careful not to oversaturate anything.
* Test Cleaning Solutions on an Inconspicuous Area: Before applying any cleaning solution to the entire keyboard, test it on a small, hidden area (like the underside) to make sure it doesn’t damage the finish.
Phase 1: Pre-Cleaning – Getting Rid of the Big Stuff
This is where we tackle the loose debris and surface grime.
1. Turn the Keyboard Upside Down and Shake: Give your keyboard a good shake over a trash can or sink. You’ll be surprised how much stuff falls out!
2. Vacuum (Optional): Use the brush attachment on your vacuum cleaner to gently suck up any remaining loose debris. Be careful not to press too hard, as you don’t want to damage the keys.
3. Compressed Air Blast: This is where the compressed air comes in handy. Hold the can upright and use short bursts to blow out debris from between the keys. Pay special attention to the crevices and hard-to-reach areas. Angle the nozzle to get under the edges of the keys.
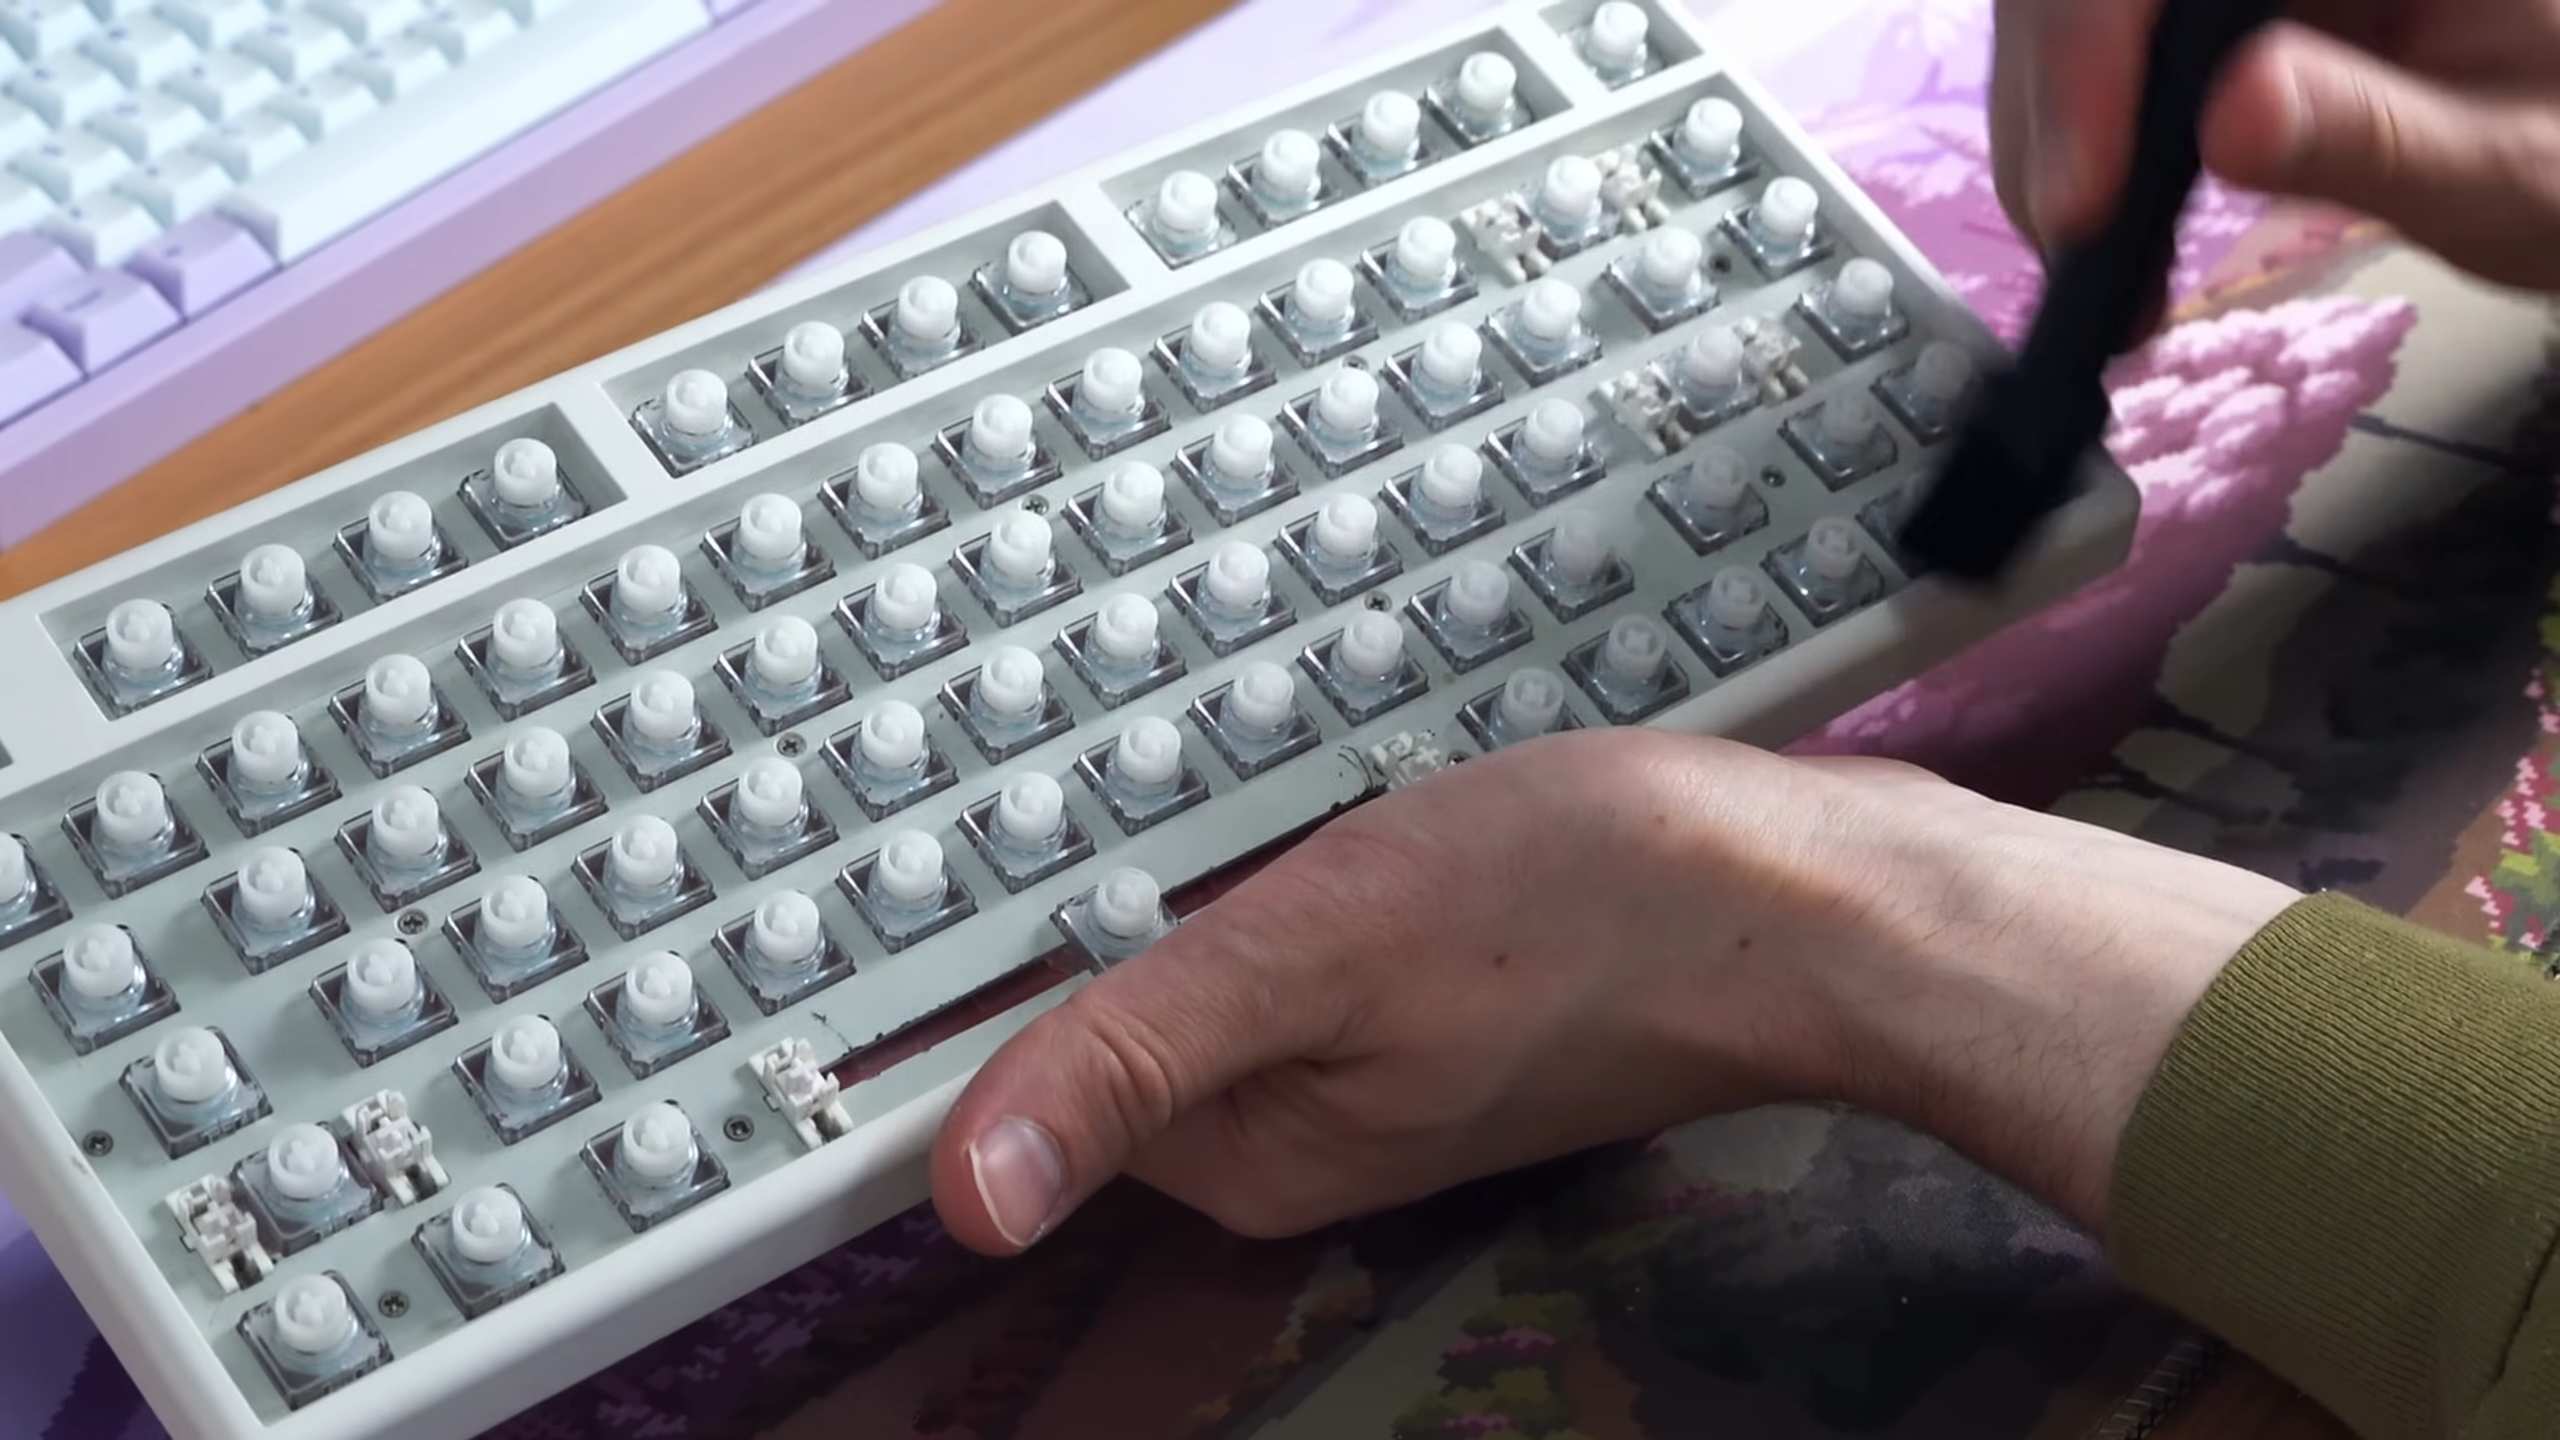
Phase 2: Keycap Removal – The Deep Dive
This step is optional, but highly recommended for a thorough clean. Removing the keycaps allows you to clean both the keycaps themselves and the area underneath them.
1. Take a Picture! (Seriously, Do It!): Before you remove any keycaps, take a clear picture of your keyboard layout. This will save you a lot of frustration when it comes time to put them back on. Trust me on this one!
2. Use a Keycap Puller (Recommended): Gently slide the keycap puller over the keycap you want to remove. Make sure the wires are securely gripping the keycap. Then, gently pull straight up. Avoid twisting or wiggling the keycap, as this could damage the stem.
3. Remove Keycaps Manually (If You Don’t Have a Puller): If you don’t have a keycap puller, you can try using a small, flathead screwdriver. Wrap the tip of the screwdriver with a microfiber cloth to prevent scratching. Gently pry up one side of the keycap, then the other, until it comes loose. Be very careful not to apply too much force.
4. Organize Your Keycaps: As you remove the keycaps, place them in a container or on a clean surface in the same layout as your keyboard. This will make reassembly much easier. You can even use a piece of paper and draw a rough outline of your keyboard layout to help you keep track of where each keycap goes.
Phase 3: Cleaning the Keycaps – A Soapy Bath
Now that we’ve removed the keycaps, let’s give them a good cleaning.
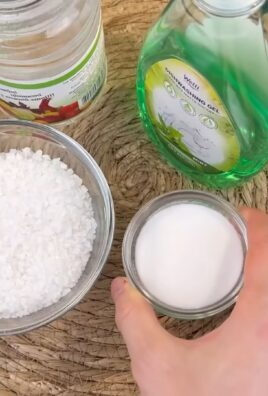
1. Prepare a Soapy Solution: Fill a small bowl or container with warm water and add a few drops of mild dish soap.
2. Soak the Keycaps: Place the keycaps in the soapy water and let them soak for about 15-30 minutes. This will help loosen any dirt and grime.
3. Scrub the Keycaps: After soaking, use a soft-bristled brush (like an old toothbrush) to gently scrub each keycap. Pay special attention to the edges and corners, where dirt tends to accumulate.
4. Rinse Thoroughly: Rinse the keycaps thoroughly with clean water to remove all traces of soap.
5. Dry Completely: Spread the keycaps out on a clean microfiber cloth and let them air dry completely. Make sure they are completely dry before reattaching them to the keyboard. You can also use a separate, dry microfiber cloth to gently pat them dry. Important: Do not use a hairdryer or other heat source to dry the keycaps, as this could damage them.
Phase 4: Cleaning the Keyboard Base – The Nitty-Gritty
With the keycaps removed, we can now focus on cleaning the keyboard base itself.
1. Compressed Air Again: Use compressed air to blow out any remaining debris from the keyboard base. Pay special attention to the areas around the switches.
2. Isopropyl Alcohol and Cotton Swabs: Dip a cotton swab in isopropyl alcohol and gently clean around the switches and other hard-to-reach areas. Be careful not to oversaturate the cotton swab, as you don’t want to get liquid inside the keyboard.
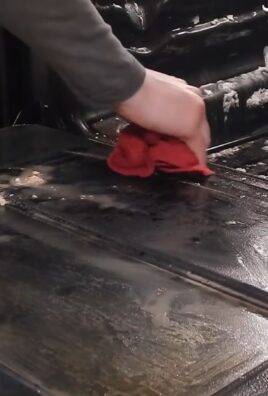
3. Microfiber Cloth and Isopropyl Alcohol: Lightly dampen a microfiber cloth with isopropyl alcohol and wipe down the entire keyboard base. This will disinfect the surface and remove any remaining grime.
4. Stubborn Stains: For stubborn stains, you can try using a slightly more abrasive cleaner, such as a magic eraser. However, be very careful when using these types of cleaners, as they can scratch the surface of your keyboard. Test the cleaner on an inconspicuous area first to make sure it doesn’t damage the finish.
5. Let it Dry: Allow the keyboard base to air dry completely before reattaching the keycaps.
Phase 5: Reassembly – Putting It All Back Together
Now for the satisfying part – putting everything back together!
1. Ensure Everything is Dry: Double-check that both the keycaps and the keyboard base are completely dry before proceeding.
2. Refer to Your Picture: Use the picture you took earlier to guide you as you reattach the keycaps.
3. Press Keycaps Firmly: Gently press each keycap onto its corresponding switch until it clicks into place.
4. Double-Check: Once you’ve reattached all the keycaps, double-check to make sure they are all properly seated and that none are loose.
5. Plug It In and Test: Plug your keyboard back in and test all the keys to make sure they are working properly.
Tips and Tricks for a Sparkling Keyboard
* Regular Cleaning: To prevent your keyboard from getting too dirty, clean it regularly (at least once a month). A quick wipe-down with a microfiber cloth can go a long way.
* Keyboard Covers: Consider using a keyboard cover to protect your keyboard from dust, spills, and other debris.
* Eat Away From Your Keyboard: Try to avoid eating or drinking near your keyboard to prevent crumbs and spills from getting into the keys.
* Specialty Keycap Cleaners: There are specialty keycap cleaners available online that are specifically designed for cleaning keycaps. These cleaners are often more effective than dish soap and water.
* Mechanical Keyboard Considerations: If you have a mechanical keyboard, you may want to consider using a keycap puller specifically designed for mechanical keyboards. These pullers are often more durable and less likely

Conclusion
So, there you have it! Mastering the art of how to clean keyboard safely at home is not only incredibly simple and cost-effective, but it’s also a game-changer for maintaining a healthy and productive workspace. No more cringing at the thought of what lurks beneath those keys! This DIY method empowers you to take control of your keyboard’s cleanliness, extending its lifespan and ensuring a more pleasant typing experience.
Why is this a must-try? Because a clean keyboard is more than just aesthetically pleasing; it’s a hygiene essential. Think about it: your keyboard is a breeding ground for germs, dust, and debris. Regularly cleaning it helps prevent the spread of bacteria and keeps your workspace sanitary. Plus, a clean keyboard functions better. Sticky keys and unresponsive buttons become a thing of the past, allowing you to type with speed and accuracy.
But don’t stop there! Feel free to experiment with variations to personalize your cleaning routine. For example, if you’re dealing with particularly stubborn grime, consider using a slightly damp (not wet!) cotton swab dipped in isopropyl alcohol to gently scrub around the keys. For a refreshing scent, you can add a drop of your favorite essential oil to the cleaning solution (lavender or tea tree oil are great choices for their antibacterial properties). If you have a mechanical keyboard, you might want to invest in a keycap puller for a more thorough cleaning. This allows you to remove the keycaps and clean underneath them, reaching those hard-to-access areas.
Remember, consistency is key. Aim to clean your keyboard at least once a month, or more frequently if you use it heavily or share it with others. A quick wipe-down with a microfiber cloth every few days can also help prevent the buildup of dust and debris.
We’re confident that once you try this simple DIY trick, you’ll wonder why you didn’t start sooner. It’s a small investment of time that yields significant benefits for your health, productivity, and the longevity of your keyboard.
So, go ahead, give it a try! We’re eager to hear about your experience. Share your tips, tricks, and before-and-after photos in the comments below. Let’s create a community of clean keyboard enthusiasts! We believe in the power of shared knowledge and collective experience. Your insights could help others discover the joy of a sparkling clean keyboard. Happy cleaning!
Frequently Asked Questions (FAQs)
Q: How often should I clean my keyboard?
A: The frequency of cleaning depends on your usage habits and environment. If you use your keyboard heavily or work in a dusty environment, you should aim to clean it at least once a week. For general use, cleaning it once a month is usually sufficient. A quick wipe-down with a microfiber cloth every few days can also help prevent dust buildup. Remember, consistent light cleaning is often more effective than infrequent deep cleaning.
Q: What type of cleaning solution is best for cleaning a keyboard?
A: A mixture of distilled water and a mild dish soap is generally safe and effective for cleaning most keyboards. Avoid using harsh chemicals or abrasive cleaners, as these can damage the keys or the keyboard’s surface. Isopropyl alcohol (70% or higher) can be used for disinfecting, but be sure to dilute it with water and apply it sparingly to avoid damaging the keyboard’s internal components. Always test any cleaning solution on a small, inconspicuous area of the keyboard first to ensure it doesn’t cause discoloration or damage.
Q: Can I use compressed air to clean my keyboard?
A: Yes, compressed air is an excellent tool for removing loose dust and debris from between the keys. Hold the can of compressed air upright and use short bursts to blow out the dirt. Be careful not to hold the can too close to the keyboard, as this can cause condensation to form and potentially damage the internal components. Tilt the keyboard at different angles to ensure you reach all the crevices.
Q: What should I do if I spill liquid on my keyboard?
A: Act quickly! Immediately unplug the keyboard from the power source. Turn it upside down to allow any excess liquid to drain out. Use a clean, absorbent cloth to blot up as much of the liquid as possible. Remove the keycaps (if possible) and clean them separately. Allow the keyboard to dry completely (ideally for 24-48 hours) before plugging it back in. If the liquid was sugary or sticky, you may need to disassemble the keyboard further to clean the internal components. If you’re not comfortable doing this yourself, consider taking it to a professional repair shop.
Q: How do I clean a mechanical keyboard?
A: Cleaning a mechanical keyboard is similar to cleaning a regular keyboard, but with a few extra steps. First, use a keycap puller to remove the keycaps. This will allow you to access the switches and the plate underneath. Use compressed air to blow out any dust and debris. You can then clean the keycaps with a mild soap and water solution. For the plate and switches, use a slightly damp cotton swab dipped in isopropyl alcohol to gently clean around them. Be careful not to get any liquid inside the switches. Allow all the components to dry completely before reassembling the keyboard.
Q: Is it safe to use a vacuum cleaner to clean my keyboard?
A: While you can use a vacuum cleaner to clean your keyboard, it’s important to use a low suction setting and a brush attachment to avoid damaging the keys. Be careful not to dislodge any keycaps. A handheld vacuum cleaner is generally a better option than a full-sized vacuum cleaner, as it provides more control. However, compressed air is often more effective at removing dust and debris from hard-to-reach areas.
Q: How do I disinfect my keyboard?
A: To disinfect your keyboard, use a slightly damp (not wet!) cloth or cotton swab dipped in isopropyl alcohol (70% or higher). Wipe down the keys and the surrounding areas, paying particular attention to frequently touched surfaces. Allow the alcohol to air dry completely. Be careful not to get any liquid inside the keyboard’s internal components.
Q: Can I put my keycaps in the dishwasher?
A: While some people have had success cleaning keycaps in the dishwasher, it’s generally not recommended. The high heat and harsh detergents can damage the keycaps, causing them to warp, fade, or crack. It’s safer to clean them by hand with a mild soap and water solution.
Q: What are some signs that my keyboard needs cleaning?
A: Some common signs that your keyboard needs cleaning include sticky keys, unresponsive buttons, visible dust and debris, and a general feeling of uncleanliness. If you notice any of these signs, it’s time to give your keyboard a good cleaning. Remember, regular cleaning is essential for maintaining a healthy and productive workspace and to clean keyboard safely.

Leave a Comment