

Clean Pillows At Home: Are your pillows looking a little worse for wear? Yellowed, lumpy, and just generally uninviting? Don’t rush out to buy new ones just yet! I’m here to share some amazing DIY tricks that will breathe new life into your pillows and save you money in the process.
For centuries, cultures around the world have understood the importance of clean bedding for a good night’s sleep. From ancient Egyptians stuffing pillows with feathers to the meticulous laundering practices of Victorian households, keeping pillows fresh has always been a priority. After all, we spend a third of our lives with our faces pressed against them!
But in today’s busy world, who has time for complicated cleaning routines? That’s where these simple, effective DIY hacks come in. Learning how to clean pillows at home is essential for maintaining a healthy sleep environment. Dust mites, allergens, and body oils can accumulate over time, leading to allergies, skin irritations, and even affecting your breathing. Plus, a clean, fluffy pillow simply feels better and promotes more restful sleep.
Ready to learn how to transform your tired, old pillows into fresh, comfortable havens? Let’s dive into these easy-to-follow DIY methods and get those pillows sparkling!
DIY Pillow Cleaning: A Comprehensive Guide to Fresh, Fluffy Dreams
Hey there, fellow DIY enthusiasts! Are your pillows looking a little… sad? Stained? Maybe even a bit lumpy? Don’t worry, you’re not alone! Pillows are notorious for accumulating dust mites, sweat, drool (yes, I said it!), and all sorts of other unpleasantness. But before you resign yourself to buying new ones, let me show you how to give your pillows a deep clean right at home. It’s easier than you think, and your head (and your wallet) will thank you for it!
This guide covers cleaning various types of pillows, from down and feather to synthetic fills. I’ll walk you through everything step-by-step, so you can enjoy fresh, fluffy pillows and a better night’s sleep.
Understanding Your Pillow Type
Before we dive in, it’s crucial to know what kind of pillow you’re dealing with. Different materials require different cleaning methods. Check the care label on your pillow for specific instructions. If the label is missing or illegible, here’s a quick rundown:
* **Down and Feather Pillows:** These are usually the most delicate and require special care.
* **Synthetic Fill Pillows (Polyester, Fiberfill):** These are generally more durable and easier to clean.
* **Memory Foam Pillows:** These *cannot* be machine washed. We’ll cover how to spot clean them.
* **Buckwheat Pillows:** These need special handling. You’ll empty the hulls before cleaning the ticking.
Materials You’ll Need
Gather your supplies before you start. This will make the process much smoother. Here’s what I usually have on hand:
* **Washing Machine:** A front-loading machine is ideal, but a top-loading machine *without* an agitator can also work. If you have a top-loader with an agitator, you might want to consider hand-washing to avoid damaging your pillows.
* **Laundry Detergent:** Use a mild, liquid detergent. Powdered detergents can sometimes leave residue. I prefer a detergent specifically designed for delicates, especially for down and feather pillows.
* **Borax (Optional):** Borax can help boost the cleaning power of your detergent and remove stubborn stains.
* **White Vinegar (Optional):** White vinegar acts as a natural fabric softener and helps remove detergent residue.
* **Tennis Balls or Dryer Balls:** These will help fluff your pillows in the dryer and prevent them from clumping.
* **Clean Towels:** For blotting and drying.
* **Clothesline or Drying Rack:** For air-drying.
* **Pillow Protectors:** To keep your pillows clean longer.
* **Spray Bottle (For Memory Foam):**
* **Baking Soda (For Memory Foam):**
* **Vacuum Cleaner with Upholstery Attachment (For Memory Foam):**
Cleaning Down and Feather Pillows
These pillows are luxurious, but they require a gentle touch.
1. **Check for Tears:** Before washing, inspect your pillows for any tears or holes. Feathers can escape during washing and wreak havoc on your machine. If you find any, stitch them up carefully.
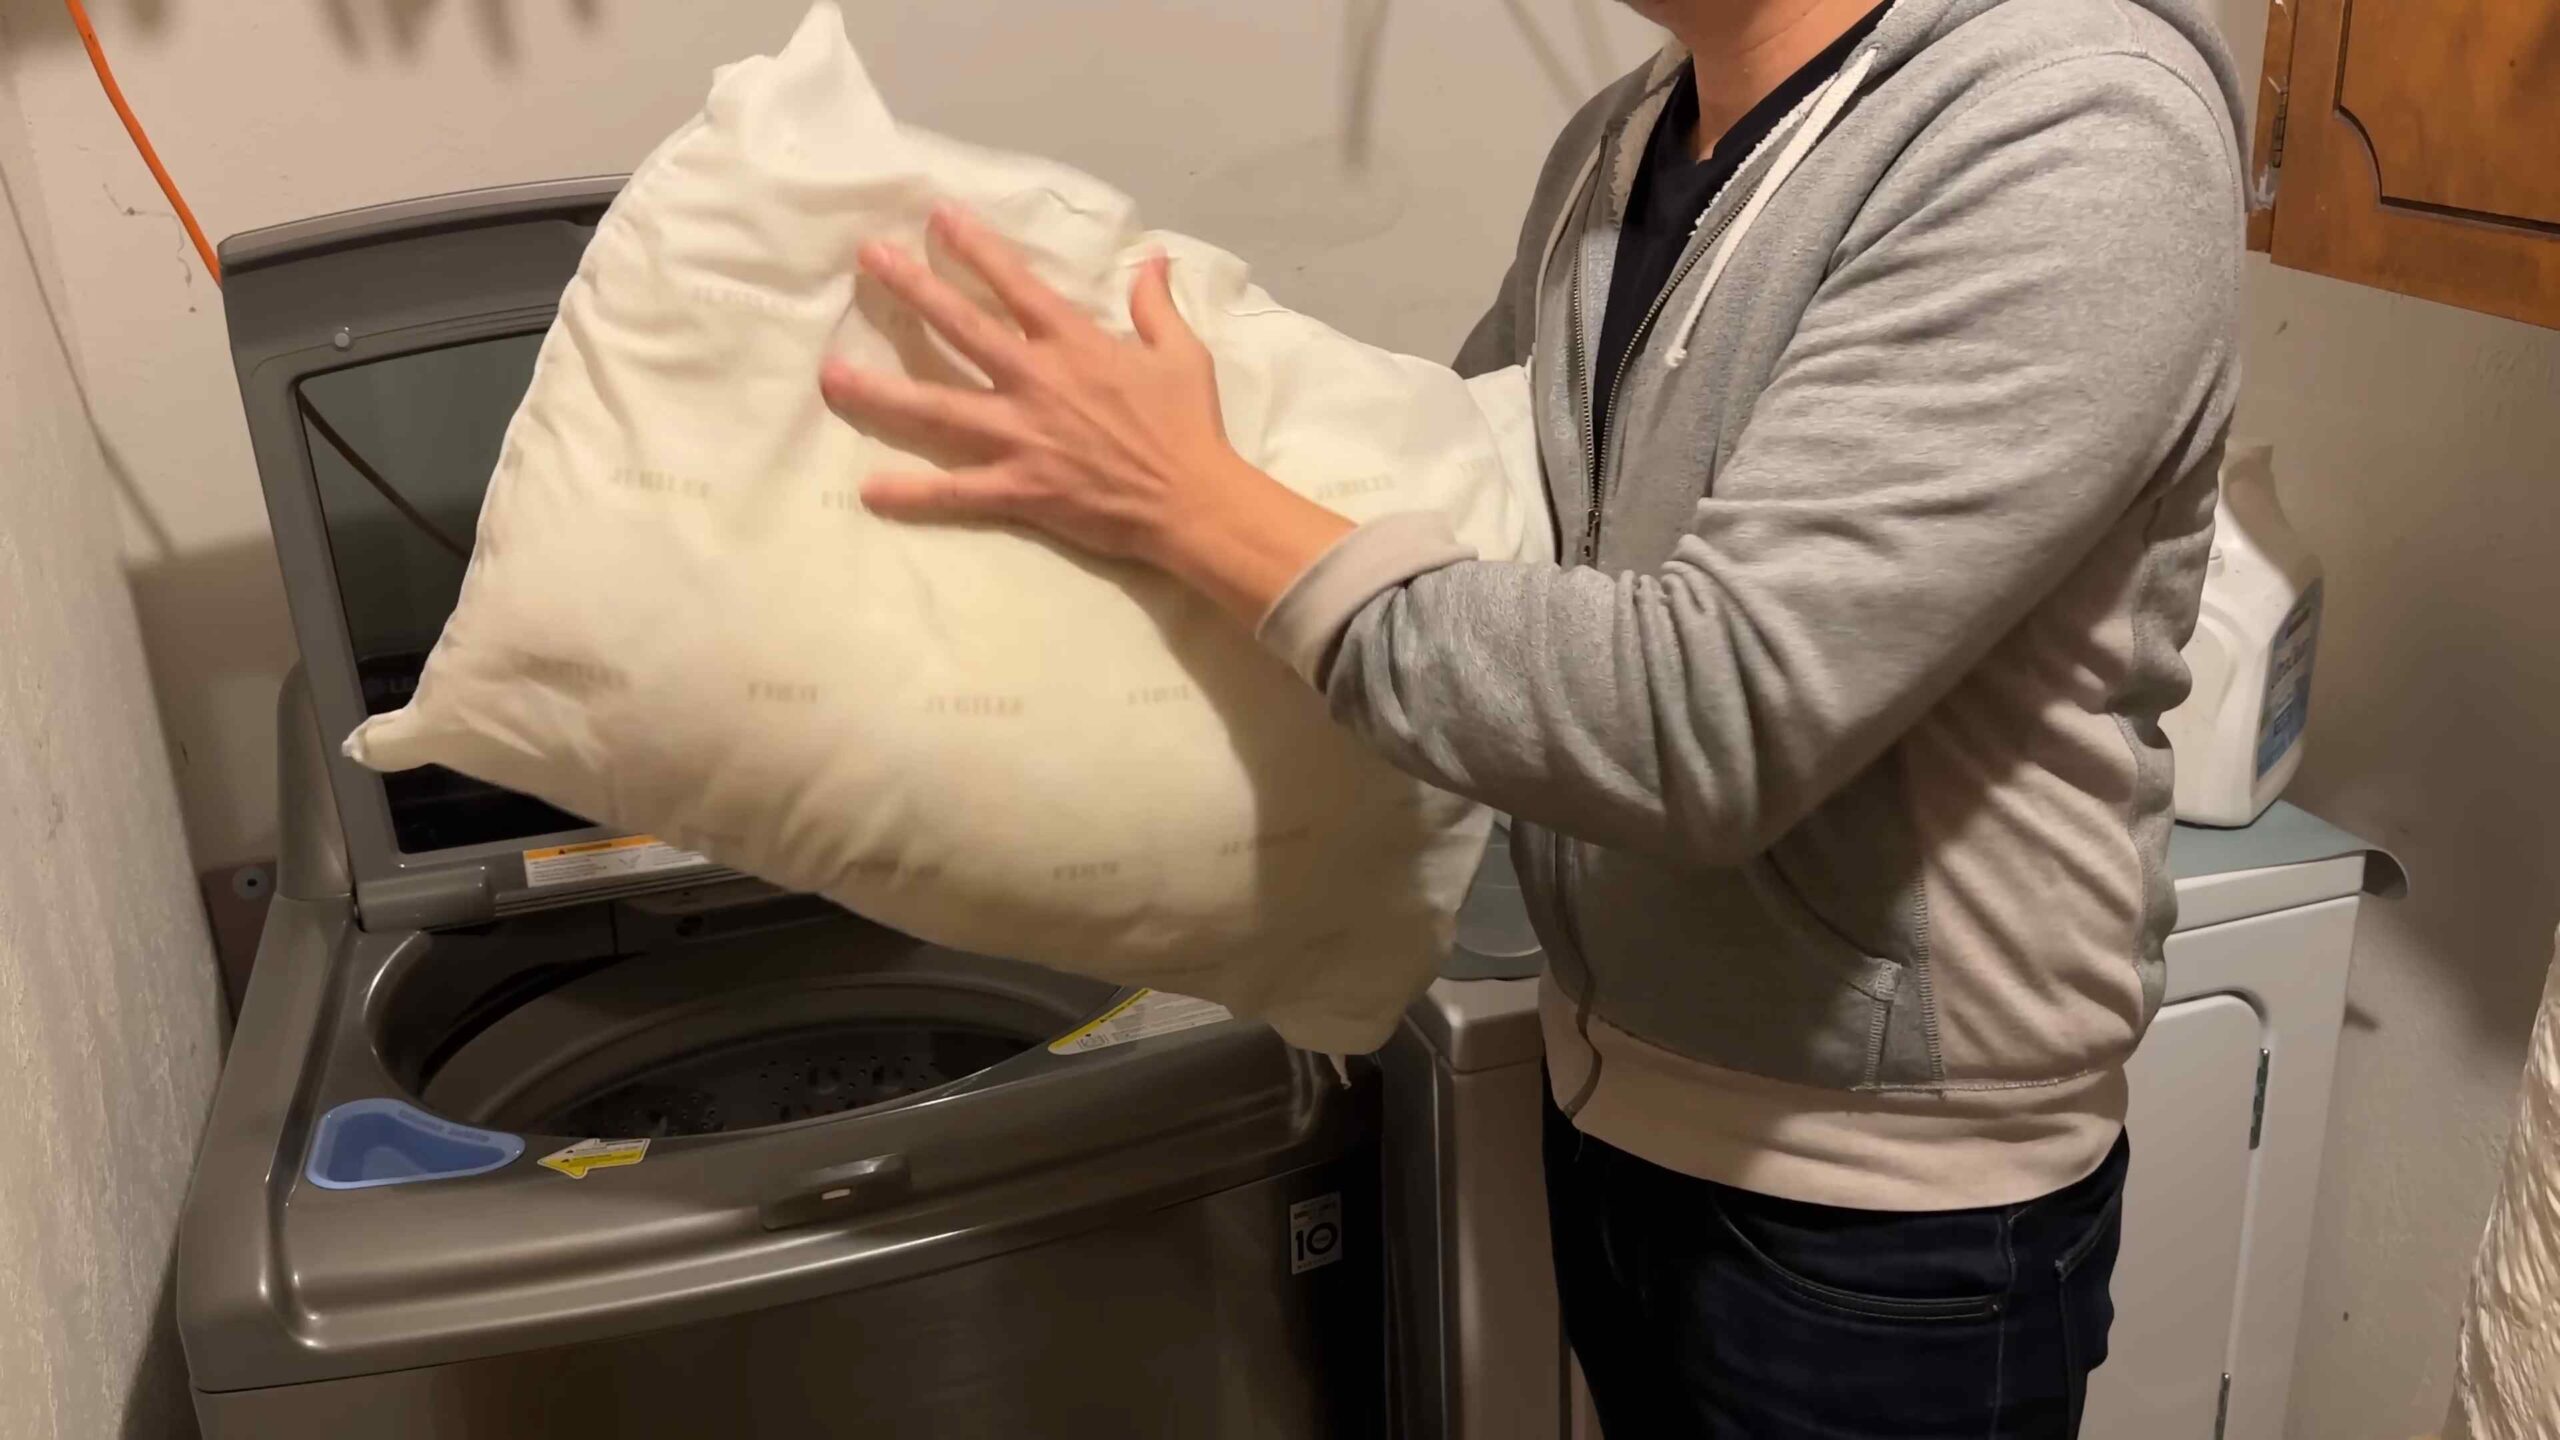
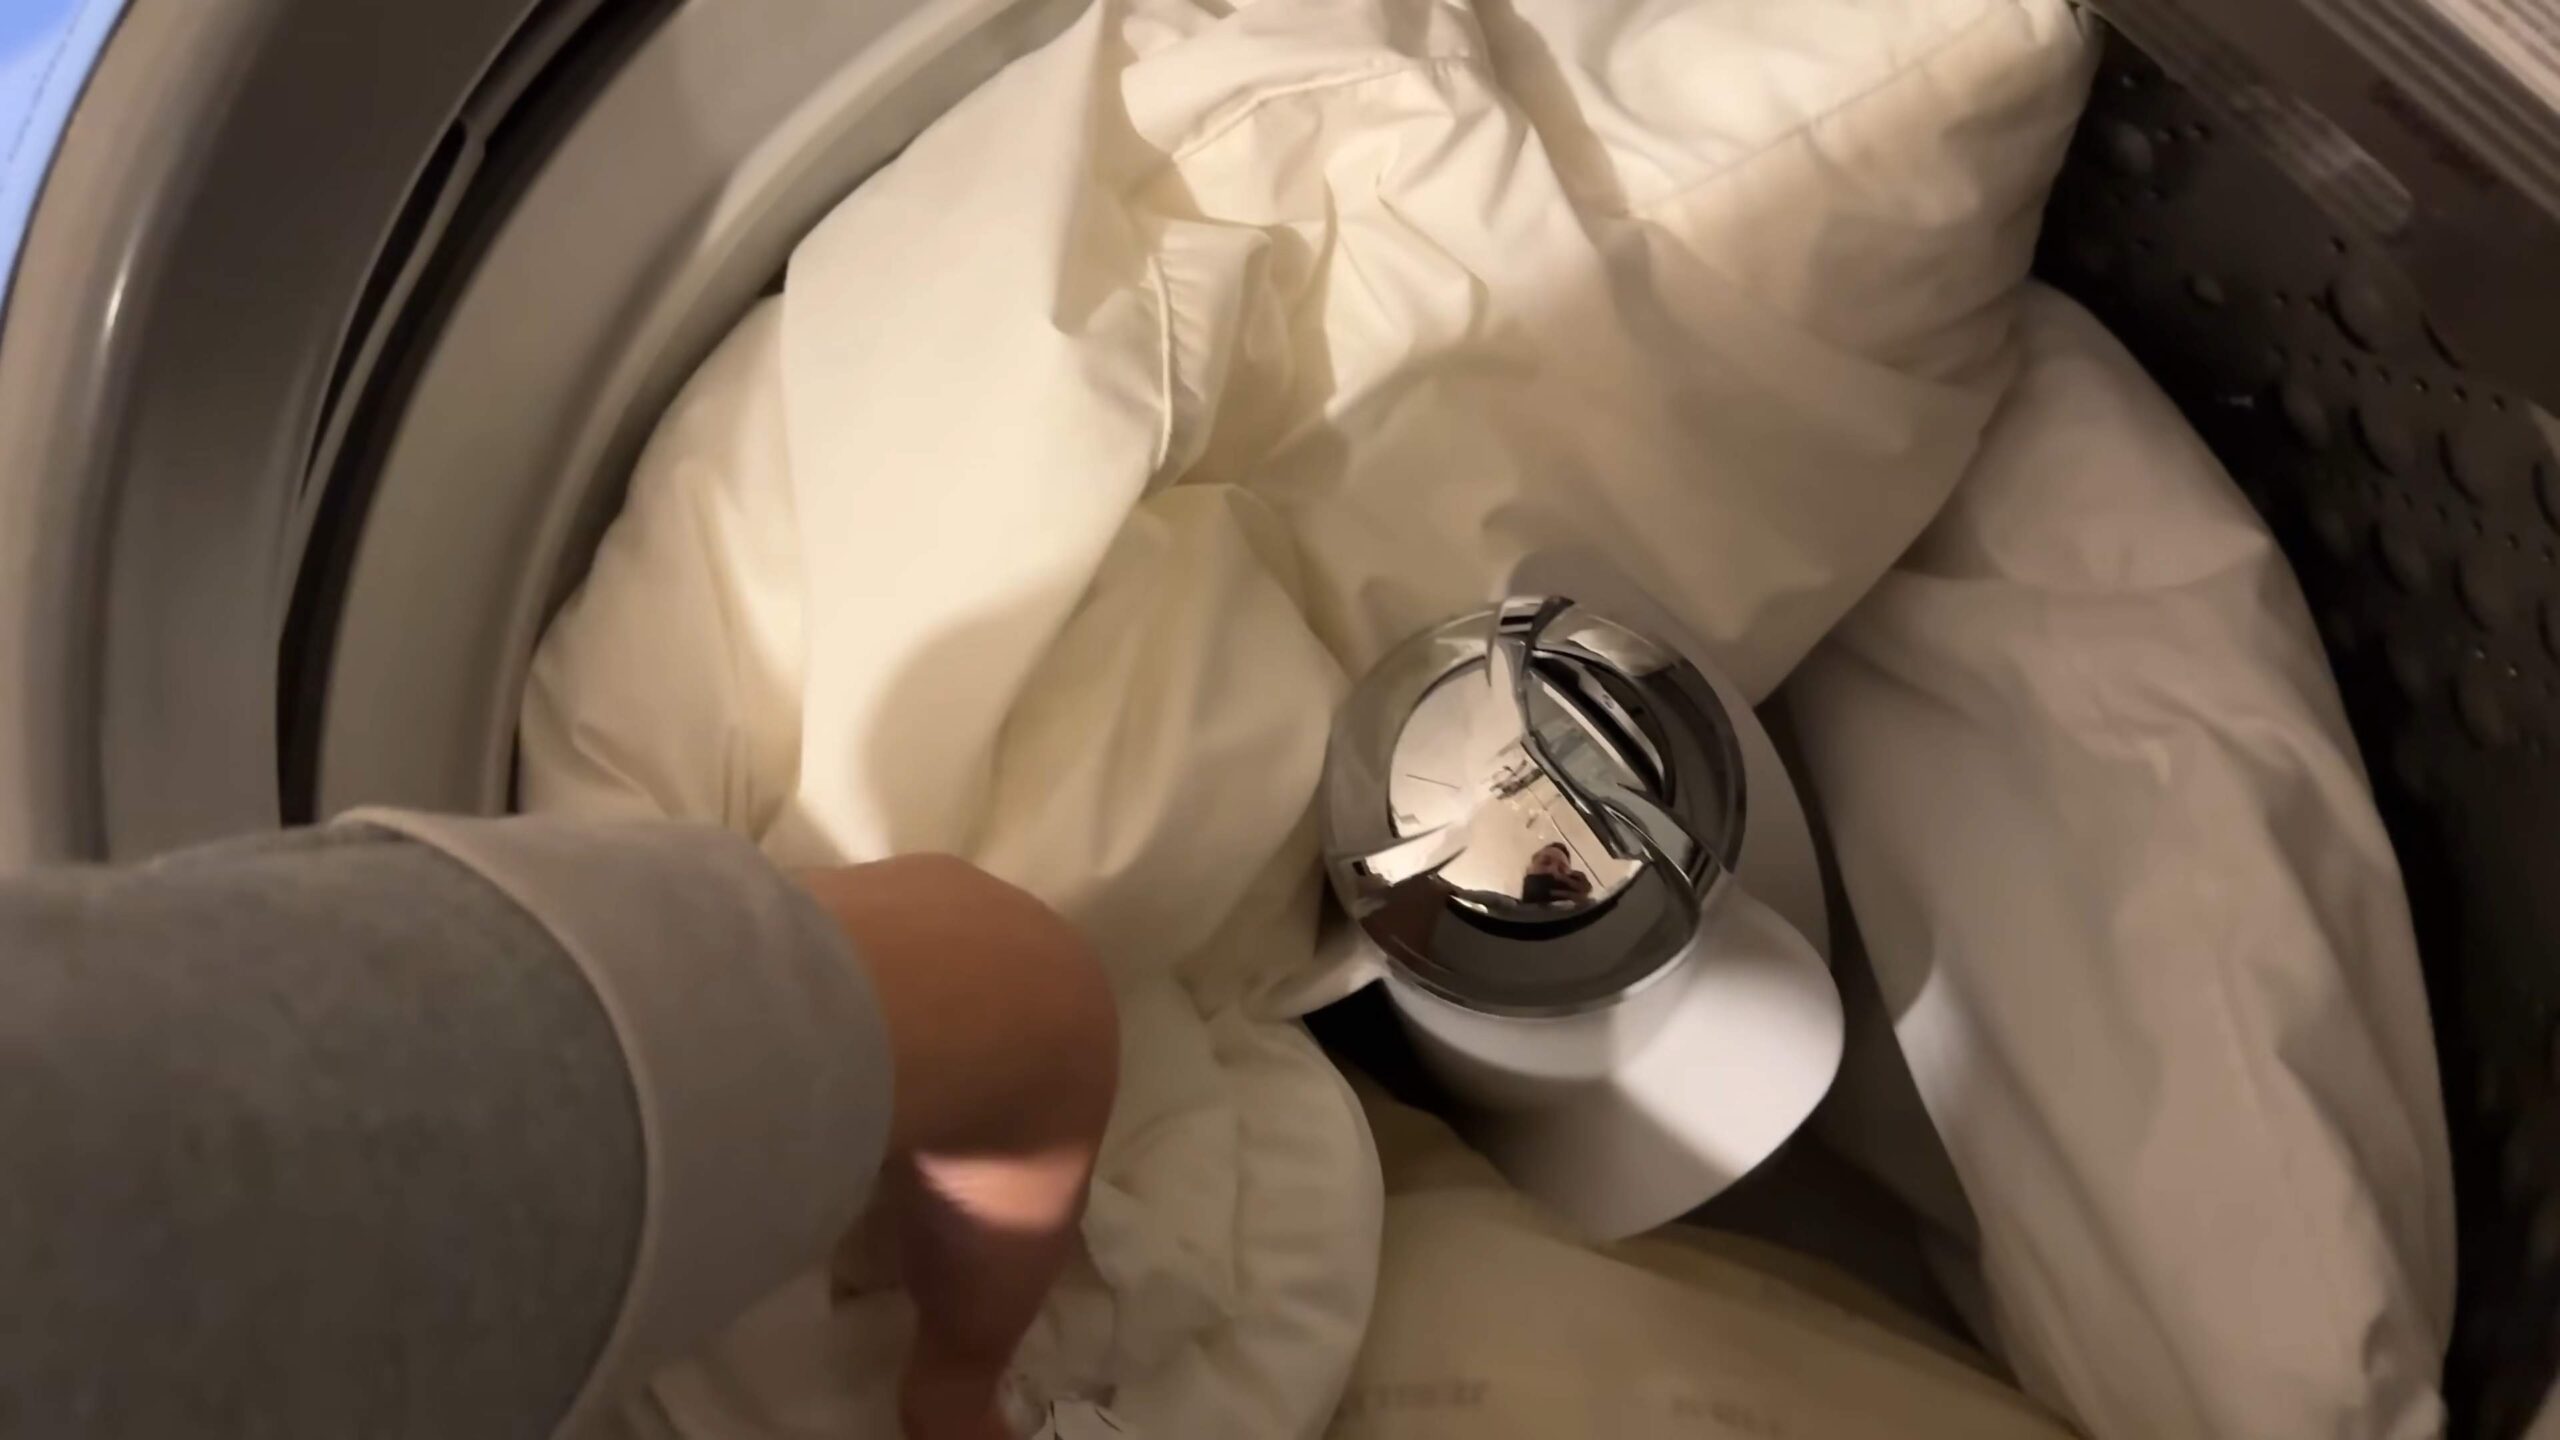
2. **Load the Washing Machine:** Place *two* pillows in the washing machine to balance the load. This prevents the machine from becoming unbalanced and potentially damaging your pillows or the machine itself.
3. **Add Detergent:** Use a small amount of mild, liquid detergent – about 1-2 tablespoons. Too much detergent can be difficult to rinse out. If you’re using Borax, add about 1/2 cup.
4. **Wash on Gentle Cycle:** Select the gentle or delicate cycle and use cold water. Hot water can damage the down and feathers.
5. **Extra Rinse Cycle:** Run an extra rinse cycle to ensure all the detergent is removed. This is crucial to prevent the down from clumping. You can add 1/2 cup of white vinegar to the rinse cycle to help remove any remaining detergent and soften the feathers.
6. **Dry Thoroughly:** This is the most important step! Down and feathers can mold if they’re not dried completely. Tumble dry on low heat with tennis balls or dryer balls. The balls will help fluff the pillows and prevent clumping.
7. **Check for Dampness:** Every 30 minutes or so, take the pillows out of the dryer and fluff them by hand. Check for any damp spots. It may take several cycles to dry them completely.
8. **Air Dry (Optional):** Once the pillows are mostly dry, you can air dry them outside on a clothesline or drying rack for a few hours to ensure they’re completely dry and fresh.
Cleaning Synthetic Fill Pillows
Synthetic pillows are generally more forgiving than down and feather pillows.
1. **Check for Tears:** As with down pillows, inspect for any tears or holes before washing.
2. **Load the Washing Machine:** Place two pillows in the washing machine to balance the load.
3. **Add Detergent:** Use a small amount of mild, liquid detergent – about 2-3 tablespoons.
4. **Wash on Gentle or Normal Cycle:** You can usually wash synthetic pillows on a gentle or normal cycle with warm water. Check the care label for specific recommendations.
5. **Extra Rinse Cycle:** Run an extra rinse cycle to ensure all the detergent is removed.
6. **Dry Thoroughly:** Tumble dry on low or medium heat with tennis balls or dryer balls.
7. **Check for Dampness:** As with down pillows, check for damp spots periodically and fluff the pillows by hand. It may take a few cycles to dry them completely.
8. **Air Dry (Optional):** You can also air dry synthetic pillows to ensure they’re completely dry.
Cleaning Memory Foam Pillows
Memory foam pillows are a different beast altogether. You *cannot* machine wash them, as this will damage the foam. Instead, we’ll focus on spot cleaning and refreshing.
1. **Remove the Pillowcase and Protector:** Take off the pillowcase and any pillow protectors. Wash these separately according to their care instructions.
2. **Vacuum the Pillow:** Use the upholstery attachment on your vacuum cleaner to thoroughly vacuum the entire pillow. This will remove dust, dirt, and other debris.
3. **Spot Clean Stains:**
* **Mix a Cleaning Solution:** In a spray bottle, mix a small amount of mild detergent with water.
* **Spray the Stain:** Lightly spray the stained area with the cleaning solution.
* **Blot, Don’t Rub:** Use a clean, damp cloth to blot the stain. Avoid rubbing, as this can spread the stain and damage the foam.
* **Rinse with a Damp Cloth:** Use a clean, damp cloth to rinse the area and remove any detergent residue.
* **Blot Dry:** Use a clean, dry towel to blot the area dry.
4. **Deodorize with Baking Soda:** Sprinkle baking soda liberally over the entire pillow. Let it sit for several hours, or even overnight, to absorb odors.
5. **Vacuum Again:** Use the upholstery attachment to vacuum up all the baking soda.
6. **Air Dry:** Allow the pillow to air dry completely in a well-ventilated area. Avoid placing it in direct sunlight, as this can damage the foam.
Cleaning Buckwheat Pillows
Buckwheat pillows are unique because they contain hulls that provide support. You can’t wash the hulls themselves, but you can clean the ticking (the fabric cover).
1. **Empty the Hulls:** Carefully unzip the pillow and empty the buckwheat hulls into a clean container. You can store them in a pillowcase or a large plastic bag.
2. **Wash the Ticking:** Wash the ticking according to the care instructions. Usually, you can wash it on a gentle cycle with cold water and mild detergent.
3. **Dry the Ticking:** Tumble dry the ticking on low heat or air dry it. Make sure it’s completely dry before refilling it with the hulls.
4. **Refresh the Hulls (Optional):** While the ticking is drying, you can refresh the buckwheat hulls by spreading them out on a baking sheet and placing them in a low oven (around 200°F) for about an hour. This will help dry them out and kill any bacteria. Let them cool completely before refilling the pillow.
5. **Refill the Pillow:** Carefully refill the ticking with the buckwheat hulls.
Tips for Keeping Your Pillows Clean Longer
* **Use Pillow Protectors:** Invest in high-quality pillow protectors to shield your pillows from dust mites, sweat, and other allergens. Wash them regularly along with your pillowcases.
* **Wash Pillowcases Frequently:** Wash your pillowcases at least once a week, or even more often if you sweat a lot or have oily skin.
* **Fluff Your Pillows Regularly:** Fluff your pillows daily to help maintain their shape and prevent them from becoming lumpy.
* **Air Out Your Pillows:** Occasionally air out your pillows outside in the sun (but avoid direct sunlight for memory foam) to help
Conclusion
So, there you have it! A simple, effective, and budget-friendly way to breathe new life into your pillows right in the comfort of your own home. Forget expensive dry cleaning bills or the hassle of replacing your pillows every few months. This DIY pillow cleaning method is a game-changer, offering a practical solution for maintaining a clean and healthy sleep environment.
Why is this a must-try? Because clean pillows are more than just aesthetically pleasing; they’re essential for your well-being. Dust mites, allergens, and accumulated oils can wreak havoc on your sleep quality and even trigger allergies or asthma. By regularly cleaning your pillows, you’re not only extending their lifespan but also safeguarding your health. This method is particularly beneficial for those with sensitive skin or respiratory issues, as it allows you to control the ingredients and avoid harsh chemicals often found in commercial cleaning products.
But don’t just take our word for it! The beauty of this DIY approach lies in its adaptability. Feel free to experiment with different essential oils to create a customized scent that promotes relaxation and restful sleep. Lavender, chamomile, and eucalyptus are all excellent choices. You can also adjust the amount of baking soda or vinegar based on the severity of the stains or odors. For heavily soiled pillows, consider pre-treating the stains with a paste of baking soda and water before washing.
Another variation to consider is using a gentle, hypoallergenic laundry detergent specifically designed for sensitive skin. This is especially important if you have allergies or skin conditions. Always check the care label on your pillows before washing to ensure they are machine washable and to determine the appropriate water temperature and drying settings. Some pillows may require hand washing or air drying to prevent damage.
We understand that trying a new cleaning method can be daunting, but we’re confident that you’ll be amazed by the results. Imagine sinking into a freshly cleaned pillow, free from dust mites and allergens, and enjoying a deep, restful sleep. That’s the power of this simple DIY trick.
Don’t delay! Give this DIY pillow cleaning method a try today and experience the difference for yourself. We’re eager to hear about your results and any variations you discover along the way. Share your experiences in the comments below, and let’s create a community of clean pillow enthusiasts! Remember, a clean pillow is a happy pillow, and a happy pillow leads to a happy you! This method to clean pillows at home is a simple and effective way to improve your sleep and overall well-being.
Frequently Asked Questions (FAQ)
1. How often should I clean my pillows?
The frequency of cleaning your pillows depends on several factors, including how often you use them, whether you have allergies, and the type of pillow you have. As a general guideline, it’s recommended to wash your pillows at least every three to six months. However, if you have allergies or asthma, you may want to wash them more frequently, such as every one to two months. You should also wash your pillows immediately if they become stained or soiled. Regularly fluffing your pillows and using pillow protectors can also help to keep them clean and extend the time between washes.
2. What type of pillows can I clean using this method?
This DIY cleaning method is generally safe for most types of pillows, including cotton, down, feather, and synthetic pillows. However, it’s always essential to check the care label on your pillows before washing them to ensure they are machine washable and to determine the appropriate water temperature and drying settings. Some pillows, such as memory foam pillows, may require special cleaning instructions or hand washing. If you’re unsure, it’s always best to err on the side of caution and consult the manufacturer’s instructions or a professional cleaner.
3. Can I use bleach to clean my pillows?
While bleach can be effective at removing stains and killing bacteria, it’s generally not recommended for cleaning pillows. Bleach can be harsh and can damage the fibers of your pillows, shortening their lifespan. It can also irritate your skin and respiratory system. If you’re concerned about stains or odors, consider using a gentler alternative, such as baking soda, vinegar, or a mild laundry detergent. If you must use bleach, dilute it significantly and test it on a small, inconspicuous area of the pillow first. Always rinse thoroughly to remove any residual bleach.
4. How do I dry my pillows after washing them?
Proper drying is crucial to prevent mildew and ensure your pillows are thoroughly clean. If your pillows are machine washable, you can dry them in the dryer on a low heat setting. Add a few clean tennis balls or dryer balls to the dryer to help fluff the pillows and prevent them from clumping together. Check the pillows frequently during the drying process and remove them as soon as they are dry to prevent overheating. For pillows that are not suitable for machine drying, you can air dry them by laying them flat on a clean surface or hanging them on a clothesline. Ensure the pillows are completely dry before using them to prevent mildew growth.
5. What if my pillows have stubborn stains or odors?
For stubborn stains or odors, you can try pre-treating the pillows with a paste of baking soda and water. Apply the paste to the stained area and let it sit for several hours or overnight before washing. You can also add a cup of vinegar to the washing machine to help neutralize odors. For heavily soiled pillows, consider washing them twice. If the stains or odors persist after washing, you may need to consult a professional cleaner.
6. Can I use essential oils to clean my pillows?
Yes, essential oils can be a great addition to your pillow cleaning routine. They not only add a pleasant scent but also have antibacterial and antifungal properties. Lavender, chamomile, and eucalyptus are all excellent choices for promoting relaxation and restful sleep. Add a few drops of your favorite essential oil to the washing machine or dryer balls. However, be sure to use essential oils sparingly, as too much can be overpowering. Also, be mindful of any allergies or sensitivities you may have to certain essential oils.
7. How do I maintain my pillows between washes?
To keep your pillows clean and fresh between washes, it’s essential to fluff them regularly to prevent them from clumping together and to circulate air. You should also use pillow protectors to shield your pillows from dust mites, allergens, and spills. Wash your pillow protectors regularly, along with your bed linens. Consider airing out your pillows outdoors on a sunny day to help freshen them up and kill bacteria.
8. What are the benefits of cleaning my pillows at home versus taking them to a professional cleaner?
Cleaning your pillows at home offers several advantages over professional cleaning. It’s more cost-effective, as you can use readily available household ingredients. It also gives you more control over the cleaning process, allowing you to choose gentle, hypoallergenic products and avoid harsh chemicals. Cleaning your pillows at home is also more convenient, as you can do it on your own schedule. However, if you have delicate or heavily soiled pillows, professional cleaning may be a better option.
9. How do I know when it’s time to replace my pillows?
Even with regular cleaning, pillows eventually wear out and lose their support. A good rule of thumb is to replace your pillows every one to two years. However, the lifespan of your pillows depends on the type of pillow and how well you care for them. If your pillows are flat, lumpy, or no longer provide adequate support, it’s time to replace them. You should also replace your pillows if they have persistent stains or odors that cannot be removed with cleaning.
10. Is this method safe for people with allergies?
Yes, this DIY pillow cleaning method can be particularly beneficial for people with allergies, as it allows you to control the ingredients and avoid harsh chemicals that can trigger allergic reactions. Using hypoallergenic laundry detergent and adding essential oils with antibacterial and antifungal properties can further help to reduce allergens and improve air quality. Regularly cleaning your pillows can also help to remove dust mites, a common allergen.
Leave a Comment