

Clean Stainless Steel Pans – are you tired of battling stubborn stains and burnt-on food that just won’t budge? I know I was! For years, I struggled to keep my stainless steel pans looking their best, resorting to harsh chemicals and endless scrubbing. But what if I told you there’s a better way? A way to restore your beloved cookware to its gleaming glory using simple, everyday ingredients you probably already have in your pantry?
The art of maintaining cookware has been around for centuries. In many cultures, a well-cared-for pan wasn’t just a cooking tool; it was a symbol of prosperity and a testament to the homemaker’s skill. While we may not be using cast iron over an open fire anymore, the desire for clean and functional cookware remains strong. After all, who wants to cook delicious meals in a pan that looks like it’s been through a war?
That’s why I’m so excited to share these incredible DIY tricks and hacks for clean stainless steel pans. These methods are not only effective but also eco-friendly and budget-friendly. Say goodbye to expensive cleaning products and hello to sparkling clean pans that will make you proud to display them in your kitchen. Let’s dive in and discover the secrets to effortlessly maintaining your stainless steel cookware!
DIY Hack: Restoring Your Stainless Steel Pans to Their Former Glory
Okay, let’s face it. We all love the sleek look of stainless steel cookware, but those burnt-on messes? Not so much. I’ve tried countless cleaners and scrubbers, and some work okay, but nothing beats this simple, effective, and surprisingly cheap DIY method for getting your stainless steel pans sparkling again. Trust me, you’ll be amazed at the results!
What You’ll Need:
Before we dive in, let’s gather our supplies. This is a pretty straightforward process, so you probably already have most of these items on hand.
* **Baking Soda:** This is our gentle abrasive. It’s tough on grime but won’t scratch your precious pans.
* **White Vinegar:** The acid in vinegar helps to loosen the burnt-on food and react with the baking soda for extra cleaning power.
* **Dish Soap:** Just your regular dish soap will do. It helps to cut through grease and lift away the loosened debris.
* **Water:** We’ll need water for rinsing and creating a paste.
* **Scrubbing Sponge or Pad:** I prefer a non-scratch scrubbing sponge, but a slightly more abrasive pad can be helpful for really stubborn messes. Just be careful not to scratch the surface.
* **Soft Cloth or Towel:** For drying and polishing.
* **Optional: Bar Keeper’s Friend:** For extremely stubborn stains, this is my secret weapon. But start with the baking soda and vinegar first!
* **Optional: Rubber Gloves:** If you have sensitive skin, you might want to wear gloves to protect your hands from the vinegar and baking soda.
Step-by-Step Instructions: The Baking Soda and Vinegar Method
This is my go-to method for tackling most burnt-on messes. It’s simple, effective, and uses ingredients you probably already have in your pantry.
1. **Initial Soak (If Necessary):** If your pan has a particularly thick layer of burnt-on food, start by soaking it in hot, soapy water for about 30 minutes. This will help to loosen the worst of it and make the cleaning process easier. I usually skip this step if the mess isn’t too bad.
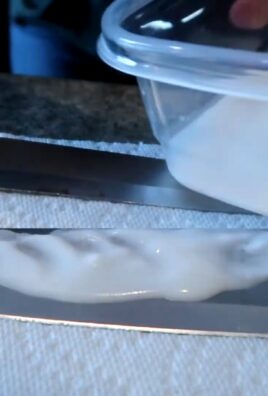
2. **Create a Baking Soda Paste:** In a small bowl, mix baking soda with a little water to form a thick paste. You want it to be thick enough to spread easily but not too runny. I usually start with about 1/4 cup of baking soda and add water a teaspoon at a time until I get the right consistency.
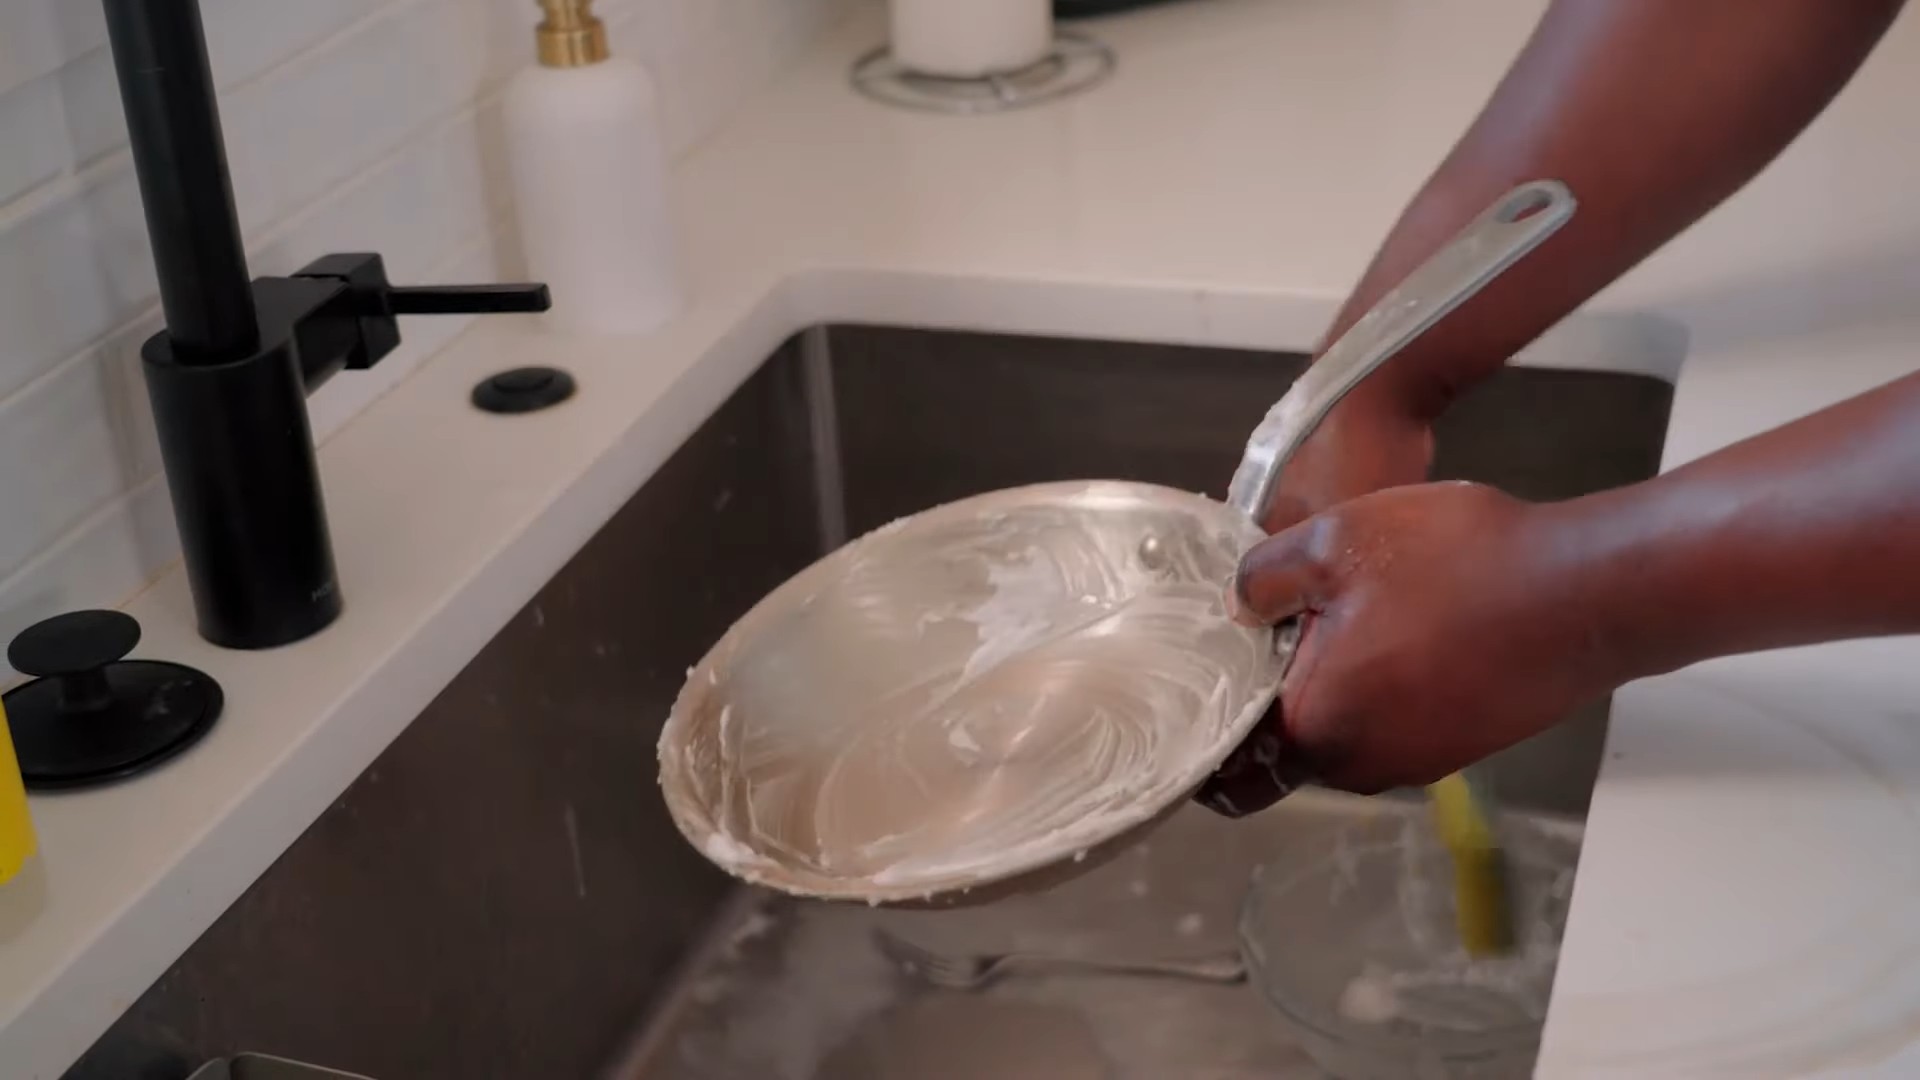
3. **Apply the Paste:** Using your fingers or a sponge, generously apply the baking soda paste to the affected areas of the pan. Make sure to cover all the burnt-on food completely. Don’t be shy!
4. **Add the Vinegar:** Now for the fun part! Slowly pour white vinegar over the baking soda paste. You’ll see it start to fizz and bubble – that’s the chemical reaction working its magic. Let it fizz for a few minutes. This bubbling action helps to lift the burnt food particles from the pan’s surface.
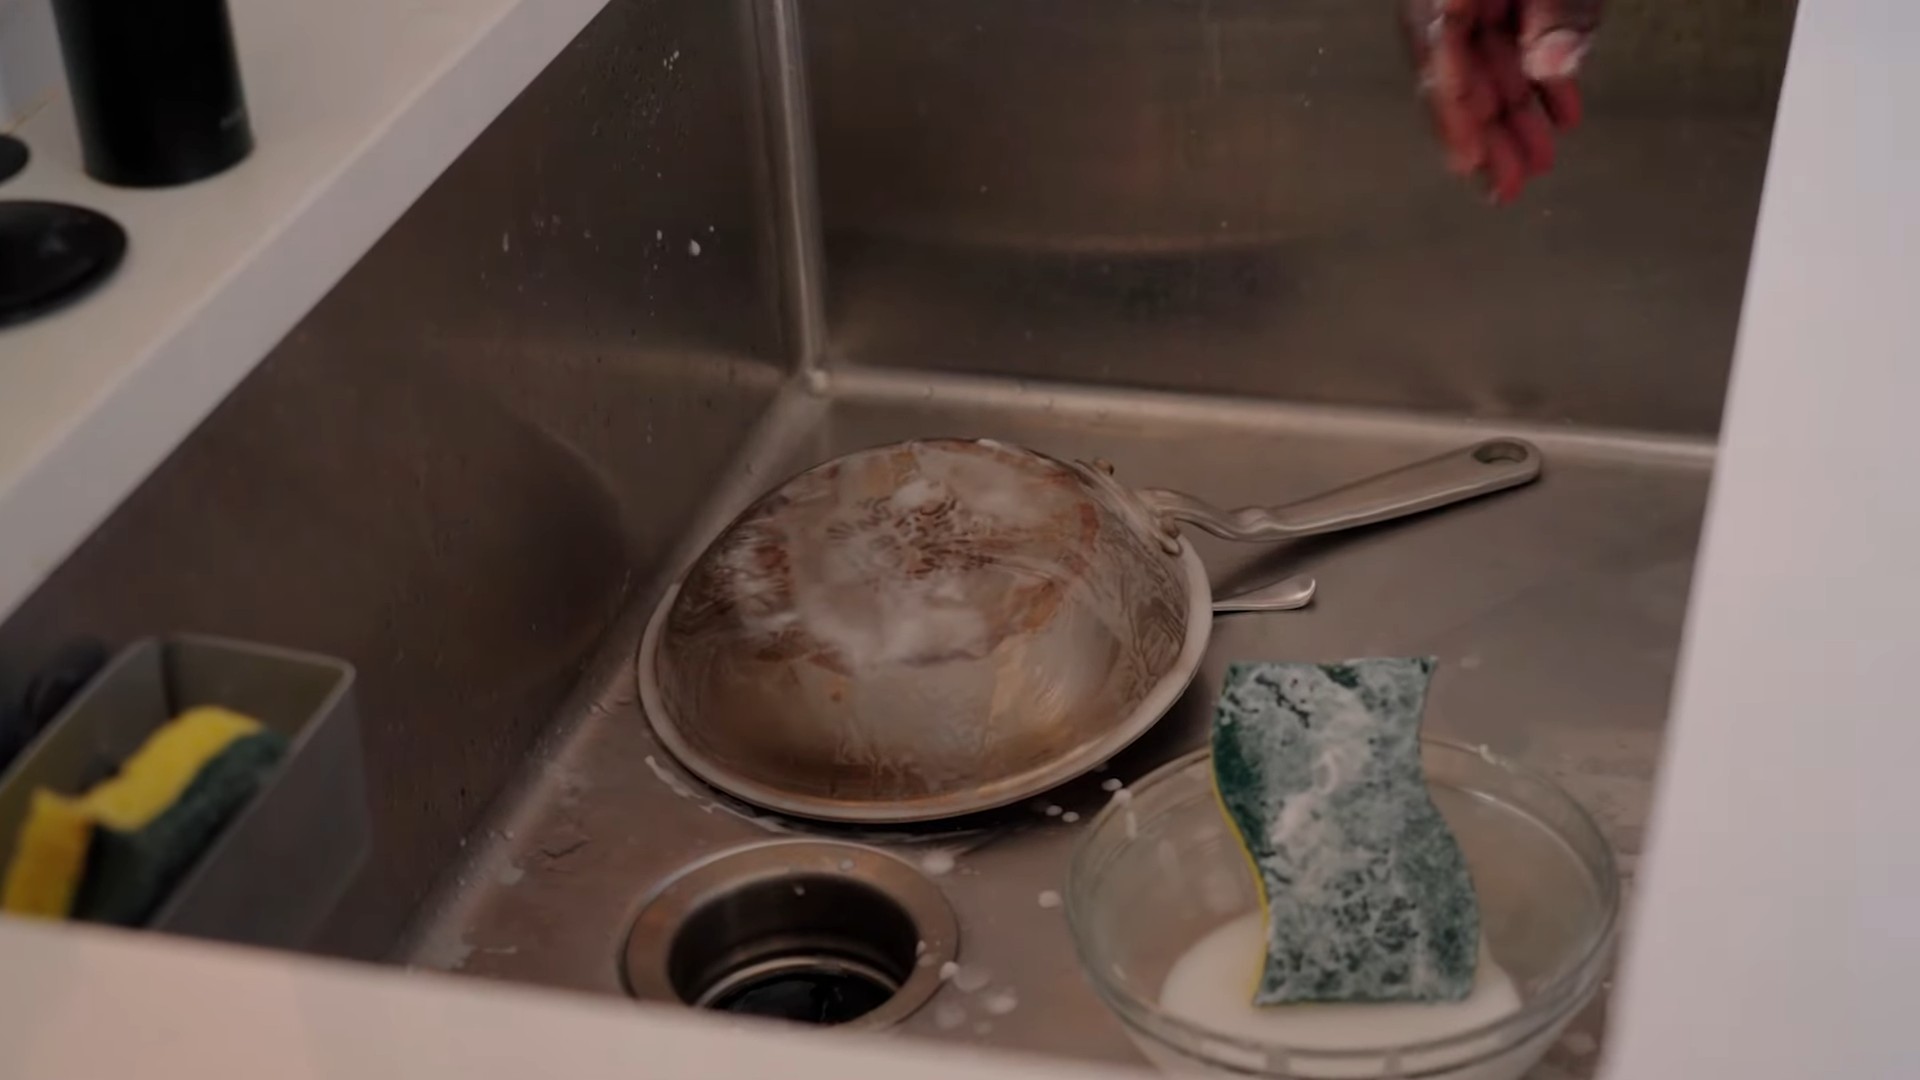
5. **Scrub, Scrub, Scrub:** After the fizzing subsides, grab your scrubbing sponge or pad and start scrubbing. Apply firm, even pressure and work in circular motions. You should see the burnt-on food starting to loosen and lift away. If you’re dealing with a particularly stubborn spot, you might need to scrub a little harder or let the paste sit for a bit longer.
6. **Rinse Thoroughly:** Once you’ve scrubbed away all the burnt-on food, rinse the pan thoroughly with hot water. Make sure to remove all traces of baking soda and vinegar.
7. **Wash with Dish Soap:** Wash the pan with dish soap and water to remove any remaining grease or residue. This will also help to restore the shine.
8. **Dry and Polish:** Finally, dry the pan thoroughly with a soft cloth or towel. This will prevent water spots and help to keep your pan looking its best. For an extra shine, you can buff the pan with a clean, dry cloth.
Dealing with Stubborn Stains: Bar Keeper’s Friend to the Rescue!
Sometimes, the baking soda and vinegar method isn’t enough to tackle those really stubborn stains. That’s where Bar Keeper’s Friend comes in. This stuff is amazing! It’s a mild abrasive cleaner that can remove even the most persistent stains without scratching your stainless steel.
1. **Wet the Pan:** Lightly wet the pan with water.
2. **Sprinkle with Bar Keeper’s Friend:** Sprinkle a small amount of Bar Keeper’s Friend powder onto the affected areas.
3. **Scrub Gently:** Using a damp sponge or cloth, gently scrub the stained areas. Be careful not to apply too much pressure, as this could scratch the surface.
4. **Rinse Thoroughly:** Rinse the pan thoroughly with hot water to remove all traces of Bar Keeper’s Friend.
5. **Wash with Dish Soap:** Wash the pan with dish soap and water to remove any remaining residue.
6. **Dry and Polish:** Dry the pan thoroughly with a soft cloth or towel.
Preventing Future Messes: Tips and Tricks
Okay, now that your pans are sparkling clean, let’s talk about how to keep them that way! Prevention is always better than cure, right?
* **Don’t Overheat:** One of the biggest causes of burnt-on food is overheating your pan. Always cook over medium or low heat, especially when using oil or butter.
* **Use Enough Liquid:** When cooking sauces or liquids, make sure there’s enough liquid in the pan to prevent the food from sticking and burning.
* **Deglaze the Pan:** After cooking meat or vegetables, deglaze the pan by adding a little liquid (like wine, broth, or water) and scraping up the browned bits from the bottom. This not only adds flavor to your dish but also helps to prevent the food from burning on in the first place.
* **Clean Immediately:** The sooner you clean your pan after cooking, the easier it will be to remove any burnt-on food. Don’t let it sit overnight!
* **Avoid Abrasive Cleaners:** While Bar Keeper’s Friend is great for stubborn stains, avoid using harsh abrasive cleaners or steel wool on your stainless steel pans, as these can scratch the surface.
* **Proper Storage:** Store your stainless steel pans carefully to prevent scratches and dents. I like to use pan protectors or stack them with a soft cloth in between.
A Note on Discoloration
Sometimes, you might notice a rainbow-like discoloration on your stainless steel pans. This is usually caused by overheating and is perfectly normal. It doesn’t affect the performance of the pan and can usually be removed with a stainless steel cleaner or a paste of baking soda and water.
Final Thoughts
So there you have it! My tried-and-true method for cleaning even the most stubborn burnt-on messes from your stainless steel pans. With a little elbow grease and these simple ingredients, you can keep your cookware looking its best for years to come. Happy cleaning!
Conclusion
So, there you have it! This simple, yet incredibly effective DIY trick to clean stainless steel pans is a game-changer for anyone who cooks regularly. Forget spending hours scrubbing away at stubborn food residue or resorting to harsh chemicals that can damage your cookware and potentially leach into your food. This method is not only gentle on your pans but also utilizes ingredients you likely already have in your pantry: baking soda, vinegar, and a little bit of elbow grease.
Why is this a must-try? Because it works! We’ve all been there, staring down a seemingly impossible-to-clean pan after a delicious meal. This DIY solution cuts through the baked-on grime, leaving your stainless steel sparkling and ready for its next culinary adventure. It’s also a cost-effective and environmentally friendly alternative to expensive commercial cleaners. You’re saving money, reducing your exposure to potentially harmful chemicals, and extending the life of your valuable cookware – it’s a win-win-win!
But don’t just take our word for it. We encourage you to try this method on your own stubborn stainless steel pans. You might be surprised at how easily the grime lifts away. For particularly tough stains, consider letting the baking soda paste sit for a longer period, even overnight. You can also add a squeeze of lemon juice to the baking soda paste for extra cleaning power and a fresh scent. Another variation is to use cream of tartar instead of baking soda for a slightly different abrasive action. Experiment and find what works best for your specific pans and the types of food you typically cook.
We’re confident that this DIY trick will become a staple in your kitchen cleaning routine. It’s simple, effective, and safe for your pans and your family. So, ditch the harsh chemicals and embrace the power of baking soda and vinegar.
Now, we want to hear from you! Have you tried this method for cleaning your stainless steel pans? What were your results? Do you have any variations or tips to share? Leave a comment below and let us know your experience. Your insights could help other readers discover the joy of effortlessly clean cookware. Share your before-and-after photos on social media and tag us – we can’t wait to see your sparkling pans! Let’s revolutionize the way we clean our kitchens, one stainless steel pan at a time.
Frequently Asked Questions (FAQs)
1. What kind of stainless steel pans does this DIY cleaning method work on?
This method is generally safe and effective for most types of stainless steel pans, including those with a brushed or polished finish. However, it’s always a good idea to test a small, inconspicuous area first, especially if you have vintage or particularly delicate cookware. Avoid using this method on pans with non-stick coatings, as the abrasive nature of baking soda can damage the coating. If you have any doubts, consult the manufacturer’s instructions for your specific pan.
2. Can I use this method on other types of cookware besides stainless steel?
While this method is primarily designed for stainless steel, it can also be effective on other types of cookware, such as glass or ceramic. However, use caution and test a small area first. Avoid using this method on cast iron cookware, as it can remove the seasoning. As mentioned before, it’s not recommended for non-stick surfaces.
3. How often should I use this DIY cleaning method on my stainless steel pans?
The frequency depends on how often you use your pans and how much food residue accumulates. For heavily used pans, you can use this method after each use to prevent buildup. For pans that are only lightly soiled, you may only need to use it once a week or even less frequently. Regular cleaning will prevent stubborn stains from forming and make the cleaning process easier in the long run.
4. What if the stains are really stubborn and don’t come off easily?
For extremely stubborn stains, try these tips:
* Soak the pan: Before applying the baking soda paste, soak the pan in hot, soapy water for 30 minutes to loosen the grime.
* Increase the baking soda concentration: Make a thicker paste by using more baking soda and less water.
* Extend the soaking time: After applying the baking soda paste, let it sit for several hours or even overnight.
* Use a more abrasive scrubber: If a soft sponge isn’t enough, try using a non-scratch scouring pad or a specialized stainless steel cleaner. Be careful not to scratch the surface of the pan.
* Boil a solution of baking soda and water: For burnt-on food, fill the pan with water, add a few tablespoons of baking soda, and bring it to a boil. Simmer for 10-15 minutes, then let it cool before scrubbing.
5. Is it safe to use vinegar on stainless steel?
Yes, vinegar is generally safe to use on stainless steel. However, it’s important to dilute it with water, especially if you’re using it on a polished finish. Undiluted vinegar can potentially etch the surface of the stainless steel if left on for too long. Always rinse the pan thoroughly with water after using vinegar.
6. Can I use this method to remove rust from my stainless steel pans?
While this method can help remove some surface rust, it may not be effective for severe rust. For more significant rust issues, you may need to use a specialized rust remover or consult a professional. Prevention is key – keep your stainless steel pans dry and avoid exposing them to excessive moisture to prevent rust from forming in the first place.
7. What are some other tips for keeping my stainless steel pans clean?
Here are some additional tips:
* Wash your pans immediately after use: Don’t let food residue sit and harden.
* Avoid using harsh chemicals or abrasive cleaners: These can damage the surface of your pans.
* Dry your pans thoroughly after washing: This will prevent water spots and rust.
* Store your pans properly: Avoid stacking them directly on top of each other, as this can scratch the surface. Use pan protectors or hang them on a rack.
* Consider using a stainless steel cleaner and polish: These products can help maintain the shine and prevent stains.
8. Will this method remove discoloration from heat?
This method can help reduce some heat discoloration, but it may not completely eliminate it, especially if the discoloration is severe. For stubborn heat stains, you can try using a specialized stainless steel cleaner designed to remove heat discoloration.
9. Can I use a dishwasher to clean my stainless steel pans?
While many stainless steel pans are dishwasher-safe, it’s generally recommended to hand wash them to prolong their lifespan and prevent damage. Dishwasher detergents can be harsh and may cause discoloration or pitting over time. If you do use a dishwasher, choose a mild detergent and avoid using the high-heat drying cycle.
10. What if I don’t have baking soda or vinegar? Are there any alternatives?
If you don’t have baking soda, you can try using cream of tartar or a paste made from salt and water. If you don’t have vinegar, you can try using lemon juice or a mild dish soap. However, baking soda and vinegar are generally the most effective and readily available options.

Leave a Comment