

Decluttering your living room can feel like climbing Mount Everest, right? But what if I told you it doesn’t have to be a monumental task? Imagine walking into a living room that’s not just tidy, but truly serene – a space where you can actually relax and recharge after a long day. That’s the power of a well-decluttered living room!
For centuries, cultures around the world have recognized the importance of a clean and organized living space. From the ancient practice of Feng Shui, which emphasizes harmony and balance in our surroundings, to the minimalist movements of modern design, the idea that “less is more” has resonated across generations. Our living rooms, often the heart of our homes, deserve that same attention.
Let’s face it, life gets busy, and clutter accumulates. But living in a cluttered space can actually increase stress and anxiety. That’s why I’m so excited to share these easy ways to declutter your living room. These aren’t just quick fixes; they’re simple strategies you can incorporate into your daily routine to maintain a clutter-free and inviting space. Ready to transform your living room into a haven of peace and tranquility? Let’s dive in!
Declutter Your Living Room: Easy DIY Ways to Reclaim Your Space!
Okay, let’s face it, the living room. It’s supposed to be the heart of the home, a place for relaxation and connection. But sometimes, it becomes a dumping ground for, well, everything. Toys, books, blankets, remotes… the list goes on! I totally get it. Life happens. But a cluttered living room can actually impact your mood and make it harder to unwind. So, I’m here to share some of my favorite DIY decluttering hacks that are easy to implement and will make a HUGE difference. Get ready to transform your living room into a serene and inviting space!
Phase 1: The Initial Purge – Be Ruthless!
This is the toughest part, I won’t lie. But it’s absolutely essential. We need to get rid of the excess before we can organize what’s left.
What you’ll need:
* Three large boxes or bags labeled: “Donate,” “Trash,” and “Relocate.”
* A timer (we’ll use this to stay focused).
* Your favorite playlist (because decluttering is way more fun with music!).
Step-by-Step Instructions:
1. Set the Timer: Start with 30-minute intervals. It’s less daunting than tackling the whole room at once. Plus, you can take short breaks in between.
2. The Quick Sweep: In each 30-minute block, quickly scan the entire living room. Don’t overthink it! Grab the most obvious clutter first. Think:
* Old magazines and newspapers: Recycle them!
* Empty snack wrappers and drink cans: Straight to the trash.
* Unidentified objects: If you don’t know what it is or where it goes, it’s probably trash (unless it’s sentimental, of course!).
3. The Box Sort: As you collect items, immediately place them into the appropriate box:
* Donate: Gently used items you no longer need but are still in good condition. Think books, toys, blankets, decorative items.
* Trash: Broken items, things that are beyond repair, or items that are simply unusable.
* Relocate: Items that belong in another room. Be honest with yourself! That random kitchen utensil doesn’t belong here.
4. Repeat and Refine: After each 30-minute interval, take a 5-10 minute break. Stretch, grab a drink, and then dive back in. Repeat this process until you’ve gone through the entire living room.
5. The “Maybe” Pile (Optional, but use with caution!): If you’re struggling to decide on an item, create a small “Maybe” pile. But here’s the catch: you have one week to decide what to do with these items. If they’re still in the pile after a week, they go straight to the “Donate” box.
6. Take Out the Trash and Donations: Don’t let those boxes sit around! As soon as you’re done with the initial purge, take out the trash and schedule a donation pick-up or drop off the “Donate” box at your local charity. Getting rid of the clutter immediately will give you a huge sense of accomplishment and motivation to keep going.
Phase 2: Surface Clearing – Taming the Tabletops
Now that we’ve gotten rid of the obvious clutter, let’s focus on clearing those surfaces! Coffee tables, side tables, shelves… these areas tend to attract clutter like magnets.
What you’ll need:
* Cleaning supplies (dust cloth, multi-surface cleaner).
* Small storage containers or trays.
* A designated spot for frequently used items (like remotes).
Step-by-Step Instructions:
1. Clear Everything Off: Remove everything from the surfaces you’re tackling. This allows you to see the space you’re working with and gives you a chance to clean.
2. Clean the Surfaces: Give everything a good wipe down. Dust, spills, and grime can accumulate quickly, so this is a good opportunity to freshen things up.
3. The “Essentials Only” Rule: Only put back items that you truly need or love. Be selective! Ask yourself:
* Does this item serve a purpose?
* Does it bring me joy?
* Is it aesthetically pleasing?
If the answer to all three questions is “no,” then it doesn’t belong on your surface.
4. Contain the Clutter: Use small storage containers or trays to corral smaller items. For example:
* Remotes: A small tray or caddy keeps them from getting lost in the cushions.
* Coasters: A decorative coaster holder keeps them organized and accessible.
* Candles and decorative items: Group them together on a tray to create a cohesive display.
5. Designated Drop Zone: Create a designated spot for frequently used items, like keys, wallets, and phones. This could be a small bowl on a side table or a wall-mounted organizer near the entrance. This will prevent these items from ending up scattered around the living room.
6. Vertical Space is Your Friend: Don’t forget about shelves! Use baskets or decorative boxes to store items on shelves and keep them from looking cluttered. Arrange books neatly and add a few decorative items to create visual interest.
Phase 3: Taming the Toy Tsunami (If Applicable!)
If you have kids, you know the struggle is real. Toys can quickly take over the entire living room. But don’t despair! There are ways to manage the toy situation without sacrificing your sanity.
What you’ll need:
* Toy storage bins or baskets (various sizes).
* Labels.
* A toy rotation system.
Step-by-Step Instructions:
1. Sort and Categorize: Gather all the toys in one place and sort them into categories. This could be by type (e.g., building blocks, dolls, cars) or by size.
2. Purge Again: Be honest with yourself about which toys your kids actually play with. Donate or discard broken or unwanted toys.
3. Invest in Storage: Invest in a variety of toy storage bins or baskets. Choose sizes that are appropriate for the different types of toys you have.
4. Label Everything: Label each bin or basket with the category of toys it contains. This will make it easier for your kids to find what they’re looking for and to put things away.
5. The Toy Rotation System: This is a game-changer! Divide the toys into two or three groups. Keep one group in the living room and store the others away. Rotate the groups every week or two. This keeps things fresh and exciting for your kids and prevents the living room from becoming overwhelmed with toys.
6. Designated Play Area: If possible, designate a specific area of the living room for toy storage and play. This helps to contain the mess and makes it easier to clean up.
7. Make Clean-Up a Game: Turn clean-up time into a fun activity. Put on some music and challenge your kids to see who can put away the most toys in a certain amount of time.
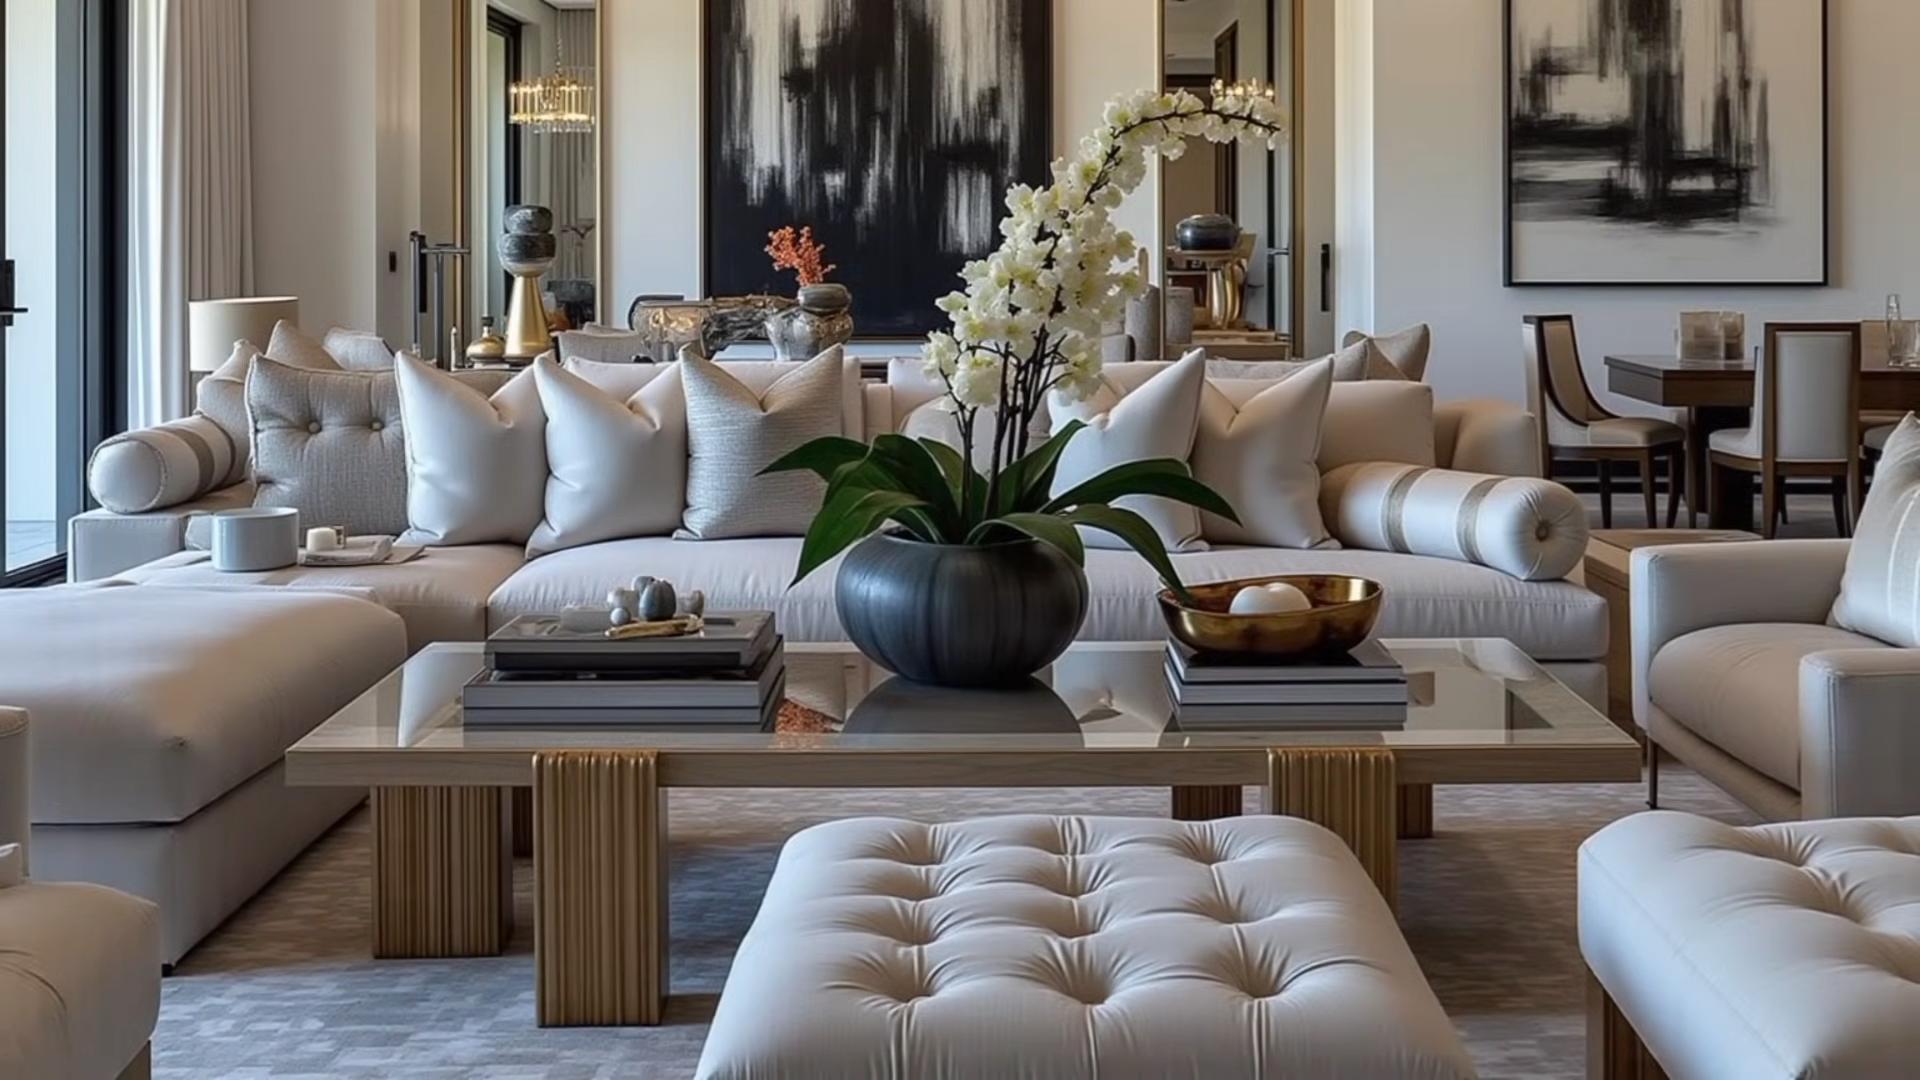
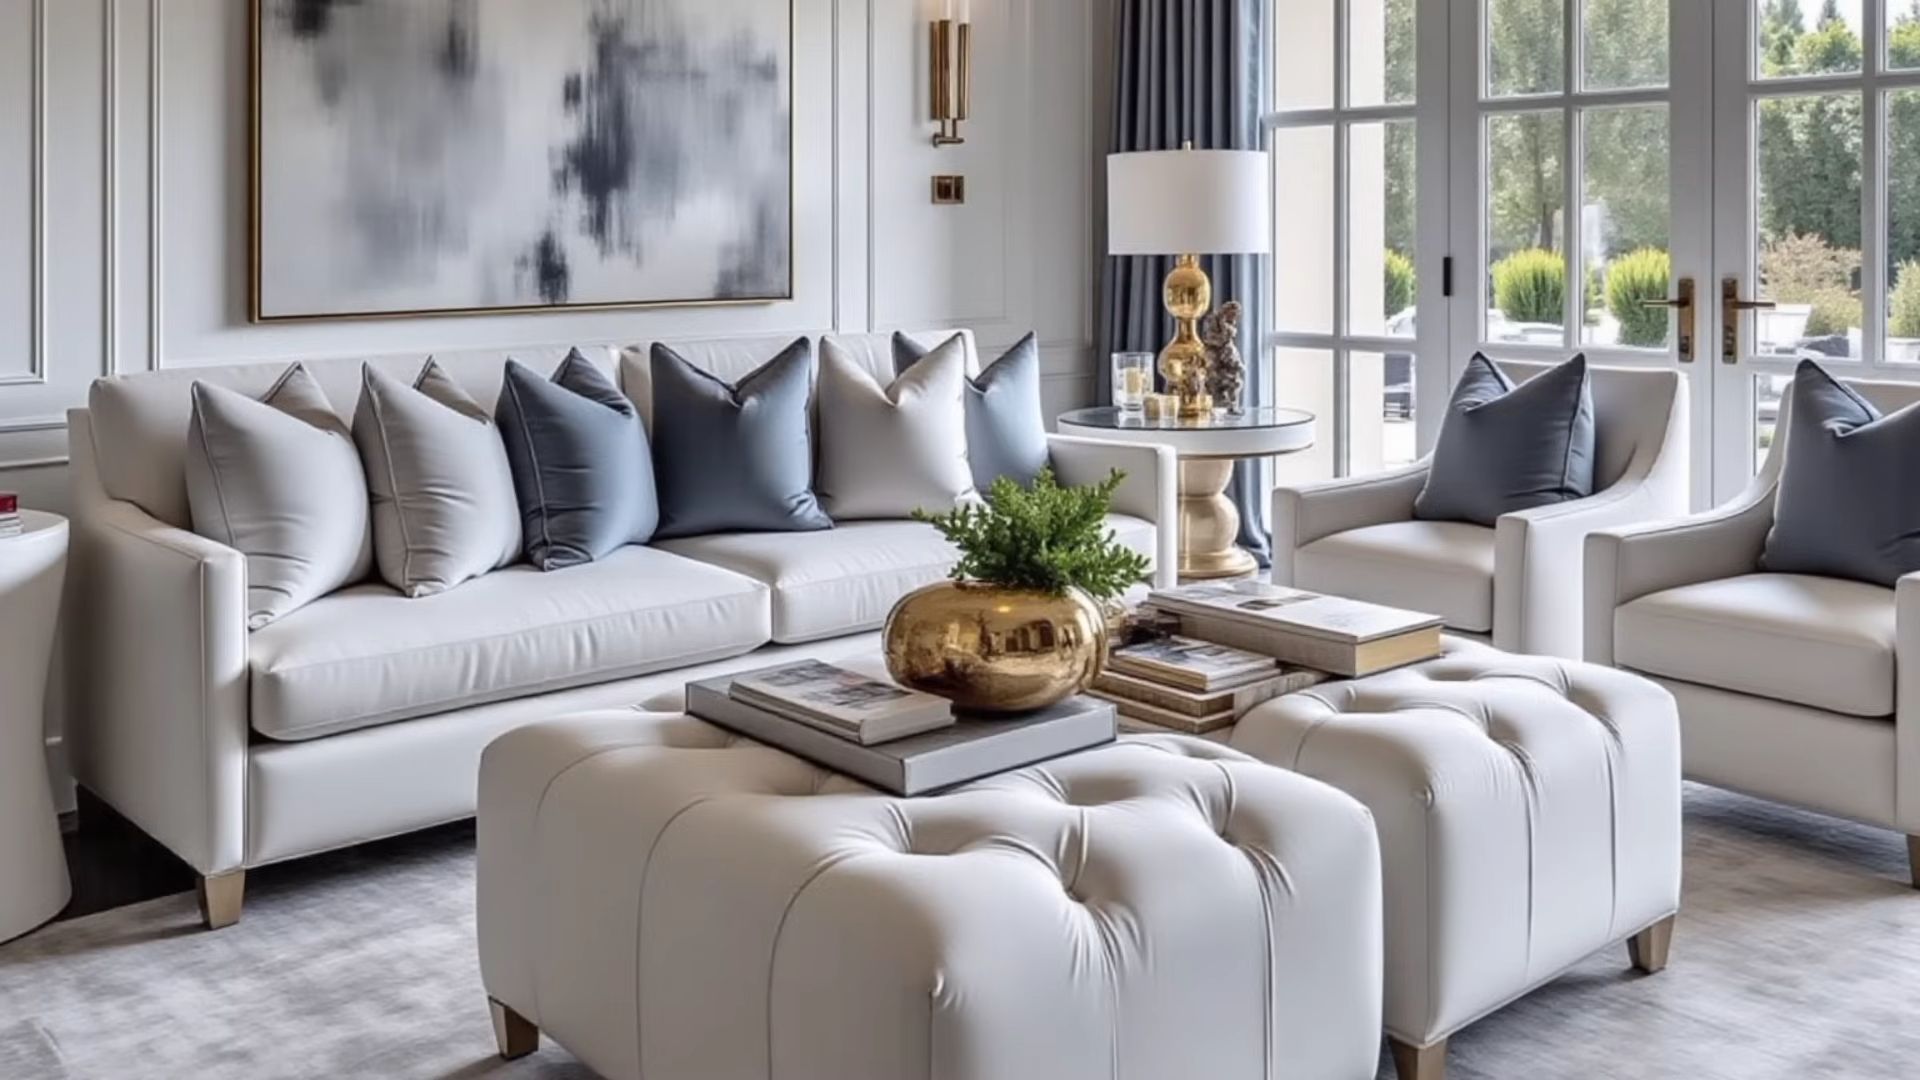
Phase 4: Conquer the Cozy Chaos – Blankets and Pillows
Blankets and pillows are essential for creating a cozy living room, but they can also contribute to clutter if they’re not properly managed.
What you’ll need:
* A blanket ladder or basket.
* Decorative storage boxes.
* Pillow inserts (if needed).
Step-by-Step Instructions:
1. Edit Your Collection: Do you really need ten blankets in the living room? Probably not. Pare down your collection to your favorites.
2. Blanket Storage:
* Blanket Ladder: A stylish and space-saving way to store blankets.
* Blanket Basket: A large basket placed near the sofa is a convenient and attractive option.
* Decorative Storage Boxes: Store extra blankets in decorative boxes that can be placed under a coffee table or against a wall.
3. Pillow Perfection:
* Pillow Inserts: If your pillows are looking flat and lifeless, consider replacing the inserts. This can make a huge difference in the overall appearance of your living room.
* Pillow Covers: Change out your pillow covers seasonally to freshen up your decor.
* Limit the Number: Don’t overcrowd your sofa with pillows. A few well-chosen pillows are better than a mountain of mismatched ones.
4. Fold and Arrange: Neatly fold blankets and arrange pillows to create a visually appealing and inviting space.
Phase 5: The Paper Pileup – Taming the Paper Tiger
Conclusion
So, there you have it! Transforming your living room from a cluttered chaos to a serene sanctuary is entirely within your reach, and these easy DIY decluttering tricks are your secret weapon. We’ve explored practical strategies, from the initial assessment and strategic sorting to the implementation of clever storage solutions and the establishment of sustainable habits. But why is this a must-try? Because a decluttered living room isn’t just about aesthetics; it’s about reclaiming your space, your peace of mind, and your overall well-being.
Imagine walking into a living room where every item has its place, where surfaces are clear, and where the air feels lighter. This isn’t a pipe dream; it’s the reality you can create with a little effort and these proven techniques. A decluttered space fosters a sense of calm, reduces stress, and allows you to truly relax and enjoy your downtime. It’s an investment in your mental and emotional health, and it all starts with taking that first step.
But don’t stop there! These decluttering methods are incredibly versatile. Feel free to adapt them to your specific needs and preferences. For example, if you’re a book lover, consider creating a dedicated reading nook with stylish shelving and comfortable seating. If you have children, involve them in the decluttering process by assigning them age-appropriate tasks and making it a fun family activity. You could even turn it into a game, rewarding them for their contributions.
Consider variations on the storage solutions we discussed. Instead of traditional baskets, explore using vintage suitcases or repurposed crates for a unique and personalized touch. If you’re short on floor space, think vertically! Wall-mounted shelves and floating cabinets can provide ample storage without taking up valuable square footage. And don’t forget about the power of multi-functional furniture. Ottomans with hidden storage, coffee tables with drawers, and sofas with built-in compartments are all excellent choices for maximizing space and minimizing clutter.
Remember, the key to successful decluttering is consistency. Don’t try to tackle everything at once. Break it down into manageable chunks and focus on one area at a time. Set realistic goals and celebrate your progress along the way. And most importantly, be patient with yourself. It’s a journey, not a race.
We are confident that these easy ways to declutter your living room will make a significant difference in your home and your life. Now, it’s your turn! We encourage you to try these DIY tricks and experience the transformative power of a decluttered living space. We’d love to hear about your experiences, your challenges, and your successes. Share your stories, your tips, and your before-and-after photos in the comments below. Let’s inspire each other to create living rooms that are not only beautiful but also functional, peaceful, and truly reflective of our personal style. So, roll up your sleeves, grab your decluttering supplies, and get ready to transform your living room into the haven you’ve always dreamed of!
FAQ
What is the best way to start decluttering my living room if I feel overwhelmed?
The feeling of being overwhelmed is perfectly normal when facing a cluttered living room. The best way to combat this is to break the task down into smaller, more manageable steps. Start by choosing one specific area to focus on, such as a single shelf, a drawer, or a corner of the room. Set a timer for 15-30 minutes and dedicate that time solely to decluttering that one area. Once the timer goes off, take a break. This approach prevents burnout and allows you to see progress quickly, which can be incredibly motivating. Another helpful tip is to create a “maybe” box. If you’re unsure about whether to keep an item, place it in the “maybe” box. After a set period (e.g., one month), if you haven’t needed or used the item, it’s likely safe to donate or discard it.
How often should I declutter my living room to maintain a clutter-free space?
The frequency of decluttering depends on your lifestyle and how quickly clutter accumulates in your home. However, a good rule of thumb is to do a quick decluttering session once a week. This involves tidying up surfaces, putting items back in their designated places, and discarding any obvious trash. A more thorough decluttering session, where you go through drawers, shelves, and storage areas, should be done at least once a season (every three months). This allows you to reassess your belongings, get rid of items you no longer need or use, and reorganize your space for the changing seasons. Remember, consistency is key to maintaining a clutter-free living room.
What are some creative storage solutions for small living rooms?
Small living rooms require clever and space-saving storage solutions. Consider multi-functional furniture, such as ottomans with hidden storage, coffee tables with drawers, and sofas with built-in compartments. Vertical storage is also essential. Wall-mounted shelves, floating cabinets, and tall bookcases can provide ample storage without taking up valuable floor space. Utilize the space under your furniture by using storage bins or baskets to store items like blankets, pillows, or books. Another creative idea is to use decorative boxes or baskets to conceal clutter on shelves or countertops. Finally, don’t forget about the backs of doors! Over-the-door organizers can be used to store shoes, accessories, or cleaning supplies.
How can I involve my family in the decluttering process?
Involving your family in the decluttering process is crucial for creating a sustainable clutter-free environment. Start by explaining the benefits of decluttering to your family members, such as creating a more relaxing and organized home. Assign age-appropriate tasks to each family member. For example, younger children can help sort toys or put books back on the shelves, while older children can help declutter their own belongings or organize storage areas. Make it a fun activity by turning it into a game or offering rewards for completing tasks. Set clear expectations and guidelines for what items should be kept, donated, or discarded. Most importantly, lead by example and show your family that you are committed to maintaining a clutter-free home.
What should I do with the items I declutter from my living room?
Once you’ve decluttered your living room, you have several options for dealing with the unwanted items. The first option is to donate them to a local charity or non-profit organization. This is a great way to give back to your community and help those in need. Another option is to sell them online or at a consignment shop. This can be a good way to recoup some of your investment and earn some extra money. You can also host a garage sale or participate in a community swap meet. If the items are no longer usable or in good condition, you can recycle them or dispose of them properly. Before discarding anything, consider whether it can be repurposed or upcycled into something new.
How do I prevent clutter from accumulating in my living room again?
Preventing clutter from accumulating again requires establishing sustainable habits and routines. The first step is to designate a specific place for everything in your living room. This will make it easier to put things back where they belong and prevent clutter from piling up. Make it a habit to tidy up your living room every day, even if it’s just for a few minutes. This will prevent clutter from building up and becoming overwhelming. Avoid bringing new items into your living room unless you have a specific need for them and a designated place to store them. Practice the “one in, one out” rule, which means that for every new item you bring into your living room, you get rid of one old item. Finally, regularly reassess your belongings and declutter any items you no longer need or use.


Leave a Comment