

Deep clean house motivation can sometimes feel like a mythical creature – talked about, wished for, but rarely seen! Let’s be honest, staring down a mountain of clutter and grime isn’t exactly inspiring. But what if I told you that transforming your home into a sparkling sanctuary is not only achievable but also incredibly rewarding?
For centuries, cultures around the world have recognized the profound connection between a clean living space and a clear mind. From ancient rituals of purification to the modern-day KonMari method, the desire for order and cleanliness is deeply ingrained in the human psyche. A clean home isn’t just about aesthetics; it’s about creating a healthy, stress-free environment where you can truly thrive.
That’s why I’m so excited to share these game-changing DIY tricks and hacks that will reignite your deep clean house motivation! We’ll break down the overwhelming task of cleaning into manageable steps, revealing simple yet effective strategies to tackle even the most stubborn messes. Forget spending hours scrubbing and stressing – these tips will save you time, money, and sanity. Get ready to rediscover the joy of a clean and organized home, and unlock the incredible benefits it brings to your overall well-being. Let’s get started!
Conquering the Clutter: Your Ultimate DIY Deep Clean Guide!
Alright, friend, let’s face it: sometimes the thought of a deep clean is enough to send shivers down your spine. But trust me, the feeling of a sparkling, organized home is SO worth it. I’m going to walk you through my tried-and-true method for tackling even the most daunting deep clean, breaking it down into manageable steps so you don’t get overwhelmed. Let’s get started!
Phase 1: The Prep Work – Setting the Stage for Success
Before you even think about scrubbing, a little preparation goes a long way. This phase is all about gathering your supplies and setting yourself up for a smooth cleaning experience.
* Gather Your Arsenal: Having everything you need within reach is crucial. No one wants to run back and forth searching for supplies mid-scrub! Here’s my go-to list:
* Microfiber cloths (lots of them!)
* All-purpose cleaner
* Glass cleaner
* Bathroom cleaner (specifically for soap scum and mildew)
* Disinfectant wipes or spray
* Floor cleaner (appropriate for your floor type)
* Vacuum cleaner with attachments
* Mop and bucket
* Sponges (both abrasive and non-abrasive)
* Scrub brush
* Old toothbrush (perfect for grout!)
* Rubber gloves
* Trash bags
* Dustpan and brush
* Baking soda
* White vinegar
* Lemon juice
* Essential oils (optional, for a fresh scent)
* Cleaning caddy (to carry your supplies around)
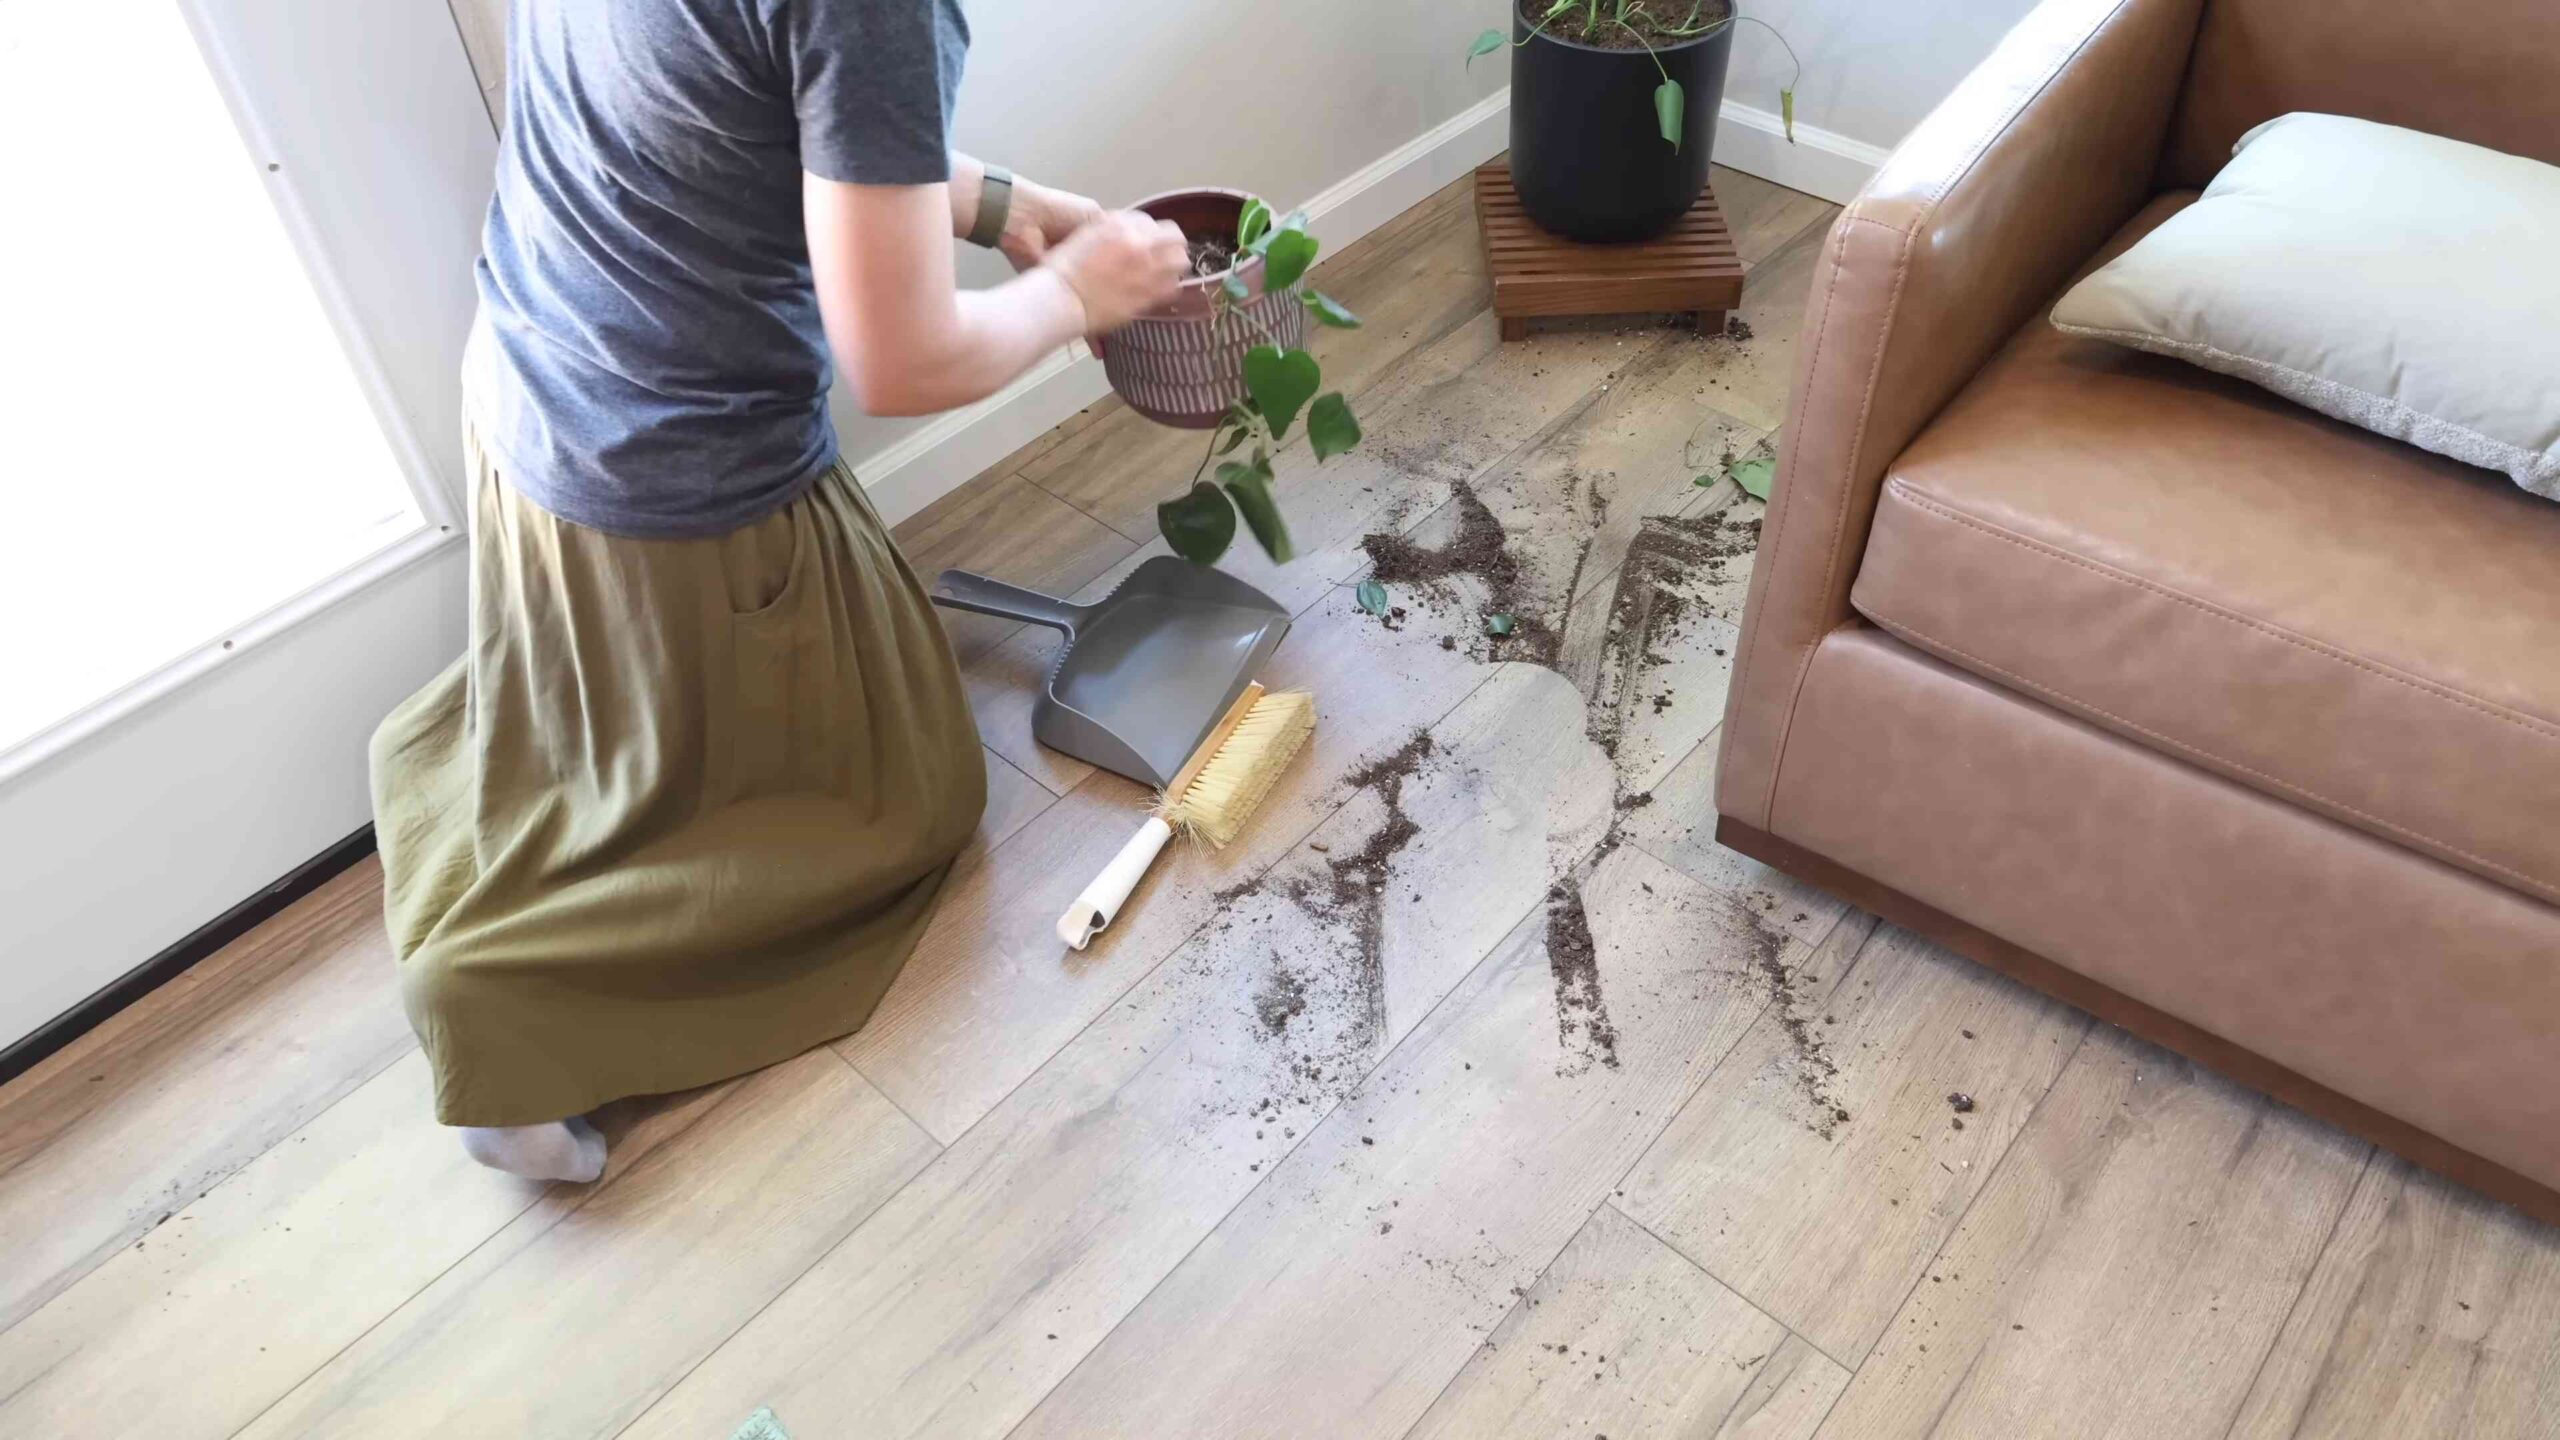
* Declutter First, Clean Later: This is HUGE. Trying to clean around clutter is like trying to paint a room with furniture in the way. Take a walk through each room and remove anything that doesn’t belong. Put things away, donate items you no longer need, and toss anything that’s truly trash.
* Open the Windows: Fresh air is your friend! Open windows and doors to ventilate your home while you clean. This will help dissipate cleaning fumes and make the whole process more pleasant.
* Crank Up the Tunes: Cleaning can be a chore, but it doesn’t have to be boring! Put on your favorite music, podcast, or audiobook to keep you motivated and entertained.
* Protect Yourself: Wear comfortable clothes that you don’t mind getting dirty. Rubber gloves are essential to protect your hands from harsh chemicals and hot water.
Phase 2: Room-by-Room Domination – The Deep Clean Itself
Now for the main event! We’ll tackle each room systematically, starting with the areas that tend to accumulate the most grime.
1. The Kitchen: Taming the Culinary Chaos
The kitchen is often the heart of the home, but it can also be a breeding ground for dirt and germs.
1. Clear the Counters: Remove everything from your countertops – appliances, utensils, decorations, everything! This will give you a clear surface to work with.
2. Clean the Appliances:
* Microwave: Heat a cup of water with a tablespoon of vinegar for a few minutes until steamy. Let it sit for a few minutes more, then wipe down the inside.
* Oven: If you have a self-cleaning oven, run that cycle. If not, make a paste of baking soda and water, spread it inside, let it sit overnight, and then scrub it clean.
* Refrigerator: Remove all the food, toss anything expired, and wipe down the shelves and drawers with warm, soapy water. Don’t forget the door seals!
* Dishwasher: Run an empty cycle with a cup of vinegar in the top rack.
3. Wipe Down the Cabinets: Use an all-purpose cleaner to wipe down the cabinet doors and drawers, paying attention to areas around handles and knobs.
4. Scrub the Sink: Sprinkle baking soda in the sink, then scrub with a damp sponge. Rinse thoroughly.
5. Clean the Countertops: Use an appropriate cleaner for your countertop material (granite, laminate, etc.).
6. Sweep and Mop the Floor: Sweep or vacuum the floor to remove loose dirt and debris, then mop with a floor cleaner.
7. Clean the Backsplash: Wipe down the backsplash with an all-purpose cleaner. Use an old toothbrush to scrub grout if needed.
2. The Bathroom: Banishing Bacteria and Grime
Bathrooms are notorious for harboring bacteria and soap scum. Let’s get them sparkling clean!
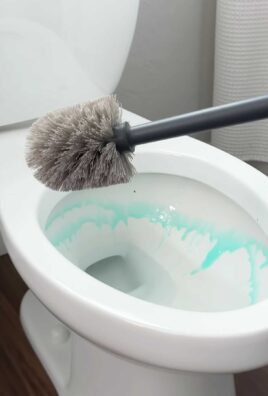
1. Clean the Toilet: Flush the toilet, then apply toilet bowl cleaner under the rim. Let it sit for a few minutes, then scrub with a toilet brush and flush again. Wipe down the exterior of the toilet with disinfectant wipes.
2. Clean the Shower/Tub: Spray the shower or tub with bathroom cleaner, let it sit for a few minutes, then scrub with a sponge or scrub brush. Rinse thoroughly. For stubborn soap scum, try a paste of baking soda and vinegar.
3. Clean the Sink and Countertop: Wipe down the sink and countertop with an all-purpose cleaner. Pay attention to areas around the faucet and drain.
4. Clean the Mirror: Spray the mirror with glass cleaner and wipe with a microfiber cloth.
5. Clean the Floor: Sweep or vacuum the floor to remove loose dirt and debris, then mop with a floor cleaner.
6. Clean the Grout: Use an old toothbrush and a grout cleaner (or a paste of baking soda and water) to scrub the grout between tiles.
7. Replace Shower Curtain/Liner: If your shower curtain or liner is looking dingy, replace it.
3. The Living Room: Refreshing Your Relaxation Zone
The living room is where we relax and unwind, so let’s make sure it’s a clean and inviting space.
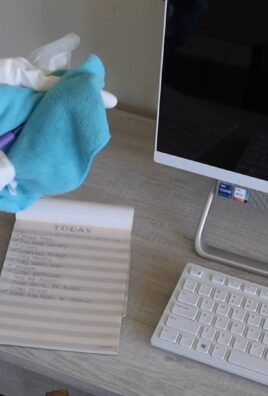
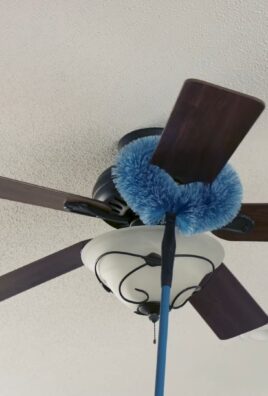
1. Dust Everything: Dust all surfaces, including furniture, shelves, picture frames, and lamps. Use a microfiber cloth or a duster with an extension pole to reach high places.
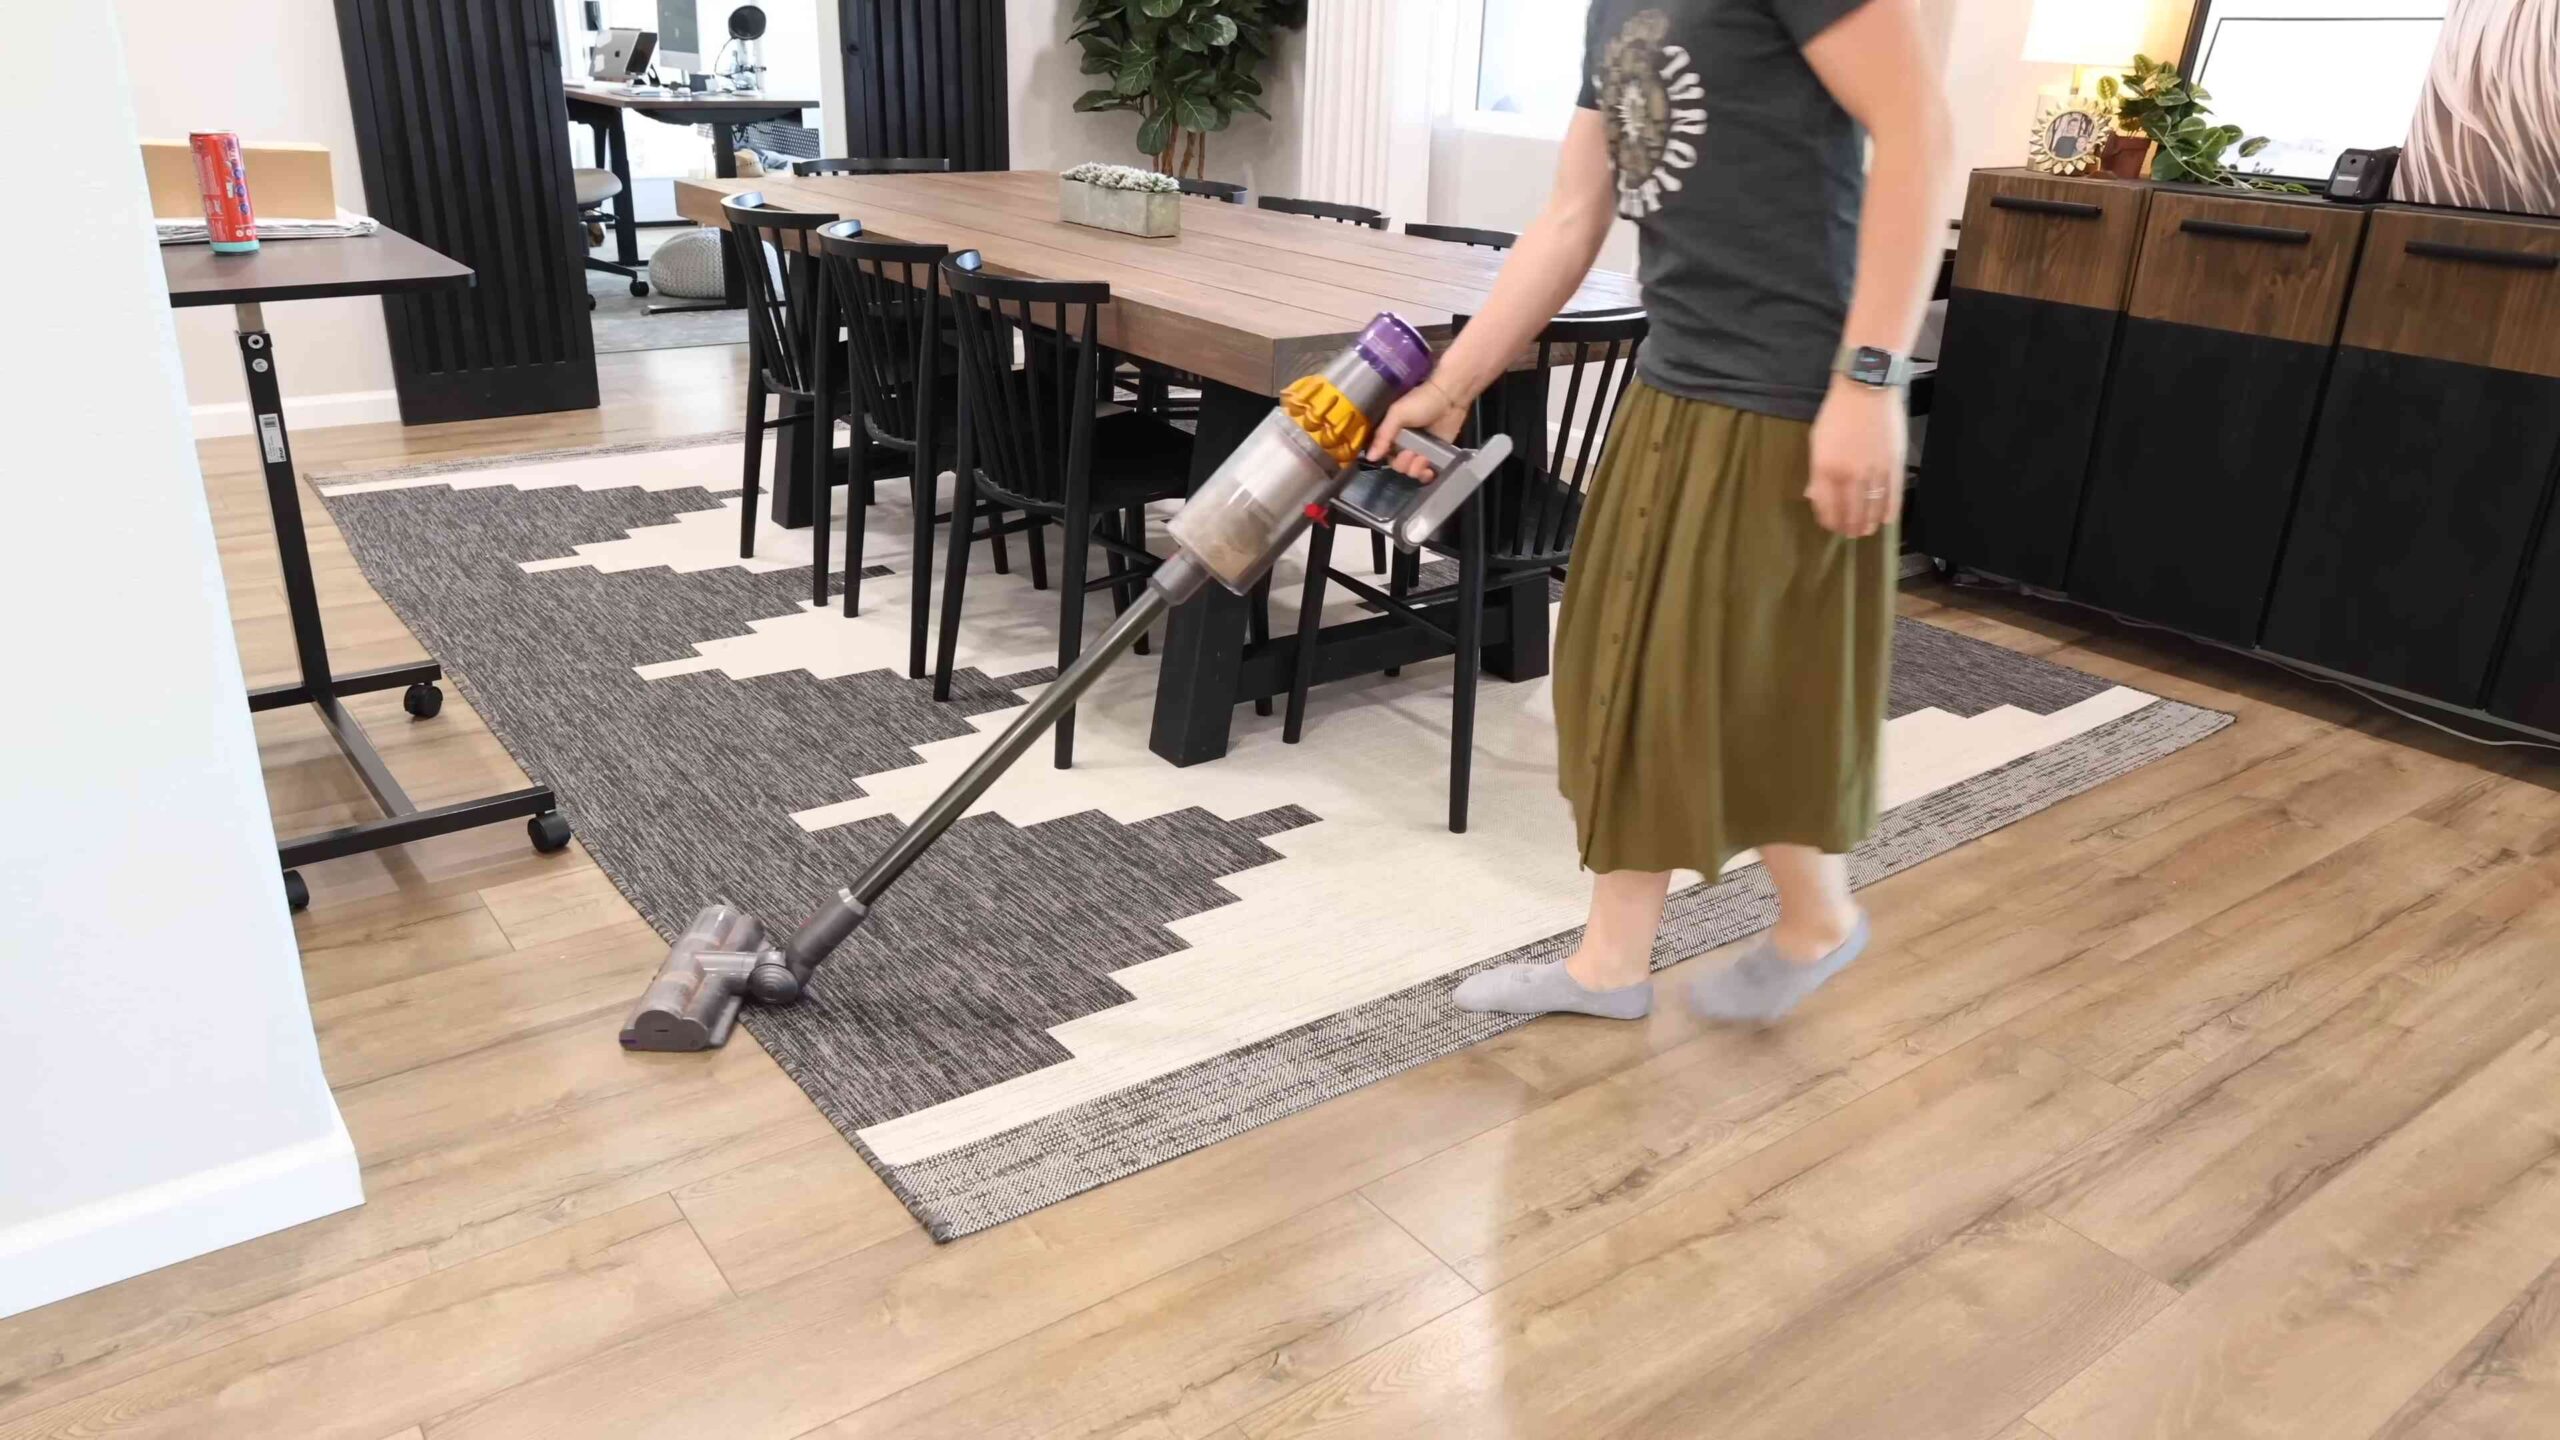
2. Vacuum or Sweep the Floors: Vacuum carpets and rugs thoroughly. Sweep or mop hard floors.
3. Clean Upholstery: Vacuum upholstered furniture to remove dust and crumbs. If necessary, spot clean stains with an upholstery cleaner.
4. Clean Windows and Mirrors: Spray windows and mirrors with glass cleaner and wipe with a microfiber cloth.
5. Dust Electronics: Use a dry microfiber cloth to dust electronics, such as TVs, stereos, and computers.
6. Wash Throw Blankets and Pillow Covers: Wash throw blankets and pillow covers to freshen them up.
4. The Bedrooms: Creating a Sanctuary of Clean
Bedrooms should be havens of peace and tranquility. Let’s make sure they’re clean and clutter-free.
1. Strip the Beds: Remove all bedding and wash it in hot water.
2. Dust Everything: Dust all surfaces, including furniture, shelves, picture frames, and lamps.
3. Vacuum or Sweep the Floors: Vacuum carpets and rugs thoroughly. Sweep or mop hard floors.
4. Clean Windows and Mirrors: Spray windows and mirrors with glass cleaner and wipe with a microfiber cloth.
5. Organize Closets and Drawers: Take some time to declutter and organize your closets and drawers. Donate or discard items you no longer need.
6. Make the Beds: Put on fresh bedding and make the beds.
Phase 3: The Finishing Touches – Adding the Sparkle
These final steps are all about adding those little touches that make a big difference.
* Empty All Trash Cans: Empty all trash cans throughout the house and replace the liners.
* Freshen the Air: Use air freshener, essential oil diffusers, or simmer a pot of water with lemon peels and spices to freshen the air.
* Arrange Flowers or Plants: Adding fresh flowers or plants can brighten up any room.
* Light Candles: Light candles to create a warm and inviting atmosphere.
* Take a Step Back and Admire Your Work! You did it! Enjoy your sparkling clean home.
Bonus Tip: Maintaining Your Clean Home
Deep cleaning is a big job, but it’s easier to maintain a clean home if you do a little bit each day. Here are a few tips:
* Make Your Bed Every Morning: This simple task can make a big difference in the overall appearance of your bedroom.
* Wipe Down Surfaces After Use: Wipe down kitchen counters and bathroom sinks after each use.
* Do a Load of Laundry Every Day: This will prevent laundry from piling up.
* Sweep or Vacuum Regularly: Sweep or vacuum floors at least once a week.
* Put Things Away Immediately: Don’
Conclusion
So, there you have it! This simple yet incredibly effective DIY trick for deep cleaning your home is more than just a cleaning hack; it’s a pathway to a fresher, healthier, and more inviting living space. We’ve explored how to harness the power of readily available ingredients and a little elbow grease to achieve results that rival expensive commercial cleaners, all while saving money and reducing your environmental impact.
Why is this a must-try? Because it’s not just about cleaning; it’s about reclaiming your space and creating an environment that truly supports your well-being. A deep clean goes beyond surface-level tidiness. It eliminates hidden allergens, dust mites, and bacteria that can contribute to respiratory issues and general discomfort. It revitalizes your home, making it feel brighter, more spacious, and more conducive to relaxation and productivity.
But the benefits don’t stop there. This DIY approach allows you to customize your cleaning solutions to suit your specific needs and preferences. Sensitive to strong scents? Opt for essential oils like lavender or chamomile for a calming aroma. Dealing with stubborn grease? A little extra baking soda or vinegar will do the trick. The possibilities are endless!
Variations to Explore:
* Scent Sensations: Experiment with different essential oil blends to create your signature cleaning scent. Lemon and tea tree oil are great for disinfecting, while peppermint and eucalyptus can invigorate your senses.
* Surface Specific Solutions: Adjust the ratios of ingredients to create specialized cleaners for different surfaces. A gentler solution with more water is ideal for delicate surfaces like wood furniture, while a stronger solution with more vinegar is effective for tackling grime in the bathroom.
* All-Natural Power Boosters: Add a tablespoon of borax to your cleaning solution for extra stain-fighting power. Just be sure to wear gloves and avoid using it on surfaces that come into direct contact with food.
* DIY Cleaning Paste: Mix baking soda with a small amount of water to create a paste for scrubbing stubborn stains on sinks, tubs, and tile grout.
We understand that embarking on a deep cleaning project can seem daunting, but trust us, the results are well worth the effort. Break it down into manageable tasks, focus on one room at a time, and remember to celebrate your progress along the way. Put on some music, enlist the help of family members, and turn it into a fun and rewarding experience.
Ultimately, this DIY deep cleaning trick is about empowering you to take control of your home environment and create a space that truly reflects your values and supports your well-being. It’s about embracing a more sustainable and mindful approach to cleaning, one that benefits both your home and the planet.
So, what are you waiting for? Gather your supplies, roll up your sleeves, and get ready to transform your home with this simple yet powerful DIY deep cleaning trick. We’re confident that you’ll be amazed by the results.
And most importantly, we want to hear about your experience! Share your tips, tricks, and before-and-after photos on social media using [Your Hashtag Here]. Let’s inspire each other to create cleaner, healthier, and happier homes, one DIY project at a time. We can’t wait to see what you create!
Frequently Asked Questions (FAQ)
Q1: Is this DIY cleaning solution safe for all surfaces?
A: While the basic recipe is generally safe for most surfaces, it’s always a good idea to test it in an inconspicuous area first, especially on delicate materials like wood, marble, or granite. Adjust the ratios of ingredients as needed to create a gentler solution for sensitive surfaces. For example, use more water and less vinegar on wood furniture. Avoid using abrasive scrub brushes on easily scratched surfaces.
Q2: Can I use this solution on my hardwood floors?
A: Yes, you can use a diluted version of this solution on hardwood floors, but it’s crucial to use a microfiber mop and avoid oversaturating the wood. Excess water can damage hardwood floors. We recommend mixing a small amount of the solution with a large bucket of warm water and wringing out the mop thoroughly before each pass. Always test in an inconspicuous area first.
Q3: How often should I deep clean my house?
A: The frequency of deep cleaning depends on your lifestyle, the size of your home, and your personal preferences. As a general guideline, deep cleaning every 3-6 months is a good starting point. However, if you have pets, allergies, or young children, you may want to deep clean more frequently. Regular maintenance cleaning, such as vacuuming, dusting, and wiping down surfaces, can help extend the time between deep cleans.
Q4: What are the best essential oils to use for cleaning?
A: Several essential oils have excellent cleaning properties. Lemon and tea tree oil are known for their antibacterial and antifungal properties. Lavender and chamomile offer a calming scent and can help reduce stress. Peppermint and eucalyptus are invigorating and can help clear sinuses. Experiment with different blends to find your favorite cleaning scent. Always use pure, therapeutic-grade essential oils for the best results.
Q5: Can I use this solution to clean my oven?
A: While this solution can be used to clean the interior of your oven, it may not be as effective as specialized oven cleaners for tackling baked-on grease and grime. For best results, preheat your oven to a low temperature (around 200°F) for 15-20 minutes, then turn it off and let it cool slightly. Spray the interior of the oven with the cleaning solution and let it sit for 30 minutes to an hour. Then, scrub with a non-abrasive sponge or brush and wipe clean with a damp cloth. For stubborn stains, create a paste of baking soda and water and apply it to the affected areas before spraying with the cleaning solution.
Q6: Is vinegar safe to use on all surfaces?
A: Vinegar is a powerful cleaning agent, but it’s not safe for all surfaces. Avoid using vinegar on marble, granite, and other natural stone surfaces, as it can etch and damage them. Also, avoid using vinegar on waxed furniture, as it can strip the wax. Always test in an inconspicuous area first.
Q7: How can I motivate myself to deep clean my house?
A: Deep cleaning can feel overwhelming, but there are several ways to motivate yourself. Start by breaking the task down into smaller, more manageable chunks. Focus on one room or area at a time. Set realistic goals and reward yourself for completing them. Put on some music or a podcast to make the task more enjoyable. Enlist the help of family members or friends. Remember to focus on the positive benefits of a clean and organized home, such as reduced stress, improved air quality, and a more inviting living space. Visualizing the end result can also be a powerful motivator.
Q8: What are some essential tools for deep cleaning?
A: Some essential tools for deep cleaning include:
* Microfiber cloths: These are excellent for dusting, wiping down surfaces, and cleaning windows.
* Spray bottles: For dispensing your DIY cleaning solutions.
* Sponges: Use non-abrasive sponges for general cleaning and scrubbing.
* Scrub brushes: For tackling stubborn stains and grime in bathrooms and kitchens.
* Vacuum cleaner: For removing dust, dirt, and debris from floors and carpets.
* Mop: For cleaning hard floors.
* Rubber gloves: To protect your hands from harsh chemicals and bacteria.
* Dust mask: To protect your lungs from dust and allergens.
* Squeegee: For cleaning windows and mirrors.
Q9: How do I get rid of lingering odors after deep cleaning?
A: After deep cleaning, you can eliminate lingering odors by opening windows to air out your home. You can also place bowls of baking soda or activated charcoal in various rooms to absorb odors. Simmering a pot of water with cinnamon sticks, cloves, or citrus peels can also create a pleasant aroma. Essential oil diffusers are another great way to freshen the air.
Q10: What is the best way to clean grout?
A: Cleaning grout can be challenging, but there are several effective methods. You can use a grout brush and a mixture of baking soda and water to scrub the grout lines. Alternatively, you can spray the grout with vinegar and let it sit for a few minutes before scrubbing. For stubborn stains, you can use a commercial grout cleaner or a bleach solution (use with caution and proper ventilation). A steam cleaner can also be effective for cleaning grout.
Leave a Comment