

Deep cleaning hacks – the secret weapon in your quest for a sparkling, stress-free home! Let’s face it, nobody *loves* cleaning, but the feeling of a truly clean space? That’s pure bliss. But who has the time for endless scrubbing and complicated routines? That’s where these clever DIY deep cleaning tricks come in.
For centuries, cultures around the world have developed ingenious methods for keeping their homes clean and healthy, often relying on natural ingredients and resourceful techniques passed down through generations. Think of the ancient Egyptians using natron (a naturally occurring salt mixture) for cleaning, or the Victorian era’s obsession with meticulous dusting and polishing. These traditions highlight the enduring human desire for a clean and organized living space.
In today’s busy world, we need shortcuts! These DIY deep cleaning hacks aren’t just about making your home look good; they’re about creating a healthier, more comfortable environment for you and your family. Imagine breathing easier, feeling less stressed, and having more time to enjoy the things you love – all thanks to a few simple cleaning tricks. I’m excited to share these easy and effective deep cleaning hacks that will transform your home from cluttered to clean in no time. Get ready to roll up your sleeves and discover the joy of a truly clean home!
DIY Deep Cleaning Hacks to Transform Your Home!
Okay, let’s get real. Deep cleaning isn’t exactly anyone’s favorite pastime, but the feeling of a sparkling clean home? Totally worth it! I’m going to share some of my absolute favorite DIY deep cleaning hacks that will make the process a little less daunting and a lot more effective. Get ready to roll up your sleeves and transform your space!
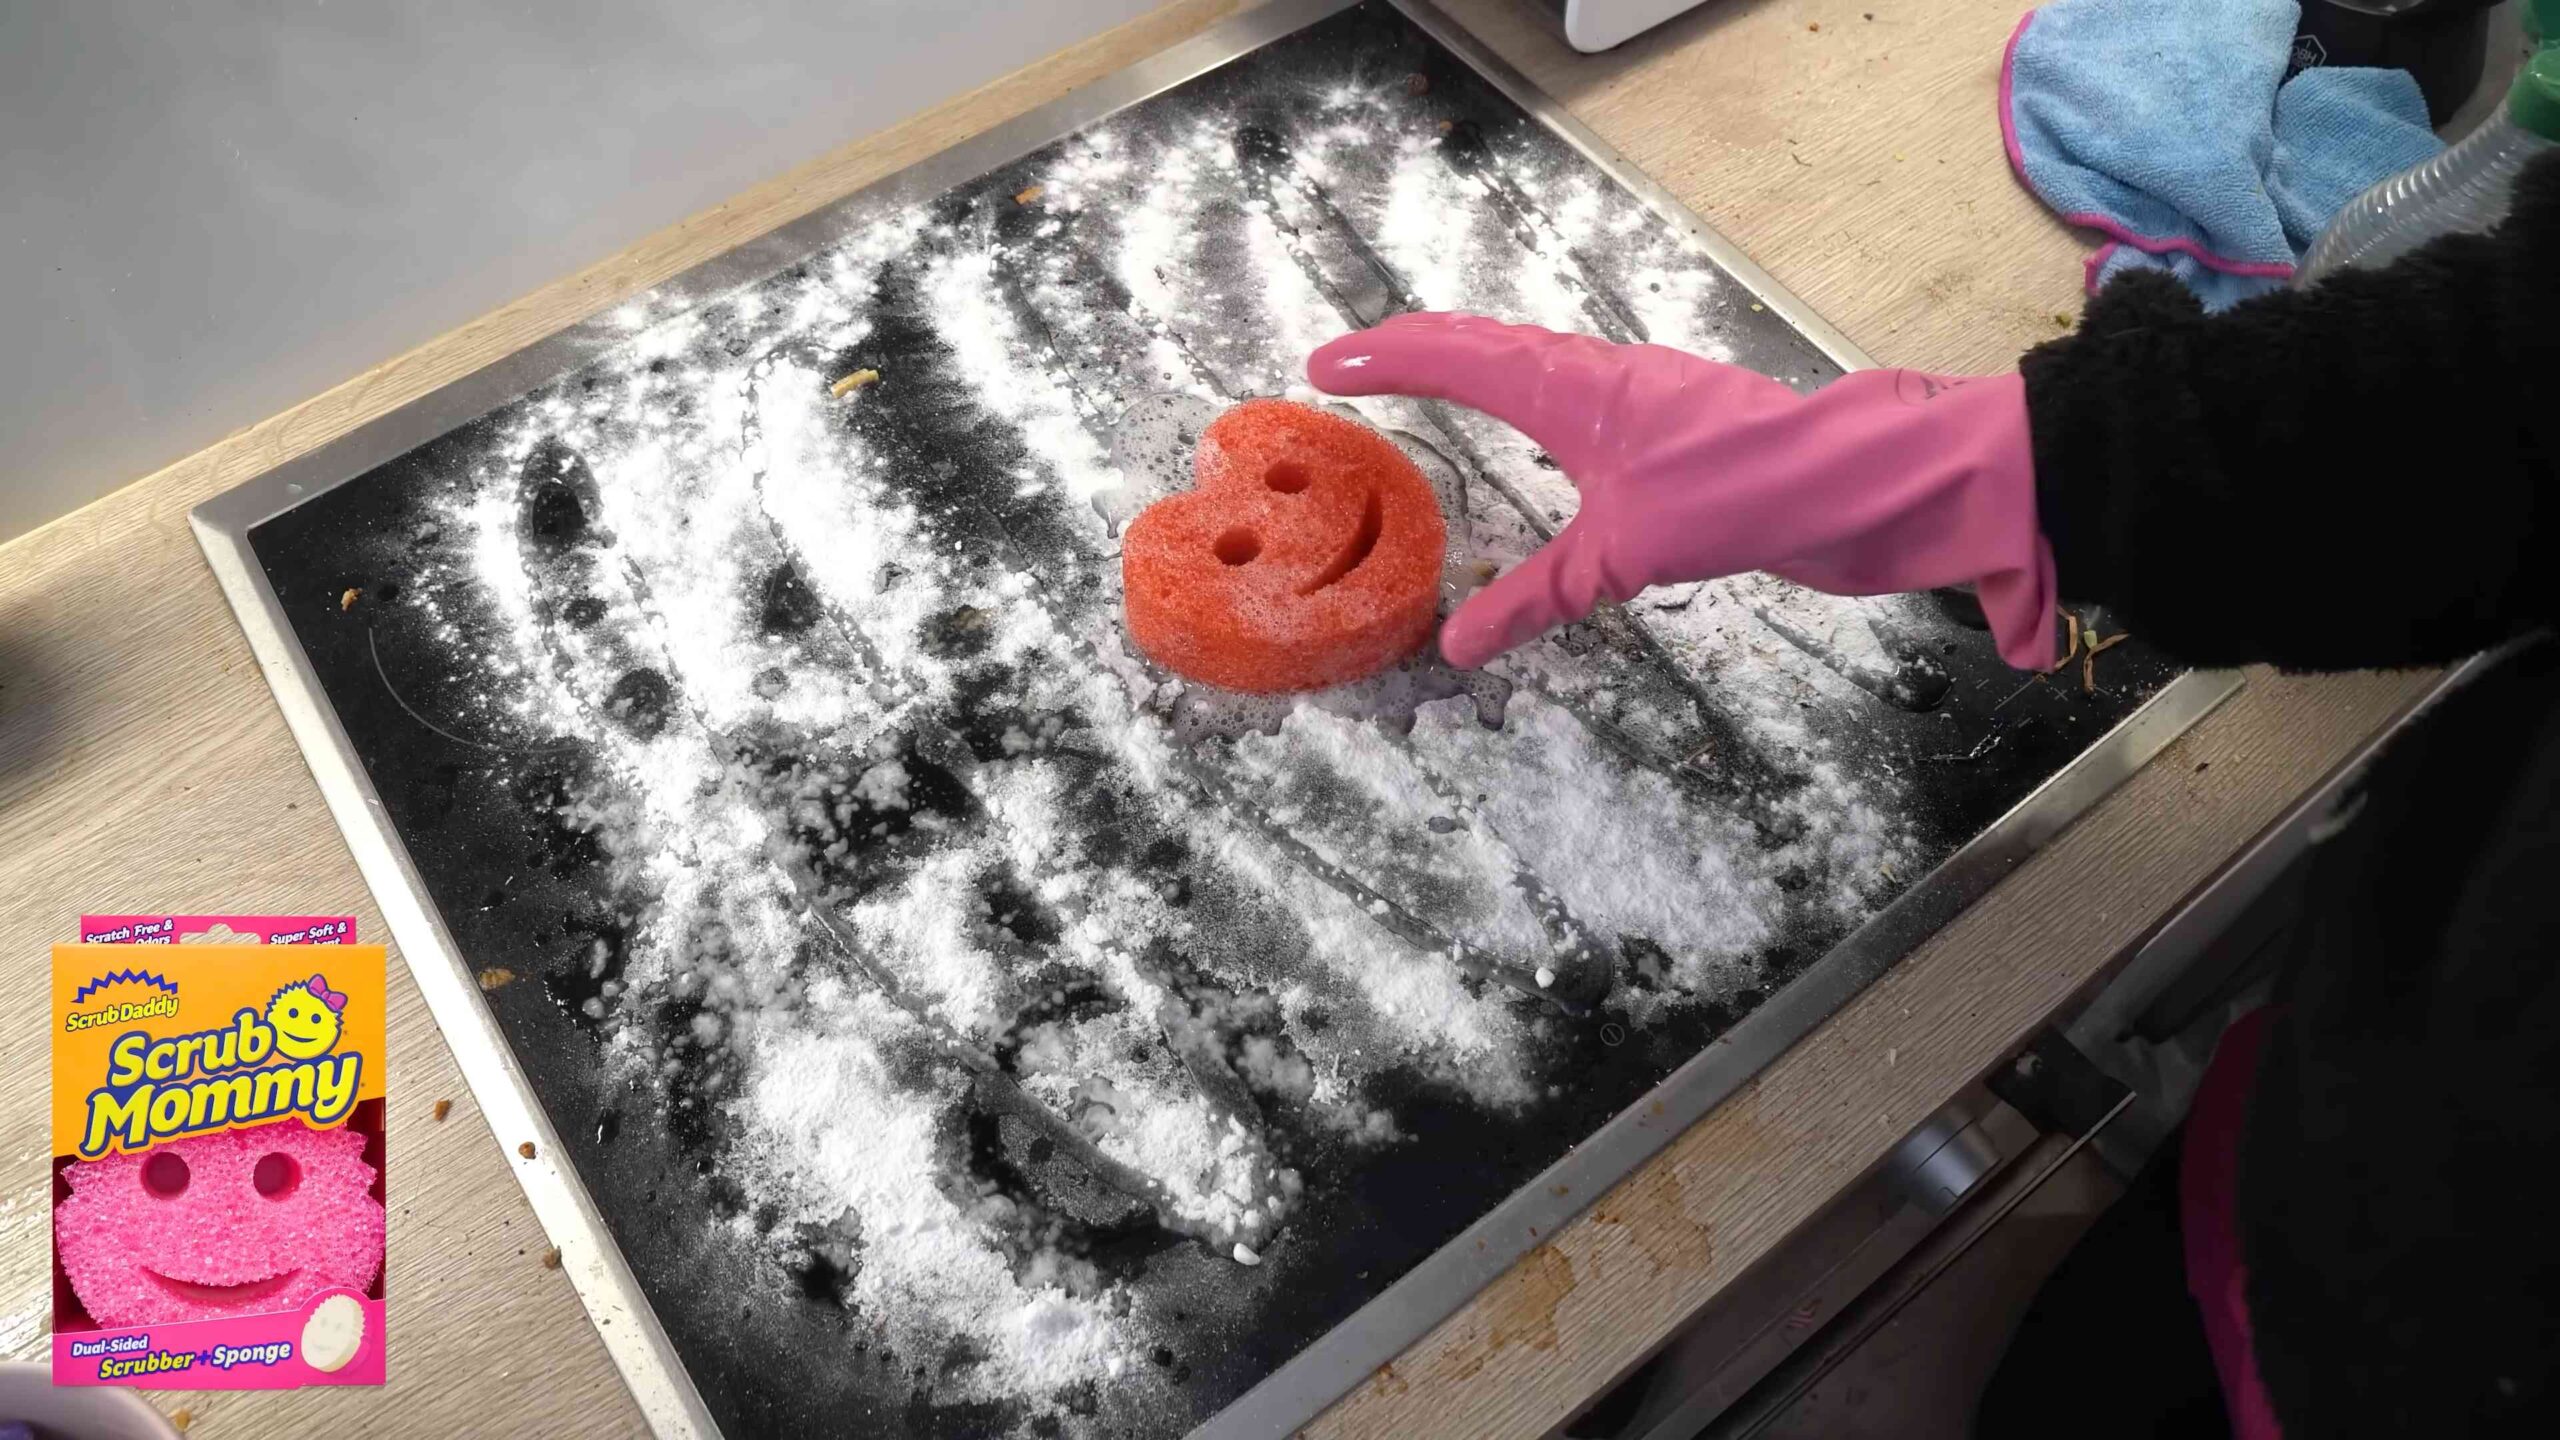
Hack 1: The Magic of Baking Soda and Vinegar
This dynamic duo is a powerhouse for tackling all sorts of cleaning challenges. It’s natural, effective, and you probably already have both ingredients in your pantry!
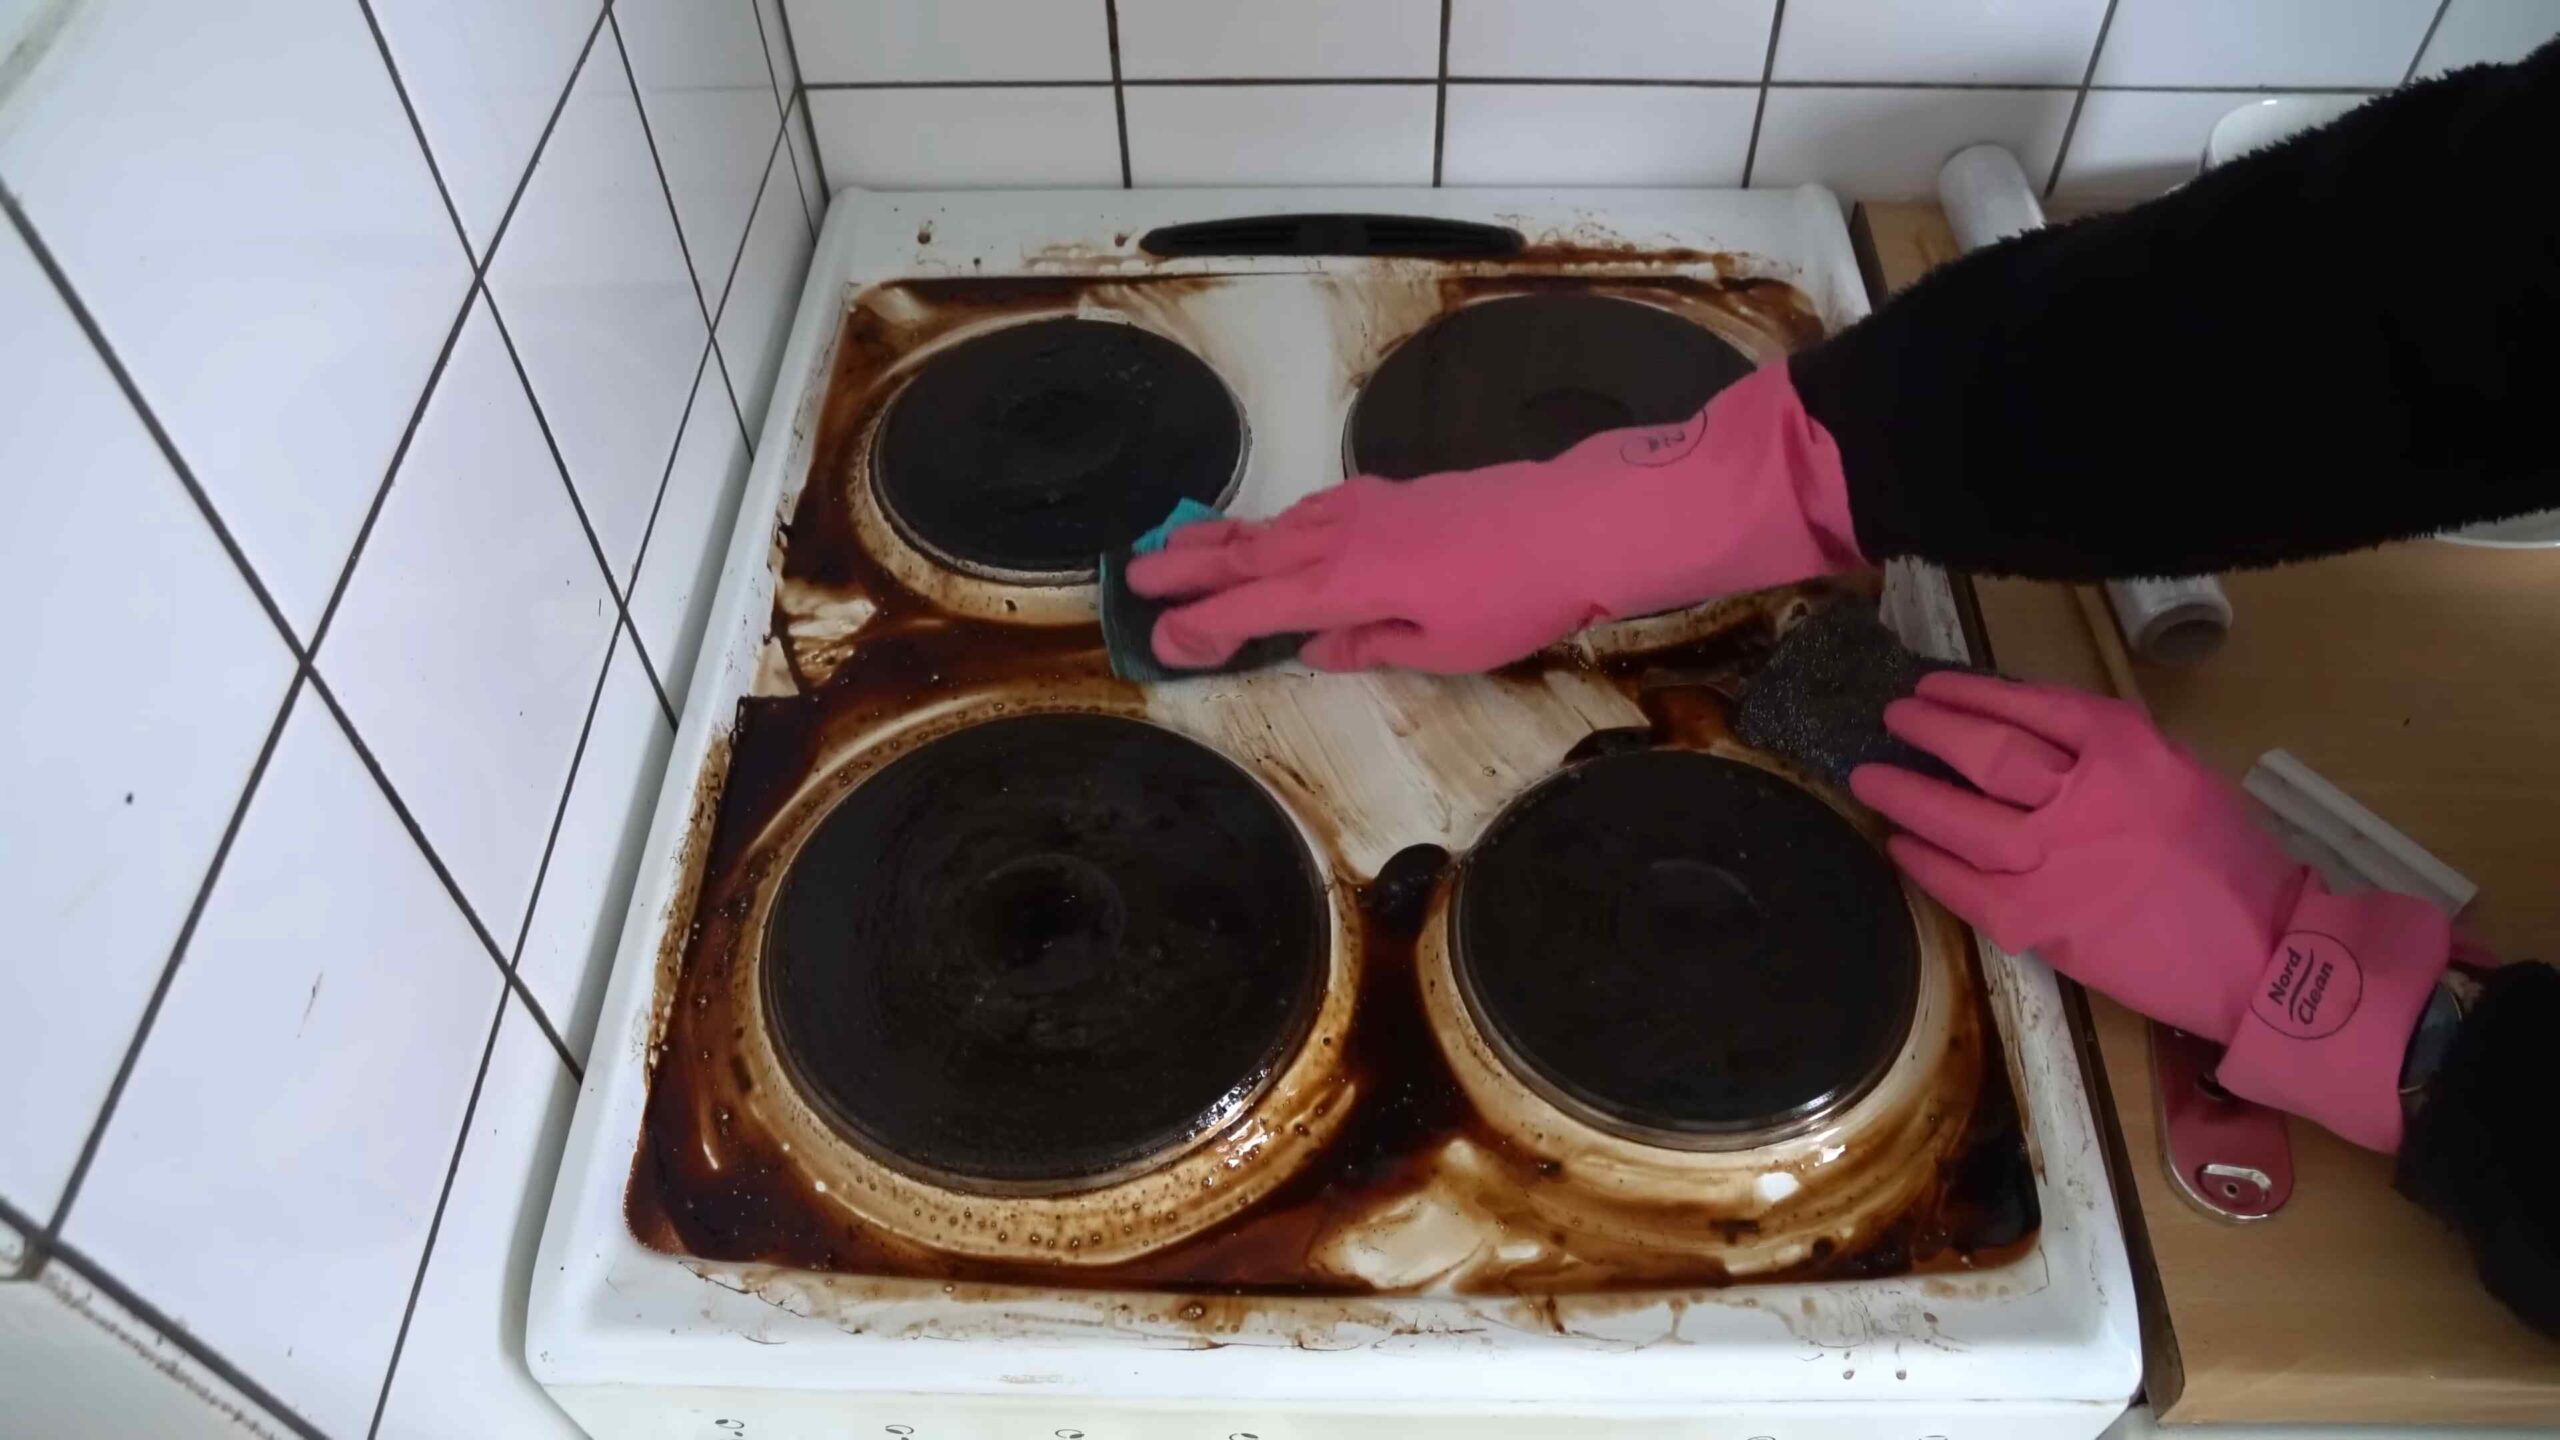
Cleaning a Grimy Oven
Ovens can get seriously gross. Baked-on food, grease splatters – it’s a nightmare. But fear not, this baking soda and vinegar method is a game-changer.
What you’ll need:
* Baking soda
* White vinegar
* Water
* Spray bottle
* Spatula or scraper
* Damp cloth or sponge
Step-by-step instructions:
1. Empty the Oven: Remove all racks, baking stones, and anything else inside your oven.
2. Make a Baking Soda Paste: In a bowl, mix 1/2 cup of baking soda with enough water to form a spreadable paste. The consistency should be similar to frosting.
3. Coat the Oven: Generously coat the entire interior of your oven with the baking soda paste, avoiding the heating elements. Pay special attention to areas with heavy grease buildup.
4. Let it Sit Overnight: This is the key! The baking soda needs time to work its magic and loosen the grime. I usually leave it on for at least 12 hours, or even overnight.
5. Scrub and Scrape: After the baking soda has sat, use a spatula or scraper to remove as much of the loosened grime as possible. You might need to put in a little elbow grease, but it should come off much easier than before.
6. Vinegar Power: Fill a spray bottle with white vinegar. Spray the entire interior of the oven with vinegar. The vinegar will react with the remaining baking soda, creating a foamy mixture.
7. Wipe Clean: Use a damp cloth or sponge to wipe away the foamy mixture and any remaining residue. Rinse the cloth frequently with clean water.
8. Replace the Racks: Once the oven is completely clean and dry, replace the racks and you’re good to go!
Unclogging a Drain
Clogged drains are a common household problem, and they can be a real pain. This baking soda and vinegar method is a great alternative to harsh chemical drain cleaners.
What you’ll need:
* Baking soda
* White vinegar
* Hot water
Step-by-step instructions:
1. Pour Baking Soda: Pour about 1 cup of baking soda down the drain. Try to get as much of it into the drain opening as possible.
2. Add Vinegar: Immediately follow the baking soda with 1 cup of white vinegar.
3. Let it Fizz: The baking soda and vinegar will react and create a fizzing action. Let this mixture sit for about 30 minutes. This fizzing helps to break down the clog.
4. Flush with Hot Water: After 30 minutes, pour a pot of boiling hot water down the drain. This will help to flush away the loosened debris.
5. Repeat if Necessary: If the drain is still clogged, repeat the process. For stubborn clogs, you might need to repeat it a few times.
Hack 2: Lemon Power for a Fresh and Clean Home
Lemons aren’t just for lemonade! Their natural acidity makes them a fantastic cleaning agent. Plus, they leave behind a lovely, fresh scent.
Cleaning a Microwave
Microwaves can get splattered with food and become a breeding ground for odors. This lemon steam cleaning method is quick, easy, and effective.
What you’ll need:
* Lemon
* Water
* Microwave-safe bowl
Step-by-step instructions:
1. Prepare the Lemon Solution: Cut a lemon in half and squeeze the juice into a microwave-safe bowl. Add the lemon halves to the bowl as well.
2. Add Water: Fill the bowl with about 1 cup of water.
3. Microwave: Place the bowl in the microwave and microwave on high for 3-5 minutes, or until the water is boiling and the microwave is filled with steam.
4. Let it Sit: Leave the microwave door closed for another 5-10 minutes to allow the steam to loosen the grime.
5. Wipe Clean: Carefully remove the bowl (it will be hot!). Use a damp cloth or sponge to wipe down the interior of the microwave. The loosened grime should come off easily.
6. Enjoy the Fresh Scent: Your microwave will be clean and smell amazing!
Shining Faucets and Fixtures
Hard water stains and mineral deposits can make faucets and fixtures look dull and grimy. Lemon juice can help to dissolve these deposits and restore their shine.
What you’ll need:
* Lemon
* Soft cloth
Step-by-step instructions:
1. Cut the Lemon: Cut a lemon in half.
2. Rub the Lemon: Rub the cut side of the lemon directly onto the faucets and fixtures, focusing on areas with hard water stains or mineral deposits.
3. Let it Sit: Allow the lemon juice to sit on the surface for about 5-10 minutes.
4. Wipe Clean: Use a soft cloth to wipe away the lemon juice and any loosened deposits.
5. Rinse and Dry: Rinse the faucets and fixtures with water and dry them with a clean cloth. They should be sparkling clean!
Hack 3: Tackle Tough Stains with Hydrogen Peroxide
Hydrogen peroxide is a mild bleaching agent that can be used to remove a variety of stains. It’s important to test it on an inconspicuous area first to make sure it doesn’t discolor the material.
Removing Blood Stains
Blood stains can be tricky to remove, but hydrogen peroxide can often do the trick.
What you’ll need:
* Hydrogen peroxide (3%)
* Clean cloth or paper towel
Step-by-step instructions:
1. Blot the Stain: Blot the blood stain with a clean cloth or paper towel to remove as much of the excess blood as possible.
2. Apply Hydrogen Peroxide: Pour a small amount of hydrogen peroxide directly onto the stain.
3. Let it Fizz: Allow the hydrogen peroxide to fizz for a few minutes. This helps to break down the blood.
4. Blot Again: Blot the stain again with a clean cloth or paper towel.
5. Repeat if Necessary: Repeat the process until the stain is gone.
6. Rinse and Dry: Rinse the area with cold water and allow it to air dry.
Brightening Grout
Grout can get stained and discolored over time, making your tiles look dingy. Hydrogen peroxide can help to brighten the grout and restore its original color.
What you’ll need:
* Hydrogen peroxide (3%)
* Spray bottle
* Old toothbrush or grout brush
Step-by-step instructions:
1. Spray the Grout: Pour hydrogen peroxide into a spray bottle and spray it directly onto the grout lines.
2. Let it Sit: Allow the hydrogen peroxide to sit on the grout for about 10-15 minutes.
3. Scrub the Grout: Use an old toothbrush or grout brush to scrub the grout lines.
4. Rinse with Water: Rinse the grout with water to remove the hydrogen peroxide and any loosened dirt.
5. Dry with a Cloth: Dry the grout with a clean cloth.
Hack 4: Cleaning Your Washing Machine
We often forget that our washing machines need cleaning too! They can accumulate detergent residue, mildew, and other gunk. Cleaning your washing machine regularly will help to keep it running efficiently and prevent odors.
What you’ll need:
* White vinegar
* Baking soda
* Clean cloth or sponge
Step-by-step instructions:
1. Clean the Dispenser: Remove the detergent and fabric softener dispensers and clean them with warm, soapy water. Rinse them thoroughly and set them aside to dry.
2. Wipe the Drum: Use a clean cloth or sponge to wipe down the inside of the washing machine drum. Pay attention to any areas with visible mildew or residue.
3. Run a Cleaning Cycle with Vinegar: Pour 2 cups of white vinegar into the detergent dispenser.
4. Run a Hot
Conclusion
So, there you have it! This deep cleaning hack isn’t just another chore on your to-do list; it’s a game-changer that will transform your home cleaning routine. We’ve walked you through the steps, highlighted the benefits, and hopefully, inspired you to ditch those harsh chemicals and embrace a more natural and effective approach.
Why is this a must-try? Because it’s simple, cost-effective, and yields incredible results. Imagine the satisfaction of knowing you’re not only creating a sparkling clean environment but also contributing to a healthier home for you and your family. This method tackles grime, eliminates odors, and leaves your surfaces looking refreshed, all without the lingering scent of artificial fragrances.
But don’t stop there! Feel free to experiment and personalize this deep cleaning hack to suit your specific needs and preferences. For instance, if you’re dealing with particularly stubborn stains, consider adding a tablespoon of borax to the mixture for an extra boost. Or, if you prefer a different scent, swap out the lemon essential oil for lavender, eucalyptus, or tea tree oil – each offering its own unique cleaning and aromatherapy benefits. You can even create your own signature blend!
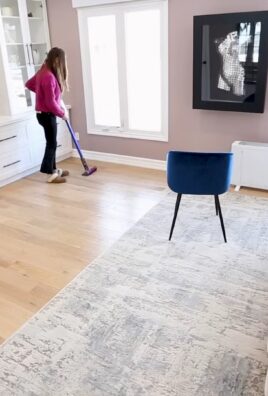
Another variation to consider is using this method on different surfaces. While we’ve primarily focused on kitchen and bathroom surfaces, this deep cleaning hack can also be used on floors (especially tile and linoleum), walls, and even some fabrics (always test a small, inconspicuous area first). Just be sure to adjust the dilution ratio accordingly to avoid any damage. For example, for delicate surfaces, use a higher water-to-cleaner ratio.
We understand that trying new things can sometimes feel daunting, but we promise this deep cleaning hack is worth the effort. It’s a small investment of time that will pay off in a big way, leaving you with a cleaner, healthier, and more inviting home.
Now, it’s your turn! We encourage you to give this deep cleaning hack a try and see the amazing results for yourself. Don’t be afraid to get creative and experiment with different variations to find what works best for you. And most importantly, we want to hear about your experience! Share your before-and-after photos, your favorite scent combinations, and any tips or tricks you discover along the way. Let’s create a community of clean-home enthusiasts who are passionate about natural and effective cleaning solutions.
Head over to the comments section below and tell us all about your deep cleaning adventures. We can’t wait to hear from you!
Frequently Asked Questions (FAQ)
1. Is this deep cleaning hack safe for all surfaces?
While this deep cleaning hack is generally safe for most surfaces, it’s always a good idea to test it on a small, inconspicuous area first, especially when dealing with delicate materials like wood, painted surfaces, or certain fabrics. The acidity of the lemon juice could potentially damage some finishes, so proceed with caution. For porous surfaces like grout, you may need to scrub a bit harder to remove embedded dirt and grime. If you’re unsure about a particular surface, consult the manufacturer’s instructions or contact a professional cleaner. Remember, prevention is key! Regularly cleaning surfaces will prevent buildup and make future deep cleaning easier.
2. Can I use this deep cleaning hack on my hardwood floors?
Using this deep cleaning hack on hardwood floors requires extra caution. Hardwood floors are susceptible to water damage and can be affected by acidic cleaners. If you choose to use this method on your hardwood floors, make sure to use a very diluted solution and avoid letting the mixture sit on the surface for too long. Immediately wipe up any excess moisture with a clean, dry cloth. Alternatively, consider using a cleaner specifically designed for hardwood floors. These cleaners are formulated to be gentle and effective without damaging the wood. Always follow the manufacturer’s instructions for best results.
3. What if I don’t have lemon essential oil? Can I use something else?
Yes, you can definitely substitute the lemon essential oil with other essential oils or even lemon juice. Lemon juice is a great alternative, but be mindful of its acidity, especially on sensitive surfaces. Other essential oils that work well for cleaning include tea tree oil (known for its antibacterial properties), lavender oil (for its calming scent), eucalyptus oil (for its refreshing aroma), and orange oil (for its degreasing power). Experiment with different scents to find your favorite! You can also create your own custom blend by combining several essential oils. Just be sure to research the properties of each oil before using it to ensure it’s safe for the surfaces you’re cleaning.
4. How often should I use this deep cleaning hack?
The frequency of using this deep cleaning hack depends on your lifestyle and the level of dirt and grime in your home. For high-traffic areas like kitchens and bathrooms, you may want to use it once a week or every other week. For less frequently used areas, you can use it once a month or as needed. Regular cleaning and maintenance will help prevent buildup and make deep cleaning less frequent. Pay attention to your home and adjust your cleaning schedule accordingly.
5. Can I store the leftover cleaning solution?
It’s generally best to use the cleaning solution immediately after mixing it. However, if you have leftover solution, you can store it in an airtight container in a cool, dark place for up to a week. Over time, the essential oils may lose their potency, and the solution may become less effective. Be sure to label the container clearly and keep it out of reach of children and pets. Before using the stored solution, give it a good shake to ensure the ingredients are properly mixed. If the solution appears cloudy or has an unusual odor, discard it.
6. Is this deep cleaning hack safe for pets and children?
While this deep cleaning hack uses natural ingredients, it’s still important to exercise caution when using it around pets and children. Essential oils can be harmful if ingested, so keep the cleaning solution out of their reach. When cleaning surfaces that pets or children may come into contact with, make sure to rinse them thoroughly with water to remove any residue. If you’re concerned about potential allergies or sensitivities, consider using a milder cleaning solution or consulting with a veterinarian or pediatrician. Always supervise children when they are helping with cleaning tasks.
7. What are some other deep cleaning tasks I should consider?
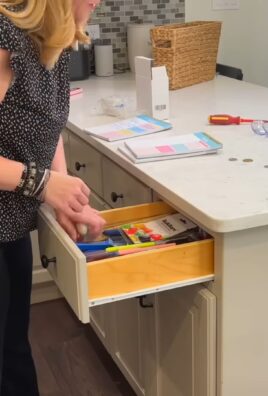
In addition to the deep cleaning hack described above, there are many other deep cleaning tasks you should consider to maintain a clean and healthy home. These include cleaning your oven, refrigerator, dishwasher, washing machine, and dryer. You should also deep clean your carpets, rugs, and upholstery regularly. Don’t forget to clean your windows, mirrors, and light fixtures. And finally, decluttering and organizing your home can also be considered a form of deep cleaning, as it helps to remove dust and dirt and create a more organized and functional space. By incorporating these deep cleaning tasks into your regular cleaning routine, you can create a cleaner, healthier, and more inviting home for you and your family.

Leave a Comment