

DIY Ant Killer: Are ants turning your peaceful home and garden into their personal playground? I know the feeling! It’s incredibly frustrating to see those tiny invaders marching across your countertops and swarming your precious plants. But before you reach for harsh chemicals, let’s explore a safer, more effective, and budget-friendly solution: crafting your own DIY ant killer.
For centuries, people have been battling ants using natural remedies passed down through generations. From ancient civilizations using herbs and spices to deter pests to modern-day gardeners experimenting with household ingredients, the quest for an effective ant repellent is a tale as old as time. These age-old practices highlight a deep-seated desire to coexist with nature while protecting our homes and harvests.
Why should you consider a DIY approach? Well, store-bought ant killers often contain chemicals that can be harmful to your family, pets, and the environment. Plus, they can be surprisingly expensive! This article will guide you through simple, step-by-step instructions for creating your own powerful ant deterrents using ingredients you probably already have in your pantry. I’ll show you how to reclaim your space and protect your plants without resorting to harsh chemicals. Let’s get started and say goodbye to those pesky ants, the natural way!
DIY Ant Killer: Safe, Effective, and Budget-Friendly!
Hey everyone! Tired of those tiny invaders marching across your kitchen counter? I know I am! Store-bought ant killers can be expensive and often contain harsh chemicals that I’m not comfortable having around my kids and pets. So, I’ve been experimenting with DIY ant killers for years, and I’ve finally perfected a few recipes that are not only super effective but also safe and easy to make. Let’s get rid of those ants, naturally!
Understanding Ant Behavior: Why This Works
Before we dive into the recipes, it’s important to understand how ants work. Ants are social creatures, and they rely on trails of pheromones to guide each other to food sources. Our goal isn’t just to kill the ants we see; it’s to get them to carry the bait back to the colony, effectively eliminating the entire problem at the source. That’s why these recipes focus on slow-acting poisons that give the ants time to share the “treat” with their friends.
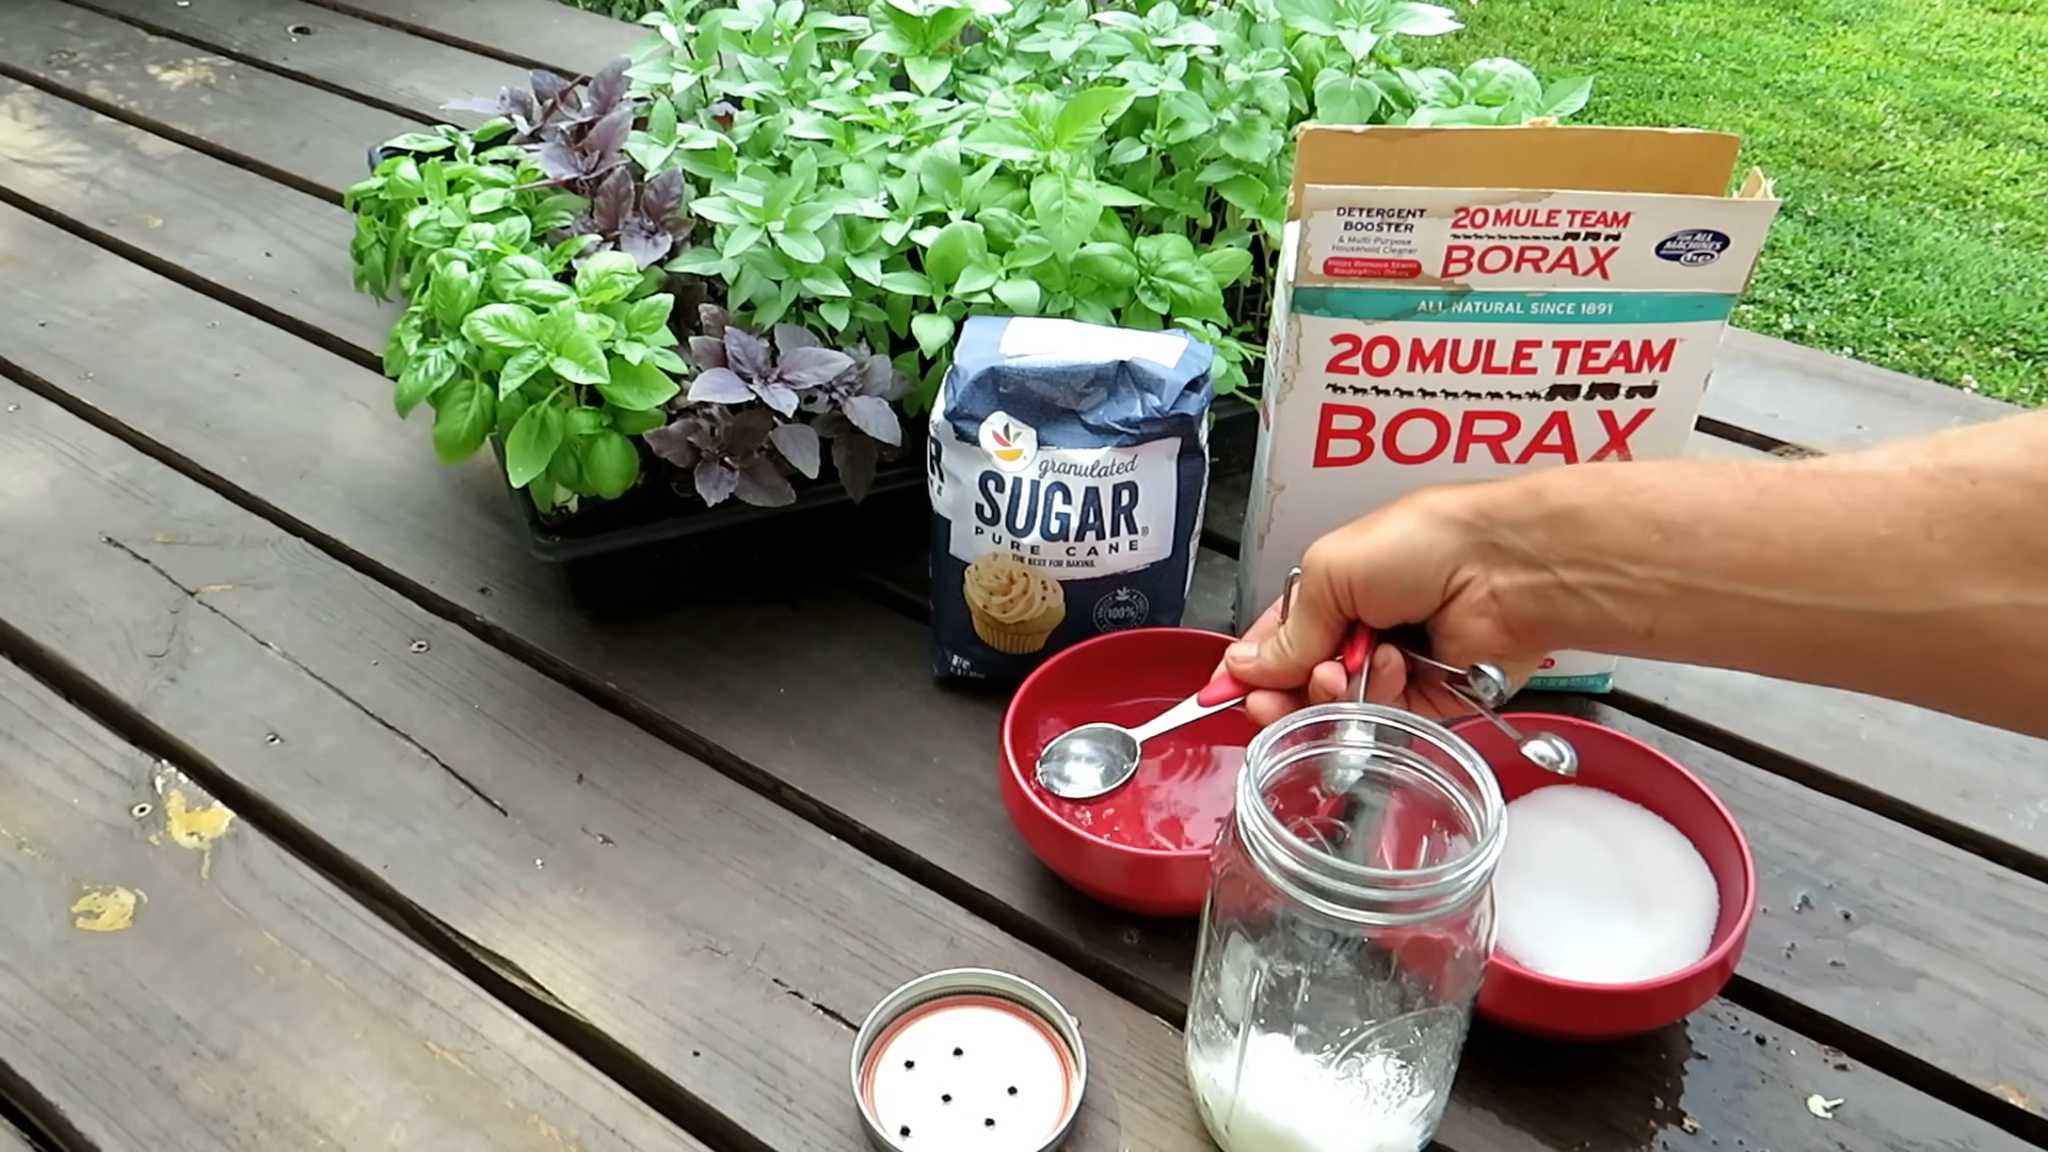
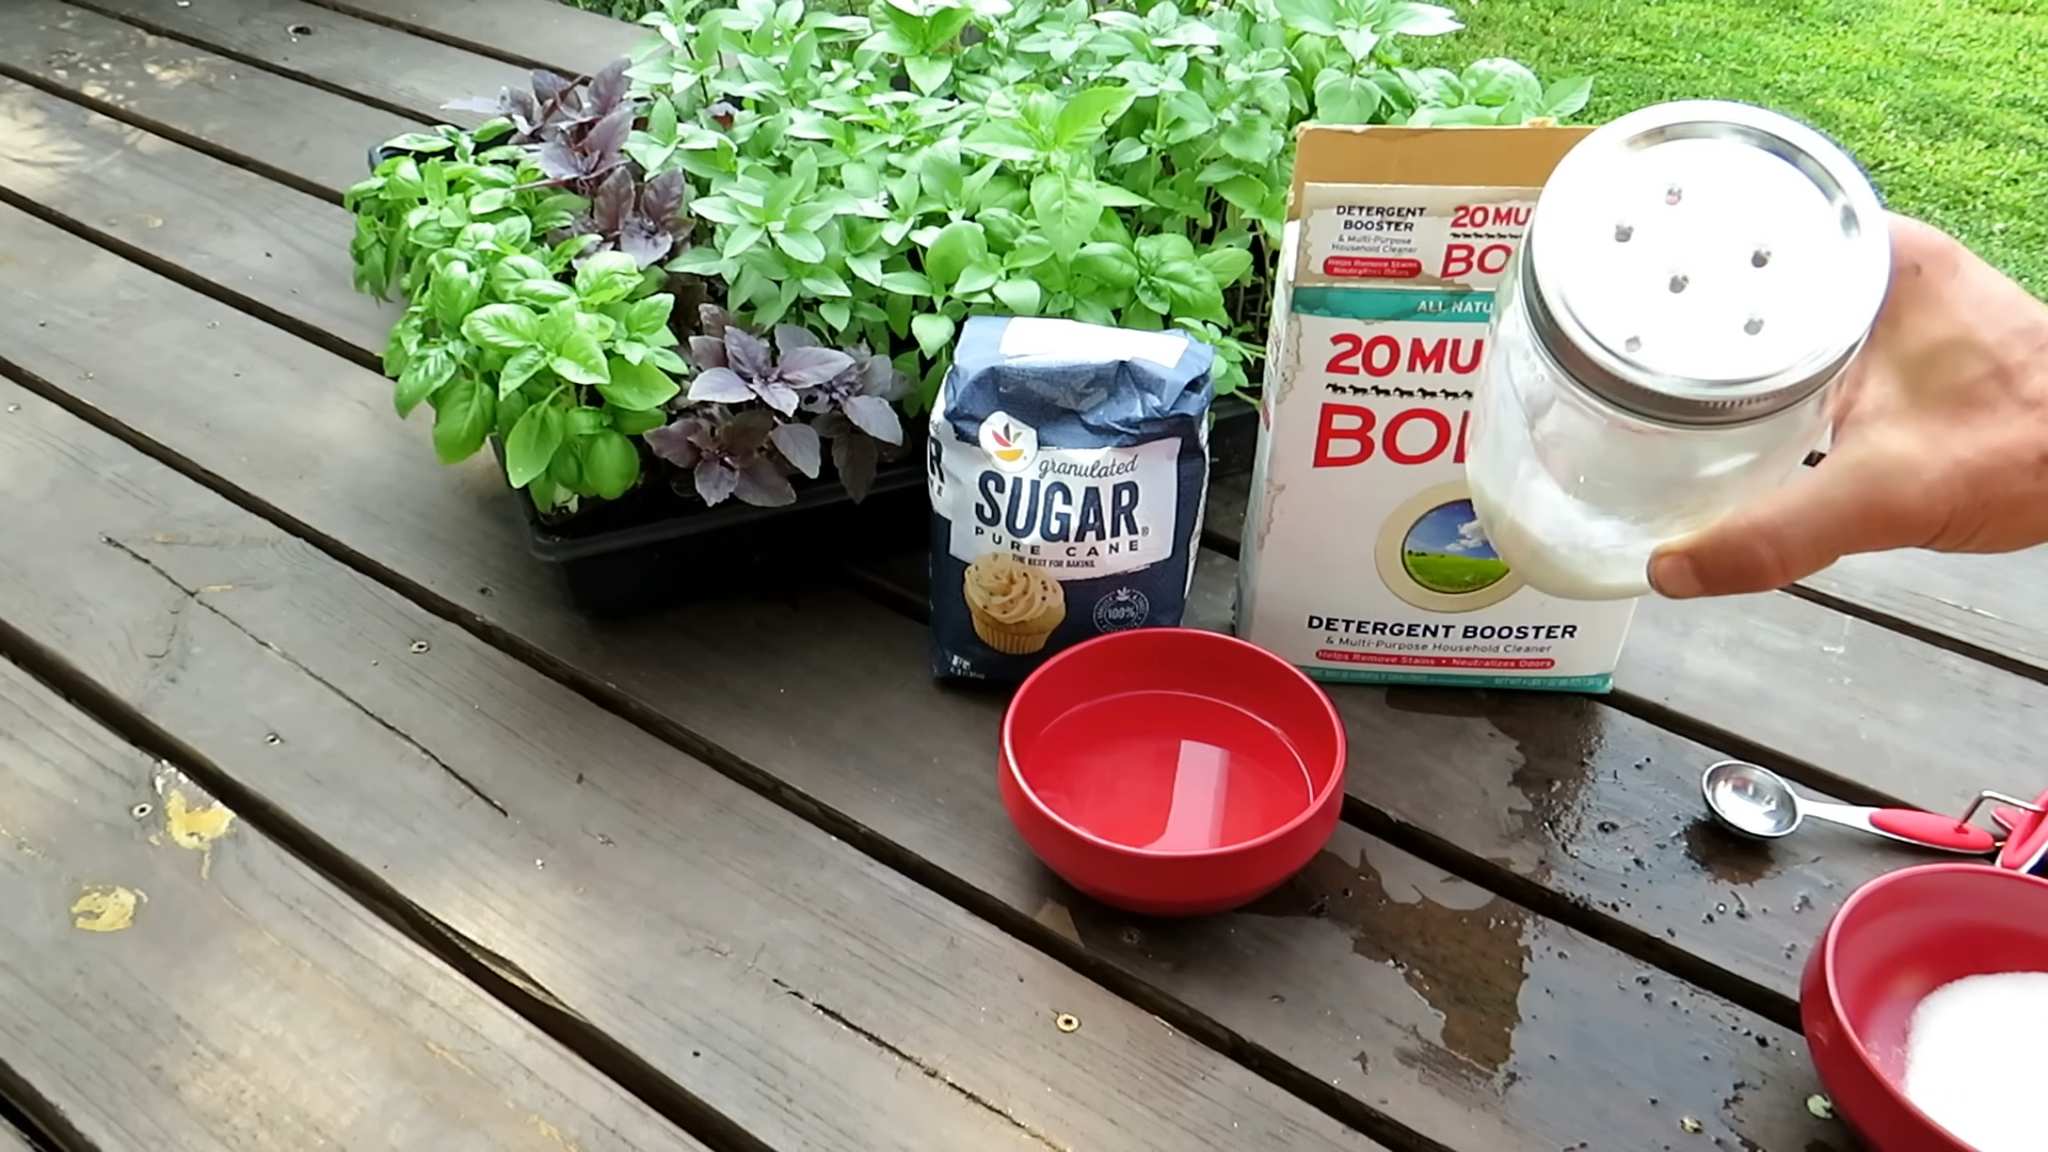
Recipe 1: Borax and Sugar Ant Bait
This is my go-to recipe, and it’s incredibly effective. Borax (sodium borate) is a naturally occurring mineral that acts as a slow-acting poison for ants. The sugar attracts them, and they happily carry the mixture back to their colony.
What You’ll Need:
* 1/2 cup granulated sugar
* 1 1/2 tablespoons Borax (available in the laundry aisle of most supermarkets)
* 1 1/2 cups warm water
* Cotton balls
* Small, shallow containers (bottle caps, jar lids, or small plastic containers work great)
Step-by-Step Instructions:
1. Mix the Ingredients: In a bowl, dissolve the sugar and Borax in the warm water. Stir well until everything is completely dissolved. Make sure there are no granules of Borax left undissolved. This is crucial for the mixture to work properly.
2. Soak the Cotton Balls: Dip the cotton balls into the sugar-Borax solution, making sure they are thoroughly soaked but not dripping. You want them to be saturated enough for the ants to easily access the bait.
3. Set Up the Bait Stations: Place the soaked cotton balls in the small, shallow containers. This prevents the solution from spilling and makes it easier for the ants to access.
4. Placement is Key: Now, the most important part: place the bait stations where you’ve seen ants. Common areas include near ant trails, under sinks, along baseboards, and near food sources. I usually put a few stations in different locations to maximize the chances of the ants finding them.
5. Monitor and Replenish: Check the bait stations regularly. You should see ants swarming the cotton balls. Don’t be alarmed! This means it’s working. As the cotton balls dry out or the solution is consumed, replenish them with fresh solution.
6. Be Patient: It may take a few days or even a week to see a significant reduction in the ant population. The key is to be patient and consistent. Keep replenishing the bait until you no longer see ants.
7. Clean Up: Once the ants are gone, remove the bait stations and clean the area thoroughly to remove any remaining pheromone trails. This will help prevent future infestations.
Recipe 2: Boric Acid and Sweetener Ant Bait
This recipe is similar to the Borax one, but it uses boric acid instead. Boric acid is another effective slow-acting poison that works well against ants. You can use sugar, honey, or corn syrup as the sweetener.
What You’ll Need:
* 1 teaspoon Boric Acid (available at most pharmacies or online)
* 1 tablespoon Sugar, Honey, or Corn Syrup (experiment to see what works best for your ants!)
* 1/2 cup Warm Water
* Small, shallow containers (like bottle caps or small plastic containers)
Step-by-Step Instructions:
1. Mix the Ingredients: In a bowl, dissolve the boric acid and sweetener in the warm water. Stir well until everything is completely dissolved. Again, make sure there are no granules of boric acid left.
2. Fill the Bait Stations: Pour the solution into the small, shallow containers. You don’t need to soak cotton balls for this recipe; the ants can drink directly from the containers.
3. Strategic Placement: Place the bait stations in areas where you’ve seen ants, such as near ant trails, under sinks, and along baseboards.
4. Observe and Refill: Check the bait stations regularly and refill them as needed. You should see ants feeding on the solution.
5. Persistence is Key: It may take several days to see a noticeable decrease in the ant population. Continue to replenish the bait until the ants are gone.
6. Final Cleanup: Once the ants have disappeared, remove the bait stations and clean the area to eliminate any lingering pheromone trails.
Recipe 3: Dish Soap and Water Ant Spray
This recipe is more of an instant solution for killing ants on contact. It won’t eliminate the entire colony, but it’s great for quickly getting rid of ants you see crawling around.
What You’ll Need:
* Spray bottle
* 1/2 teaspoon Dish Soap (I prefer using a natural dish soap)
* 1 cup Water
Step-by-Step Instructions:
1. Mix the Solution: In the spray bottle, combine the dish soap and water. Gently shake the bottle to mix the solution. Avoid creating too many bubbles.
2. Spray the Ants: When you see ants, spray them directly with the solution. The soap disrupts their outer coating, causing them to suffocate.
3. Wipe Away: After a few minutes, wipe away the dead ants with a damp cloth.
4. Repeat as Needed: Repeat the process whenever you see ants. This is a good temporary solution while you’re waiting for the bait stations to work.
Recipe 4: Vinegar Ant Deterrent
Vinegar is a natural ant repellent. Ants hate the smell of vinegar, so you can use it to deter them from entering your home. This won’t kill the ants, but it can help keep them away.
What You’ll Need:
* Spray bottle
* White Vinegar
* Water (optional, for a less strong scent)
Step-by-Step Instructions:
1. Prepare the Solution: You can use vinegar straight from the bottle or dilute it with water (equal parts vinegar and water). I usually use it straight for maximum effectiveness.
2. Spray Problem Areas: Spray the vinegar solution around areas where you’ve seen ants, such as along baseboards, under sinks, and around windows and doors.
3. Wipe Surfaces: You can also wipe down countertops and other surfaces with the vinegar solution.
4. Repeat Regularly: Repeat the process every few days, or as needed, to keep the ants away.
Important Safety Tips:
* Keep out of reach of children and pets: While these recipes are generally safe, it’s important to keep them out of reach of children and pets. Borax and boric acid can be harmful if ingested in large quantities.
* Label your bait stations: Clearly label your bait stations to avoid accidental ingestion or misuse.
* Wash your hands: After handling Borax or boric acid, wash your hands thoroughly with soap and water.
* Monitor your pets: If you have pets, monitor them closely to ensure they don’t ingest the bait. If you suspect your pet has ingested Borax or boric acid, contact your veterinarian immediately.
* Use caution with vinegar: Vinegar can damage some surfaces, so test it in an inconspicuous area before spraying it on a large area.
Troubleshooting: Why Isn’t It Working?
Sometimes, even with the best recipes, you might not see results right away. Here are a few common reasons why your DIY ant killer might not be working:
* The ants don’t like the bait: Ants can be picky eaters! Try experimenting with different sweeteners (sugar, honey, corn syrup) to see what they prefer.
* The concentration is wrong: If the Borax or boric acid concentration is too high, the ants will die too quickly and won’t have time to carry the bait back to the colony. Make sure you’re using the correct proportions.
* There’s another food source: If the ants have access to other food sources, they might not be interested in your bait. Make sure to clean up any spills and crumbs and store food in airtight containers.
* You’re not placing the bait in the right location: Ants are creatures of habit. Observe their trails and place the bait stations directly in their path.
* The colony is too large: If you have a very large ant colony, it may take longer to eliminate them. Be patient and persistent
Conclusion
So, there you have it! This simple, effective, and budget-friendly DIY ant killer is a game-changer for anyone battling those persistent little invaders. Forget expensive, chemical-laden sprays that can be harmful to your family and pets. This method utilizes readily available ingredients, making it a safe and sustainable alternative.
Why is this DIY ant killer a must-try? Because it works! The combination of sugar and borax is a deadly duo for ants. The sugar attracts them, while the borax acts as a slow-acting poison. This allows the ants to carry the bait back to their colony, effectively eliminating the entire nest, not just the ants you see scurrying around. This is a crucial difference compared to surface sprays that only offer a temporary solution.
Beyond its effectiveness, this DIY solution is incredibly versatile. You can adjust the consistency of the bait to suit your specific needs. For example, if you’re dealing with ants that prefer a liquid diet, add more water to create a syrupy solution. Conversely, if you’re finding that the liquid bait is drying out too quickly, reduce the amount of water or use a thicker sugar source like honey or corn syrup.
Here are a few suggestions and variations to consider:
* Honey Trap: Substitute granulated sugar with honey for a sweeter, more appealing bait, especially if you notice the ants aren’t immediately drawn to the sugar solution.
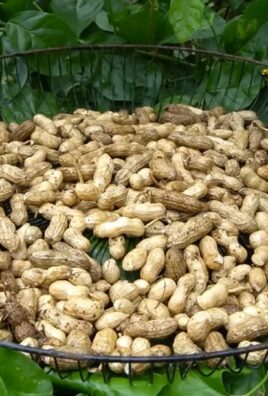
* Peanut Butter Power: For ants that are attracted to protein, add a small amount of peanut butter to the mixture. Be cautious, as peanut butter can attract other pests as well.
* Essential Oil Enhancement: While not directly related to killing the ants, adding a few drops of peppermint or tea tree oil around the treated areas can help deter other ants from entering your home. Remember to keep the essential oils away from the bait itself, as it might repel the ants.
* Outdoor Application: When using this DIY ant killer outdoors, protect the bait from rain by placing it under a small container or covering. This will prevent the bait from being diluted and losing its effectiveness.
* Borax Alternatives: While borax is the most common ingredient, some people prefer to use boric acid. Boric acid is generally considered less toxic than borax, but it’s still important to handle it with care and keep it away from children and pets.
We strongly encourage you to give this DIY ant killer a try. It’s a simple, cost-effective, and environmentally friendly way to rid your home of these unwanted guests. The satisfaction of creating your own solution and seeing it work is truly rewarding.
Don’t just take our word for it! We’d love to hear about your experience. Share your results, variations, and any tips you discover in the comments below. Let’s create a community of DIY ant-fighting experts! Your feedback will help others find the best solution for their ant problems and contribute to a more sustainable approach to pest control. Remember, a little bit of effort can go a long way in creating a pest-free and healthy home. This DIY ant killer is your first step towards achieving that goal.
Frequently Asked Questions (FAQ)
What exactly is borax, and is it safe to use around my home?
Borax, also known as sodium borate, is a naturally occurring mineral compound commonly used in cleaning products and laundry detergents. While it’s generally considered less toxic than many commercial pesticides, it’s still important to handle it with care. Always keep borax out of reach of children and pets. Avoid direct contact with skin and eyes, and wash your hands thoroughly after handling it. If ingested, borax can cause nausea, vomiting, and diarrhea. In small quantities within a bait solution, it poses a minimal risk when placed strategically away from vulnerable individuals. However, it’s crucial to use it responsibly and follow safety precautions. Consider using boric acid as an alternative if you are concerned about the safety of borax.
How long does it take for this DIY ant killer to work?
The time it takes for this DIY ant killer to work can vary depending on the size of the ant colony and the ants’ feeding habits. Generally, you should start seeing a reduction in ant activity within a few days. However, it may take up to a week or two to completely eliminate the colony. The key is to be patient and consistent. Replenish the bait as needed and allow the ants to carry it back to their nest. Remember, the borax works slowly, allowing the ants to distribute it throughout the colony before it takes effect.
What if the ants aren’t attracted to the bait?
If the ants aren’t immediately drawn to the bait, there are a few things you can try. First, make sure the bait is placed in areas where you’ve seen ant activity. Second, try adjusting the sugar-to-borax ratio. Some ants prefer a sweeter solution, while others may be more attracted to a slightly less sweet mixture. You can also try using a different type of sugar, such as honey or corn syrup. As mentioned earlier, adding a small amount of peanut butter can also attract protein-loving ants. Finally, ensure that there are no other food sources available to the ants. Clean up any spills or crumbs that might be competing with the bait.
Where should I place the DIY ant killer bait stations?
The best places to put the bait stations are in areas where you’ve seen ants foraging for food. Common locations include near sinks, under appliances, along baseboards, and in cracks and crevices. It’s also important to place the bait stations in areas that are inaccessible to children and pets. You can use small containers with lids or create your own bait stations using plastic bottles or jars with small holes. The goal is to provide the ants with easy access to the bait while preventing accidental ingestion by others.
Can I use this DIY ant killer outdoors?
Yes, this DIY ant killer can be used outdoors, but you’ll need to take some precautions to protect the bait from the elements. Rain can dilute the bait and make it less effective. To prevent this, place the bait stations under a small container or covering. You can also use a thicker sugar source, such as honey or corn syrup, to make the bait more resistant to dilution. Be mindful of other animals that might be attracted to the bait, and place the stations in areas where they are less likely to access them.
Is this DIY ant killer safe for my pets?
While this DIY ant killer is generally considered safer than commercial pesticides, it’s still important to take precautions to protect your pets. Borax can be harmful if ingested in large quantities. Place the bait stations in areas that are inaccessible to your pets, such as under furniture or behind appliances. You can also use bait stations with small openings that only ants can access. If you’re concerned about your pet’s safety, consider using boric acid as an alternative, as it’s generally considered less toxic. Always monitor your pets for any signs of illness, such as vomiting or diarrhea, and contact your veterinarian if you have any concerns.
What if I have a severe ant infestation?
If you have a severe ant infestation, this DIY ant killer may not be sufficient to completely eliminate the problem. In such cases, it’s best to consult with a professional pest control service. They have access to more powerful treatments and can identify the source of the infestation. However, you can still use this DIY ant killer as a supplementary measure to help control the ant population.
Can I use this DIY ant killer to get rid of other pests?
While this DIY ant killer is specifically designed to target ants, it may also be effective against other sugar-loving pests, such as cockroaches. However, it’s not likely to be effective against pests that are not attracted to sugar, such as spiders or rodents. If you’re dealing with a variety of pests, it’s best to use a targeted approach and choose a pest control method that is specifically designed for each type of pest.


Leave a Comment