

DIY cocoa powder dry shampoo: sounds delicious, right? Well, maybe not to eat, but definitely for your hair! Let’s face it, we’ve all been there – that moment when you’re running late, your hair is looking a little… less than fresh, and you just don’t have time for a full wash and dry. That’s where this simple, yet effective, DIY trick comes to the rescue.
Dry shampoo has been around for ages, with variations popping up throughout history. Think back to powdered wigs in the 18th century – those were essentially early forms of dry shampoo, absorbing oils and adding volume. While we’ve come a long way since then, the core principle remains the same: to refresh your hair without water. But store-bought dry shampoos can be expensive and often contain harsh chemicals. That’s where the magic of DIY cocoa powder dry shampoo comes in!
I’m going to show you how to whip up your own natural, budget-friendly dry shampoo using ingredients you probably already have in your pantry. Not only is it incredibly easy to make, but it’s also a fantastic way to avoid those pesky chemicals and give your hair a little chocolatey boost. Trust me, your scalp (and your wallet) will thank you!
DIY Cocoa Powder Dry Shampoo: Say Goodbye to Oily Hair!
Okay, let’s be honest, we’ve all been there. You’re running late, your hair is looking a little… greasy, and you just don’t have time for a full wash and dry. That’s where dry shampoo comes in! But store-bought dry shampoo can be expensive and often contains ingredients I’m not super thrilled about putting on my scalp. So, I decided to create my own, and guess what? It’s amazing, smells delicious, and uses ingredients you probably already have in your pantry!
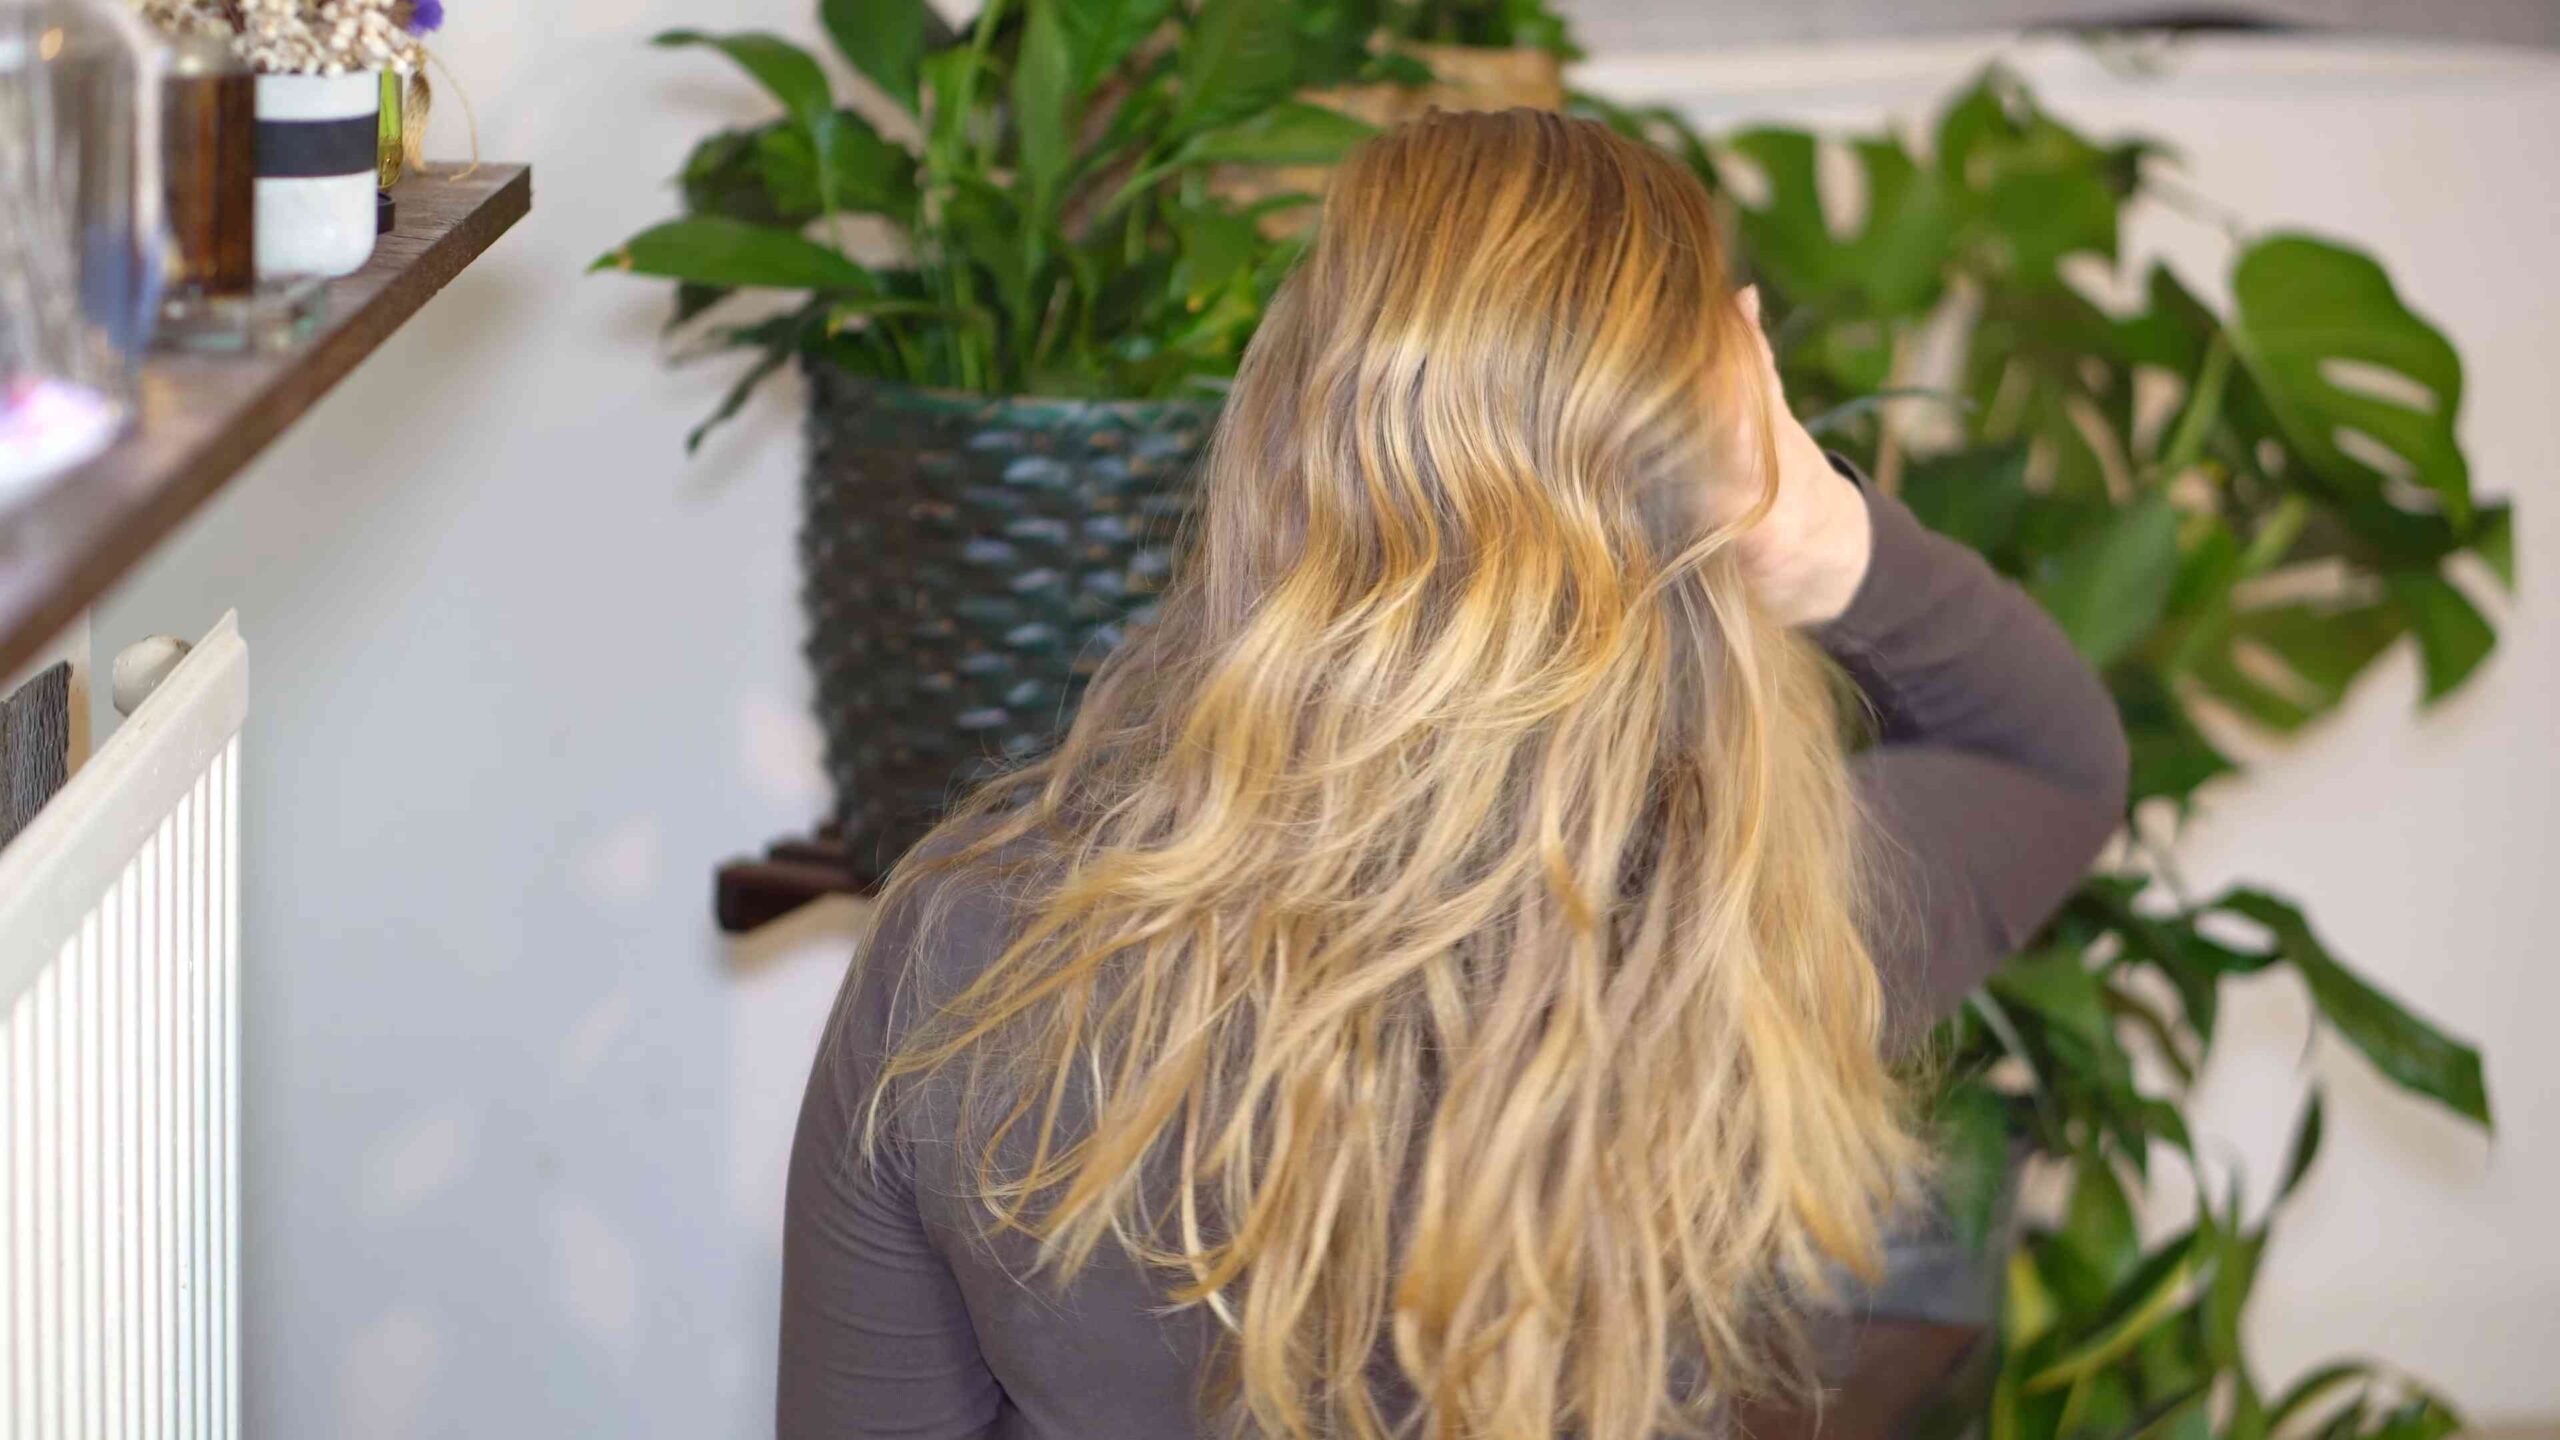
This DIY cocoa powder dry shampoo is perfect for brunettes and dark-haired beauties. The cocoa powder helps to blend seamlessly with darker hair colors, eliminating that dreaded white cast that some dry shampoos leave behind. Plus, it smells like chocolate! What’s not to love?
What You’ll Need
Before we dive in, let’s gather our supplies. This is a super simple recipe, so you won’t need much!
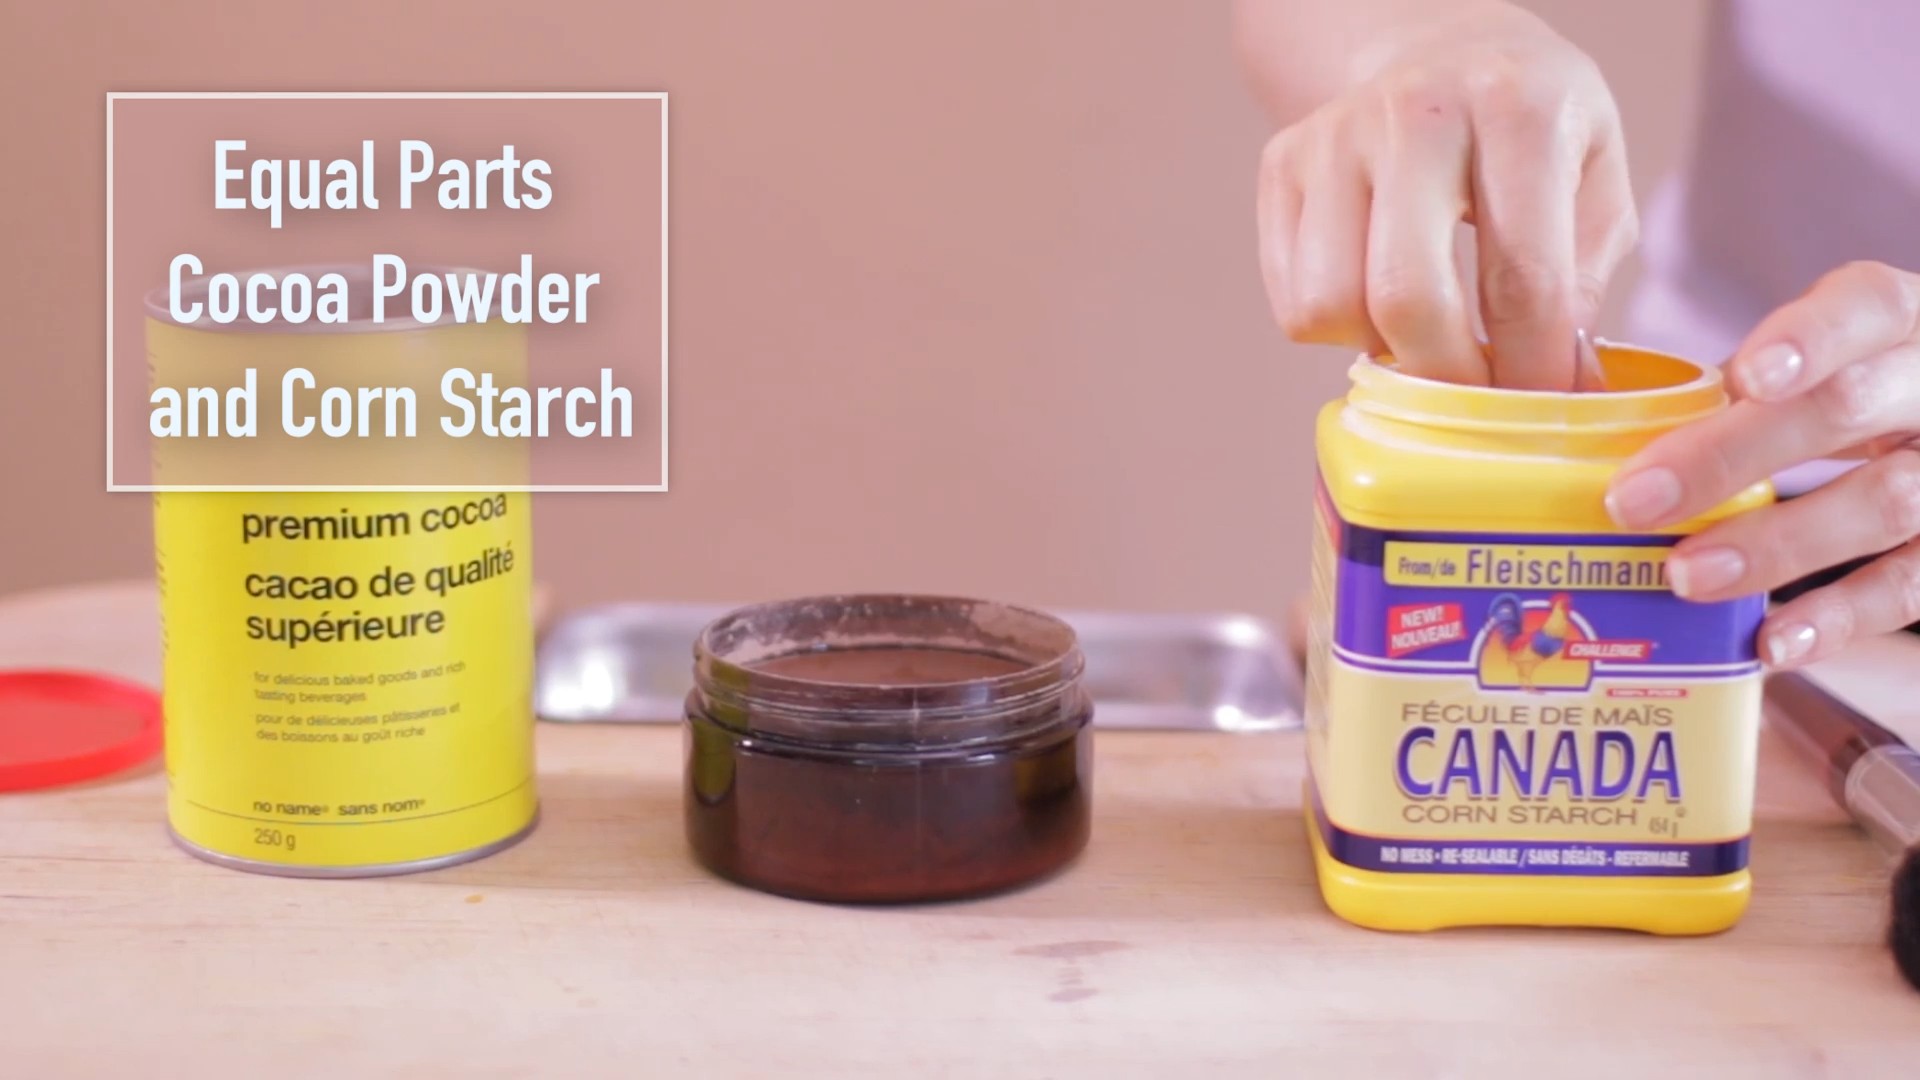
* Cocoa Powder: This is the star of the show! Unsweetened cocoa powder works best. It absorbs oil and adds a lovely tint to dark hair.
* Cornstarch or Arrowroot Powder: These are the absorbent base of our dry shampoo. They soak up excess oil and give your hair a clean feeling. I prefer arrowroot powder because it’s a bit finer and feels smoother on my scalp, but cornstarch works just as well.
* Optional: Essential Oil (Lavender, Rosemary, or Peppermint): A few drops of essential oil can add a pleasant scent and some potential scalp benefits. Lavender is calming, rosemary is stimulating, and peppermint is refreshing. Choose your favorite!
* Optional: Bentonite Clay: If you have particularly oily hair, adding a small amount of bentonite clay can boost the oil-absorbing power of your dry shampoo.
* A Small Bowl: For mixing our ingredients.
* A Spoon or Whisk: To combine everything thoroughly.
* An Applicator: You have a few options here:
* Makeup Brush: A large, fluffy makeup brush (like a blush brush) works great for applying the dry shampoo directly to your roots.
* Salt Shaker or Spice Jar: A repurposed salt shaker or spice jar with a shaker top is perfect for dispensing the dry shampoo evenly.
* Powder Puff: A powder puff can be used to dab the dry shampoo onto your scalp.
* A Small Container: To store your finished dry shampoo. A small jar or container with a lid works perfectly.
Mixing Your DIY Cocoa Powder Dry Shampoo
Now for the fun part! Let’s get mixing. This recipe is super forgiving, so don’t worry about being too precise.
1. Combine the Base Ingredients: In your small bowl, combine 2 tablespoons of cornstarch or arrowroot powder with 2 tablespoons of cocoa powder.
2. Add Bentonite Clay (Optional): If you’re using bentonite clay, add 1 teaspoon to the bowl.
3. Mix Thoroughly: Use your spoon or whisk to mix all the ingredients together until they are evenly combined and there are no lumps. The mixture should be a uniform color.
4. Add Essential Oil (Optional): If you’re using essential oil, add 2-3 drops to the mixture. Be careful not to add too much, as essential oils can be potent.
5. Mix Again: Mix everything together one last time to distribute the essential oil evenly.
6. Transfer to Your Container: Carefully transfer your finished dry shampoo to your chosen container. If you’re using a shaker, make sure the holes are small enough to dispense the powder evenly.
Applying Your DIY Cocoa Powder Dry Shampoo
Okay, you’ve made your dry shampoo, now let’s learn how to use it! The key is to apply it sparingly and evenly.
1. Part Your Hair: Use your fingers or a comb to part your hair in sections, exposing your roots.
2. Apply the Dry Shampoo:
* Using a Makeup Brush: Dip the brush into the dry shampoo and tap off any excess. Gently dab the brush onto your roots, focusing on the oiliest areas.
* Using a Shaker: Lightly shake the dry shampoo onto your roots, being careful not to overdo it.
* Using a Powder Puff: Dab the powder puff into the dry shampoo and gently pat it onto your roots.
3. Massage It In: Use your fingertips to gently massage the dry shampoo into your scalp. This will help to distribute the powder evenly and absorb the oil.
4. Wait a Few Minutes: Let the dry shampoo sit on your hair for a few minutes (2-3 minutes is usually enough) to allow it to absorb the oil.
5. Brush It Out: Use a brush to brush through your hair, removing any excess powder. You can also use your fingers to shake out any remaining powder.
6. Style as Usual: Style your hair as you normally would. You should notice that your hair looks cleaner, fresher, and has more volume!
Tips and Tricks for Perfect Dry Shampoo Application
Here are a few extra tips to help you get the most out of your DIY cocoa powder dry shampoo:
* Less is More: Start with a small amount of dry shampoo and add more as needed. It’s always easier to add more than to remove excess.
* Focus on the Roots: Concentrate the dry shampoo on your roots, where the oil is most concentrated.
* Apply Before Bed: For best results, apply your dry shampoo before bed. This will give it plenty of time to absorb the oil overnight.
* Don’t Overuse: While dry shampoo is a great tool, it’s not a substitute for washing your hair. Overusing dry shampoo can lead to buildup and scalp irritation. Aim to wash your hair every 2-3 days.
* Adjust the Recipe: Feel free to adjust the recipe to suit your hair type and preferences. If you have very oily hair, you may want to add more bentonite clay. If you have dry hair, you may want to use less cocoa powder.
* Experiment with Scents: Get creative with your essential oil choices! You can try different combinations to find your favorite scent.
* Clean Your Applicator: Regularly clean your makeup brush or powder puff to prevent buildup and bacteria growth.
* Store in a Cool, Dry Place: Store your dry shampoo in a cool, dry place to prevent clumping.
Troubleshooting
Sometimes, things don’t go exactly as planned. Here are a few common issues and how to fix them:
* White Cast: If you’re seeing a white cast, you may be using too much dry shampoo. Try using less or brushing it out more thoroughly. You can also try adding a bit more cocoa powder to the mixture.
* Greasy Hair: If your hair still looks greasy after applying dry shampoo, you may need to use more. You can also try adding bentonite clay to the mixture for extra oil absorption.
* Scalp Irritation: If you experience scalp irritation, you may be sensitive to one of the ingredients. Try using a different essential oil or omitting it altogether. You can also try using a gentler base powder, such as arrowroot powder.
* Clumping: If your dry shampoo is clumping, it may be due to moisture. Make sure to store it in a cool, dry place. You can also try adding a small amount of rice flour to the mixture to help absorb moisture.
Why I Love This DIY Dry Shampoo
I’ve been using this DIY cocoa powder dry shampoo for years, and I absolutely love it! It’s:
* Affordable: It’s much cheaper than store-bought dry shampoo.
* Natural: It’s made with simple, natural ingredients that I feel good about putting on my scalp.
* Effective: It effectively absorbs oil and leaves my hair feeling clean and refreshed.
* Smells Amazing: The cocoa powder gives it a delicious chocolate scent.
* Customizable: I can adjust the recipe to suit my hair type and preferences.
So, there you have it! My go-to recipe for DIY cocoa powder dry shampoo. I hope you give it a try and love it as much as I do! Let me know in the comments if you have any questions or if you try any variations of the recipe. Happy dry shampooing!
Conclusion
So, there you have it! Ditching the expensive store-bought dry shampoo and embracing this simple, effective, and surprisingly delightful DIY cocoa powder dry shampoo is a game-changer for your hair and your wallet. We’ve walked you through the easy steps, highlighted the benefits, and hopefully, convinced you that this is a beauty hack worth trying.
Why is this a must-try? Because it’s more than just a quick fix for greasy hair. It’s a natural, customizable solution that avoids harsh chemicals and artificial fragrances. It’s a sustainable choice that reduces plastic waste. And let’s be honest, who doesn’t love the subtle chocolatey scent wafting from their hair? It’s a little mood booster throughout the day!
But the best part is the control you have. Feel like adding a touch of essential oil for extra fragrance and scalp benefits? Go for it! Lavender for relaxation, rosemary for hair growth, or tea tree for its antiseptic properties – the possibilities are endless. Is your hair a lighter shade of brown or even blonde? Mix in some arrowroot powder or cornstarch to lighten the cocoa powder’s intensity and avoid any unwanted tint. Experiment with different ratios to find the perfect blend that matches your hair color and absorbs oil effectively.
Consider adding a pinch of cinnamon for its stimulating properties and warm scent, or a few drops of argan oil for added shine and moisture. For those with sensitive scalps, a tablespoon of finely ground oatmeal can provide soothing relief. The beauty of this DIY approach is that you can tailor it to your specific needs and preferences.
We understand that trying something new can be a little daunting, but trust us, this is one DIY project that’s incredibly rewarding. The satisfaction of creating your own effective and eco-friendly beauty product is unmatched. Plus, you’ll be amazed at how well it works!
Don’t just take our word for it, though. We wholeheartedly encourage you to give this DIY cocoa powder dry shampoo a try. Once you’ve experienced the magic of this simple recipe, we’d love to hear about your results! Share your experiences, variations, and tips in the comments below. Let’s build a community of DIY beauty enthusiasts who are passionate about natural, sustainable, and effective hair care.
What are you waiting for? Say goodbye to greasy hair days and hello to fresh, voluminous locks with this easy and affordable DIY solution. Your hair (and your wallet) will thank you!
Frequently Asked Questions (FAQ)
Q: Will the cocoa powder stain my hair?
A: This is a common concern, especially for those with lighter hair. The key is to use the right type of cocoa powder and adjust the recipe accordingly. Opt for unsweetened cocoa powder, as it tends to be less pigmented than Dutch-processed cocoa. If you have blonde or light brown hair, start with a very small amount of cocoa powder and gradually add more until you achieve the desired color match. You can also mix the cocoa powder with a lighter powder, such as arrowroot powder, cornstarch, or even rice flour, to dilute the color. Start with a ratio of 1:3 (cocoa powder to lighter powder) and adjust as needed. Always test the mixture on a small, inconspicuous section of your hair before applying it all over. Remember, the goal is to absorb oil, not to dye your hair!
Q: How often can I use this DIY dry shampoo?
A: While this DIY dry shampoo is a great alternative to commercial products, it’s still best to avoid overusing it. Excessive use of any dry shampoo, even a natural one, can lead to product buildup on the scalp, which can clog pores and potentially cause irritation or even hair loss. We recommend using it no more than two or three times a week. On other days, try to wash your hair with a gentle, sulfate-free shampoo and conditioner. If you find that your scalp is becoming dry or itchy, reduce the frequency of use or consider adding a moisturizing ingredient, such as a few drops of argan oil or jojoba oil, to your DIY dry shampoo mixture.
Q: Can I use this on dark hair as well?
A: Absolutely! In fact, this DIY dry shampoo is particularly well-suited for dark hair, as the cocoa powder naturally blends in with darker shades. You may not even need to add any lighter powders. However, it’s still a good idea to start with a small amount and gradually add more until you achieve the desired oil absorption. If you have very dark hair, you can even add a pinch of activated charcoal to the mixture for extra oil-absorbing power and a deeper color match.
Q: How long does this DIY dry shampoo last?
A: When stored properly, this DIY dry shampoo can last for several months. The key is to keep it in an airtight container in a cool, dry place. Moisture can cause the cocoa powder to clump and spoil, so make sure the container is completely dry before adding the mixture. A glass jar or a plastic container with a tight-fitting lid works well. Avoid storing it in the bathroom, as the humidity can shorten its shelf life. If you notice any changes in the smell, texture, or color of the mixture, it’s best to discard it and make a fresh batch.
Q: What if I don’t have cocoa powder? Can I use something else?
A: While cocoa powder is the star ingredient in this recipe, there are a few alternatives you can use if you don’t have any on hand. For dark hair, you can try using ground coffee beans. Just make sure they are finely ground to avoid any gritty texture. For lighter hair, arrowroot powder, cornstarch, or rice flour are all good options. You can also add a pinch of cinnamon or ginger for a warm scent and stimulating properties. However, keep in mind that these alternatives may not provide the same subtle tint and chocolatey fragrance as cocoa powder.
Q: How do I apply the dry shampoo evenly?
A: Even application is crucial for avoiding any visible residue. The best way to apply this DIY dry shampoo is with a makeup brush, specifically a large, fluffy powder brush. Dip the brush into the mixture, tap off any excess, and then gently apply it to your roots, focusing on the oiliest areas. You can also use your fingertips to massage the powder into your scalp. After applying the dry shampoo, wait a few minutes for it to absorb the oil, and then brush your hair thoroughly to distribute the powder evenly and remove any excess. If you’re using a shaker bottle, apply the powder sparingly and then massage it into your scalp with your fingertips.
Q: Can I use essential oils in this recipe?
A: Absolutely! Adding essential oils to your DIY dry shampoo can provide extra fragrance and therapeutic benefits. Lavender oil is known for its calming and relaxing properties, while rosemary oil is believed to promote hair growth. Tea tree oil has antiseptic properties that can help to cleanse the scalp and prevent dandruff. Peppermint oil can provide a refreshing and invigorating sensation. When adding essential oils, start with just a few drops (2-3 drops per tablespoon of dry shampoo) and adjust as needed. Be sure to use high-quality, pure essential oils and avoid using any oils that you are allergic to.
Q: Is this DIY dry shampoo safe for sensitive scalps?
A: In most cases, this DIY dry shampoo is safe for sensitive scalps, as it contains natural ingredients and avoids harsh chemicals. However, it’s always a good idea to do a patch test before applying it all over your scalp. Apply a small amount of the mixture to a small area of your skin (such as behind your ear) and wait 24 hours to see if any irritation occurs. If you have a very sensitive scalp, you may want to add a tablespoon of finely ground oatmeal to the mixture for its soothing properties. You can also avoid using essential oils, as they can sometimes irritate sensitive skin.
Q: How do I clean my brush after using it to apply the dry shampoo?
A: Cleaning your makeup brush regularly is essential for preventing bacteria buildup and ensuring even application. After each use, gently tap the brush against a hard surface to remove any excess powder. Once a week, wash the brush with a mild soap and warm water. Rinse thoroughly and allow it to air dry completely before using it again. You can also use a brush cleaner specifically designed for makeup brushes.
Leave a Comment