

DIY Globe Chandelier: Ever looked at a plain, boring light fixture and thought, “I could totally make that amazing”? Well, get ready to unleash your inner artist because this DIY project is about to transform your space! For centuries, chandeliers have been symbols of elegance and sophistication, gracing the halls of castles and grand estates. But who says you need a royal budget to enjoy a stunning statement piece?
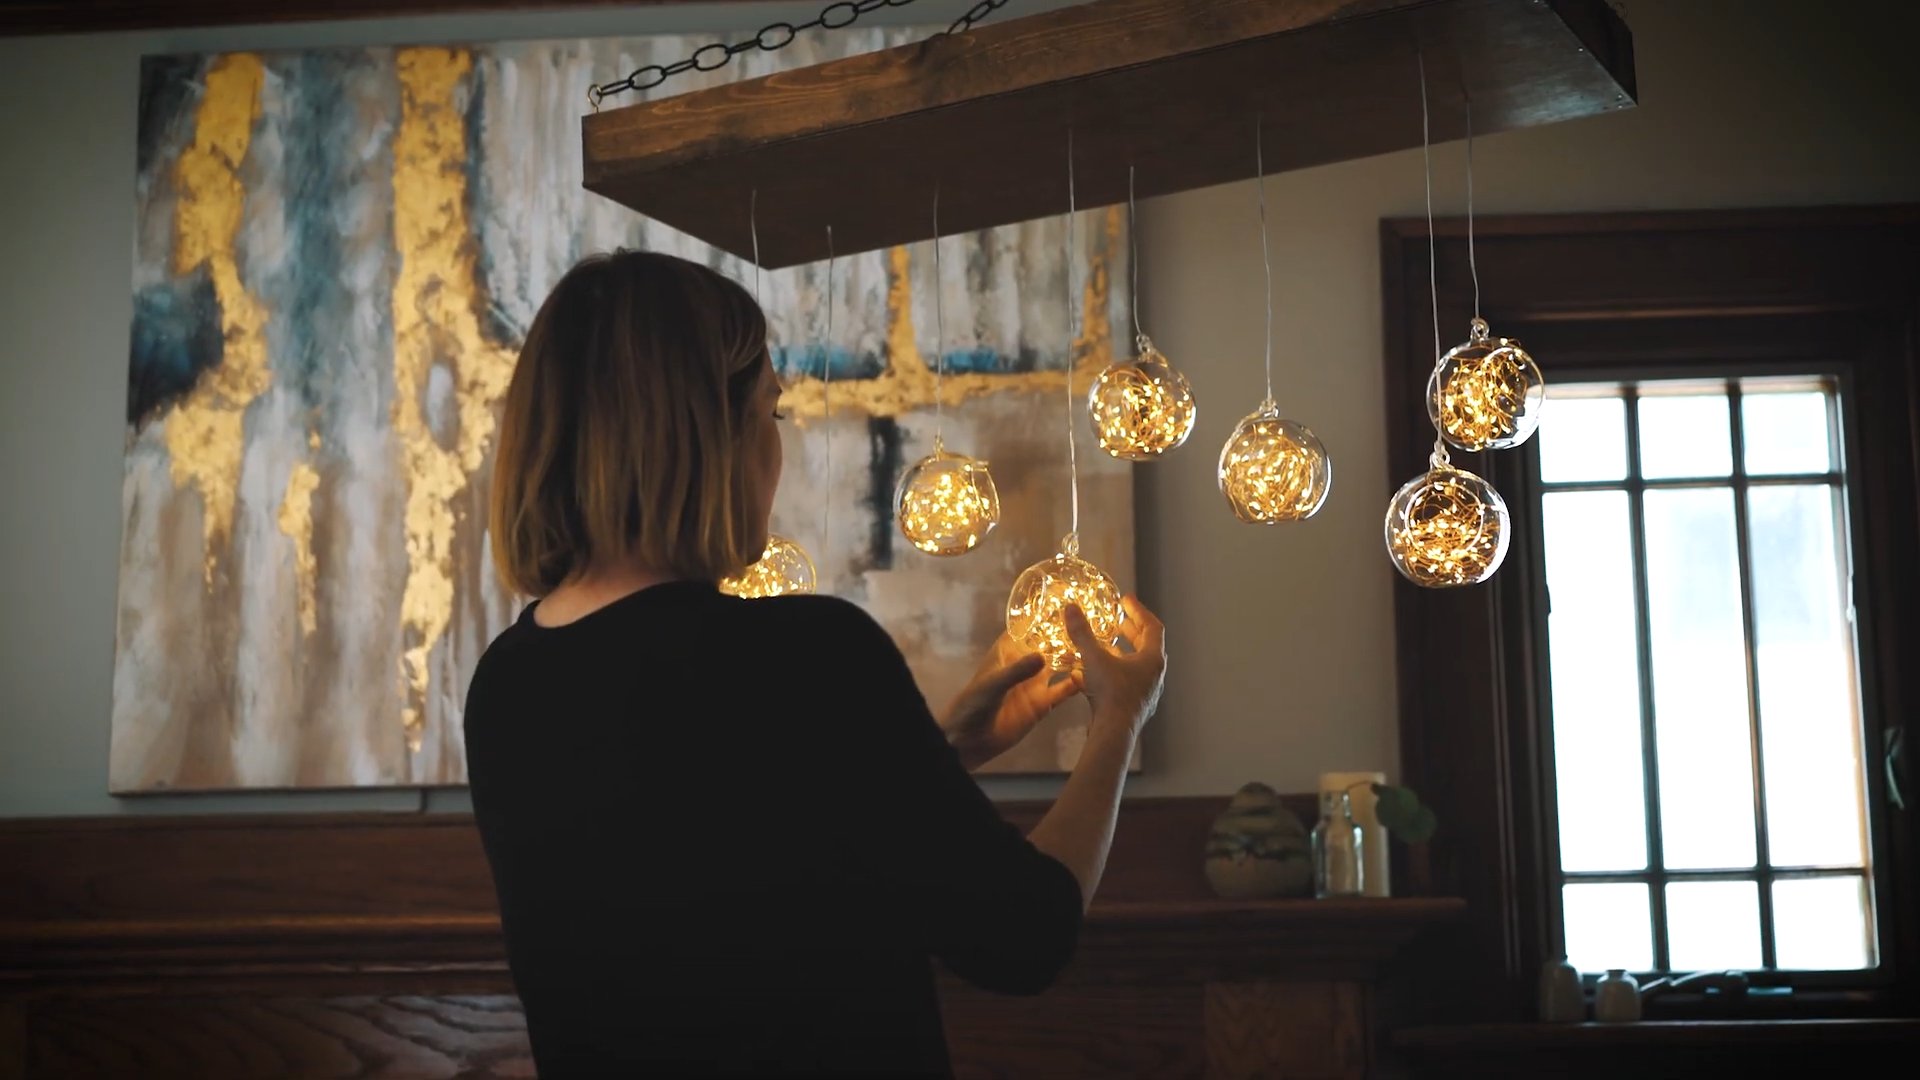
I’m going to show you how to create a breathtaking globe chandelier that’s not only budget-friendly but also a fantastic conversation starter. This isn’t just about adding light; it’s about adding personality and a touch of wanderlust to your home. Imagine the soft glow illuminating your dining room, casting intricate shadows that dance across the walls.
In today’s world, where mass-produced items dominate, creating something unique and personal is more important than ever. This DIY Globe Chandelier project allows you to express your creativity, recycle old globes, and craft a one-of-a-kind lighting fixture that reflects your individual style. Plus, it’s a fantastic way to impress your friends and family with your crafting skills! So, grab your tools, gather your globes, and let’s embark on this exciting DIY adventure together!
DIY Globe Chandelier: Light Up Your World!
Okay, globe lovers and DIY enthusiasts, get ready to embark on a project that’s both illuminating and geographically awesome! I’m going to walk you through how to create a stunning globe chandelier that will be the conversation starter of any room. This isn’t just about hanging a light; it’s about crafting a unique piece of art that reflects your adventurous spirit.
Materials You’ll Need: Your Global Shopping List
Before we dive in, let’s gather our supplies. Trust me, having everything ready beforehand will make the process so much smoother.
* Globe(s): This is the star of the show! You can use one large globe or several smaller ones. I recommend finding vintage globes at thrift stores, antique shops, or online marketplaces. They have a certain charm and character that new globes just can’t replicate. Consider the size of your room and the desired impact when choosing the number and size of your globes. I used three globes of varying sizes for a more dynamic look.
* Chandelier Kit: You’ll need a basic chandelier kit that includes a ceiling canopy, chain, wiring, and light sockets. You can find these at most hardware stores or online. Make sure the kit is rated for the weight of your globe(s).
* Light Bulbs: Choose bulbs that complement the style of your chandelier. Edison bulbs add a vintage touch, while LED bulbs are energy-efficient and come in various colors and brightness levels. I opted for warm white LED Edison bulbs to create a cozy and inviting atmosphere.
* Drill with Drill Bits: You’ll need a drill to create holes in the globes for the wiring and light sockets. Use a drill bit that’s appropriate for the material of your globe (usually plastic or cardboard). Start with a small bit and gradually increase the size to avoid cracking the globe.
* Wire Strippers/Cutters: Essential for working with electrical wiring. Make sure you know how to use these safely!
* Screwdrivers: You’ll need both Phillips head and flathead screwdrivers for various steps.
* Pliers: Helpful for gripping and bending wires.
* Safety Glasses: Protect your eyes from debris when drilling.
* Gloves: To protect your hands.
* Measuring Tape: For accurate measurements.
* Pencil or Marker: For marking drilling points.
* Optional:
* Paint or Stain: If you want to customize the color of the chandelier kit components.
* Decorative Chain Covers: To add a touch of elegance to the chain.
* Clear Coat Spray: To protect the globes from dust and fading.
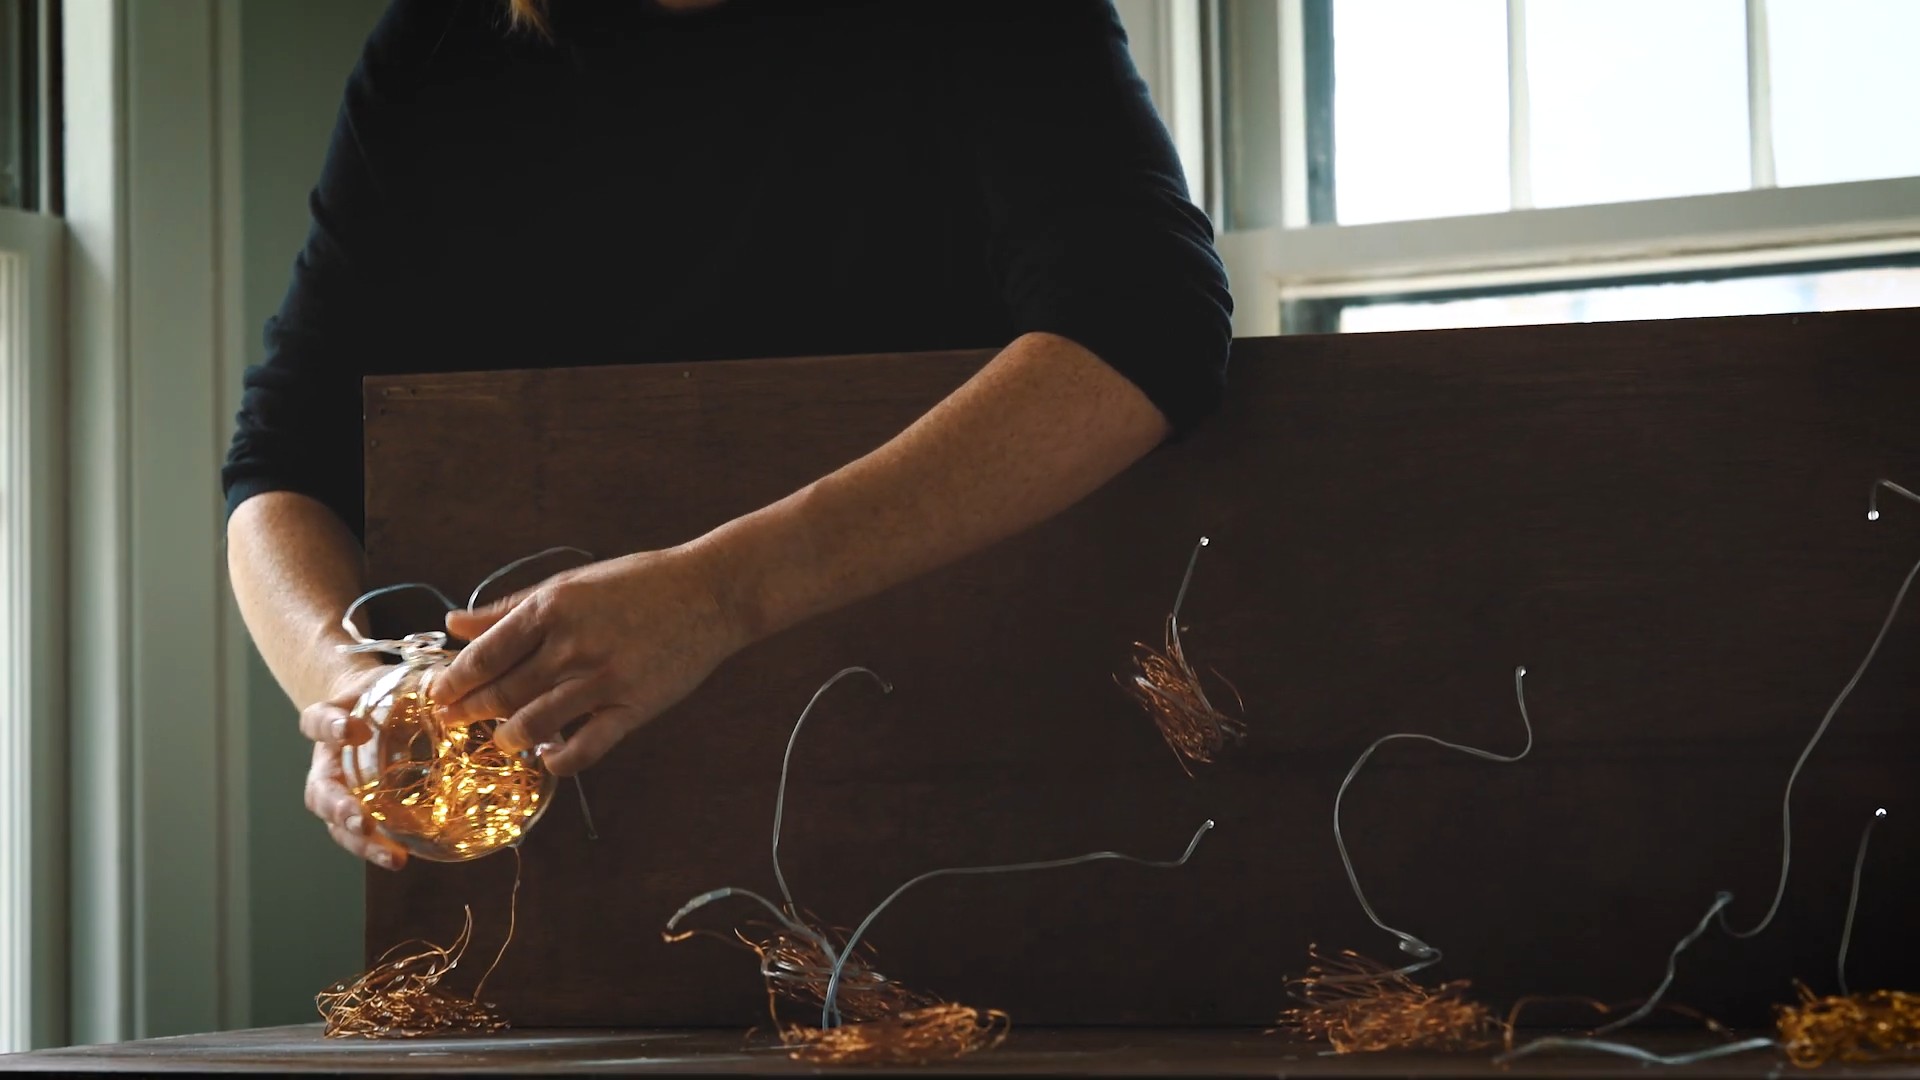
Phase 1: Globe Preparation – A World of Possibilities
This is where the real fun begins! We’re going to transform these globes into light-bearing beauties.
1. Mark the Drilling Points: Decide where you want the light sockets to be positioned on the globe(s). I chose to place them near the bottom, where the continents are, to create interesting shadows. Use a pencil or marker to mark the drilling points. Remember to consider the size of the light socket when marking the hole size.
2. Drill the Holes: Put on your safety glasses! Using the drill and appropriate drill bit, carefully drill the holes at the marked points. Start with a small pilot hole and gradually increase the size until the hole is large enough to accommodate the light socket. Go slowly and apply gentle pressure to avoid cracking the globe. If your globe is made of cardboard, you might need to reinforce the area around the hole with glue or tape to prevent it from tearing.
3. Clean Up: Once you’ve drilled the holes, clean up any debris or sharp edges around the holes. You can use sandpaper or a file to smooth them out.
Phase 2: Wiring the Chandelier – Let There Be Light!
Important Safety Note: If you’re not comfortable working with electrical wiring, please consult a qualified electrician. Electricity can be dangerous, and it’s always better to be safe than sorry.
1. Prepare the Chandelier Kit: Unpack the chandelier kit and familiarize yourself with the components. Read the instructions carefully.
2. Thread the Wire: Thread the wire through the chain, starting from the ceiling canopy end. Leave enough wire at the top to connect to the junction box in the ceiling.
3. Connect the Light Sockets: Connect the wires to the light sockets according to the instructions in the chandelier kit. Make sure the connections are secure. I like to double-check my connections to ensure everything is safe and sound.
4. Install the Light Sockets in the Globes: Carefully insert the light sockets into the holes you drilled in the globes. Secure them in place with the provided hardware or by using glue. Make sure the sockets are firmly attached to the globes.
5. Connect the Wires: Connect the wires from the light sockets to the main wire running through the chain. Use wire connectors to ensure secure and insulated connections. Again, double-check everything!
Phase 3: Hanging the Chandelier – A World on Display
This is the final step, and it’s where your creation comes to life!
1. Turn Off the Power: Before you start working with the electrical wiring in the ceiling, turn off the power to the circuit at the breaker box. This is absolutely crucial for your safety.
2. Install the Ceiling Canopy: Attach the ceiling canopy to the junction box in the ceiling according to the instructions in the chandelier kit. Make sure the canopy is securely attached to the ceiling.
3. Connect the Wires: Connect the wires from the chandelier to the wires in the junction box. Typically, you’ll have a black (hot) wire, a white (neutral) wire, and a green or bare (ground) wire. Connect the corresponding wires together using wire connectors.
4. Secure the Chandelier: Carefully lift the chandelier and attach the chain to the ceiling canopy. Make sure the chain is securely attached and that the chandelier is hanging straight.
5. Install the Light Bulbs: Screw in the light bulbs.
6. Turn On the Power: Turn the power back on at the breaker box.
7. Test the Chandelier: Turn on the light switch and admire your handiwork! If the chandelier doesn’t light up, double-check all the wiring connections.
Tips and Tricks for a Globally Gorgeous Chandelier
* Globe Selection: Don’t be afraid to mix and match globe sizes and styles. A combination of vintage and modern globes can create a unique and eclectic look. Consider the color scheme of your room when choosing the globes.
* Hanging Height: The ideal hanging height for your chandelier will depend on the size of your room and the height of your ceiling. As a general rule, the bottom of the chandelier should be at least 7 feet above the floor.
* Customization: Get creative with the chandelier kit! You can paint or stain the components to match your decor. Add decorative chain covers for a touch of elegance.
* Safety First: Always prioritize safety when working with electricity. If you’re not comfortable with any of the steps, consult a qualified electrician.
* Troubleshooting: If the chandelier doesn’t work, double-check all the wiring connections. Make sure the light bulbs are working and that the power is turned on at the breaker box.
Alternative Globe Chandelier Ideas
* Hot Air Balloon Globe Chandelier: Add small baskets and miniature figures to the globes to create a whimsical hot air balloon effect.
* Constellation Globe Chandelier: Paint constellations on the globes using glow-in-the-dark paint for a celestial-inspired look.
* Map-Covered Globe Chandelier: Decoupage the globes with vintage maps for a truly unique and travel-themed chandelier.
I hope you enjoyed this DIY globe chandelier tutorial! It’s a project that’s both fun and rewarding, and it’s sure to add a touch of global flair to your home. Happy crafting!
Conclusion
So, there you have it! Transforming an ordinary globe into a stunning, personalized chandelier is not only achievable but also incredibly rewarding. This DIY globe chandelier project offers a unique opportunity to inject personality and global flair into your home decor. Forget generic lighting fixtures; this is a chance to create a conversation starter, a piece of art that reflects your love for travel, geography, or simply unique design.
Why is this DIY trick a must-try? Firstly, it’s budget-friendly. Repurposing an old globe is far more economical than purchasing a high-end chandelier. Secondly, it’s customizable. You have complete control over the size, style, and finish of your chandelier. Want a vintage look? Use an antique globe and aged brass hardware. Prefer a modern aesthetic? Opt for a sleek, minimalist design with a contemporary globe. Thirdly, it’s a sustainable choice. Upcycling reduces waste and gives a new lease on life to an item that might otherwise end up in a landfill.
But the benefits extend beyond practicality. This project is therapeutic and creatively stimulating. The process of carefully cutting, wiring, and assembling your chandelier is a mindful activity that allows you to disconnect from the digital world and reconnect with your inner artist. The satisfaction of seeing your vision come to life is unparalleled.
Looking for suggestions or variations? Consider these ideas:
* Mini Globe Chandelier: Use smaller globes to create a cluster chandelier, perfect for a reading nook or small bedroom.
* Themed Globe Chandelier: Choose a globe with a specific theme, such as constellations or historical maps, to create a chandelier that reflects your interests.
* Painted Globe Chandelier: Paint the globe with vibrant colors or intricate patterns to create a truly unique and eye-catching piece.
* Mixed Media Globe Chandelier: Incorporate other materials, such as beads, crystals, or feathers, to add texture and visual interest.
* Solar Powered Globe Chandelier: For outdoor use, consider converting your globe chandelier to solar power.
Don’t be afraid to experiment and let your creativity guide you. The possibilities are endless!
We wholeheartedly encourage you to embark on this DIY adventure. It’s a project that’s both fun and fulfilling, and the end result is a stunning piece of decor that you’ll be proud to display in your home. Once you’ve completed your DIY globe chandelier, we’d love to see your creation! Share your photos and experiences with us on social media using #DIYGlobeChandelier. We can’t wait to see what you come up with! Let’s illuminate the world, one globe at a time.
Frequently Asked Questions (FAQ)
What kind of globe is best for a DIY chandelier?
The best type of globe for a DIY chandelier depends on the look you’re going for. For a vintage aesthetic, an antique globe with aged paper and muted colors is ideal. For a modern look, a globe with clean lines and contemporary typography is a better choice. Consider the size of the globe as well. A larger globe will create a more dramatic statement, while smaller globes are better suited for cluster chandeliers or smaller spaces. Also, consider the material. Paper globes are easier to cut and work with, but plastic globes are more durable and weather-resistant. Ultimately, the best globe is the one that best fits your personal style and the overall design of your chandelier.
Is it safe to wire a chandelier myself?
Electrical work can be dangerous, so safety should always be your top priority. If you’re not comfortable working with electricity, it’s best to hire a qualified electrician to handle the wiring. If you choose to wire the chandelier yourself, be sure to turn off the power at the circuit breaker before you begin. Use properly insulated wires and connectors, and follow all local electrical codes. Double-check your wiring before turning the power back on. If you’re unsure about any aspect of the wiring process, consult a professional.
What tools do I need to make a globe chandelier?
The tools you’ll need will vary depending on the specific design of your chandelier, but here’s a general list:
* Globe
* Pencil or marker
* Ruler or measuring tape
* Craft knife or rotary cutter
* Drill with various sized drill bits
* Wire strippers
* Wire connectors
* Light socket(s)
* Electrical wire
* Chandelier chain or cord
* Ceiling canopy
* Safety glasses
* Gloves
How do I cut the globe without damaging it?
Cutting the globe requires patience and a steady hand. Start by marking the desired cut lines with a pencil or marker. Use a sharp craft knife or rotary cutter to carefully score the lines. For paper globes, you may be able to cut through the paper in a single pass. For plastic globes, you may need to score the lines several times before you can cut through the plastic. Work slowly and carefully to avoid damaging the globe. If you’re using a rotary cutter, use a cutting mat to protect your work surface.
How do I hang the globe chandelier?
Hanging the globe chandelier is similar to hanging any other chandelier. First, turn off the power at the circuit breaker. Locate the ceiling joist where you want to hang the chandelier. If there’s no existing electrical box, you’ll need to install one. Attach the ceiling canopy to the electrical box. Connect the electrical wires from the chandelier to the wires in the electrical box, using wire connectors. Carefully tuck the wires into the electrical box. Attach the chandelier chain or cord to the ceiling canopy and the chandelier. Adjust the length of the chain or cord to the desired height. Turn the power back on at the circuit breaker.
Can I use LED bulbs in my globe chandelier?
Yes, LED bulbs are a great choice for globe chandeliers. They’re energy-efficient, long-lasting, and produce very little heat. This is especially important for paper globes, as incandescent bulbs can generate enough heat to damage the paper. Choose LED bulbs with a wattage that’s appropriate for the size of your globe and the desired level of brightness. You can also choose bulbs with different color temperatures to create different moods.
How do I clean my globe chandelier?
Cleaning your globe chandelier will depend on the material of the globe. For paper globes, use a soft, dry cloth to gently dust the surface. Avoid using water or cleaning solutions, as they can damage the paper. For plastic globes, you can use a damp cloth with a mild soap solution. Be sure to dry the globe thoroughly after cleaning. For metal parts, use a metal polish to keep them looking shiny.
What if my globe is too fragile to cut?
If your globe is particularly fragile, consider alternative methods of creating a chandelier. Instead of cutting the globe, you could drill small holes in it and string lights through the holes. This will create a beautiful, illuminated effect without compromising the integrity of the globe. You could also use the globe as a shade for an existing pendant light fixture. Simply remove the existing shade and attach the globe to the fixture.
Where can I find inspiration for my DIY globe chandelier?
There are many sources of inspiration for DIY globe chandeliers. Browse online platforms like Pinterest, Instagram, and Etsy for ideas. Look through home decor magazines and websites for inspiration. Visit antique stores and flea markets to find unique globes and hardware. Don’t be afraid to experiment and put your own spin on existing designs. The most important thing is to create a chandelier that reflects your personal style and taste.


Leave a Comment