

DIY kale bottle garden: Ever dreamed of fresh, homegrown kale gracing your salads and smoothies, even if you’re short on space or a seasoned gardener? Well, get ready to turn that dream into a delicious reality! This isn’t just another gardening article; it’s your passport to a miniature, thriving kale oasis, crafted from something you probably already have lying around – a plastic bottle!
For centuries, humans have cultivated gardens, finding sustenance and solace in nurturing plants. From the hanging gardens of Babylon to the humble window boxes of modern apartments, the desire to connect with nature and grow our own food is deeply ingrained. But let’s face it, not everyone has acres of land or even a sunny backyard. That’s where the magic of upcycling and innovative techniques like creating a DIY kale bottle garden comes in!
Imagine this: you’re whipping up a healthy lunch, and instead of trekking to the grocery store, you simply snip a few fresh kale leaves from your very own bottle garden, perched on your windowsill or balcony. No more wilted greens from the supermarket, no more worrying about pesticides – just pure, homegrown goodness at your fingertips. This DIY project is not only incredibly rewarding but also a fantastic way to reduce waste, learn about plant life cycles, and add a touch of green to your living space. I’m excited to show you how easy and fun it is to create your own thriving kale garden in a bottle!
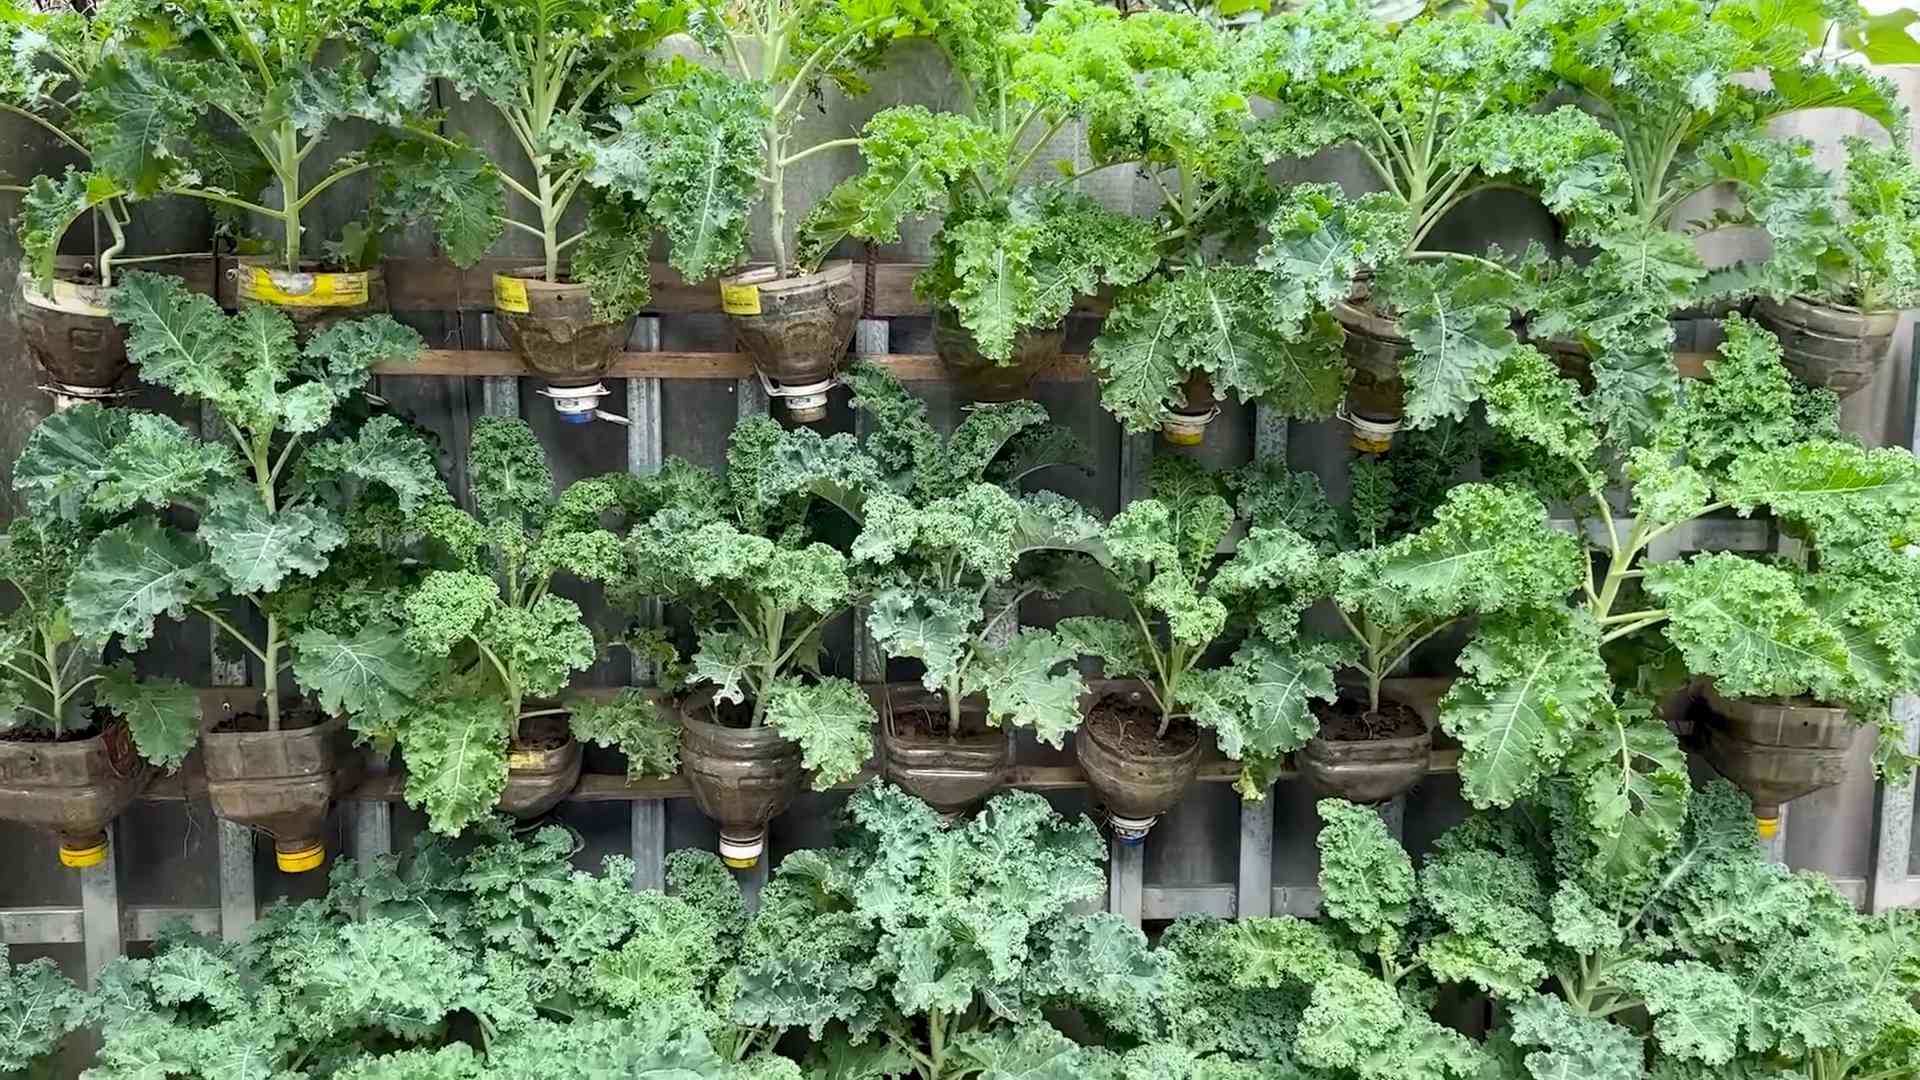
DIY Upside-Down Kale Bottle Garden: A Thrifty & Green Project!
Hey there, fellow gardening enthusiasts! I’m super excited to share this awesome DIY project with you: creating an upside-down kale bottle garden. It’s a fantastic way to grow fresh, organic kale even if you’re short on space, and it’s incredibly budget-friendly. Plus, it’s a great way to recycle those plastic bottles piling up! Let’s dive in!
What You’ll Need:
Before we get started, let’s gather all the necessary materials. Trust me, having everything ready beforehand will make the process so much smoother.
* Plastic Bottles: You’ll need plastic bottles, preferably 2-liter soda bottles or similar. The sturdier, the better! Make sure they’re clean and dry. The number of bottles depends on how many kale plants you want to grow. I usually aim for one plant per bottle.
* Kale Seedlings: You can start your kale from seeds, but for this project, I recommend using seedlings. They’re easier to handle and get established in the bottle. You can find them at your local garden center or nursery. Choose healthy-looking seedlings with vibrant green leaves.
* Potting Soil: Use a good quality potting mix that drains well. Avoid using garden soil, as it can become compacted in the bottle and hinder drainage.
* Scissors or Utility Knife: For cutting the plastic bottles. Be careful!
* Drill or Awl: To create drainage holes and hanging points.
* Rope or Twine: For hanging the bottles. Choose something strong and weather-resistant.
* Water: Of course!
* Optional: Landscape Fabric or Coffee Filter: To prevent soil from washing out of the drainage holes.
* Optional: Small Pebbles or Gravel: To improve drainage at the bottom of the bottle.
Preparing the Bottles: The Foundation of Your Garden
This is where we transform those ordinary plastic bottles into mini-gardens!
1. Cut the Bottle: Using your scissors or utility knife, carefully cut the bottle in half horizontally. You’ll be using the top half (the part with the bottle neck) upside down. I usually cut it about two-thirds of the way down, leaving a larger bottom section.
2. Create Drainage Holes: In the bottle cap, drill or poke several drainage holes. This is crucial to prevent waterlogging and root rot. I usually make about 4-5 holes, depending on the size of the cap.
3. Optional: Add Landscape Fabric/Coffee Filter: Cut a small circle of landscape fabric or a coffee filter slightly larger than the bottle cap. Place it inside the bottle cap to cover the drainage holes. This will help prevent soil from washing out when you water your kale.
4. Optional: Add Pebbles/Gravel: Place a layer of small pebbles or gravel at the bottom of the bottle (the bottom half). This will further improve drainage and prevent the soil from becoming waterlogged.
Planting Your Kale Seedlings: Giving Life to Your Garden
Now for the fun part – planting your kale!
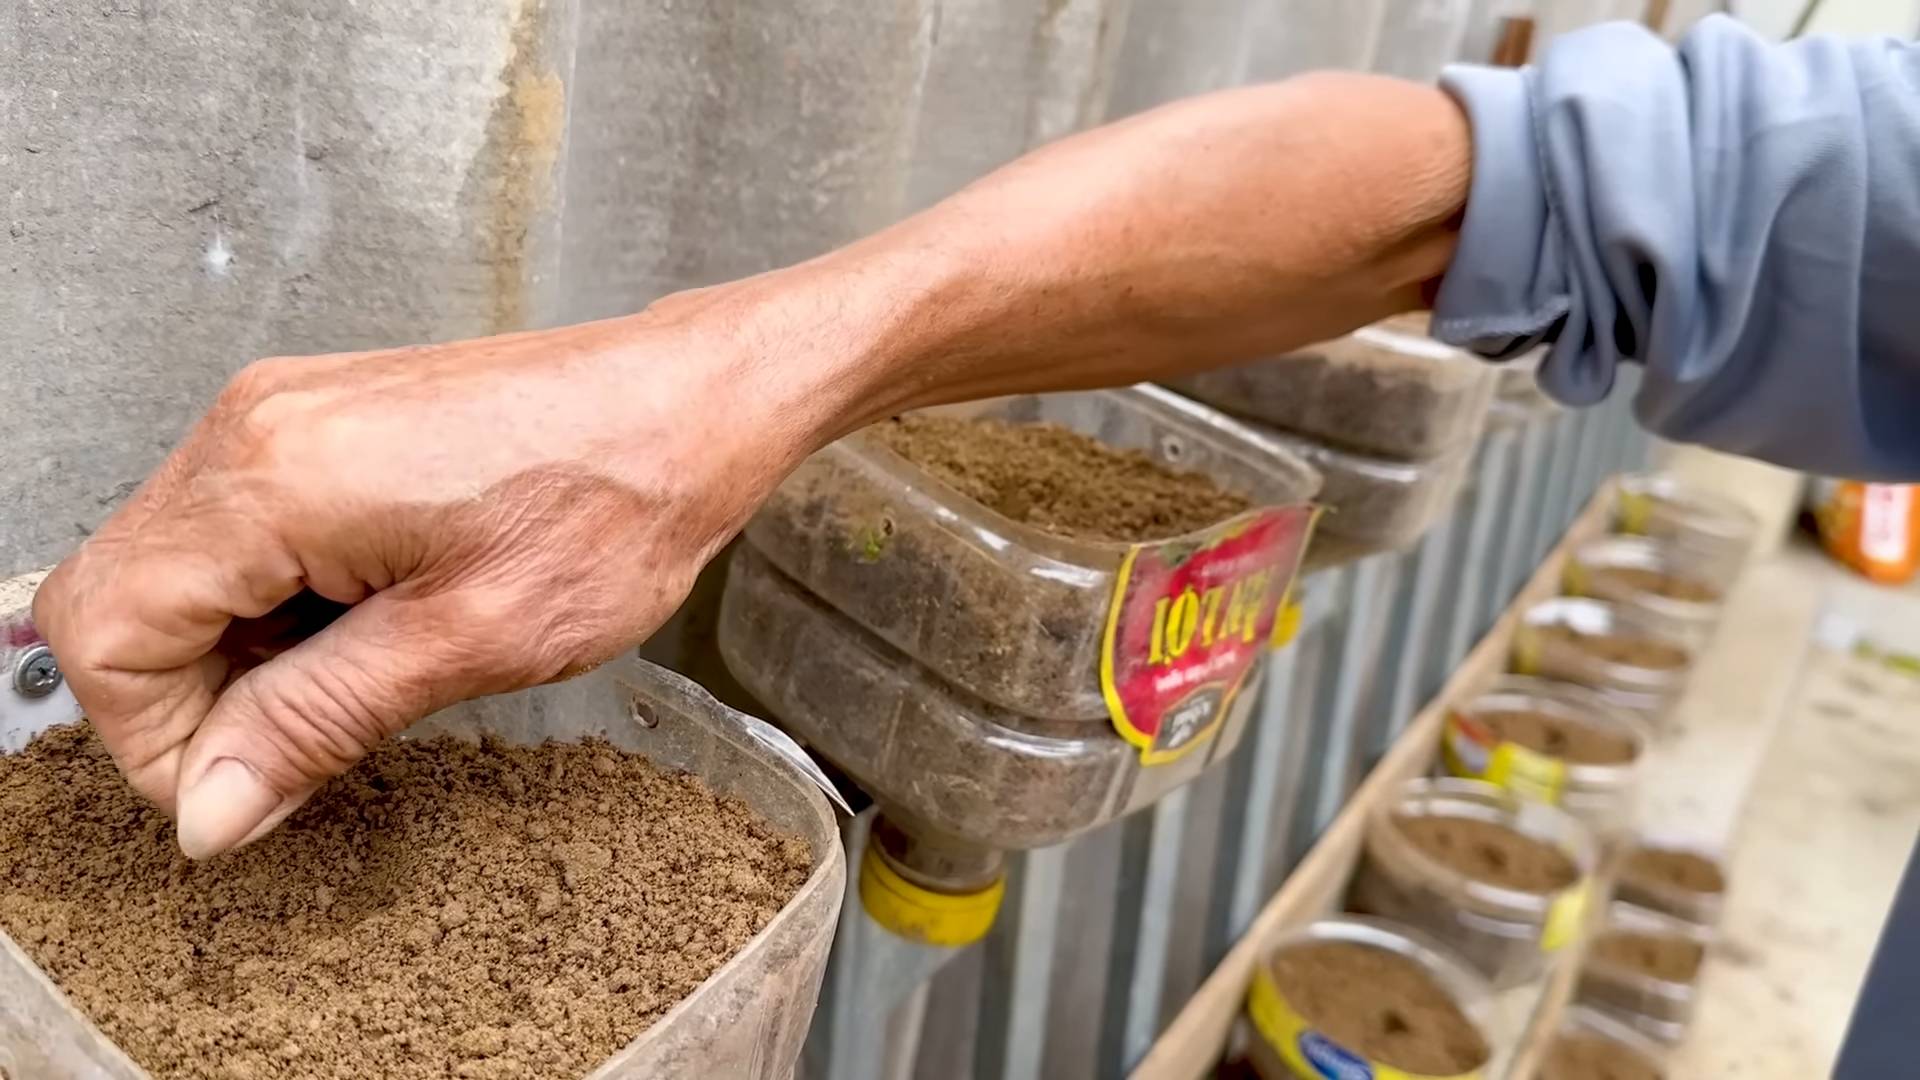
1. Prepare the Soil: Moisten the potting soil slightly. It should be damp but not soggy.
2. Insert the Seedling: Gently turn the top half of the bottle upside down. Carefully insert the kale seedling through the bottle neck, with the leaves pointing downwards. Be gentle to avoid damaging the roots.
3. Add Soil: Slowly add potting soil around the seedling’s roots, filling the top half of the bottle. Make sure the roots are completely covered and the seedling is securely planted. Leave about an inch of space at the top of the bottle.
4. Attach the Bottom Half: Carefully slide the bottom half of the bottle over the top half, creating a container. It should fit snugly.
5. Water Gently: Water the kale seedling gently, allowing the water to drain through the drainage holes.
Hanging Your Kale Garden: Displaying Your Green Thumb
Time to find the perfect spot for your upside-down kale garden!
1. Create Hanging Points: Drill or poke two holes on opposite sides of the bottom half of the bottle, near the top edge. These will be your hanging points.
2. Attach Rope or Twine: Cut two pieces of rope or twine of equal length. Thread each piece through the holes and tie a secure knot.
3. Hang Your Garden: Find a sunny spot to hang your kale garden. A balcony, patio, or even a sunny window will work. Make sure the hanging point is strong enough to support the weight of the bottle and soil. I like to use S-hooks for easy hanging and removal.
Caring for Your Upside-Down Kale Garden: Keeping Your Kale Happy
Now that your kale garden is hanging, it’s important to provide proper care to ensure healthy growth.
* Watering: Water your kale regularly, especially during hot weather. Check the soil moisture by sticking your finger into the soil. If it feels dry, it’s time to water. Water thoroughly until water drains out of the drainage holes. Avoid overwatering, as this can lead to root rot.
* Sunlight: Kale needs at least 6 hours of sunlight per day. Choose a sunny location for your garden. If you live in a particularly hot climate, provide some afternoon shade to prevent the leaves from scorching.
* Fertilizing: Feed your kale every few weeks with a balanced liquid fertilizer. Follow the instructions on the fertilizer label.
* Pest Control: Keep an eye out for pests such as aphids, cabbage worms, and slugs. If you spot any pests, treat them with an organic insecticide or handpick them off the plants.
* Harvesting: You can start harvesting kale leaves once they are large enough to eat. Simply snip off the outer leaves, leaving the inner leaves to continue growing. This will encourage continuous production.
Troubleshooting: Addressing Common Issues
Even with the best care, you might encounter some challenges. Here are a few common issues and how to address them:
* Yellowing Leaves: This could be a sign of overwatering, underwatering, or nutrient deficiency. Check the soil moisture and adjust your watering schedule accordingly. Fertilize your kale with a balanced fertilizer.
* Slow Growth: This could be due to insufficient sunlight, poor soil, or pest infestation. Make sure your kale is getting enough sunlight and that the soil is well-draining and nutrient-rich. Check for pests and treat them accordingly.
* Root Rot: This is caused by overwatering and poor drainage. Make sure your bottle has adequate drainage holes and avoid overwatering. If you suspect root rot, you may need to repot your kale in fresh soil.
* Leggy Growth: This happens when the plant is not getting enough light. Move your kale to a sunnier location.
Tips and Tricks for Success: Taking Your Garden to the Next Level
Here are a few extra tips to help you create a thriving upside-down kale garden:
* Choose the Right Kale Variety: Some kale varieties are better suited for container gardening than others. Dwarf varieties like Dwarf Blue Curled Vates are a good choice.
* Rotate Your Plants: Rotate your kale plants every few weeks to ensure even sunlight exposure.
* Mulch the Soil: Add a layer of mulch, such as straw or wood chips, to the top of the soil to help retain moisture and suppress weeds.
* Companion Planting: Plant companion plants like marigolds or basil near your kale to deter pests.
* Get Creative with Decoration: Decorate your bottles with paint, stickers, or other embellishments to add a personal touch to your garden.
I hope you found this guide helpful! Creating an upside-down kale bottle garden is a fun, rewarding, and sustainable way to grow your own fresh produce. Happy gardening!
Conclusion
So, there you have it! Transforming a simple plastic bottle and some leftover kale into a thriving, miniature garden is not just a fun project; it’s a sustainable, space-saving, and incredibly rewarding way to enjoy fresh greens right at your fingertips. This DIY kale bottle garden is more than just a gardening hack; it’s a statement about resourcefulness and a commitment to reducing waste.
Why is this a must-try? Because it’s accessible to everyone, regardless of gardening experience or living situation. Whether you have a sprawling backyard or a tiny apartment balcony, you can cultivate your own little patch of kale. It’s a fantastic project for kids, teaching them about plant life cycles and the importance of sustainability. Plus, the satisfaction of harvesting your own homegrown kale for salads, smoothies, or stir-fries is simply unmatched.
But the beauty of this project lies in its adaptability. Feel free to experiment with different types of kale. Curly kale, Lacinato kale (also known as dinosaur kale), or even Red Russian kale would all thrive in this environment. You can also try companion planting. Consider adding herbs like basil or thyme to your bottle garden to deter pests and enhance the flavor of your kale. Just be mindful of the space and ensure each plant has enough room to grow.
Another variation to consider is the watering system. While the wicking system described earlier is effective, you could also explore using a small, battery-operated pump to circulate water from the reservoir to the top of the bottle. This would provide a more consistent and even watering schedule, especially during hotter months. Remember to monitor the moisture levels regularly, regardless of the watering method you choose.
Don’t be afraid to get creative with the bottle itself! Paint it, decorate it with twine, or even add drainage holes to the bottom for extra ventilation. The possibilities are endless. The most important thing is to have fun and enjoy the process.
We wholeheartedly encourage you to give this DIY kale bottle garden a try. It’s a simple, affordable, and incredibly satisfying project that will bring a touch of green to your life. And once you’ve experienced the joy of harvesting your own homegrown kale, you’ll be hooked!
We’d love to hear about your experiences! Share your photos, tips, and variations in the comments below. Let’s build a community of bottle garden enthusiasts and inspire others to embrace sustainable gardening practices. What challenges did you face? What successes did you celebrate? Your feedback is invaluable and will help others on their own bottle garden journey. Happy gardening!
Frequently Asked Questions (FAQ)
What kind of plastic bottle is best for a DIY kale bottle garden?
Ideally, you should use a food-grade plastic bottle, such as a large soda bottle or water bottle. Make sure it’s clean and free of any residue. Avoid using bottles that have contained harsh chemicals, as these could contaminate your kale. The size of the bottle will depend on how much kale you want to grow, but a 2-liter bottle is a good starting point. Thicker plastic bottles tend to be more durable and will last longer.
How often should I water my kale bottle garden?
The frequency of watering will depend on several factors, including the size of the bottle, the type of kale, the climate, and the amount of sunlight the garden receives. Generally, you should check the moisture level of the soil every few days. If the soil feels dry to the touch, it’s time to water. With the wicking system, the soil should stay consistently moist, but it’s still important to monitor it. Overwatering can lead to root rot, so avoid letting the soil become waterlogged.
What kind of soil should I use for my kale bottle garden?
Use a well-draining potting mix specifically designed for container gardening. Avoid using garden soil, as it can be too heavy and compact, which can hinder drainage and root growth. A good potting mix will contain a blend of peat moss, perlite, and vermiculite, which will provide adequate drainage and aeration. You can also add some compost to the mix to provide extra nutrients for your kale.
How much sunlight does my kale bottle garden need?
Kale thrives in full sun, which means it needs at least 6 hours of direct sunlight per day. However, it can also tolerate partial shade, especially during the hottest part of the day. If you’re growing your kale indoors, you may need to supplement with artificial light, such as a grow light. Place your bottle garden in a sunny window or under a grow light to ensure it gets enough light.
How do I fertilize my kale bottle garden?
Kale is a heavy feeder, so it’s important to fertilize it regularly. You can use a liquid fertilizer specifically formulated for vegetables. Follow the instructions on the fertilizer label for application rates. Alternatively, you can add some compost tea to the watering reservoir. Compost tea is a natural fertilizer that will provide your kale with essential nutrients. Fertilize your kale every 2-3 weeks during the growing season.
How do I prevent pests and diseases in my kale bottle garden?
Regularly inspect your kale plants for signs of pests or diseases. Common pests that affect kale include aphids, cabbage worms, and flea beetles. You can control these pests by handpicking them off the plants, spraying them with insecticidal soap, or using a natural pesticide like neem oil. To prevent diseases, ensure good air circulation around your plants and avoid overwatering. If you notice any signs of disease, remove the affected leaves immediately.
How long does it take for kale to grow in a bottle garden?
Kale is a relatively fast-growing vegetable. You can typically start harvesting leaves about 6-8 weeks after planting. The exact time will depend on the variety of kale, the growing conditions, and the size of the plant. Harvest the outer leaves first, leaving the inner leaves to continue growing. This will encourage the plant to produce more leaves.
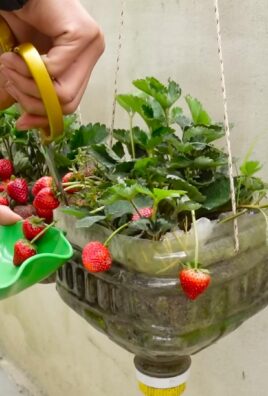
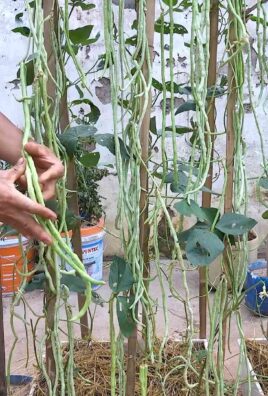
Can I grow other vegetables in a bottle garden besides kale?
Yes, you can grow other vegetables in a bottle garden, but it’s important to choose plants that are well-suited for container gardening and have similar growing requirements. Some good options include lettuce, spinach, herbs, and small varieties of tomatoes or peppers. Be mindful of the space and ensure each plant has enough room to grow.
How do I harvest kale from my bottle garden?
Harvest kale by snipping off the outer leaves with scissors or a knife. Leave the inner leaves to continue growing. This will encourage the plant to produce more leaves. Harvest regularly to keep the plant productive. Wash the kale leaves thoroughly before eating.
What do I do with my kale bottle garden in the winter?
Kale is a cold-hardy vegetable, so it can tolerate frost and even snow. However, if you live in an area with harsh winters, you may need to protect your bottle garden from the cold. You can move it indoors to a sunny location or cover it with a frost blanket. If you leave it outdoors, make sure the soil doesn’t freeze solid, as this can damage the roots.

Leave a Comment